How to Use Adafruit STEMMA Soil Sensor: Examples, Pinouts, and Specs

Introduction
The Adafruit STEMMA Soil Sensor is an innovative module designed to measure the moisture content of soil, providing a crucial parameter for plant care in gardening and agricultural applications. This sensor is part of the STEMMA family, which means it features easy-to-use connectors that allow for quick interfacing with microcontrollers, such as the Arduino UNO, without the need for soldering. The sensor is ideal for hobbyists, educators, and professionals who require a reliable and simple method to monitor soil moisture levels.
Explore Projects Built with Adafruit STEMMA Soil Sensor
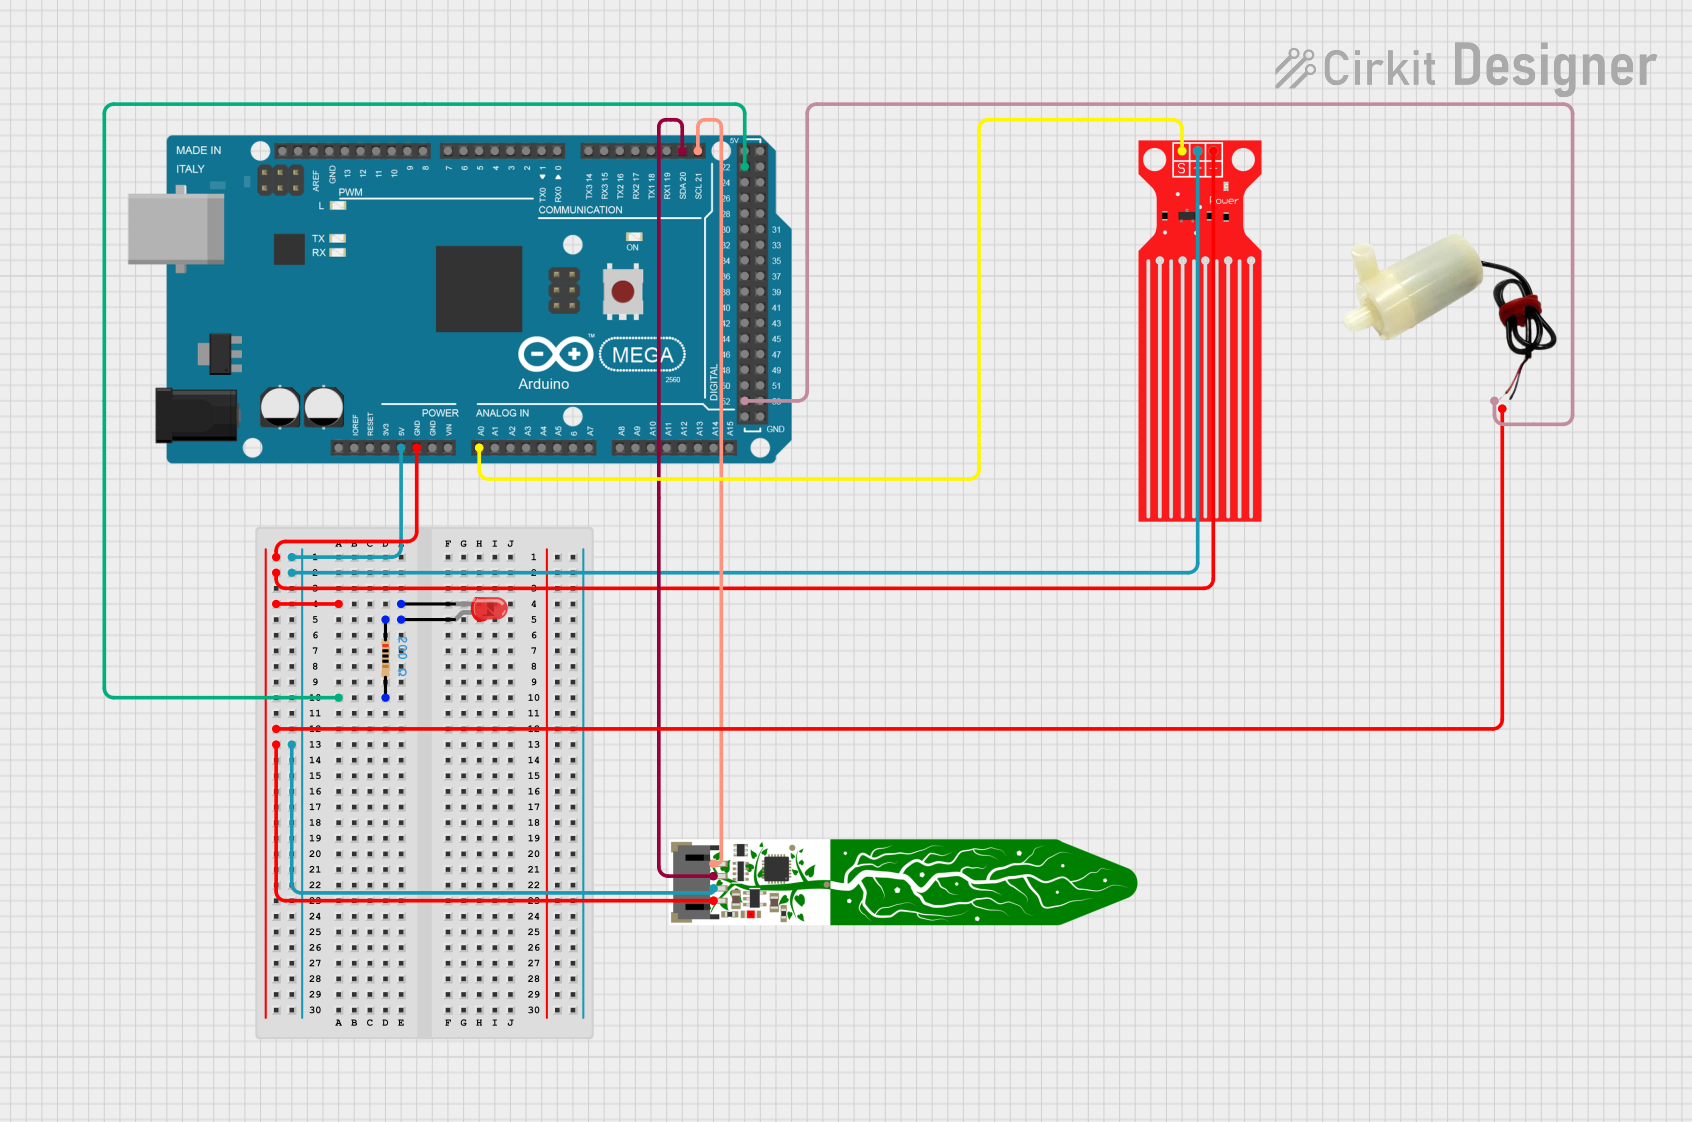

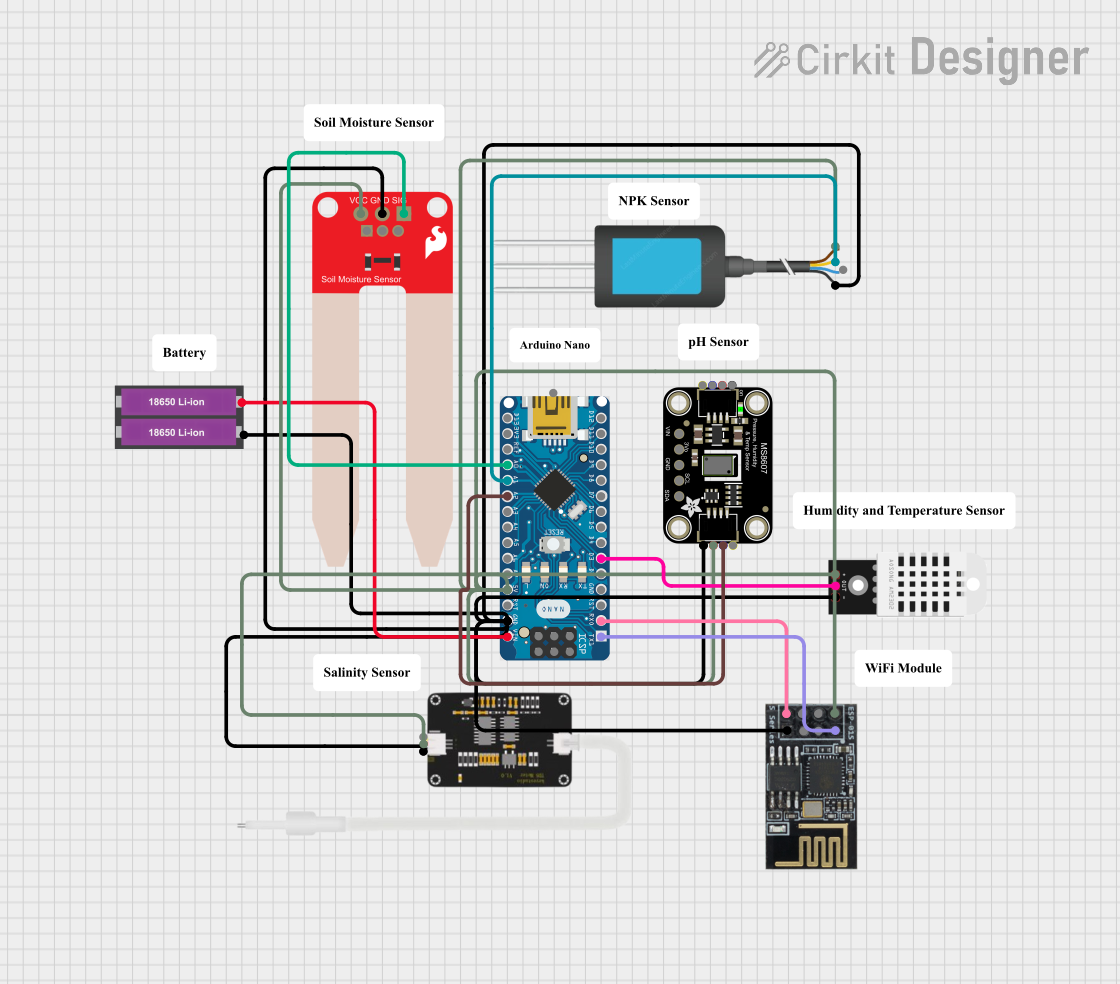
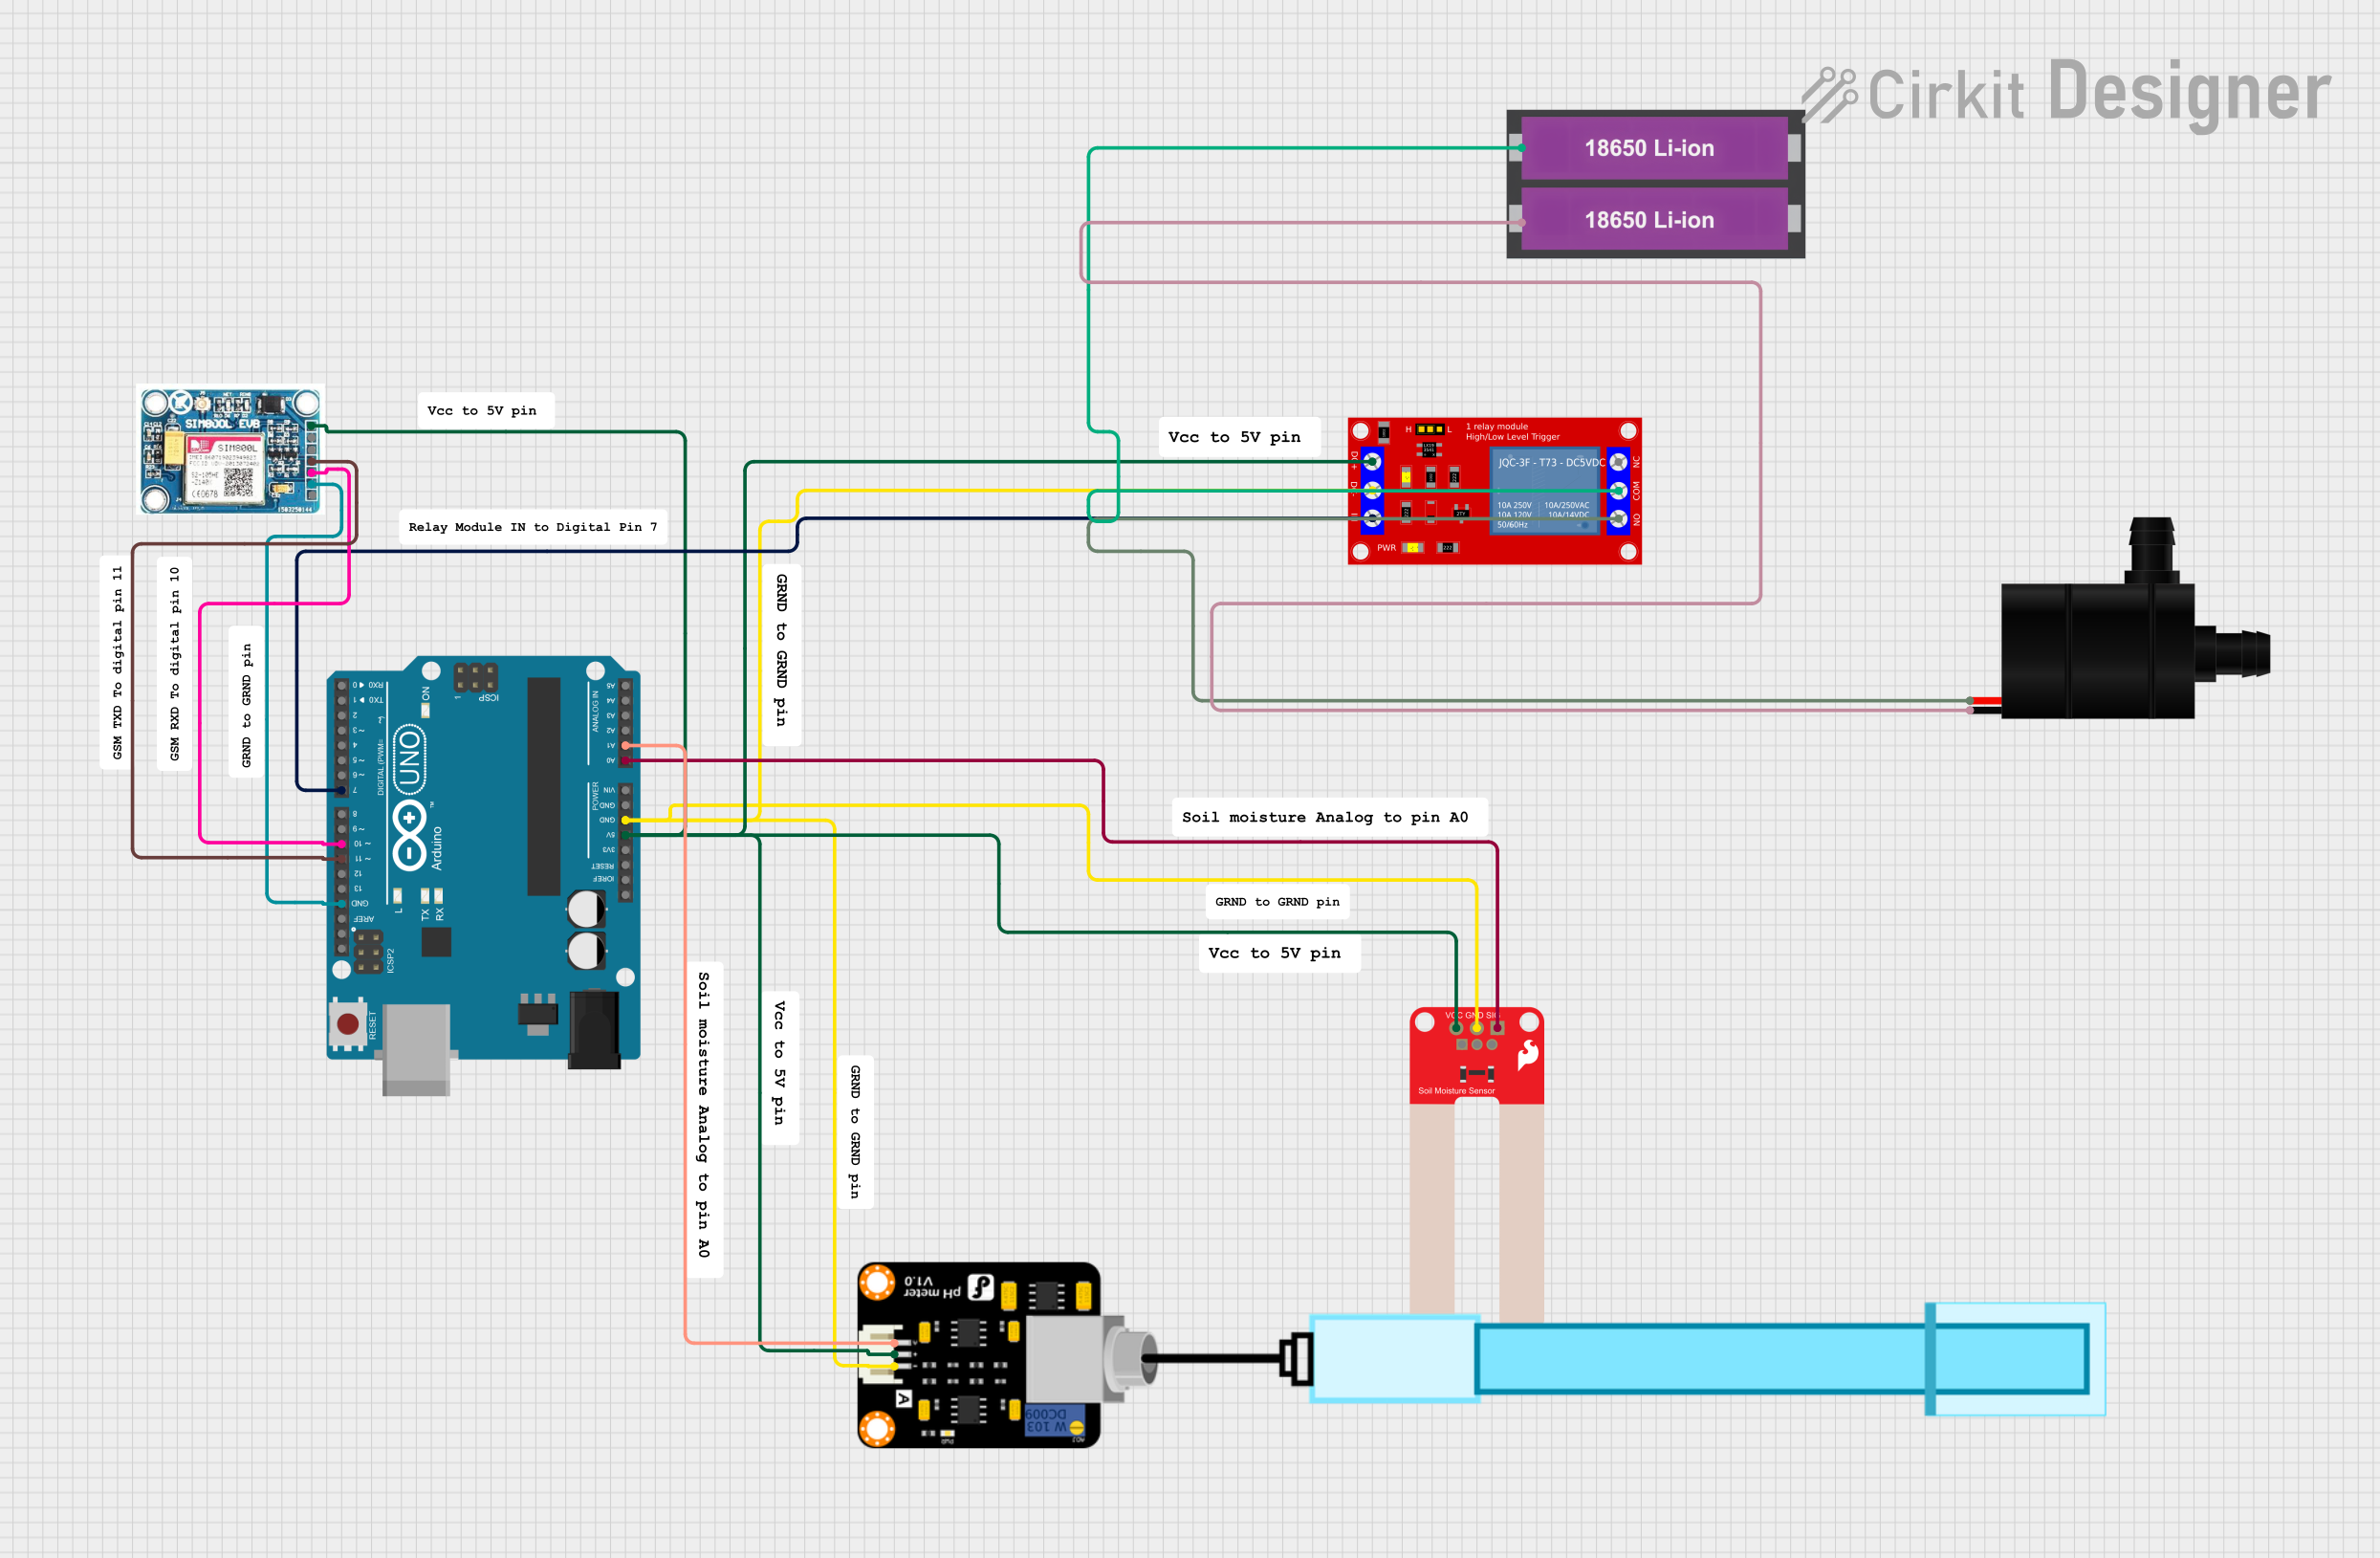
Explore Projects Built with Adafruit STEMMA Soil Sensor
Technical Specifications
Key Technical Details
- Operating Voltage: 3.3V to 5V
- Current Consumption: 10mA (typical)
- Moisture Sensing Range: Capacitive measurement, no specific range
- Interface: I2C (STEMMA QT connector)
- I2C Address: 0x36 (default)
Pin Configuration and Descriptions
| Pin Number | Name | Description |
|---|---|---|
| 1 | VCC | Power supply (3.3V to 5V) |
| 2 | GND | Ground connection |
| 3 | SCL | I2C clock signal |
| 4 | SDA | I2C data signal |
Usage Instructions
Connecting the Sensor
- Connect the VCC pin to the 3.3V or 5V output on your microcontroller.
- Connect the GND pin to the ground on your microcontroller.
- Connect the SCL pin to the I2C clock pin on your microcontroller.
- Connect the SDA pin to the I2C data pin on your microcontroller.
Arduino Code Example
Here is a simple example of how to read moisture levels from the Adafruit STEMMA Soil Sensor using an Arduino UNO:
#include <Wire.h>

// I2C address of the soil sensor
const int soilSensorAddress = 0x36;

void setup() {
  Serial.begin(9600);
  Wire.begin(); // Join I2C bus
}

void loop() {
  Wire.beginTransmission(soilSensorAddress);
  Wire.write(0x0F); // Send command to read moisture
  Wire.endTransmission();
  Wire.requestFrom(soilSensorAddress, 2); // Request 2 bytes from sensor

  if (Wire.available() == 2) {
    int soilMoisture = Wire.read() << 8; // Read high byte
    soilMoisture |= Wire.read(); // Read low byte and combine with high byte

    Serial.print("Soil Moisture Level: ");
    Serial.println(soilMoisture);
  }

  delay(1000); // Wait for a second before reading again
}
Important Considerations and Best Practices
- Avoid submerging the sensor in water or exposing it to very wet environments, as this may damage the electronics.
- When inserting the sensor into the soil, do not force it; find a soft spot to avoid damaging the sensor's prongs.
- For consistent readings, ensure that the sensor is inserted into the soil up to the same depth each time.
- Calibrate the sensor for your specific soil type to get accurate moisture readings.
Troubleshooting and FAQs
Common Issues
- Sensor not responding: Ensure that the sensor is correctly connected to the microcontroller and that the I2C address is set correctly in your code.
- Inaccurate readings: Make sure the sensor is calibrated for the soil type you are measuring. Also, check for any signs of corrosion on the sensor prongs.
Solutions and Tips for Troubleshooting
- If the sensor is not detected, check the wiring and connections to ensure they are secure and correct.
- To calibrate the sensor, take readings in known dry and wet soil conditions and map the sensor output to these moisture levels.
- Clean the sensor prongs with distilled water and dry them thoroughly if corrosion or soil buildup is present.
FAQs
Q: Can the sensor be left in the soil permanently? A: While the sensor is designed for use in soil, prolonged exposure to very wet conditions can lead to corrosion. It is recommended to remove the sensor when not in use for extended periods.
Q: Is the sensor waterproof? A: The sensor's prongs are water-resistant, but the electronics are not waterproof. Avoid exposing the sensor's body to water.
Q: How do I connect the sensor to a non-STEMMA QT board? A: You can use jumper wires to connect the sensor's VCC, GND, SCL, and SDA pins to the corresponding pins on your microcontroller.
Q: What is the lifespan of the sensor? A: The lifespan can vary depending on usage conditions. Proper care and avoiding prolonged exposure to harsh conditions can extend the sensor's life.
For further assistance, consult the Adafruit support forums or the product's official documentation.