
How to Use BMP280: Examples, Pinouts, and Specs
 Design with BMP280 in Cirkit Designer
Introduction
The BMP280 is a high-precision barometric pressure sensor designed to measure atmospheric pressure and temperature. It is widely used in applications such as weather stations, drones, and IoT devices for altitude measurement and environmental monitoring. With its compact size, low power consumption, and high accuracy, the BMP280 is an ideal choice for portable and battery-powered devices.
Common applications include:
- Weather monitoring systems
- Altitude measurement in drones and aviation
- IoT environmental sensing
- Indoor navigation and GPS enhancement
- Wearable devices for fitness and health tracking
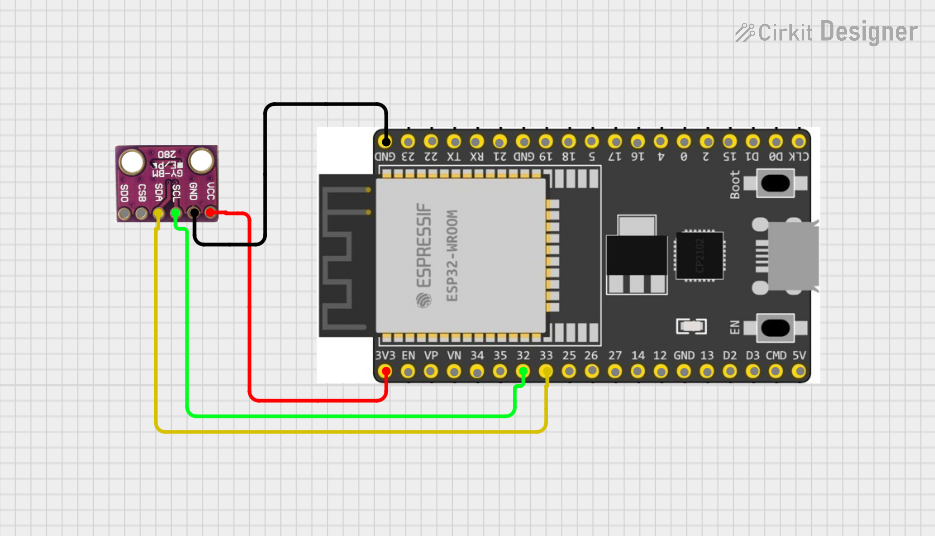
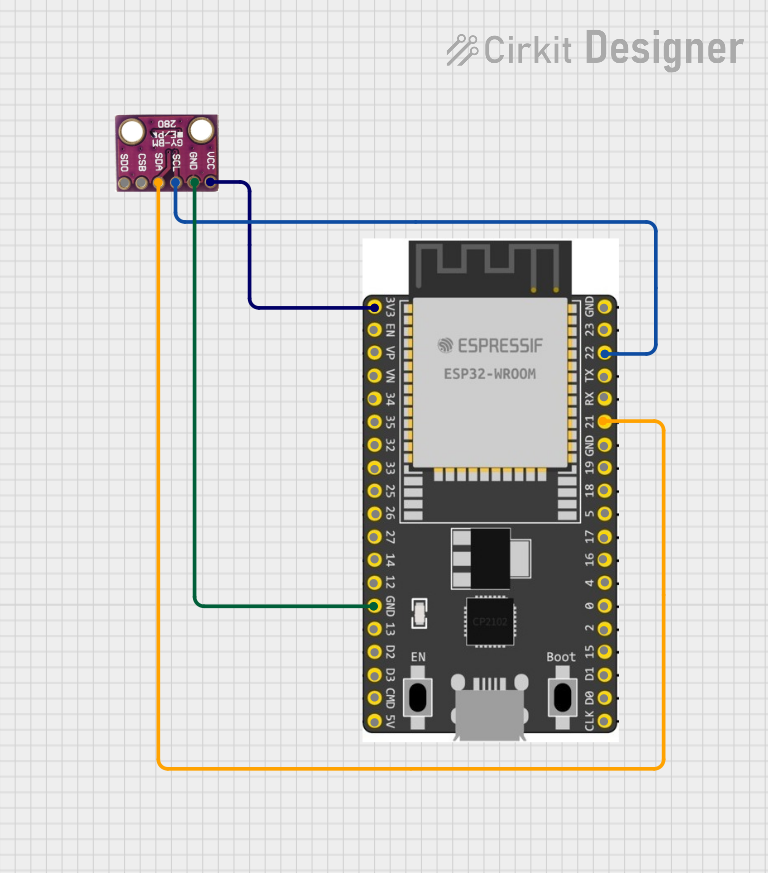
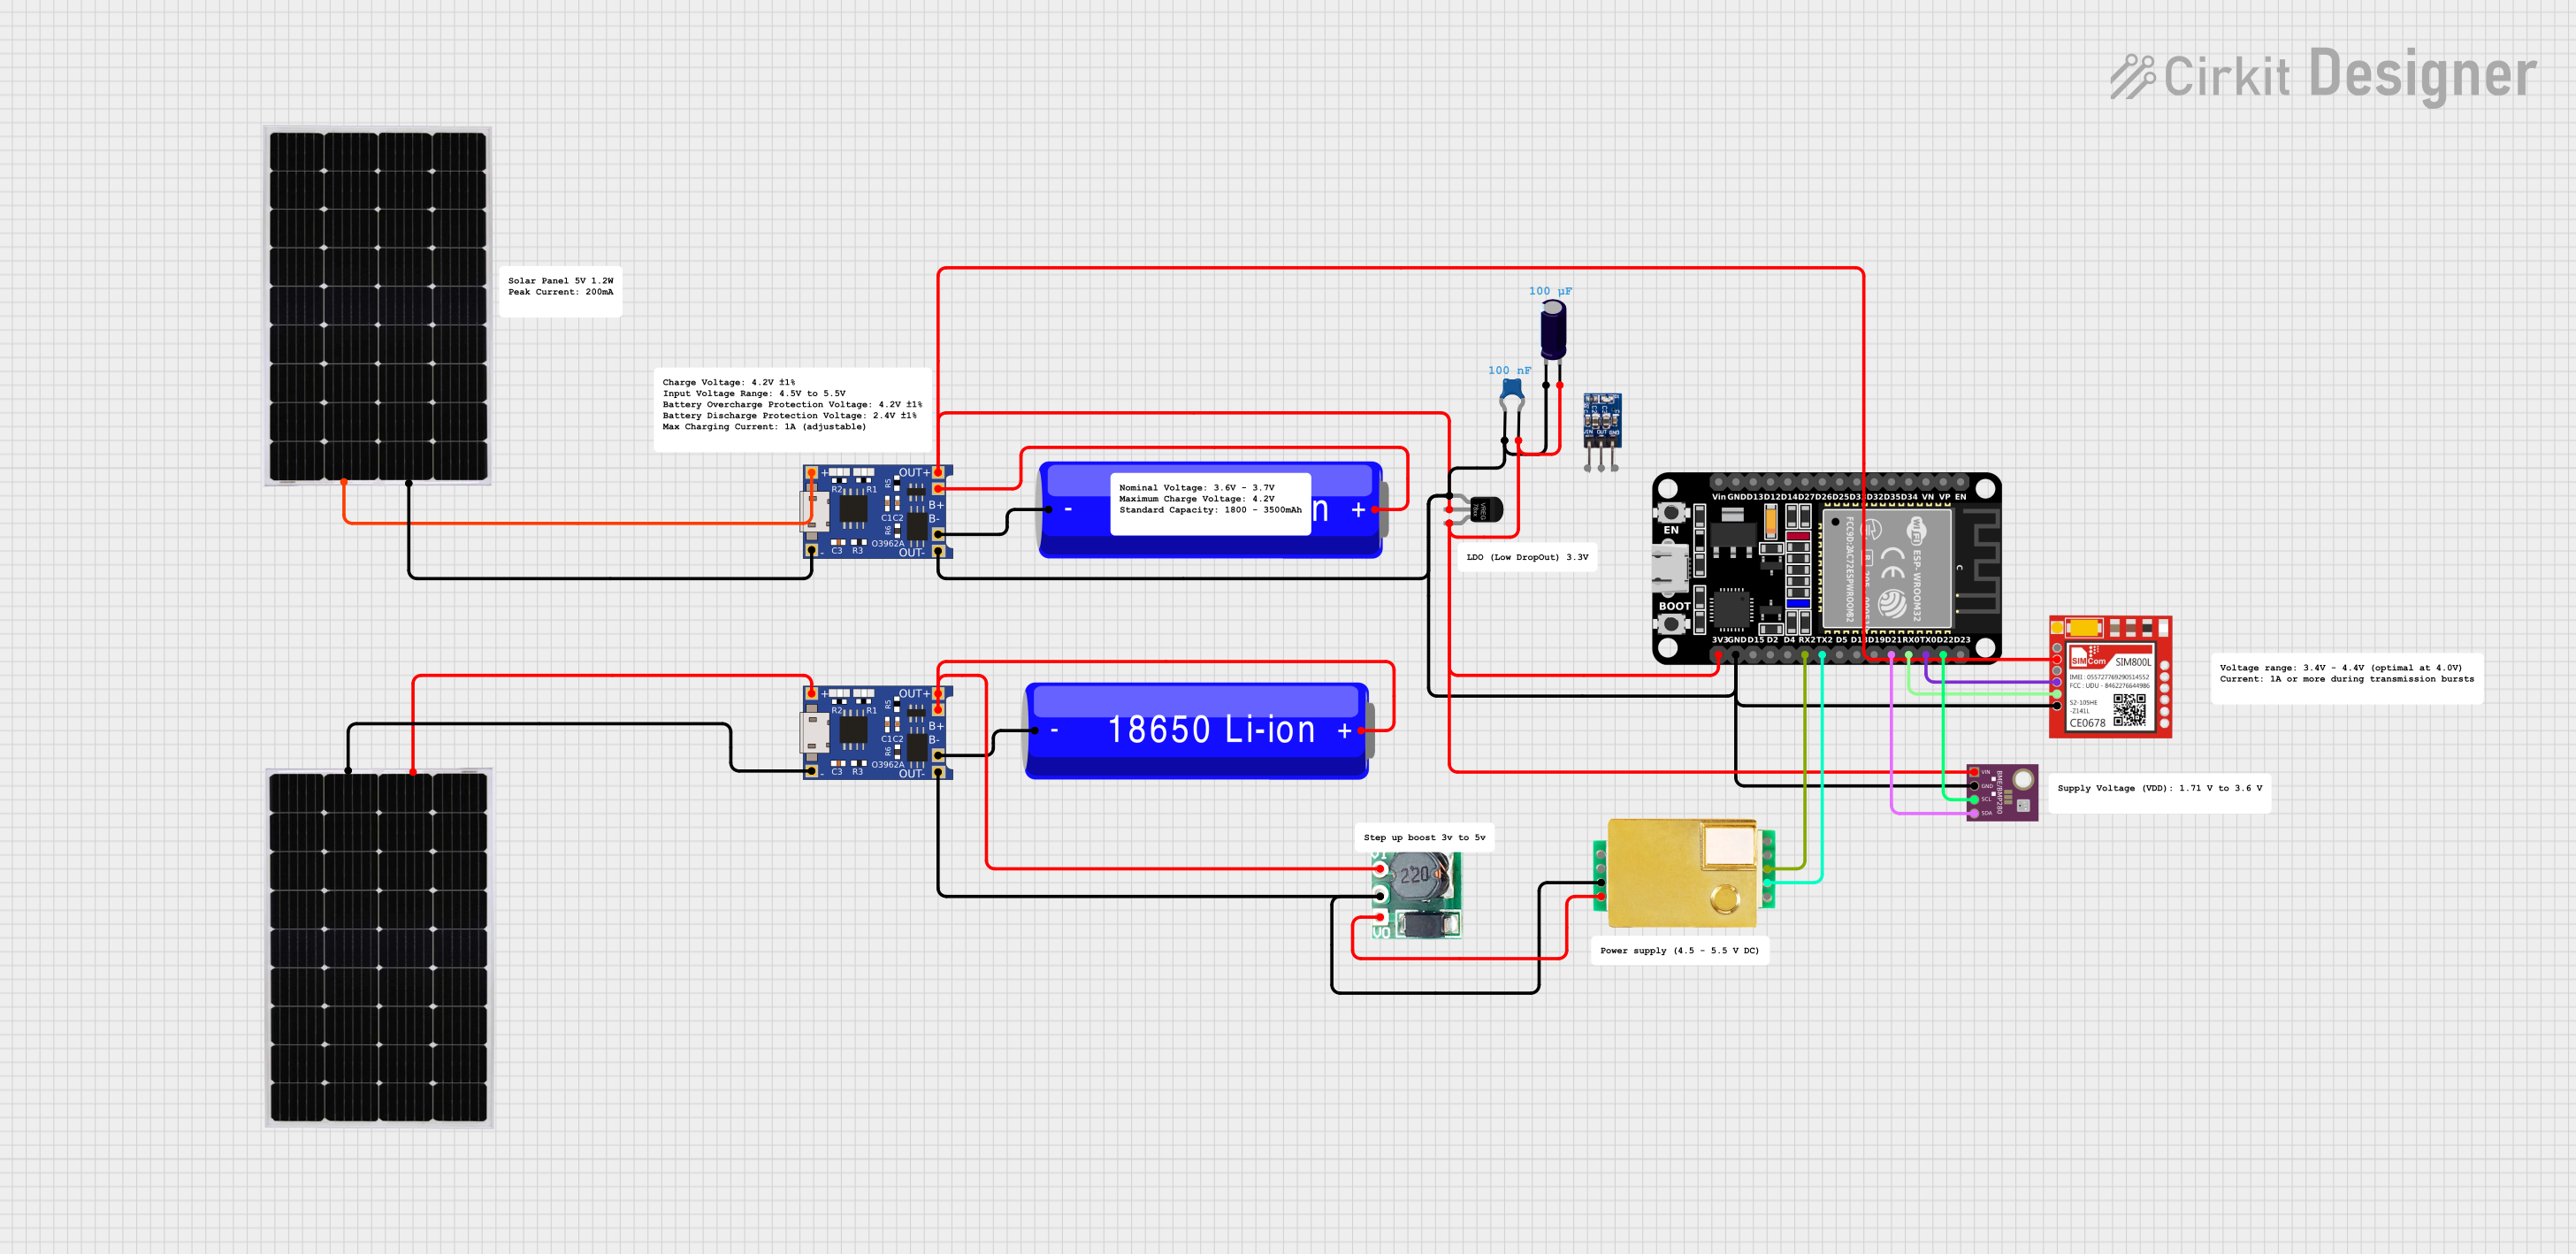
Explore Projects Built with BMP280
 Open Project in Cirkit Designer
 Open Project in Cirkit Designer
 Open Project in Cirkit Designer
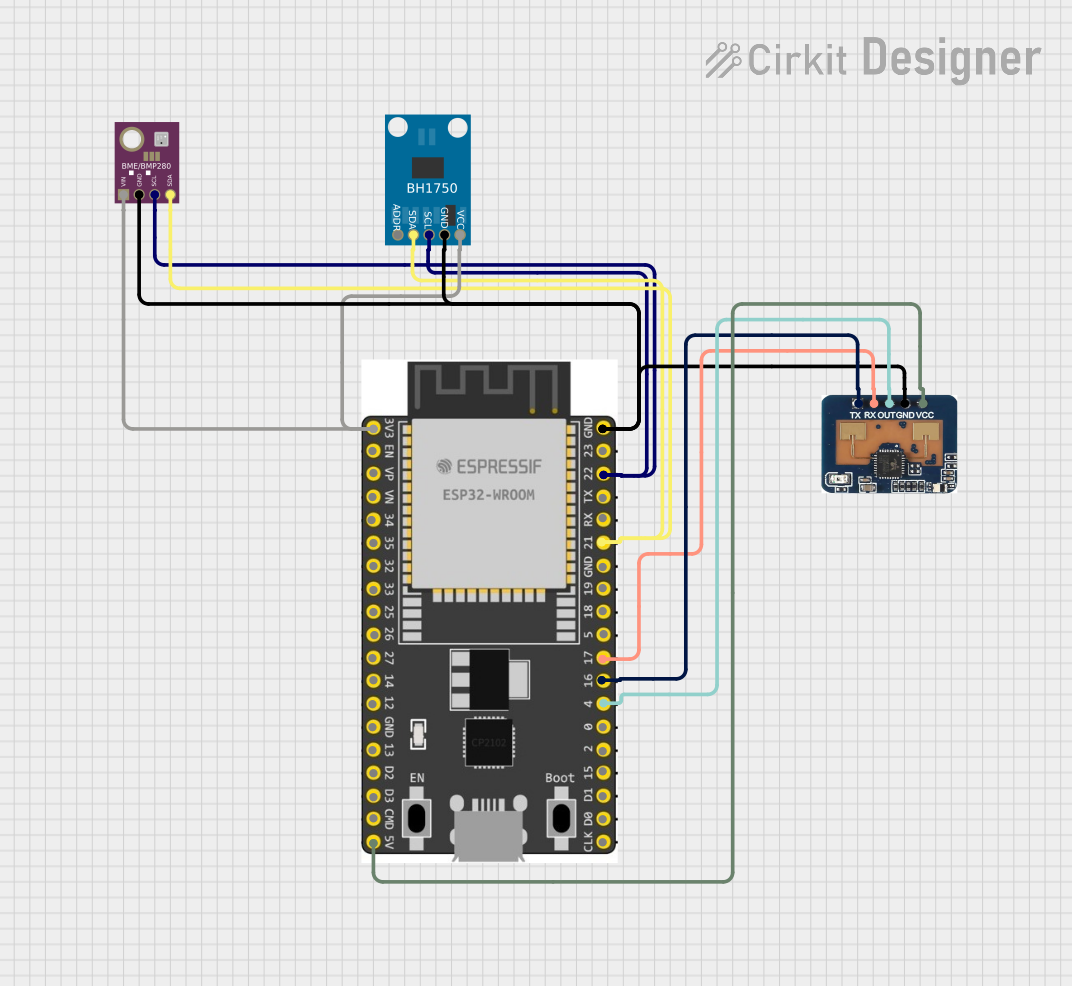 Open Project in Cirkit Designer
Explore Projects Built with BMP280
Open Project in Cirkit DesignerOpen Project in Cirkit DesignerOpen Project in Cirkit DesignerOpen Project in Cirkit DesignerTechnical Specifications
The BMP280 offers excellent performance and flexibility for a variety of applications. Below are its key technical details:
| Parameter | Value |
|---|---|
| Operating Voltage | 1.71V to 3.6V |
| Typical Operating Voltage | 3.3V |
| Current Consumption | 2.7 µA (in normal mode) |
| Pressure Measurement Range | 300 hPa to 1100 hPa |
| Temperature Measurement Range | -40°C to +85°C |
| Pressure Resolution | 0.16 Pa |
| Temperature Resolution | 0.01°C |
| Communication Interface | I2C (up to 3.4 MHz) or SPI (up to 10 MHz) |
| Package Size | 2.0 mm × 2.5 mm × 0.95 mm |
Pin Configuration and Descriptions
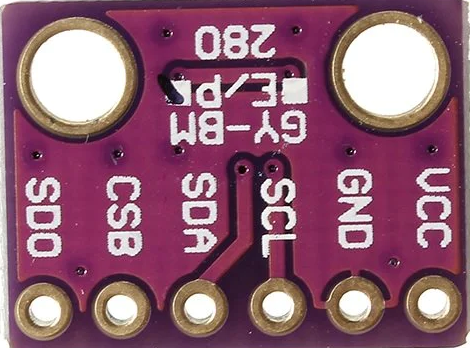
The BMP280 typically comes in a breakout board format for ease of use. Below is the pin configuration:
| Pin Name | Description |
|---|---|
| VCC | Power supply pin (1.71V to 3.6V, typically 3.3V) |
| GND | Ground pin |
| SCL | I2C clock line or SPI clock input |
| SDA | I2C data line or SPI data input/output |
| CS | Chip select for SPI (active low) |
| SDO | SPI data output or I2C address selection |
Note: For I2C communication, the SDO pin determines the I2C address:
- Connect SDO to GND for address
0x76 - Connect SDO to VCC for address
0x77
Usage Instructions
How to Use the BMP280 in a Circuit
- Power Supply: Connect the VCC pin to a 3.3V power source and the GND pin to ground.
- Communication Interface: Choose between I2C or SPI:
- For I2C, connect the SCL and SDA pins to the corresponding I2C pins on your microcontroller.
- For SPI, connect the SCL, SDA, CS, and SDO pins to the appropriate SPI pins on your microcontroller.
- Pull-Up Resistors: If using I2C, ensure pull-up resistors (typically 4.7 kΩ) are connected to the SCL and SDA lines.
- Address Selection: For I2C, set the SDO pin to GND or VCC to select the desired I2C address.
- Initialization: Use a library or write custom code to initialize the BMP280 and configure its settings.
Important Considerations and Best Practices
- Ensure the operating voltage matches the BMP280's requirements (1.71V to 3.6V).
- Avoid exposing the sensor to extreme temperatures or pressures beyond its specified range.
- Use decoupling capacitors (e.g., 0.1 µF) near the VCC pin to reduce noise.
- For accurate measurements, avoid placing the sensor near heat sources or in areas with strong airflow.
Example Code for Arduino UNO
Below is an example of how to use the BMP280 with an Arduino UNO via I2C:
#include <Wire.h>
#include <Adafruit_Sensor.h>
#include <Adafruit_BMP280.h>

// Create an instance of the BMP280 sensor
Adafruit_BMP280 bmp;

void setup() {
  Serial.begin(9600);
  // Initialize the BMP280 sensor
  if (!bmp.begin(0x76)) {
    // Check if the sensor is connected at I2C address 0x76
    Serial.println("Could not find a valid BMP280 sensor, check wiring!");
    while (1); // Halt the program if the sensor is not found
  }

  // Configure the sensor settings
  bmp.setSampling(Adafruit_BMP280::MODE_NORMAL,      // Normal mode
                  Adafruit_BMP280::SAMPLING_X2,      // Temperature oversampling x2
                  Adafruit_BMP280::SAMPLING_X16,     // Pressure oversampling x16
                  Adafruit_BMP280::FILTER_X16,       // Filter coefficient x16
                  Adafruit_BMP280::STANDBY_MS_500);  // Standby time 500ms
}

void loop() {
  // Read and print temperature and pressure values
  Serial.print("Temperature = ");
  Serial.print(bmp.readTemperature());
  Serial.println(" °C");

  Serial.print("Pressure = ");
  Serial.print(bmp.readPressure());
  Serial.println(" Pa");

  Serial.print("Approx. Altitude = ");
  Serial.print(bmp.readAltitude(1013.25)); // Adjust sea level pressure as needed
  Serial.println(" m");

  delay(2000); // Wait 2 seconds before the next reading
}
Troubleshooting and FAQs
Common Issues
Sensor Not Detected:
- Ensure the wiring is correct and matches the selected communication protocol (I2C or SPI).
- Verify the I2C address (default is
0x76or0x77). - Check for loose connections or damaged wires.
Incorrect Readings:
- Ensure the sensor is not exposed to extreme environmental conditions.
- Verify that the sensor is properly calibrated for your application.
- Avoid placing the sensor near heat sources or in areas with strong airflow.
Communication Errors:
- Check the pull-up resistors on the I2C lines.
- Ensure the microcontroller's I2C or SPI pins are correctly configured.
FAQs
Q: Can the BMP280 measure altitude directly?
A: The BMP280 calculates altitude based on pressure readings and a reference sea-level pressure. You can use the readAltitude() function in libraries like Adafruit's to compute altitude.
Q: What is the difference between the BMP280 and BME280?
A: The BMP280 measures pressure and temperature, while the BME280 also includes humidity sensing.
Q: Can I use the BMP280 with a 5V microcontroller?
A: Yes, but you need a logic level shifter to safely interface the 3.3V BMP280 with 5V logic levels.
Q: How do I improve measurement accuracy?
A: Use the sensor in a stable environment, apply appropriate oversampling settings, and avoid placing it near heat sources or strong airflow.