
How to Use Textile Pushbutton: Examples, Pinouts, and Specs
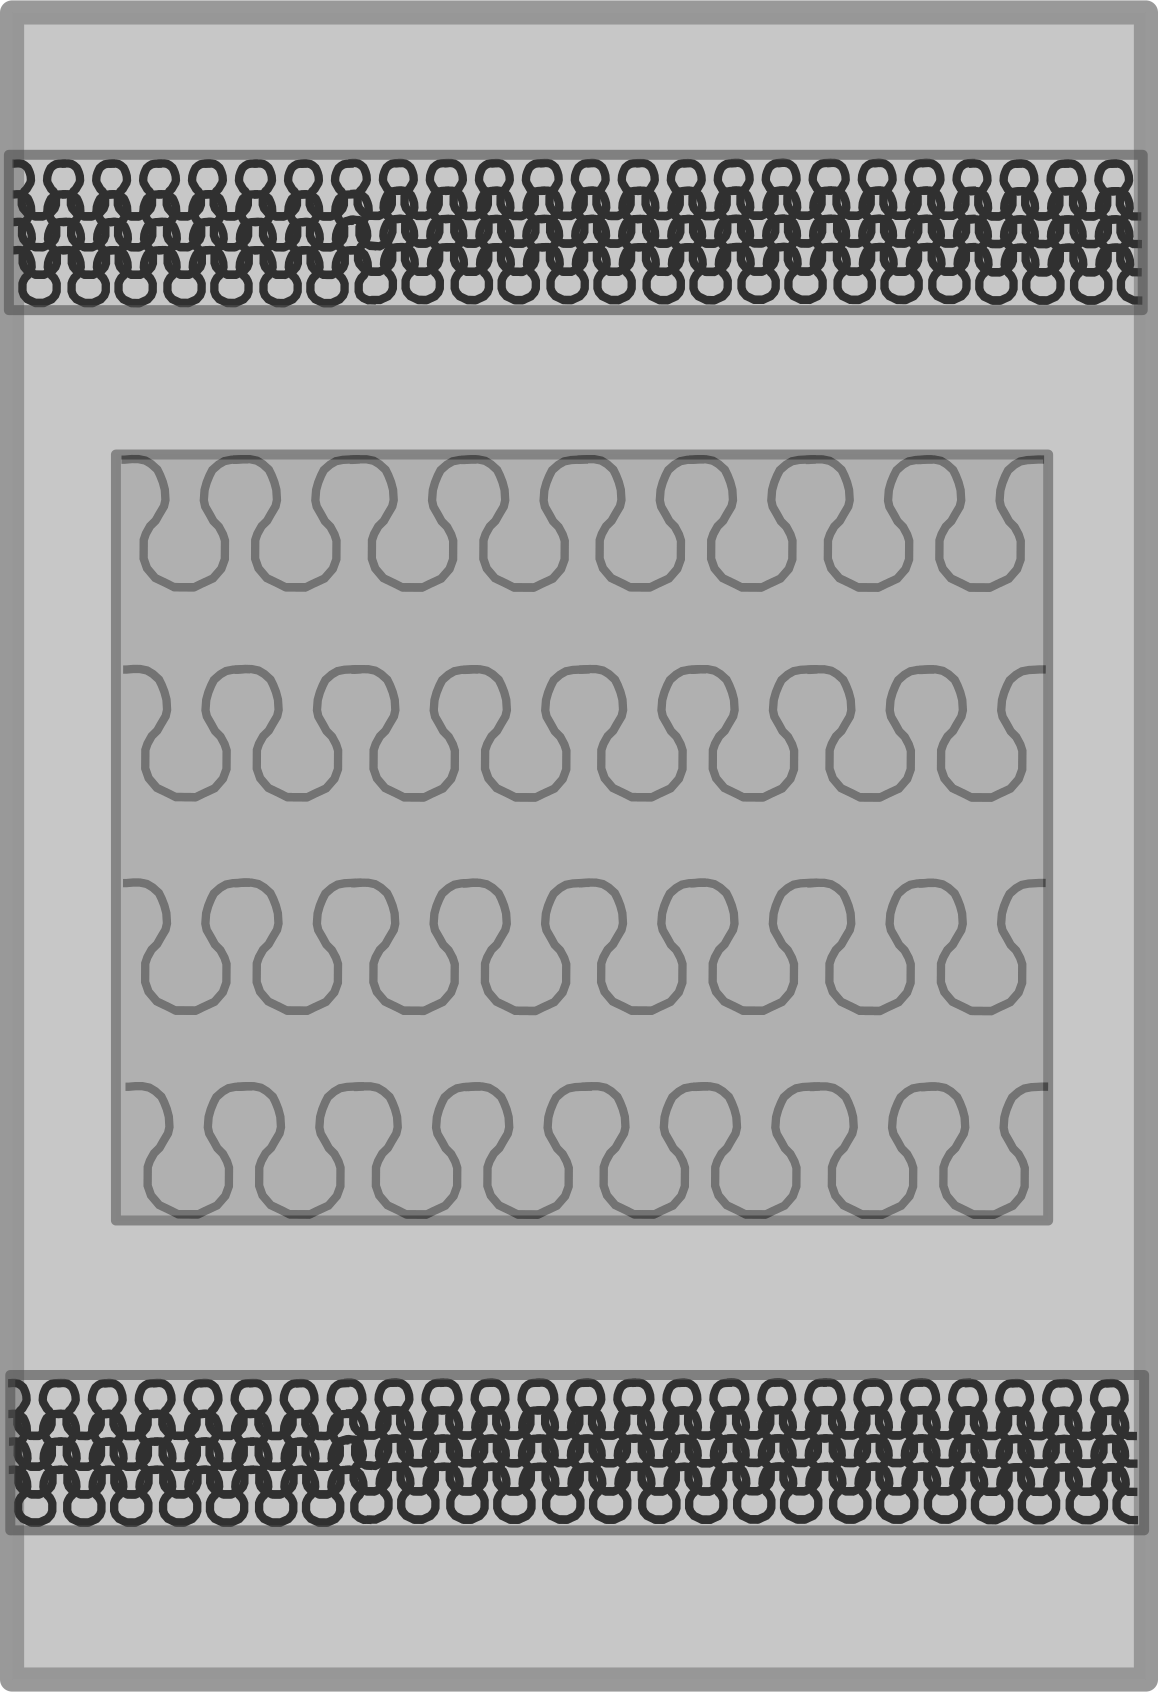
 Design with Textile Pushbutton in Cirkit Designer
Introduction
The Textile Pushbutton is a flexible, fabric-based pushbutton designed for integration into soft circuits. It enables tactile input in wearable technology and interactive textiles, making it an ideal choice for projects requiring lightweight, durable, and flexible components. This pushbutton is particularly useful in applications such as smart clothing, e-textiles, and interactive art installations.
Common applications include:
- Wearable devices and smart clothing
- Interactive textiles for gaming or education
- Soft robotics and haptic feedback systems
- DIY e-textile projects and prototyping
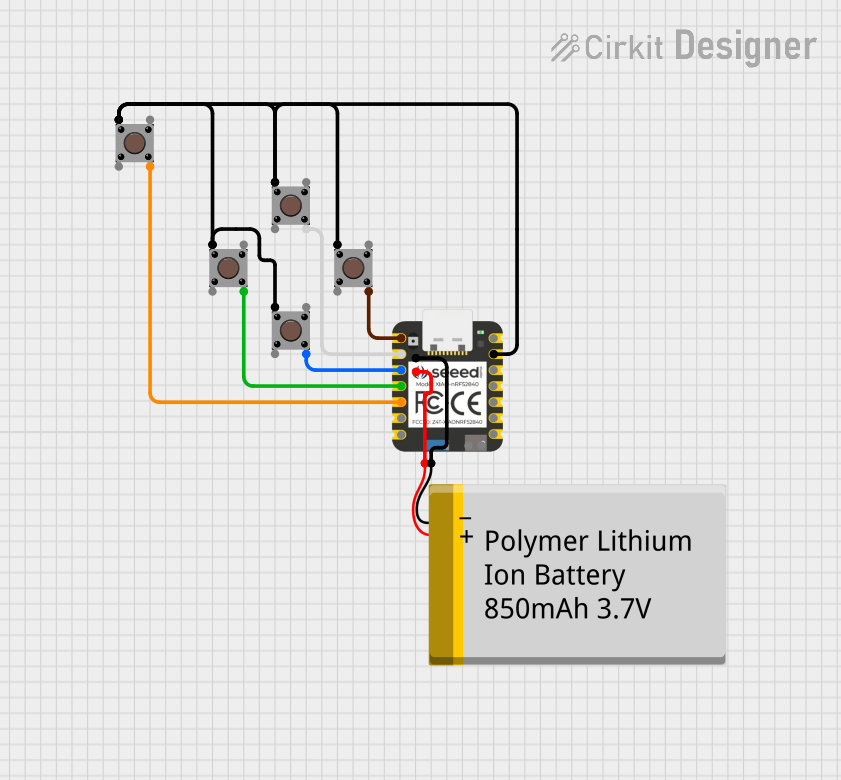
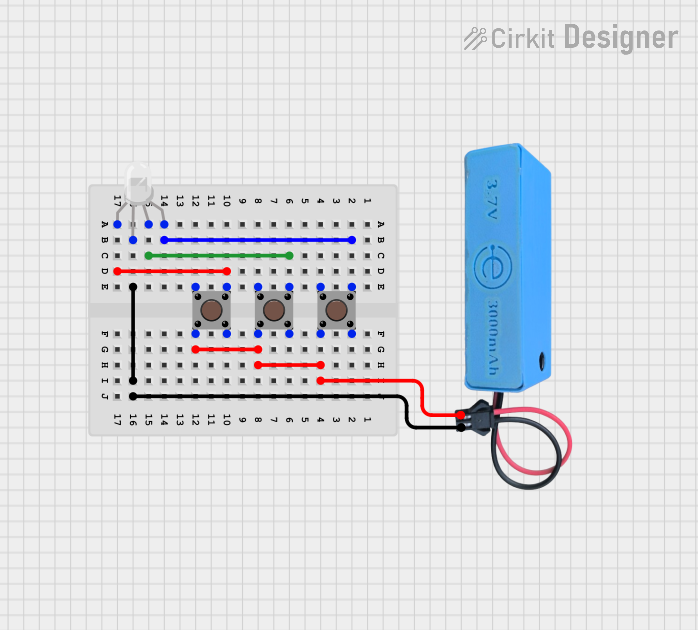
Explore Projects Built with Textile Pushbutton
 Open Project in Cirkit Designer
 Open Project in Cirkit Designer
 Open Project in Cirkit Designer
 Open Project in Cirkit Designer
Explore Projects Built with Textile Pushbutton
Open Project in Cirkit DesignerOpen Project in Cirkit DesignerOpen Project in Cirkit DesignerOpen Project in Cirkit DesignerTechnical Specifications
The Textile Pushbutton is designed to function as a momentary switch, closing the circuit when pressed and opening it when released. Below are its key technical details:
| Parameter | Value |
|---|---|
| Operating Voltage | 3.3V to 5V |
| Maximum Current | 50mA |
| Contact Resistance | < 100Ω |
| Actuation Force | ~200g |
| Dimensions | Varies (typically ~20mm x 20mm) |
| Material | Conductive fabric and textile |
| Durability | ~100,000 actuations |
Pin Configuration and Descriptions
The Textile Pushbutton typically has two conductive terminals that can be connected to a circuit. These terminals are often made of conductive fabric or thread, allowing for easy sewing or soldering.
| Pin | Description |
|---|---|
| Pin 1 | Connects to the positive side of the circuit |
| Pin 2 | Connects to the negative side of the circuit |
Usage Instructions
How to Use the Textile Pushbutton in a Circuit
- Connection: Identify the two conductive terminals of the pushbutton. These can be sewn into a fabric circuit using conductive thread or soldered to wires for connection to a breadboard or PCB.
- Integration: Place the pushbutton in the desired location on your textile or wearable project. Ensure it is securely attached to prevent movement during use.
- Circuit Design: Connect one terminal to the input pin of your microcontroller (e.g., Arduino) and the other terminal to ground. Use a pull-up resistor (typically 10kΩ) to ensure a stable signal when the button is not pressed.
Important Considerations and Best Practices
- Durability: Avoid excessive bending or stretching near the terminals to maintain long-term reliability.
- Insulation: Ensure that the conductive parts of the pushbutton do not accidentally short with other components in the circuit.
- Cleaning: If used in wearable applications, the pushbutton should be protected from moisture or cleaned carefully to avoid damage.
Example: Connecting to an Arduino UNO
Below is an example of how to use the Textile Pushbutton with an Arduino UNO to toggle an LED:
// Define pin connections
const int buttonPin = 2;  // Pin connected to the Textile Pushbutton
const int ledPin = 13;    // Pin connected to the LED

// Variable to store button state
int buttonState = 0;

void setup() {
  pinMode(buttonPin, INPUT_PULLUP); // Set button pin as input with pull-up resistor
  pinMode(ledPin, OUTPUT);         // Set LED pin as output
}

void loop() {
  buttonState = digitalRead(buttonPin); // Read the state of the button

  if (buttonState == LOW) { // Button pressed (LOW due to pull-up resistor)
    digitalWrite(ledPin, HIGH); // Turn on the LED
  } else {
    digitalWrite(ledPin, LOW);  // Turn off the LED
  }
}
Note: The INPUT_PULLUP mode is used to enable the internal pull-up resistor, simplifying the circuit design.
Troubleshooting and FAQs
Common Issues
Button Not Responding
- Cause: Loose connections or broken conductive thread.
- Solution: Check all connections and ensure the terminals are securely attached.
Unstable Signal
- Cause: Lack of a pull-up resistor or interference from other components.
- Solution: Use a pull-up resistor (internal or external) to stabilize the signal.
Short Circuits
- Cause: Conductive fabric touching unintended parts of the circuit.
- Solution: Insulate the pushbutton and surrounding components with non-conductive fabric or tape.
FAQs
Q: Can the Textile Pushbutton be washed?
A: It depends on the specific design and materials. If washing is necessary, ensure the pushbutton is waterproofed or removed before cleaning.
Q: Can I use this pushbutton with a Raspberry Pi?
A: Yes, the Textile Pushbutton can be used with a Raspberry Pi. Connect it to a GPIO pin and use a pull-up or pull-down resistor as needed.
Q: How do I sew the pushbutton into a fabric circuit?
A: Use conductive thread to stitch the terminals into your circuit. Ensure the thread is tightly secured and does not fray to maintain good conductivity.
By following this documentation, you can effectively integrate the Textile Pushbutton into your projects and troubleshoot any issues that arise.