How to Use MLX90614: Examples, Pinouts, and Specs
Introduction
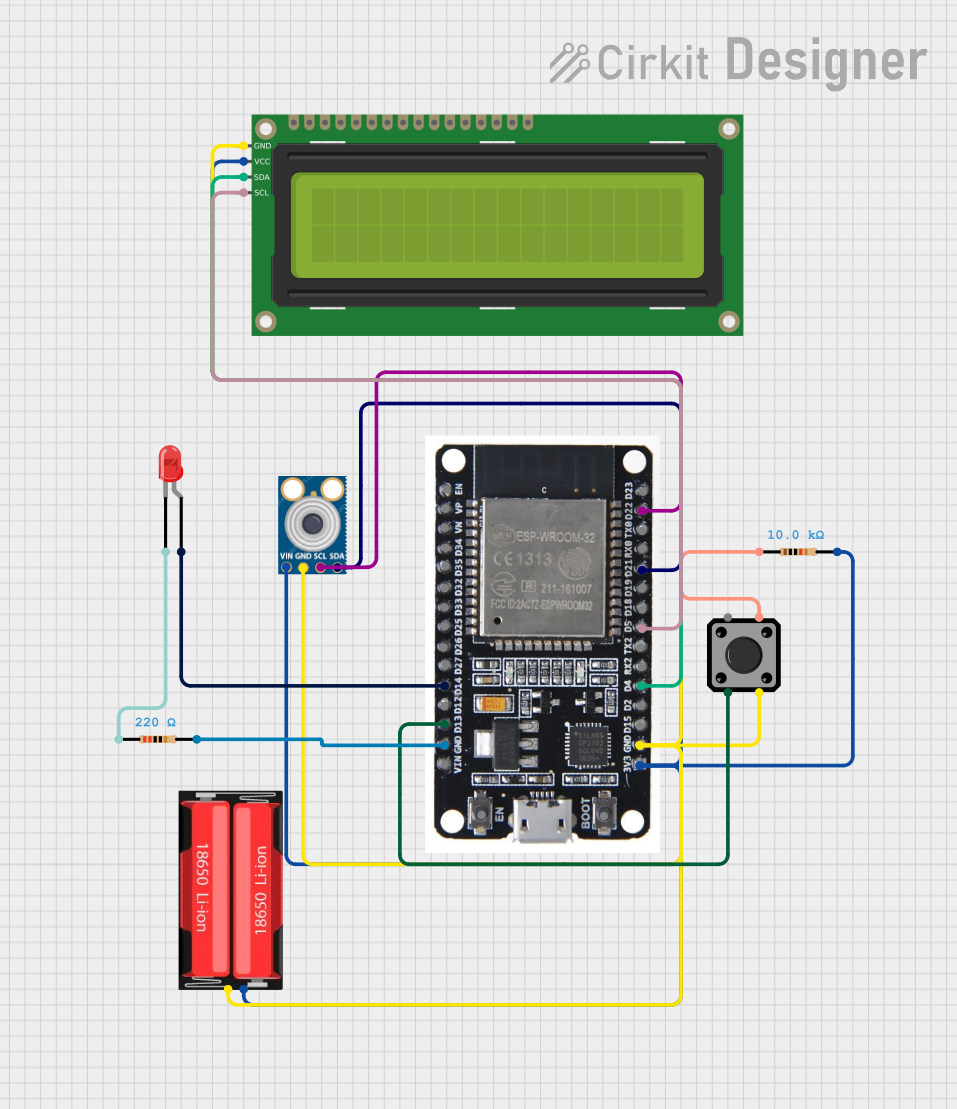
The MLX90614 is a non-contact infrared thermometer designed to measure the temperature of objects without requiring direct physical contact. It utilizes advanced infrared sensing technology to provide accurate temperature readings. The sensor outputs temperature data digitally, making it easy to integrate into microcontroller-based systems.
Explore Projects Built with MLX90614
Explore Projects Built with MLX90614
Common Applications and Use Cases
- Medical devices for body temperature measurement
- HVAC (Heating, Ventilation, and Air Conditioning) systems
- Industrial process monitoring
- Consumer electronics, such as smart home devices
- Automotive climate control systems
Technical Specifications
The MLX90614 is available in various models, but the following are the general specifications for the most commonly used version:
| Parameter | Value |
|---|---|
| Operating Voltage | 3.6V to 5V |
| Operating Current | 1.5mA (typical) |
| Temperature Range (Object) | -70°C to +380°C |
| Temperature Range (Ambient) | -40°C to +125°C |
| Accuracy | ±0.5°C (typical, for 0°C to +50°C) |
| Communication Protocol | SMBus (I2C compatible) |
| Field of View (FOV) | 35° |
| Resolution | 0.02°C |
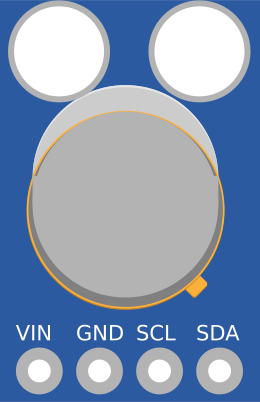
Pin Configuration and Descriptions
The MLX90614 is typically available in a 4-pin TO-39 package. Below is the pinout:
| Pin | Name | Description |
|---|---|---|
| 1 | VDD | Power supply (3.6V to 5V) |
| 2 | VSS | Ground |
| 3 | SDA | Serial Data Line (I2C communication) |
| 4 | SCL | Serial Clock Line (I2C communication) |
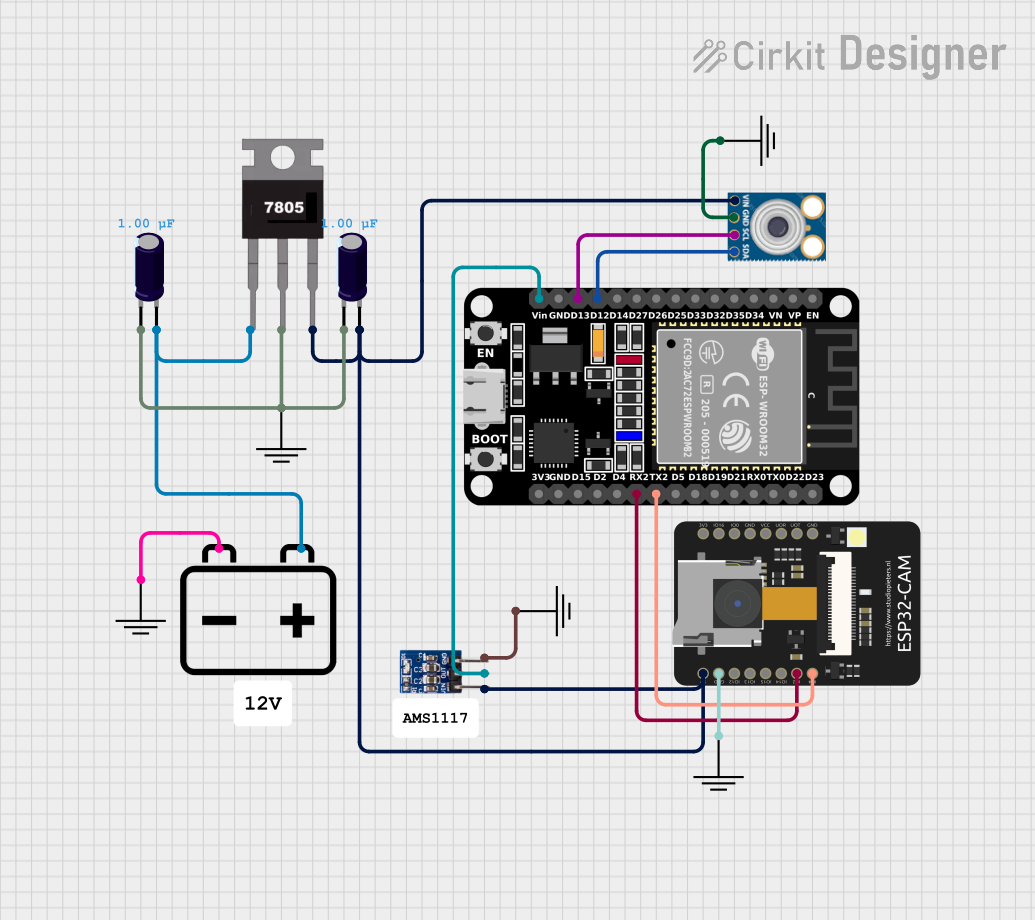
Usage Instructions
How to Use the MLX90614 in a Circuit
- Power Supply: Connect the VDD pin to a 3.6V to 5V power source and the VSS pin to ground.
- I2C Communication: Connect the SDA and SCL pins to the corresponding I2C pins on your microcontroller. Use pull-up resistors (typically 4.7kΩ) on both SDA and SCL lines.
- Addressing: The default I2C address of the MLX90614 is
0x5A. Ensure no other devices on the I2C bus share this address, or reconfigure the address if necessary. - Bypass Capacitor: Place a 0.1µF decoupling capacitor between VDD and VSS to stabilize the power supply.
Important Considerations and Best Practices
- Avoid exposing the sensor to direct sunlight or strong infrared sources, as this may affect accuracy.
- Ensure the sensor is mounted securely and aligned properly to measure the target object.
- Use proper thermal isolation to prevent heat from surrounding components affecting the sensor's readings.
- For best results, maintain a clear line of sight between the sensor and the target object.
Example Code for Arduino UNO
Below is an example of how to interface the MLX90614 with an Arduino UNO using the Adafruit MLX90614 library:
#include <Wire.h>
#include <Adafruit_MLX90614.h>

// Create an instance of the MLX90614 library
Adafruit_MLX90614 mlx = Adafruit_MLX90614();

void setup() {
  Serial.begin(9600); // Initialize serial communication at 9600 baud
  if (!mlx.begin()) {
    Serial.println("Error: MLX90614 not detected. Check wiring!");
    while (1); // Halt execution if sensor initialization fails
  }
  Serial.println("MLX90614 initialized successfully!");
}

void loop() {
  // Read object and ambient temperatures
  double objectTemp = mlx.readObjectTempC();
  double ambientTemp = mlx.readAmbientTempC();

  // Print the temperatures to the Serial Monitor
  Serial.print("Object Temperature: ");
  Serial.print(objectTemp);
  Serial.println(" °C");

  Serial.print("Ambient Temperature: ");
  Serial.print(ambientTemp);
  Serial.println(" °C");

  delay(1000); // Wait 1 second before the next reading
}
Notes on the Code
- Install the Adafruit MLX90614 library via the Arduino Library Manager before uploading the code.
- Ensure the SDA and SCL pins of the MLX90614 are connected to the corresponding pins on the Arduino UNO (A4 for SDA and A5 for SCL on the UNO).
Troubleshooting and FAQs
Common Issues and Solutions
Sensor Not Detected
- Cause: Incorrect wiring or missing pull-up resistors on the I2C lines.
- Solution: Double-check the connections and ensure 4.7kΩ pull-up resistors are used on SDA and SCL.
Inaccurate Temperature Readings
- Cause: Sensor exposed to strong infrared sources or improper alignment.
- Solution: Shield the sensor from external IR sources and ensure it is properly aligned with the target.
Fluctuating Readings
- Cause: Unstable power supply or electrical noise.
- Solution: Add a 0.1µF decoupling capacitor between VDD and VSS and ensure a stable power source.
I2C Address Conflict
- Cause: Another device on the I2C bus shares the same address.
- Solution: Reconfigure the MLX90614's I2C address using appropriate software tools.
FAQs
Q: Can the MLX90614 measure the temperature of liquids?
A: Yes, but ensure the sensor has a clear line of sight to the liquid's surface and avoid condensation on the sensor.
Q: What is the maximum distance for accurate measurements?
A: The effective range depends on the size of the target and the sensor's field of view. For small objects, the distance should be minimized for accurate readings.
Q: Can I use the MLX90614 with a 3.3V microcontroller?
A: Yes, the MLX90614 operates at 3.6V to 5V, but ensure the I2C lines are properly level-shifted if the microcontroller operates at 3.3V.
Q: How do I change the I2C address of the MLX90614?
A: The I2C address can be changed using specialized software tools and commands. Refer to the sensor's datasheet for detailed instructions.