
How to Use Breadboard Power Supply Board SMD: Examples, Pinouts, and Specs
 Design with Breadboard Power Supply Board SMD in Cirkit Designer
Introduction
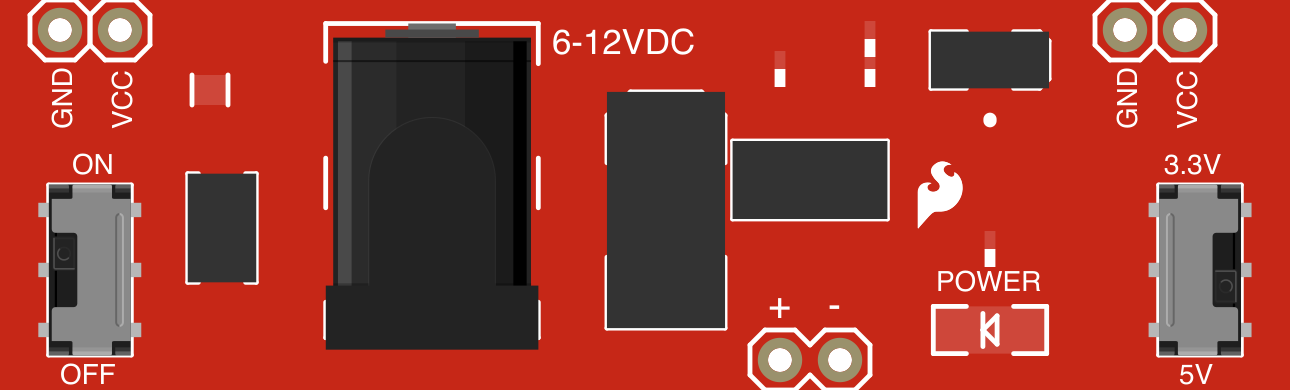
The Breadboard Power Supply Board SMD (Manufacturer Part ID: PRT-10804) by SparkFun Electronics is a compact and efficient power supply module designed specifically for breadboard applications. This board utilizes surface-mount technology (SMD) to minimize size while delivering reliable and regulated voltage outputs. It is an essential tool for prototyping and powering electronic circuits on a breadboard.
Explore Projects Built with Breadboard Power Supply Board SMD
 Open Project in Cirkit Designer
 Open Project in Cirkit Designer
 Open Project in Cirkit Designer
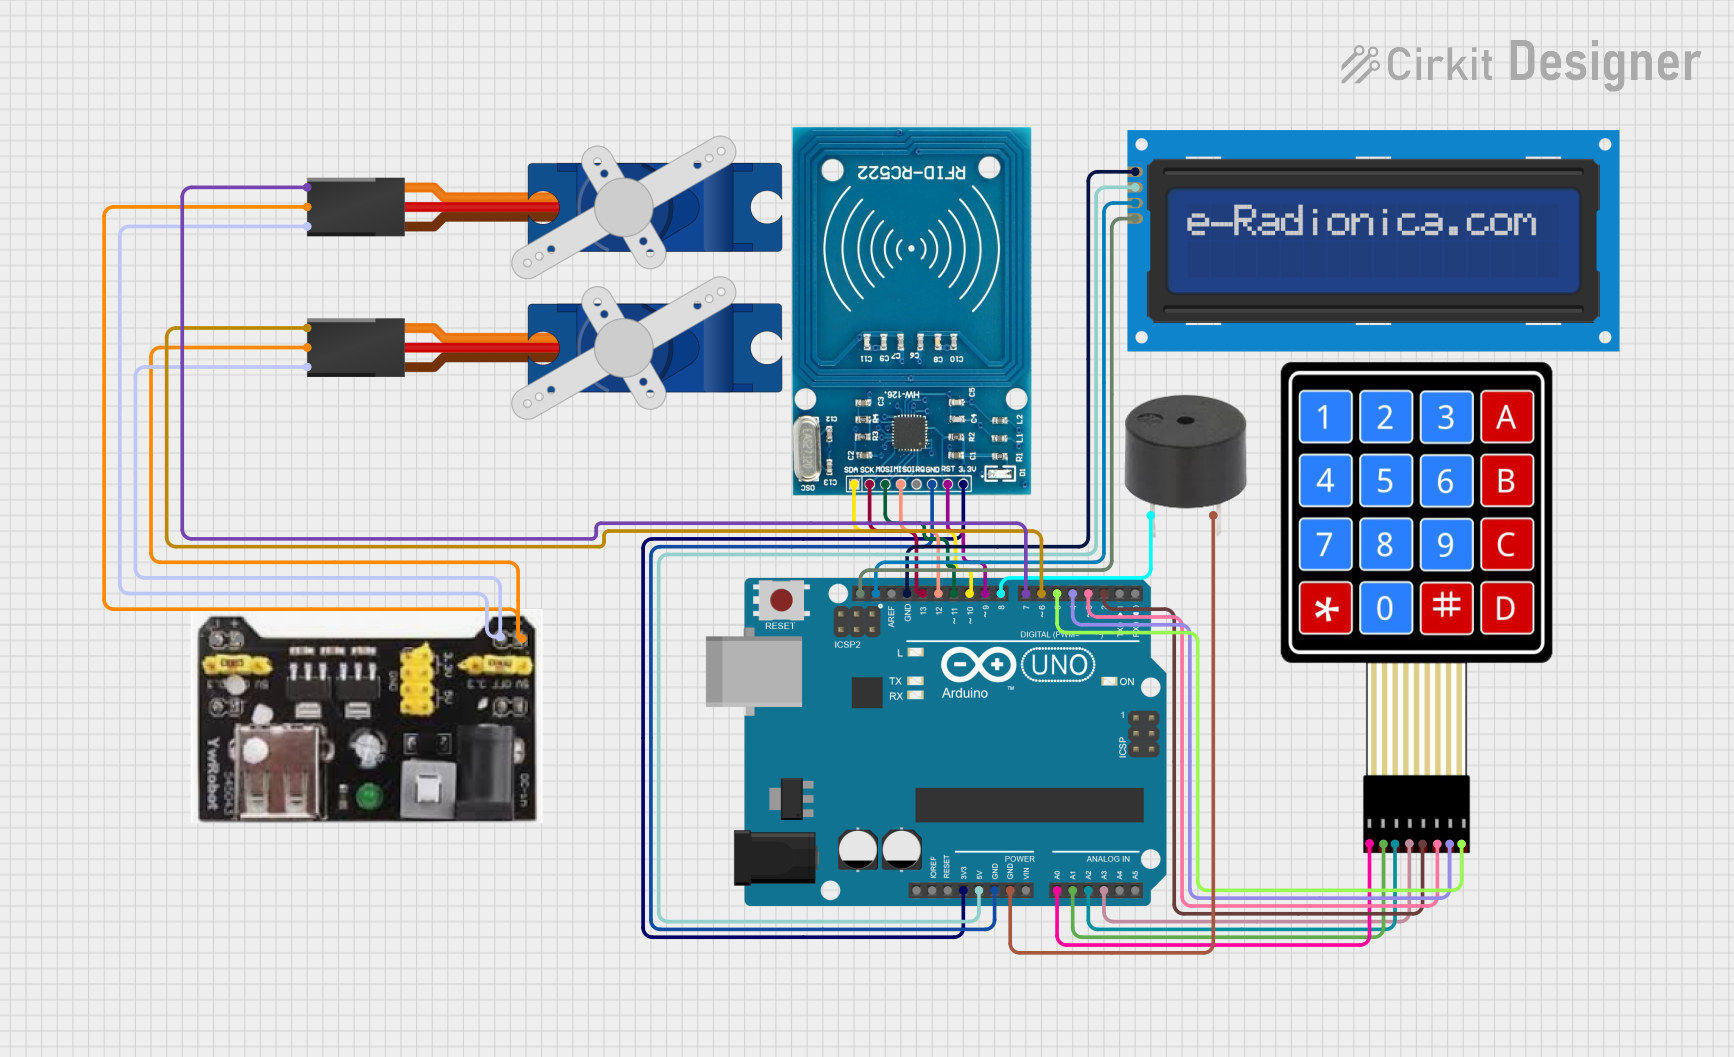 Open Project in Cirkit Designer
Explore Projects Built with Breadboard Power Supply Board SMD
Open Project in Cirkit DesignerOpen Project in Cirkit DesignerOpen Project in Cirkit DesignerOpen Project in Cirkit DesignerCommon Applications and Use Cases
- Powering breadboard-based electronic projects
- Supplying regulated 3.3V or 5V to microcontrollers, sensors, and modules
- Prototyping circuits without the need for bulky external power supplies
- Educational and hobbyist electronics projects
Technical Specifications
The following table outlines the key technical details of the Breadboard Power Supply Board SMD:
| Specification | Details |
|---|---|
| Input Voltage Range | 6.5V to 12V DC (via barrel jack) or 5V DC (via USB input) |
| Output Voltage Options | 3.3V or 5V (selectable via onboard switch) |
| Maximum Output Current | 700mA (depending on input voltage and load) |
| Dimensions | 2.1" x 0.6" (53mm x 15mm) |
| Power Regulation | Linear voltage regulator |
| Connector Compatibility | Standard breadboard pin spacing (0.1" or 2.54mm pitch) |
| Protection Features | Reverse polarity protection on input and short-circuit protection on output |
Pin Configuration and Descriptions
The Breadboard Power Supply Board SMD has the following pin configuration:
| Pin Name | Description |
|---|---|
| VIN | Input voltage pin (6.5V to 12V DC from barrel jack or 5V from USB input) |
| GND | Ground connection for the circuit |
| VOUT | Regulated output voltage (3.3V or 5V, selectable via switch) |
| USB Input | Micro-USB connector for 5V input power |
| Barrel Jack | DC barrel jack for 6.5V to 12V input power |
Usage Instructions
How to Use the Component in a Circuit
- Power Input: Connect a DC power source to the board using either:
- A barrel jack (6.5V to 12V DC)
- A micro-USB cable (5V DC)
- Voltage Selection: Use the onboard switch to select the desired output voltage (3.3V or 5V).
- Breadboard Placement: Insert the board into the breadboard, ensuring the pins align with the breadboard rails.
- Output Connections: Use the breadboard rails to distribute the regulated voltage to your circuit components.
Important Considerations and Best Practices
- Ensure the input voltage is within the specified range to avoid damaging the board.
- Do not exceed the maximum output current of 700mA to prevent overheating or failure.
- Use proper heat dissipation techniques if operating near the maximum current limit for extended periods.
- Double-check the voltage selection switch before powering sensitive components to avoid accidental damage.
- If using the USB input, ensure the USB power source can supply sufficient current for your circuit.
Example: Using with an Arduino UNO
The Breadboard Power Supply Board SMD can be used to power an Arduino UNO via its breadboard connections. Below is an example of how to connect and use it:
- Insert the power supply board into the breadboard.
- Set the output voltage to 5V using the onboard switch.
- Connect the breadboard's 5V rail to the Arduino UNO's 5V pin.
- Connect the breadboard's GND rail to the Arduino UNO's GND pin.
Sample Arduino Code
Here is a simple Arduino sketch to blink an LED powered by the Breadboard Power Supply Board SMD:
// Blink an LED connected to pin 13
// Ensure the breadboard power supply is set to 5V and properly connected

void setup() {
  pinMode(13, OUTPUT); // Set pin 13 as an output
}

void loop() {
  digitalWrite(13, HIGH); // Turn the LED on
  delay(1000);            // Wait for 1 second
  digitalWrite(13, LOW);  // Turn the LED off
  delay(1000);            // Wait for 1 second
}
Troubleshooting and FAQs
Common Issues Users Might Face
No Output Voltage:
- Ensure the input voltage is within the specified range (6.5V to 12V for barrel jack or 5V for USB).
- Check the voltage selection switch and ensure it is set to the desired output voltage (3.3V or 5V).
- Verify that the board is properly seated in the breadboard.
Overheating:
- Ensure the load does not exceed the maximum output current of 700mA.
- Use a heatsink or improve ventilation if operating near the maximum current limit.
Short Circuit on Output:
- Check for wiring errors or accidental shorts on the breadboard.
- The board includes short-circuit protection, but repeated shorts may cause damage.
USB Power Issues:
- Ensure the USB power source can supply sufficient current for your circuit.
- Use a high-quality USB cable to minimize voltage drops.
Solutions and Tips for Troubleshooting
- Use a multimeter to verify input and output voltages.
- Inspect the board for visible damage, such as burnt components or broken solder joints.
- If the board does not function as expected, try powering it with a different input source (e.g., switch from USB to barrel jack).
By following these guidelines and best practices, the Breadboard Power Supply Board SMD can provide reliable and efficient power for your breadboard-based projects.