
How to Use Battery: Examples, Pinouts, and Specs
 Design with Battery in Cirkit Designer
Introduction
A battery is a device that stores electrical energy in chemical form and converts it into electrical energy to power electronic circuits. Batteries are widely used in various applications, ranging from portable electronics and automotive systems to renewable energy storage and backup power supplies. The 12V battery is a common type, often used in automotive, robotics, and small-scale renewable energy systems.
Explore Projects Built with Battery
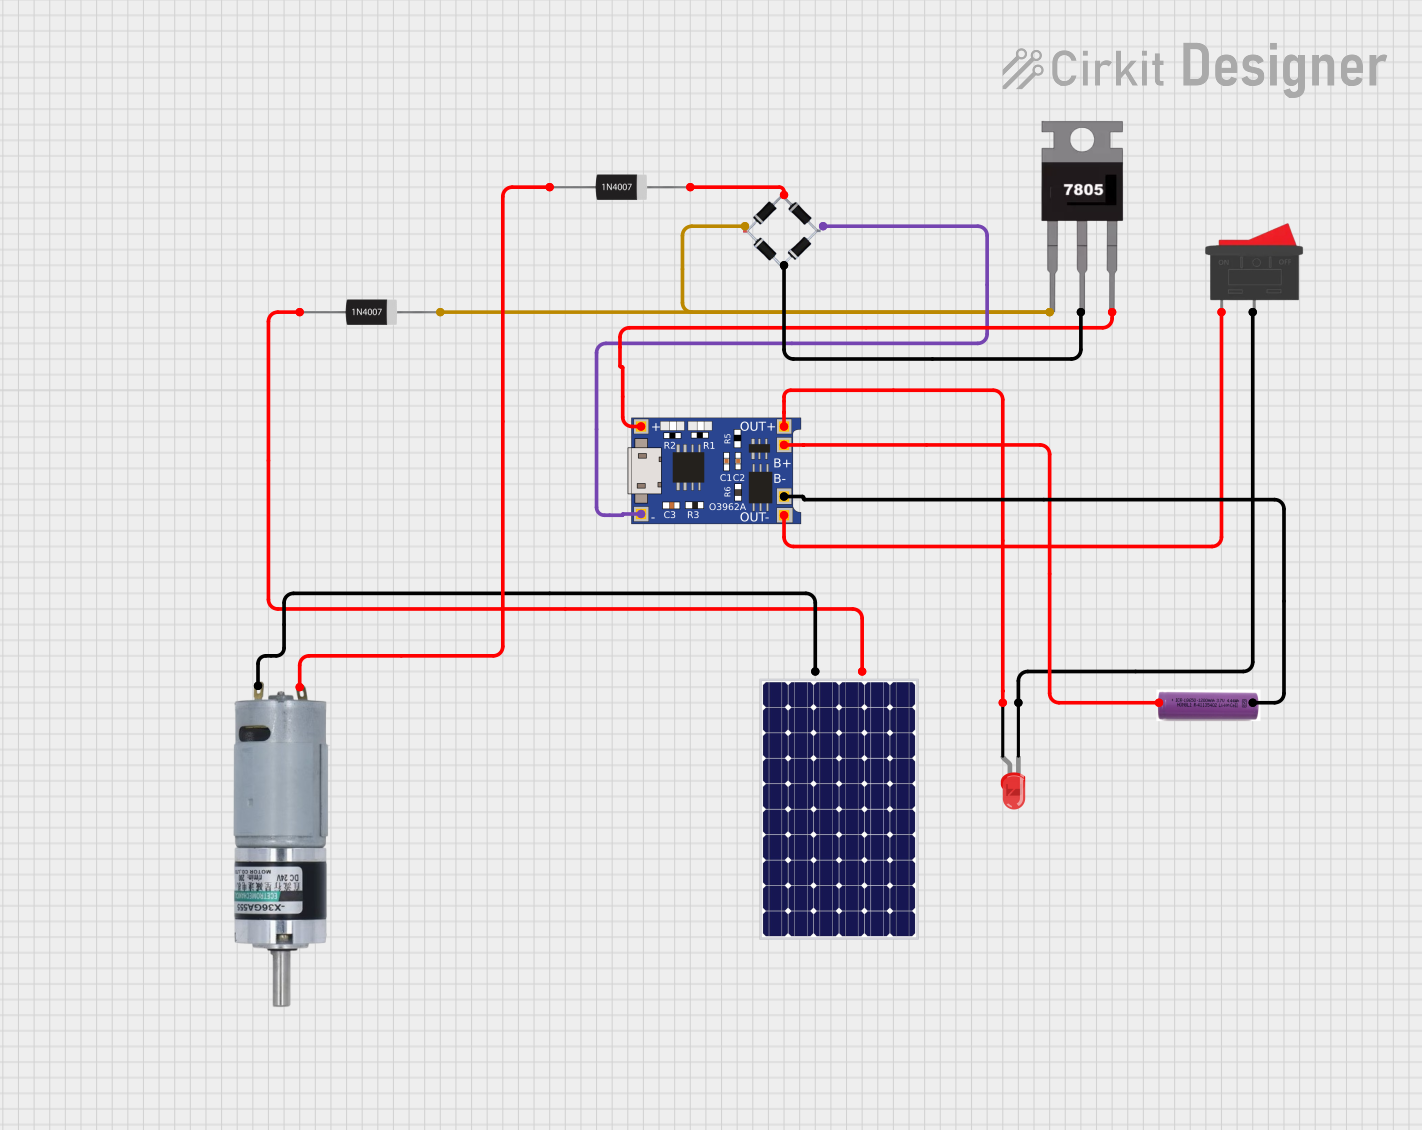 Open Project in Cirkit Designer
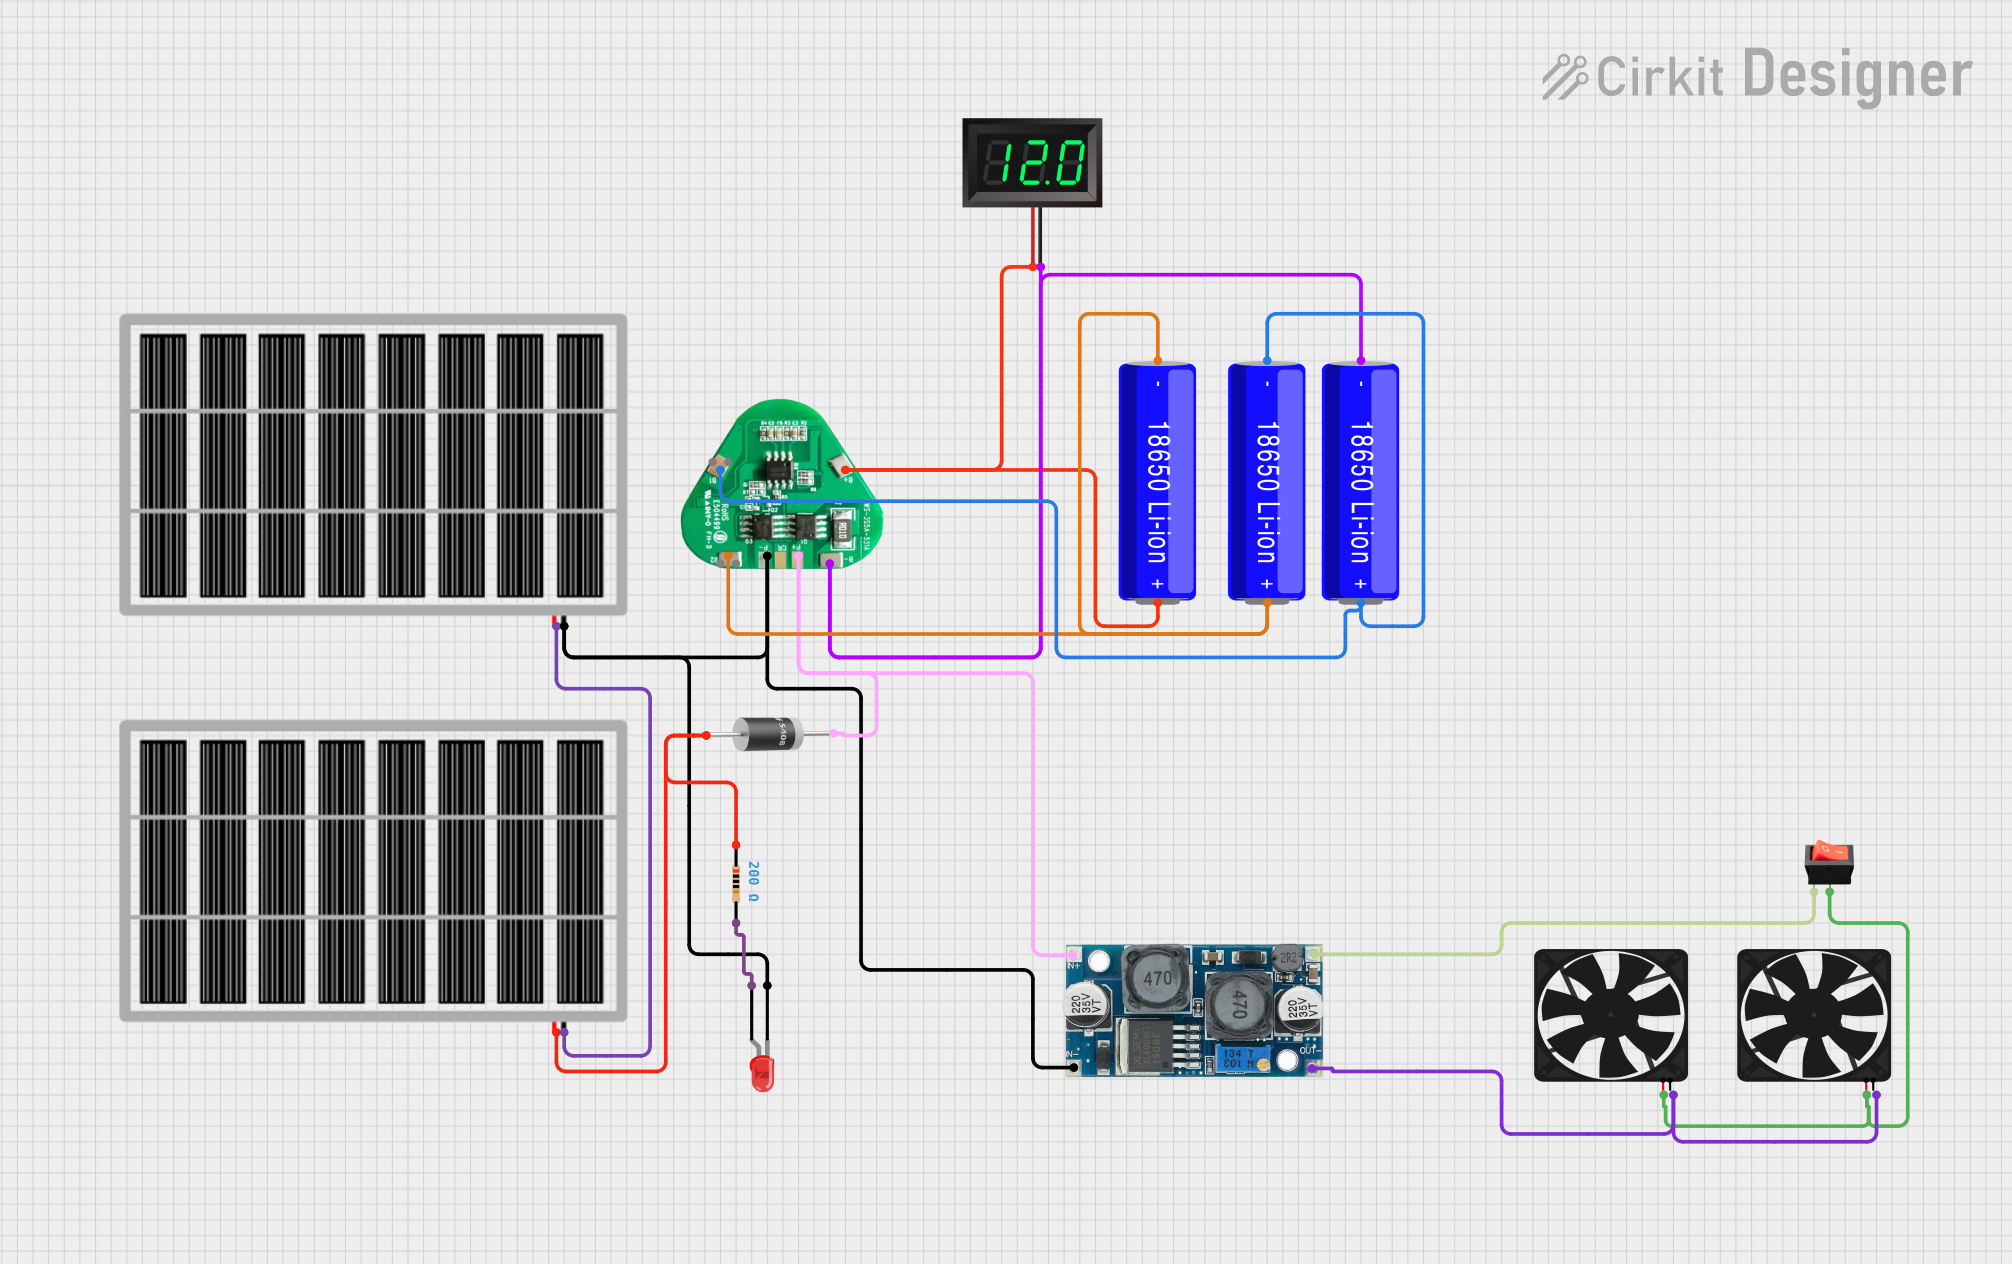 Open Project in Cirkit Designer
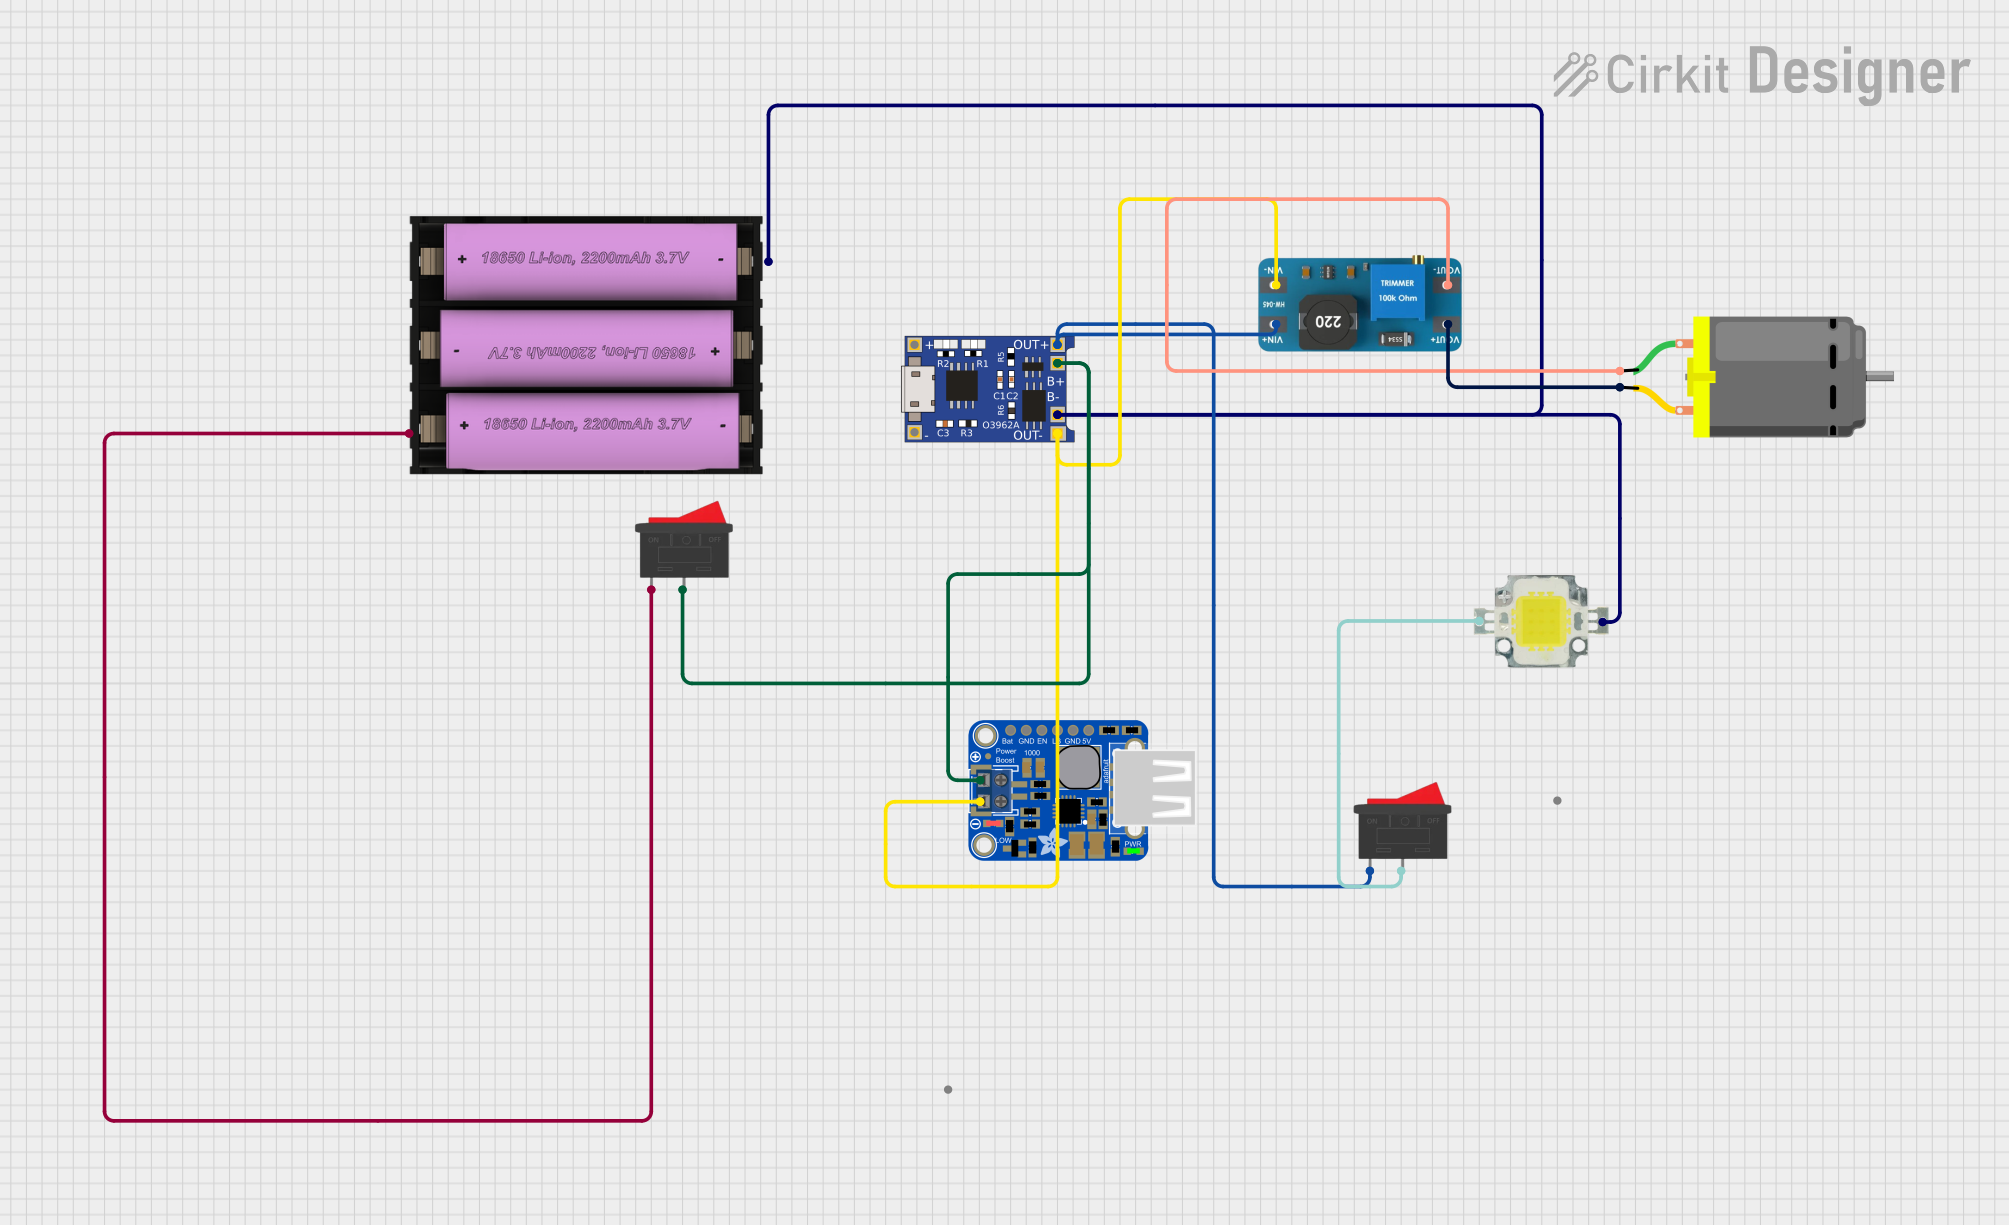 Open Project in Cirkit Designer
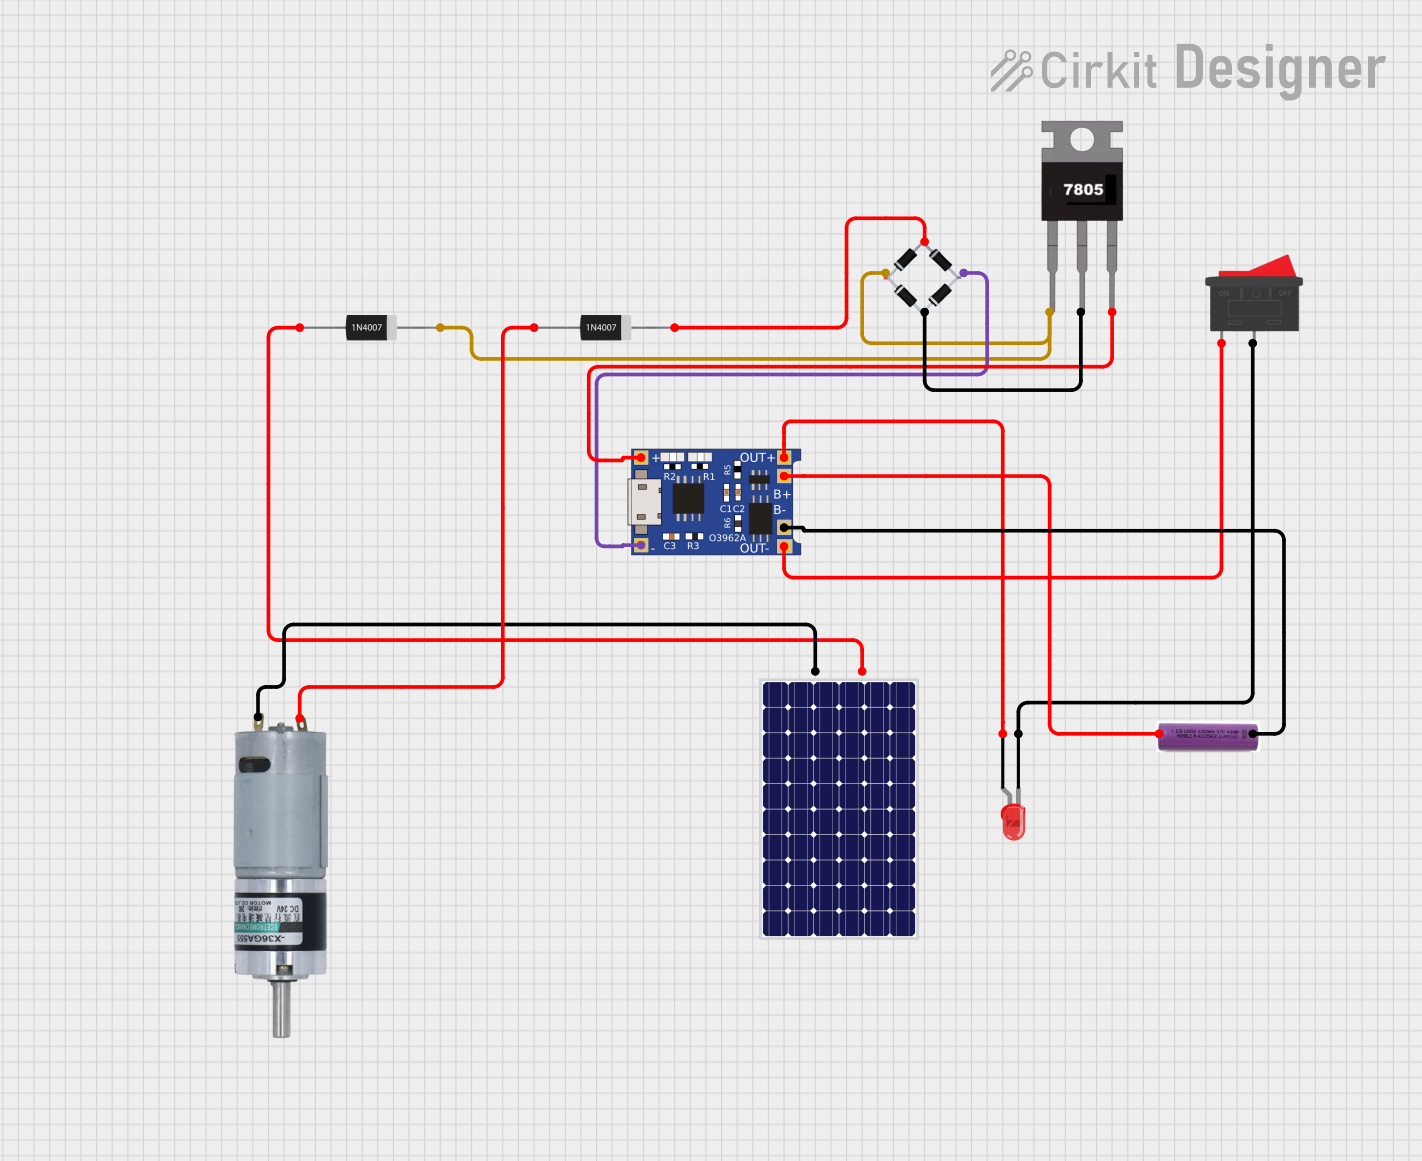 Open Project in Cirkit Designer
Explore Projects Built with Battery
Open Project in Cirkit DesignerOpen Project in Cirkit DesignerOpen Project in Cirkit DesignerOpen Project in Cirkit DesignerTechnical Specifications
Below are the key technical details for the 12V battery:
| Parameter | Value |
|---|---|
| Manufacturer | NULL |
| Part ID | 12V |
| Nominal Voltage | 12V |
| Capacity | Varies (e.g., 7Ah, 12Ah, etc.) |
| Chemistry Type | Lead-acid, Lithium-ion, etc. |
| Operating Temperature | -20°C to 60°C (varies by type) |
| Charging Voltage | 13.8V to 14.4V (typical) |
| Discharge Cutoff Voltage | ~10.5V (varies by type) |
| Maximum Discharge Current | Varies by model |
| Dimensions | Varies by capacity and type |
| Weight | Varies by capacity and type |
Pin Configuration and Descriptions
The 12V battery typically has two terminals:
| Terminal | Description |
|---|---|
| Positive (+) | Supplies the positive voltage output |
| Negative (-) | Acts as the ground or return path |
Note: Some batteries may include additional terminals for monitoring or balancing (e.g., in lithium-ion batteries).
Usage Instructions
How to Use the Battery in a Circuit
- Identify the Terminals: Ensure you correctly identify the positive (+) and negative (-) terminals of the battery.
- Connect to the Load: Connect the positive terminal of the battery to the positive input of your circuit and the negative terminal to the ground.
- Fuse Protection: Always include a fuse in series with the positive terminal to protect the circuit from overcurrent.
- Charging: Use a compatible charger designed for the specific battery chemistry (e.g., lead-acid or lithium-ion). Ensure the charging voltage and current are within the recommended range.
- Polarity Check: Double-check the polarity before connecting the battery to avoid damage to the circuit or the battery.
Important Considerations and Best Practices
- Avoid Overcharging: Overcharging can damage the battery and reduce its lifespan. Use a charger with overcharge protection.
- Discharge Limits: Do not discharge the battery below its cutoff voltage to prevent damage.
- Temperature: Operate the battery within the specified temperature range to ensure safety and performance.
- Storage: Store the battery in a cool, dry place when not in use. For long-term storage, maintain a partial charge (e.g., 50% for lithium-ion batteries).
- Safety: Avoid short-circuiting the terminals, as this can cause overheating or fire.
Example: Connecting a 12V Battery to an Arduino UNO
To power an Arduino UNO with a 12V battery, you can connect the battery to the Arduino's VIN pin and GND pin. Below is an example circuit and code:
Circuit Diagram
- Connect the positive terminal of the 12V battery to the VIN pin of the Arduino.
- Connect the negative terminal of the 12V battery to the GND pin of the Arduino.
Sample Code
// This code demonstrates a simple LED blink program powered by a 12V battery.
// Ensure the battery is connected to the Arduino's VIN and GND pins.

const int ledPin = 13; // Built-in LED pin on Arduino UNO

void setup() {
  pinMode(ledPin, OUTPUT); // Set the LED pin as an output
}

void loop() {
  digitalWrite(ledPin, HIGH); // Turn the LED on
  delay(1000);                // Wait for 1 second
  digitalWrite(ledPin, LOW);  // Turn the LED off
  delay(1000);                // Wait for 1 second
}
Troubleshooting and FAQs
Common Issues
Battery Not Powering the Circuit
- Cause: Incorrect polarity or loose connections.
- Solution: Verify the connections and ensure the positive terminal is connected to the correct input.
Battery Drains Quickly
- Cause: Excessive load or a faulty battery.
- Solution: Check the load's current draw and compare it to the battery's capacity. Replace the battery if necessary.
Overheating During Charging
- Cause: Overcharging or using an incompatible charger.
- Solution: Use a charger designed for the battery's chemistry and ensure it has overcharge protection.
Battery Voltage Drops Below 12V
- Cause: The battery is partially discharged or nearing the end of its life.
- Solution: Recharge the battery or replace it if it no longer holds a charge.
FAQs
Q: Can I use a 12V battery to power a 5V device?
- A: Yes, but you will need a voltage regulator or a DC-DC converter to step down the voltage to 5V.
Q: How do I know when the battery is fully charged?
- A: Use a charger with an indicator light or monitor the voltage. For lead-acid batteries, a fully charged voltage is typically around 13.8V to 14.4V.
Q: Can I connect multiple 12V batteries together?
- A: Yes, you can connect them in series to increase voltage or in parallel to increase capacity. Ensure the batteries are of the same type and capacity.
Q: Is it safe to leave the battery connected to the charger?
- A: Only if the charger has a float or trickle charge mode designed for continuous connection.
By following these guidelines, you can safely and effectively use a 12V battery in your electronic projects.