How to Use BE - 880: Examples, Pinouts, and Specs
Introduction
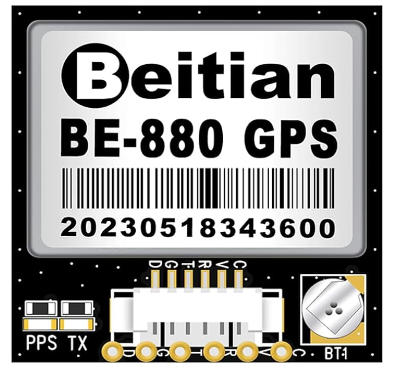
The BE-880 is a robust bridge rectifier component manufactured by Bentian, designed to convert alternating current (AC) into direct current (DC). This electronic component is essential in power supply units and various electronic devices where rectification of AC to DC is required. Common applications include battery charging systems, DC power supplies, and AC-to-DC converters for electronic devices.
Explore Projects Built with BE - 880

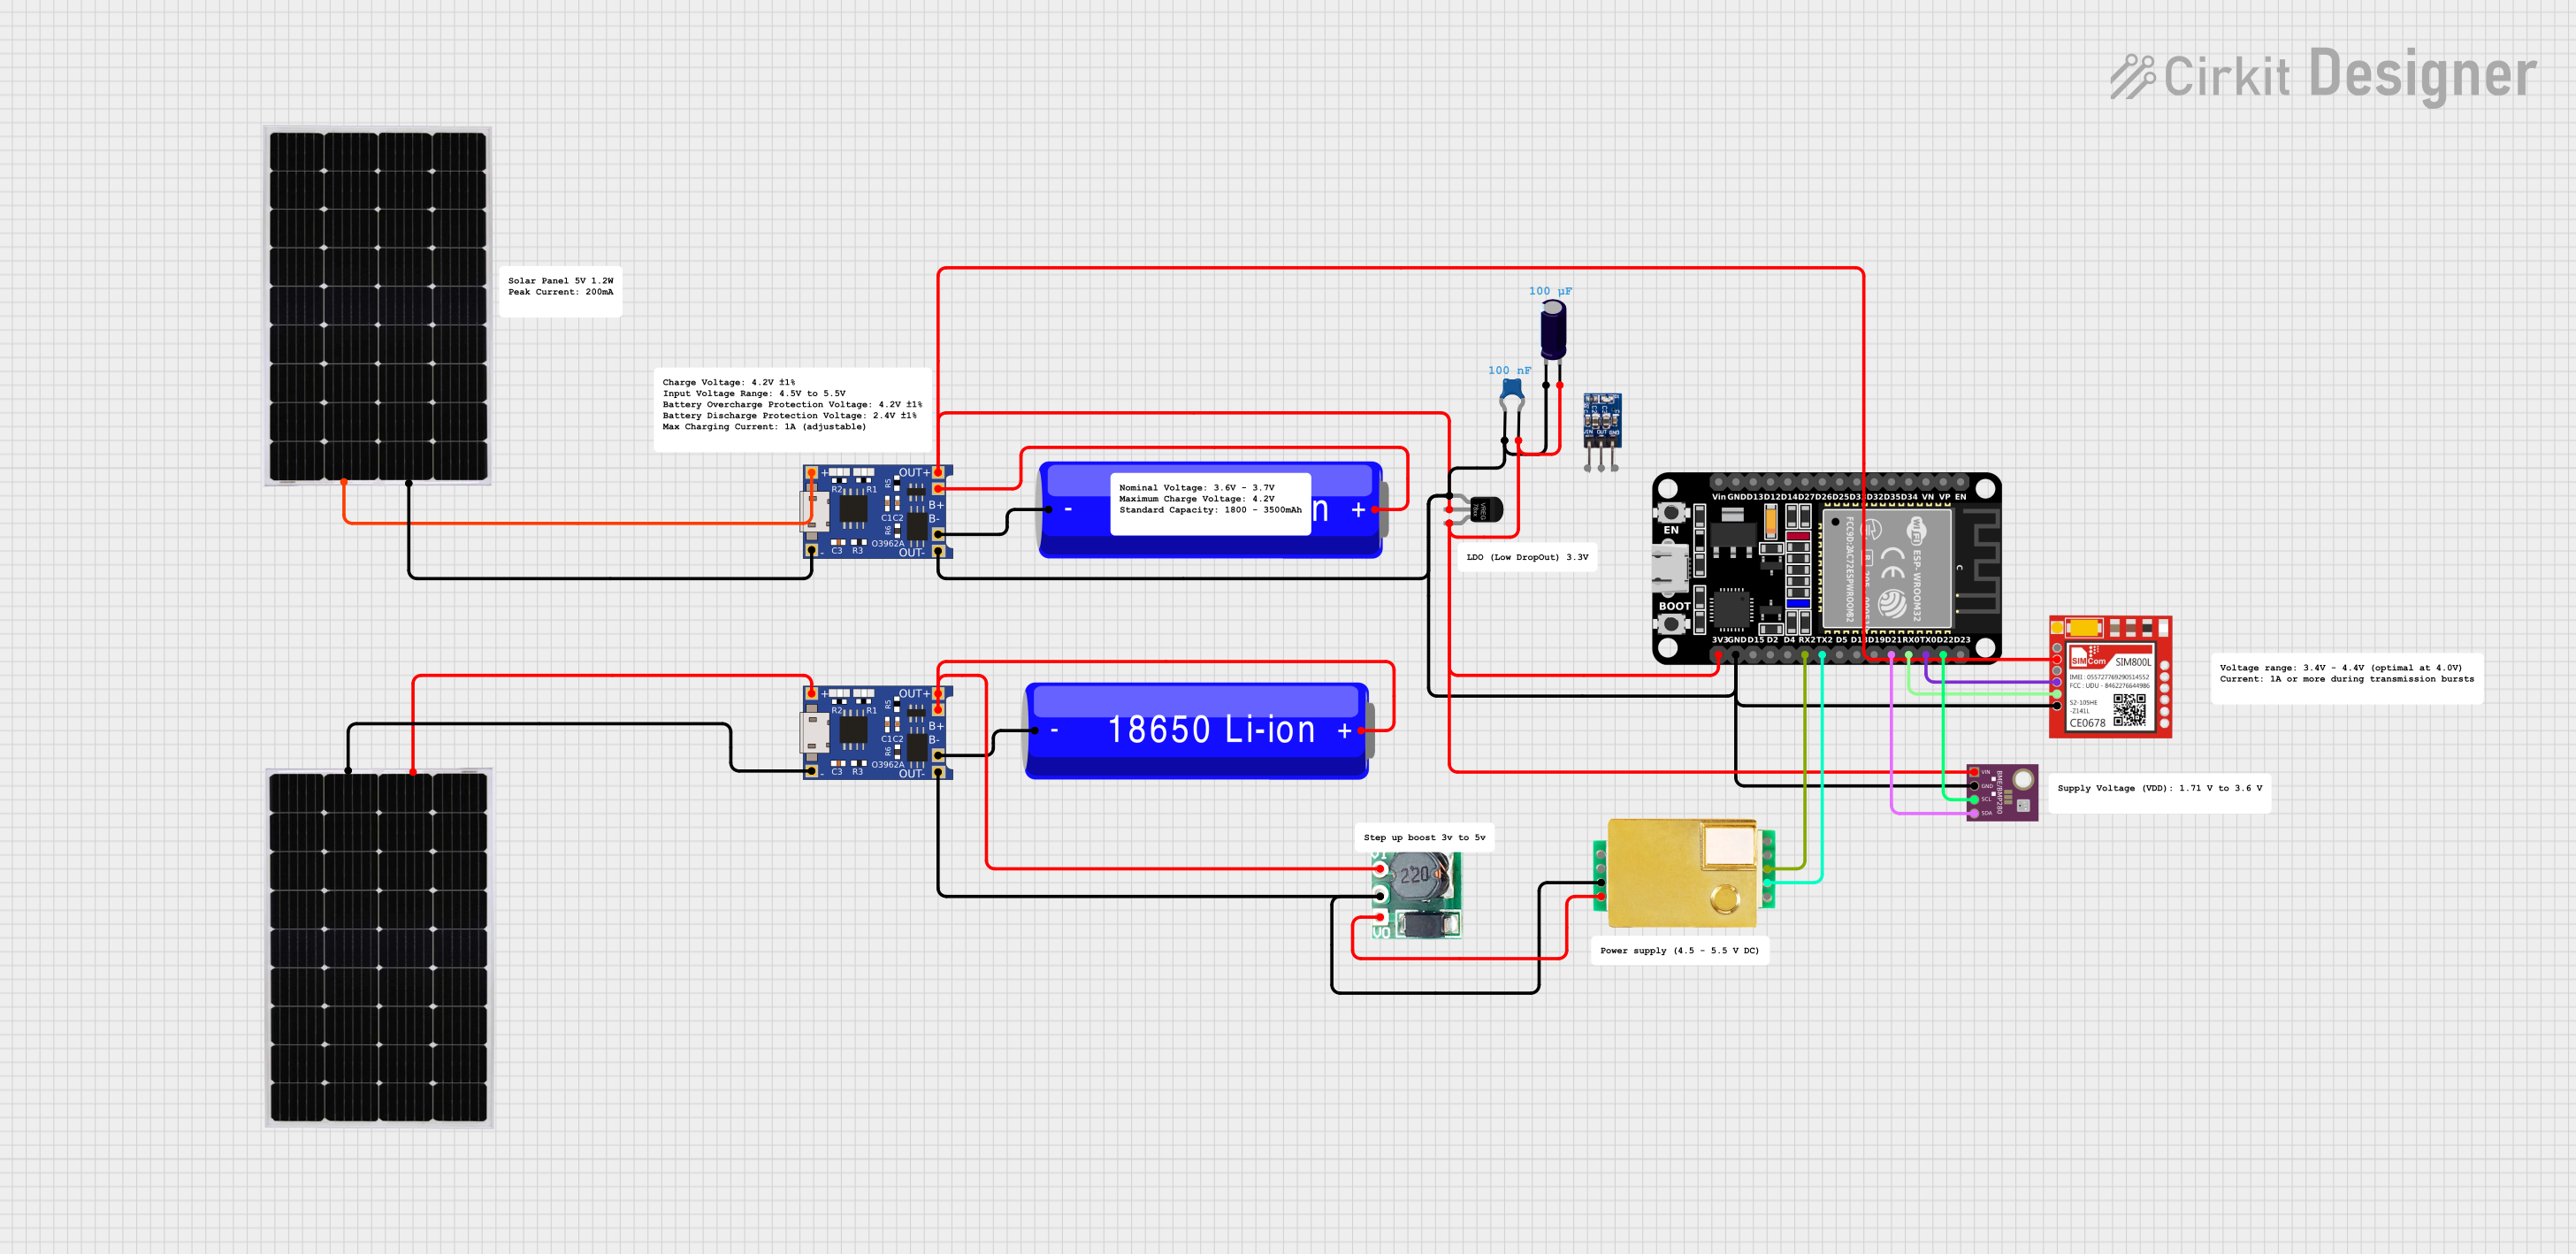
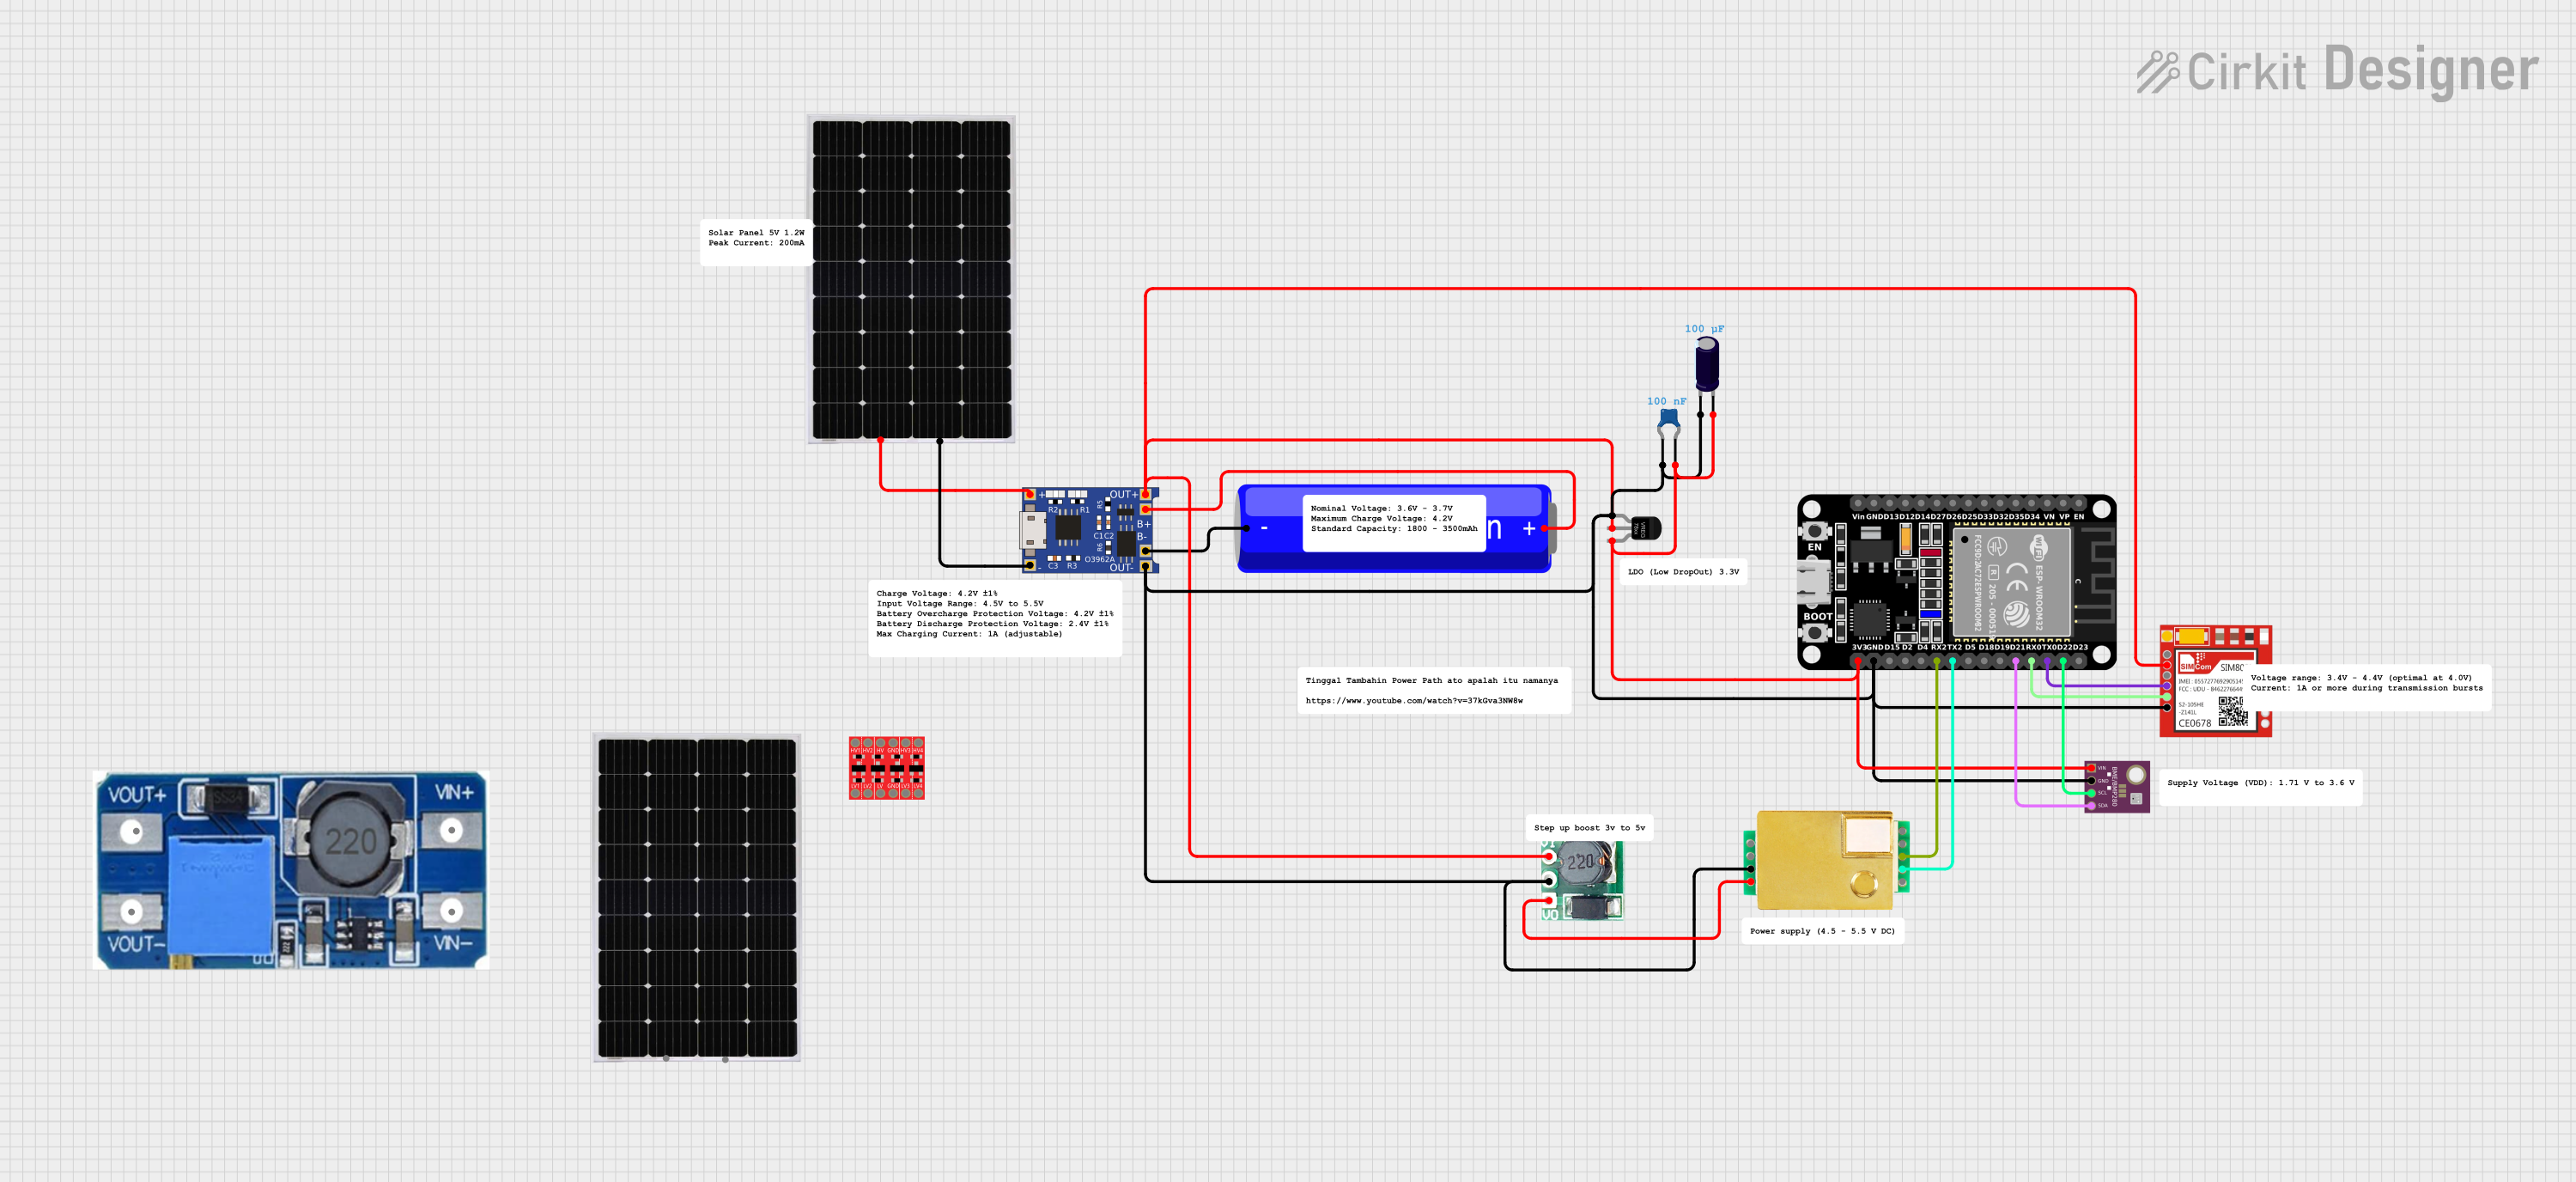
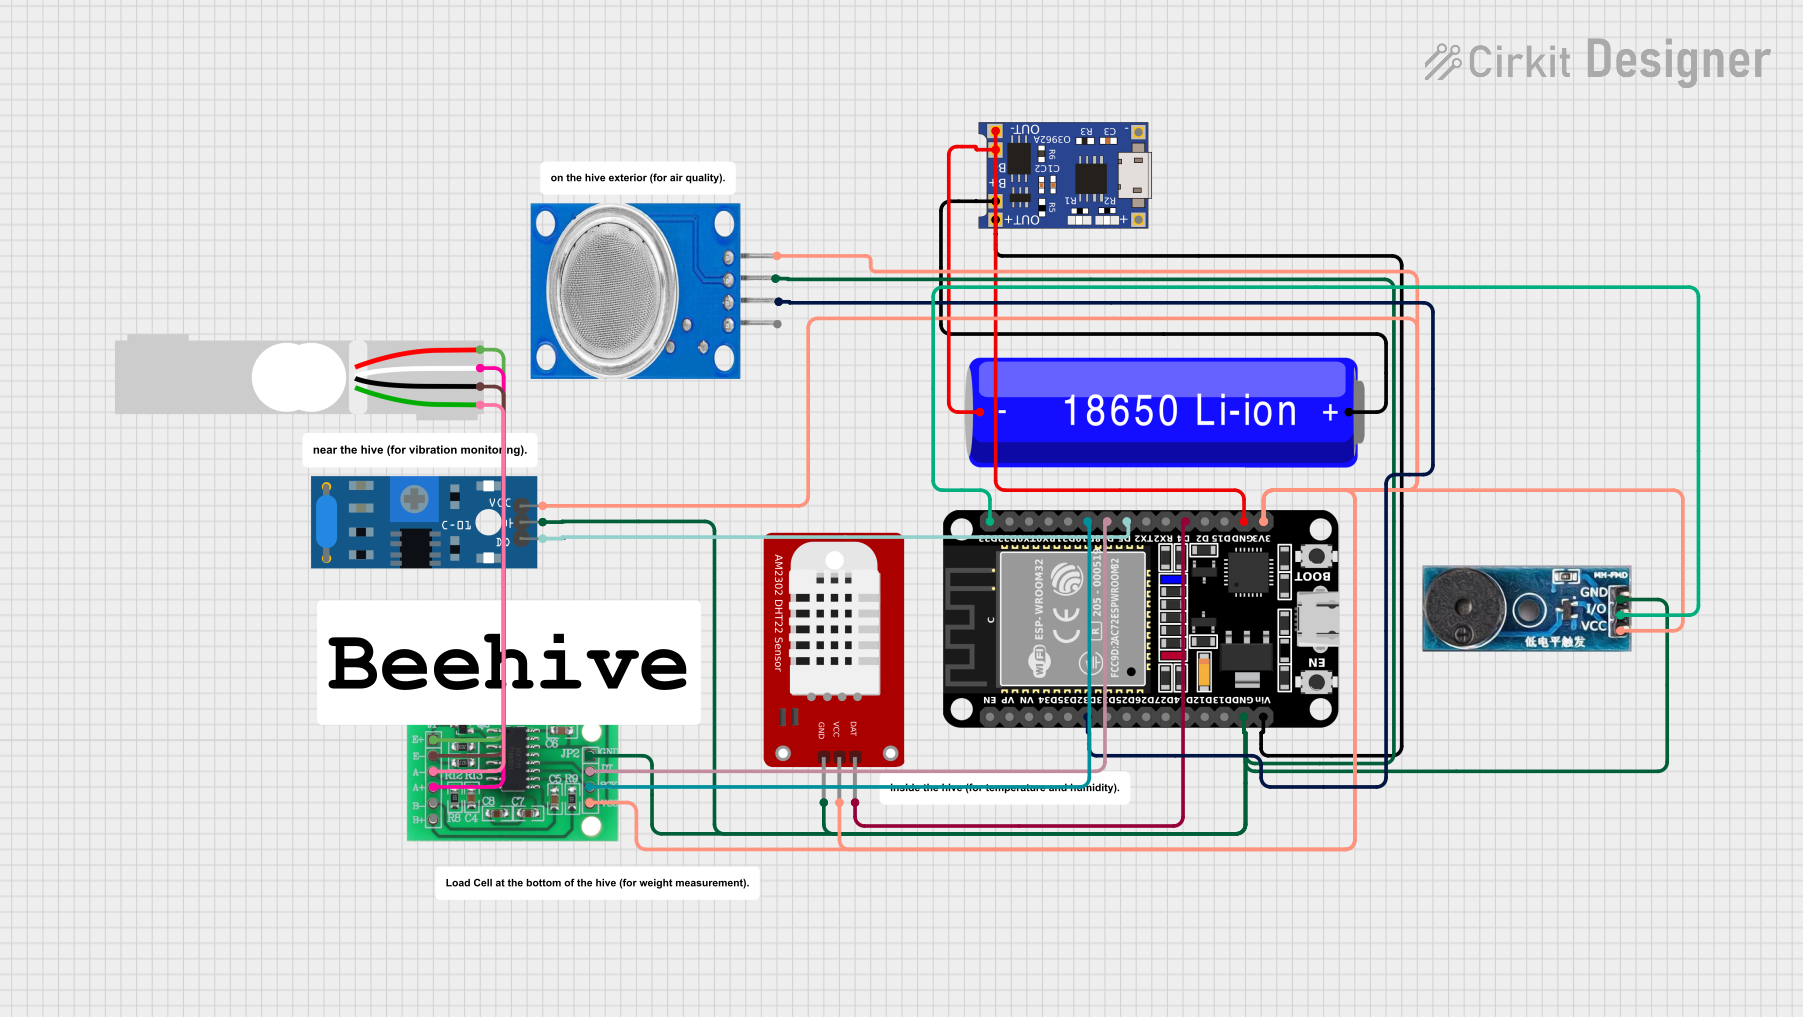
Explore Projects Built with BE - 880
Technical Specifications
Key Technical Details
- Maximum Repetitive Peak Reverse Voltage (Vrrm): Specified by manufacturer
- Maximum RMS Bridge Input Voltage (Vrms): Specified by manufacturer
- DC Forward Current (If): Specified by manufacturer
- Peak Forward Surge Current (Ifsm): Specified by manufacturer
- Operating Temperature Range: Specified by manufacturer
- Storage Temperature Range: Specified by manufacturer
Pin Configuration and Descriptions
| Pin Number | Description |
|---|---|
| 1 | AC Input (Phase) |
| 2 | AC Input (Neutral) |
| 3 | DC Output (+) |
| 4 | DC Output (-) |
Note: The actual pin configuration and ratings must be verified with the manufacturer's datasheet.
Usage Instructions
Incorporating the BE-880 into a Circuit
- Identify the Pins: Locate the AC input and DC output pins based on the pin configuration table.
- Connect AC Inputs: Connect the AC phase and neutral wires to the AC input pins of the BE-880.
- Connect DC Outputs: Attach the positive and negative leads of the DC circuit to the respective DC output pins.
- Heat Sinking: Ensure that the BE-880 is mounted on an appropriate heat sink to dissipate heat efficiently during operation.
Important Considerations and Best Practices
- Voltage and Current Ratings: Do not exceed the maximum voltage and current ratings specified by the manufacturer.
- Heat Management: Proper heat sinking is crucial for the longevity of the bridge rectifier.
- Safety Precautions: Always follow electrical safety protocols when working with high voltages.
- Filtering: To smooth out the DC output, it is recommended to use a filter capacitor connected across the DC output terminals.
Troubleshooting and FAQs
Common Issues
- Excessive Heat: If the bridge rectifier is running too hot, check the current load and ensure it is within the specified limits. Also, verify that the heat sink is adequate.
- Output Voltage Fluctuations: Fluctuations in the DC output may indicate a need for better filtering or issues with the AC supply.
Solutions and Tips
- Heat Dissipation: Use a larger heat sink or improve airflow around the rectifier to enhance cooling.
- Filter Capacitor: Install a capacitor with an appropriate voltage rating and capacitance value across the DC output to reduce voltage ripple.
FAQs
Q: Can the BE-880 be used for high-frequency applications? A: The suitability for high-frequency applications depends on the specific model and manufacturer specifications. Consult the datasheet for frequency-related parameters.
Q: What is the purpose of the heat sink with the BE-880? A: The heat sink helps to dissipate the heat generated by the rectifier during operation, preventing overheating and potential damage.
Q: How do I choose the right filter capacitor for the BE-880? A: The filter capacitor should be chosen based on the desired ripple voltage, the load current, and the frequency of the AC supply.
Note: Always refer to the manufacturer's datasheet for the most accurate and detailed information regarding troubleshooting and FAQs.
Example Arduino UNO Connection (If Applicable)
// This example assumes the BE-880 is part of a power supply circuit for an Arduino UNO.
// The code below does not directly interact with the BE-880 but demonstrates how the
// rectified DC power can be used to power the Arduino.

void setup() {
  // Initialize digital pin LED_BUILTIN as an output.
  pinMode(LED_BUILTIN, OUTPUT);
}

void loop() {
  // Turn the LED on (HIGH is the voltage level)
  digitalWrite(LED_BUILTIN, HIGH);
  // Wait for a second
  delay(1000);
  // Turn the LED off by making the voltage LOW
  digitalWrite(LED_BUILTIN, LOW);
   // Wait for a second
  delay(1000);
}

// Note: The BE-880 would be part of the power supply unit that provides DC power to the Arduino.
// The actual connection to the BE-880 is not controlled by the Arduino code.
Note: The above code is a simple blink example and does not interact with the BE-880 directly. The BE-880 would be used in the power supply circuit that powers the Arduino UNO.
Disclaimer: The information provided in this document is for educational purposes only. Always consult the manufacturer's datasheet for the most accurate and up-to-date information about the component.