
How to Use BUTTONPAD-2X2SINGLE: Examples, Pinouts, and Specs
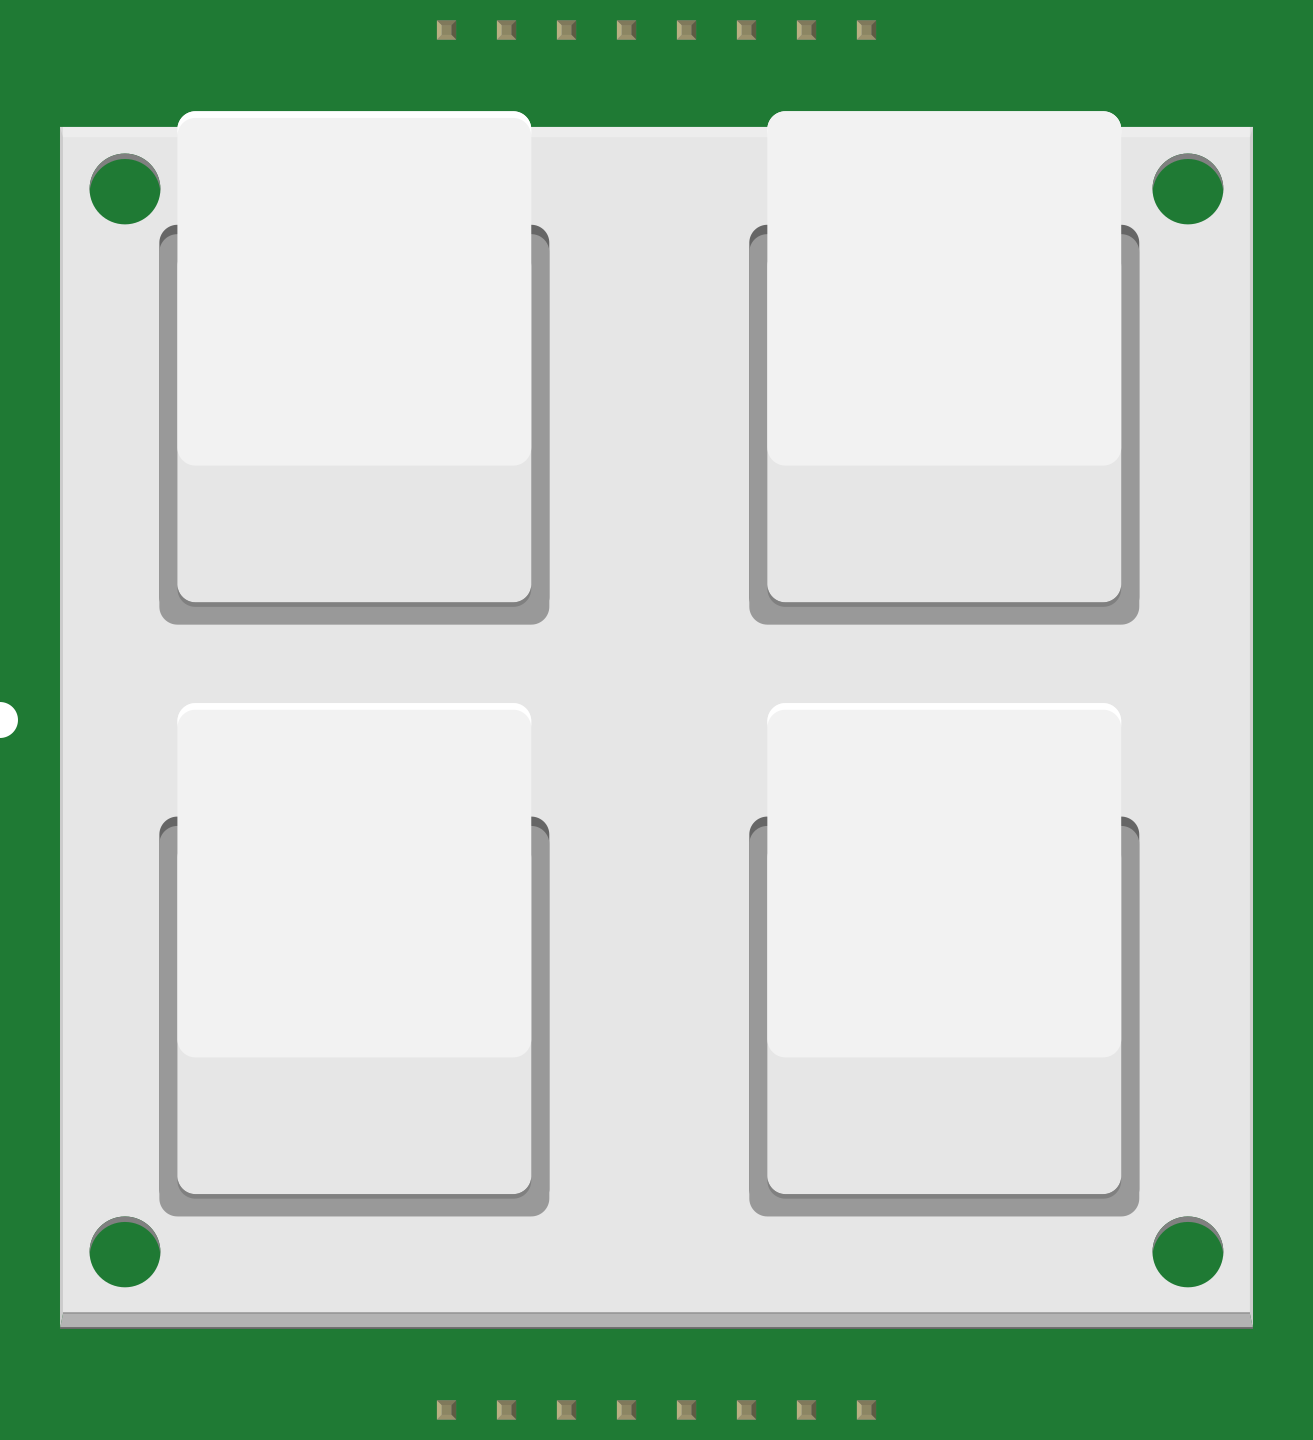
 Design with BUTTONPAD-2X2SINGLE in Cirkit Designer
Introduction
The BUTTONPAD-2X2SINGLE (Manufacturer Part ID: COM-07835) is a 2x2 matrix button pad manufactured by SparkFun Electronics. It consists of four individual buttons arranged in a 2x2 grid, making it ideal for user input in various electronic devices. The button pad is designed for easy integration into projects requiring tactile input, such as control panels, gaming devices, or custom user interfaces.
Explore Projects Built with BUTTONPAD-2X2SINGLE
 Open Project in Cirkit Designer
 Open Project in Cirkit Designer
 Open Project in Cirkit Designer
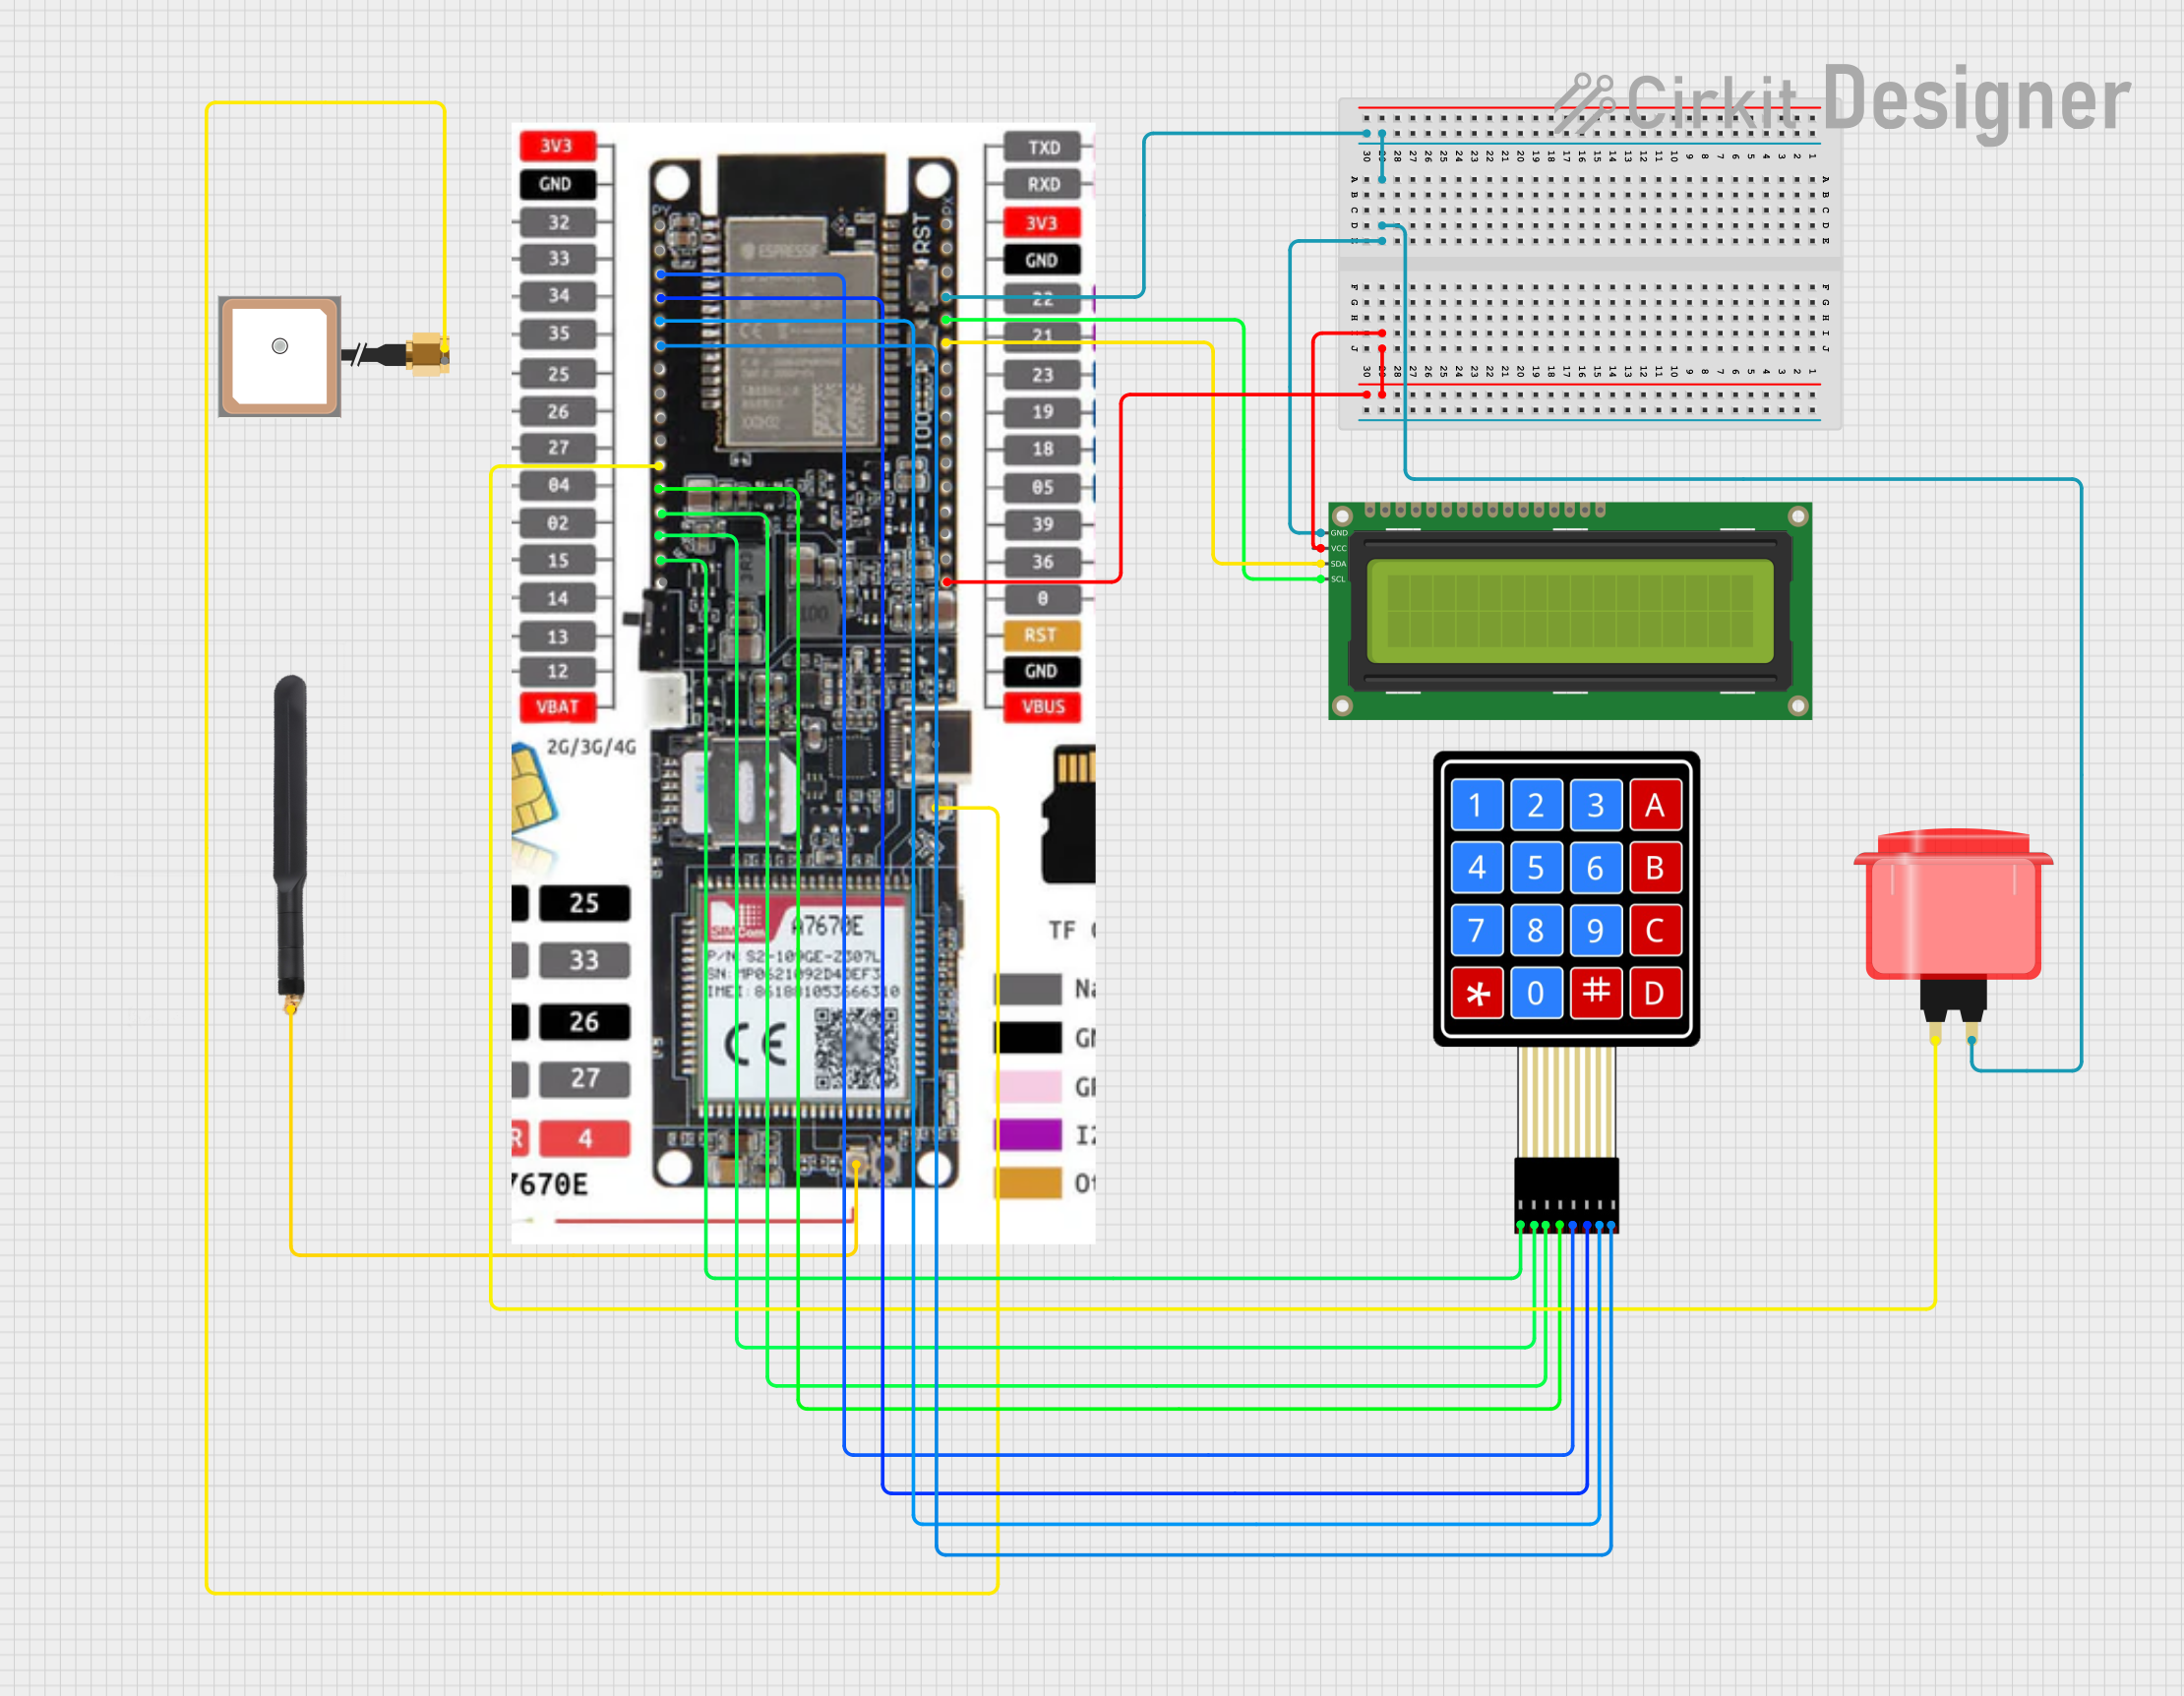 Open Project in Cirkit Designer
Explore Projects Built with BUTTONPAD-2X2SINGLE
Open Project in Cirkit DesignerOpen Project in Cirkit DesignerOpen Project in Cirkit DesignerOpen Project in Cirkit DesignerCommon Applications
- User input for microcontroller-based projects
- Control panels for robotics or automation systems
- Gaming devices and custom controllers
- Prototyping and DIY electronics projects
Technical Specifications
The BUTTONPAD-2X2SINGLE is a simple yet versatile component. Below are its key technical details:
Key Specifications
| Parameter | Value |
|---|---|
| Manufacturer | SparkFun Electronics |
| Part Number | COM-07835 |
| Button Configuration | 2x2 matrix (4 buttons total) |
| Button Type | Tactile, momentary |
| Operating Voltage | 3.3V to 5V (typical) |
| Dimensions | 1.95" x 1.95" (49.5mm x 49.5mm) |
| Mounting Style | PCB mount |
| Material | Silicone button pad |
Pin Configuration
The BUTTONPAD-2X2SINGLE uses a 2x2 matrix configuration, where rows and columns are connected to pins. Below is the pinout description:
| Pin Number | Label | Description |
|---|---|---|
| 1 | ROW1 | Row 1 of the button matrix |
| 2 | ROW2 | Row 2 of the button matrix |
| 3 | COL1 | Column 1 of the button matrix |
| 4 | COL2 | Column 2 of the button matrix |
Usage Instructions
The BUTTONPAD-2X2SINGLE is straightforward to use in a circuit. It operates as a matrix, where pressing a button connects a specific row and column. Below are the steps to integrate it into your project:
Connecting the Button Pad
- Identify the Pins: Refer to the pin configuration table to identify the ROW and COL pins.
- Connect to Microcontroller:
- Connect ROW1, ROW2, COL1, and COL2 to GPIO pins on your microcontroller.
- Use pull-up or pull-down resistors if necessary to stabilize the signal.
- Write Code: Implement a scanning algorithm to detect button presses by checking the state of rows and columns.
Example: Using with Arduino UNO
Here is an example code snippet to interface the BUTTONPAD-2X2SINGLE with an Arduino UNO:
// Define the row and column pins
const int rowPins[2] = {2, 3}; // ROW1 -> Pin 2, ROW2 -> Pin 3
const int colPins[2] = {4, 5}; // COL1 -> Pin 4, COL2 -> Pin 5

void setup() {
  // Initialize row pins as outputs
  for (int i = 0; i < 2; i++) {
    pinMode(rowPins[i], OUTPUT);
    digitalWrite(rowPins[i], LOW); // Set rows to LOW initially
  }

  // Initialize column pins as inputs with pull-up resistors
  for (int i = 0; i < 2; i++) {
    pinMode(colPins[i], INPUT_PULLUP);
  }

  Serial.begin(9600); // Start serial communication for debugging
}

void loop() {
  // Scan the button matrix
  for (int row = 0; row < 2; row++) {
    // Set the current row to HIGH
    digitalWrite(rowPins[row], HIGH);

    // Check each column for a button press
    for (int col = 0; col < 2; col++) {
      if (digitalRead(colPins[col]) == LOW) {
        // Button press detected
        Serial.print("Button pressed at Row ");
        Serial.print(row + 1);
        Serial.print(", Column ");
        Serial.println(col + 1);
      }
    }

    // Set the current row back to LOW
    digitalWrite(rowPins[row], LOW);
  }

  delay(100); // Add a small delay to debounce the buttons
}
Best Practices
- Use pull-up or pull-down resistors to avoid floating inputs.
- Debounce the buttons in software to prevent false triggers.
- Ensure the button pad is securely mounted to avoid accidental disconnections.
Troubleshooting and FAQs
Common Issues
No Button Press Detected:
- Verify the wiring between the button pad and the microcontroller.
- Check if the GPIO pins are correctly configured in the code.
Multiple Buttons Triggered Simultaneously:
- Ensure proper debouncing in the software.
- Check for short circuits between rows and columns.
Unstable or Floating Signals:
- Use pull-up or pull-down resistors to stabilize the input signals.
FAQs
Q: Can I use the BUTTONPAD-2X2SINGLE with a 3.3V microcontroller?
A: Yes, the button pad is compatible with both 3.3V and 5V systems.
Q: How do I clean the button pad?
A: Use a soft, lint-free cloth slightly dampened with isopropyl alcohol. Avoid using excessive moisture.
Q: Can I expand this to a larger matrix?
A: Yes, you can combine multiple BUTTONPAD-2X2SINGLE units to create larger button matrices, but you will need additional GPIO pins or a multiplexer.
By following this documentation, you can effectively integrate the BUTTONPAD-2X2SINGLE into your projects and troubleshoot any issues that arise.