How to Use Battery gauge: Examples, Pinouts, and Specs
Introduction
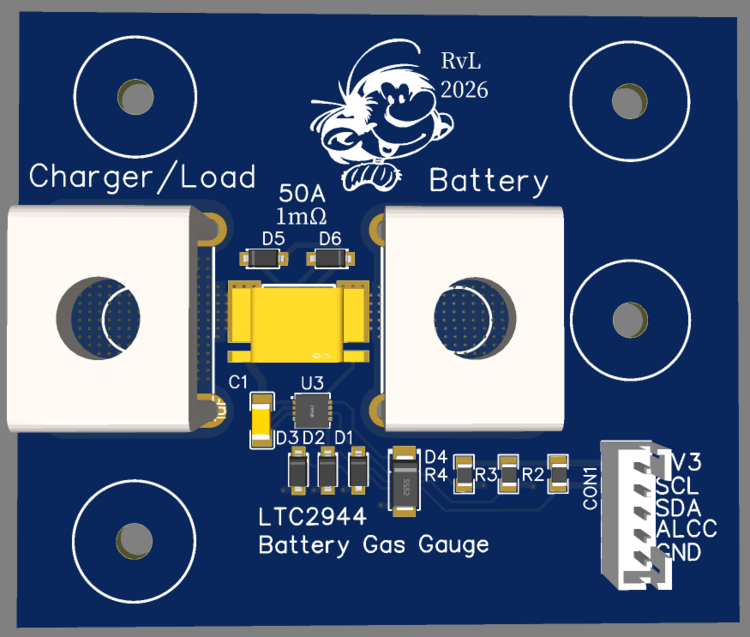
A battery gauge is an electronic component designed to measure and display the charge level of a battery. It provides real-time information about the remaining energy in the battery, helping users monitor power levels and prevent over-discharge. Battery gauges are essential in portable electronics, electric vehicles, renewable energy systems, and any application where battery management is critical.
Explore Projects Built with Battery gauge


Explore Projects Built with Battery gauge
Common Applications and Use Cases
- Portable electronic devices (e.g., smartphones, laptops, cameras)
- Electric vehicles and e-bikes
- Uninterruptible power supplies (UPS)
- Solar energy storage systems
- Remote monitoring and IoT devices
Technical Specifications
Below are the general technical specifications for a typical battery gauge. Specific models may vary, so always refer to the manufacturer's datasheet for precise details.
Key Technical Details
- Operating Voltage: 2.5V to 5.5V
- Current Consumption: Typically 50µA to 200µA (depending on the model)
- Battery Types Supported: Lithium-ion, Lithium-polymer, Lead-acid, NiMH, etc.
- Measurement Accuracy: ±1% to ±3% (varies by model)
- Communication Interface: I²C, SPI, or SMBus
- Operating Temperature Range: -40°C to +85°C
- Display Options: LED indicators, LCD, or digital output
Pin Configuration and Descriptions
The pinout of a battery gauge depends on the specific model. Below is an example of a typical I²C-based battery gauge:
| Pin Name | Description |
|---|---|
| VCC | Power supply input (2.5V to 5.5V). Connect to the positive terminal of the battery. |
| GND | Ground connection. Connect to the negative terminal of the battery. |
| SDA | Serial Data Line for I²C communication. |
| SCL | Serial Clock Line for I²C communication. |
| ALERT | Interrupt output pin to signal low battery or other events (optional). |
| BAT+ | Positive terminal of the battery being monitored. |
| BAT- | Negative terminal of the battery being monitored. |
Usage Instructions
How to Use the Component in a Circuit
- Power Supply: Connect the VCC and GND pins to the appropriate power source. Ensure the voltage is within the specified operating range.
- Battery Connection: Attach the battery's positive terminal to the BAT+ pin and the negative terminal to the BAT- pin.
- Communication Interface: If using an I²C-based battery gauge, connect the SDA and SCL pins to the corresponding pins on your microcontroller or development board (e.g., Arduino UNO).
- Pull-Up Resistors: For I²C communication, use pull-up resistors (typically 4.7kΩ) on the SDA and SCL lines.
- Optional Alert Pin: If the ALERT pin is available, connect it to a GPIO pin on your microcontroller to handle low-battery warnings or other events.
Important Considerations and Best Practices
- Battery Compatibility: Ensure the battery gauge supports the type of battery you are using (e.g., Li-ion, NiMH).
- Calibration: Some battery gauges require calibration for accurate readings. Follow the manufacturer's instructions for calibration.
- Power Consumption: Minimize power consumption by using low-power modes when the device is idle.
- Wiring: Use short, thick wires for battery connections to reduce resistance and improve accuracy.
- Protection: Add a fuse or protection circuit to prevent damage in case of a short circuit or overcurrent.
Example Code for Arduino UNO
Below is an example of how to interface an I²C-based battery gauge with an Arduino UNO:
#include <Wire.h> // Include the Wire library for I²C communication

#define BATTERY_GAUGE_ADDR 0x36 // Replace with the I²C address of your battery gauge

void setup() {
  Wire.begin(); // Initialize I²C communication
  Serial.begin(9600); // Start serial communication for debugging

  Serial.println("Battery Gauge Example");
}

void loop() {
  Wire.beginTransmission(BATTERY_GAUGE_ADDR); // Start communication with the battery gauge
  Wire.write(0x02); // Replace with the register address for battery percentage
  Wire.endTransmission(false); // Send the request without releasing the I²C bus

  Wire.requestFrom(BATTERY_GAUGE_ADDR, 2); // Request 2 bytes of data
  if (Wire.available() == 2) {
    uint16_t rawData = (Wire.read() << 8) | Wire.read(); // Combine two bytes into a 16-bit value
    float batteryPercentage = rawData / 256.0; // Convert raw data to percentage
    Serial.print("Battery Level: ");
    Serial.print(batteryPercentage);
    Serial.println("%");
  } else {
    Serial.println("Error: No data received from battery gauge");
  }

  delay(1000); // Wait for 1 second before the next reading
}
Troubleshooting and FAQs
Common Issues and Solutions
No Data from the Battery Gauge
- Cause: Incorrect I²C address or wiring.
- Solution: Verify the I²C address in the datasheet and check all connections.
Inaccurate Battery Readings
- Cause: Calibration not performed or incorrect battery type.
- Solution: Perform calibration as per the manufacturer's instructions and ensure the battery type is supported.
High Power Consumption
- Cause: The battery gauge is not in low-power mode.
- Solution: Enable low-power mode if available, or reduce the frequency of measurements.
Communication Errors
- Cause: Missing pull-up resistors on SDA and SCL lines.
- Solution: Add 4.7kΩ pull-up resistors to the SDA and SCL lines.
FAQs
Q: Can I use a battery gauge with a 12V lead-acid battery?
A: Yes, but ensure the battery gauge supports lead-acid batteries and the voltage range. You may need a voltage divider or external circuitry for higher voltages.
Q: How do I know if my battery gauge is calibrated?
A: Check the manufacturer's datasheet for calibration instructions. Some gauges have built-in calibration routines.
Q: Can I use the battery gauge without a microcontroller?
A: Yes, some battery gauges have built-in displays (e.g., LEDs or LCDs) that show the battery level directly.
Q: What happens if I connect the battery gauge incorrectly?
A: Incorrect connections can damage the gauge or the battery. Double-check the wiring before powering the circuit.