How to Use Mean Well HDR-30-5: Examples, Pinouts, and Specs

Introduction
The Mean Well HDR-30-5 is a 30W, 5V DC-DC power supply designed for industrial applications. It is part of the HDR series, known for its compact DIN rail-mounted design and high efficiency. This power supply is ideal for powering low-voltage electronic devices in industrial control systems, building automation, and other applications requiring reliable and stable 5V DC output.
Explore Projects Built with Mean Well HDR-30-5
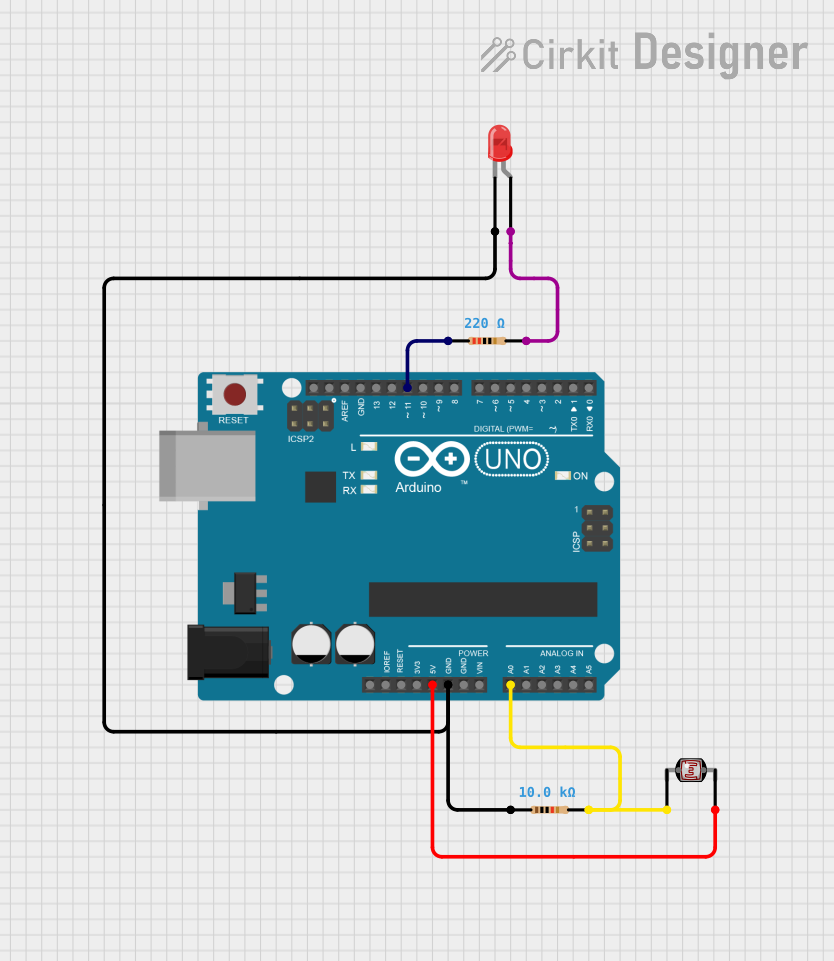

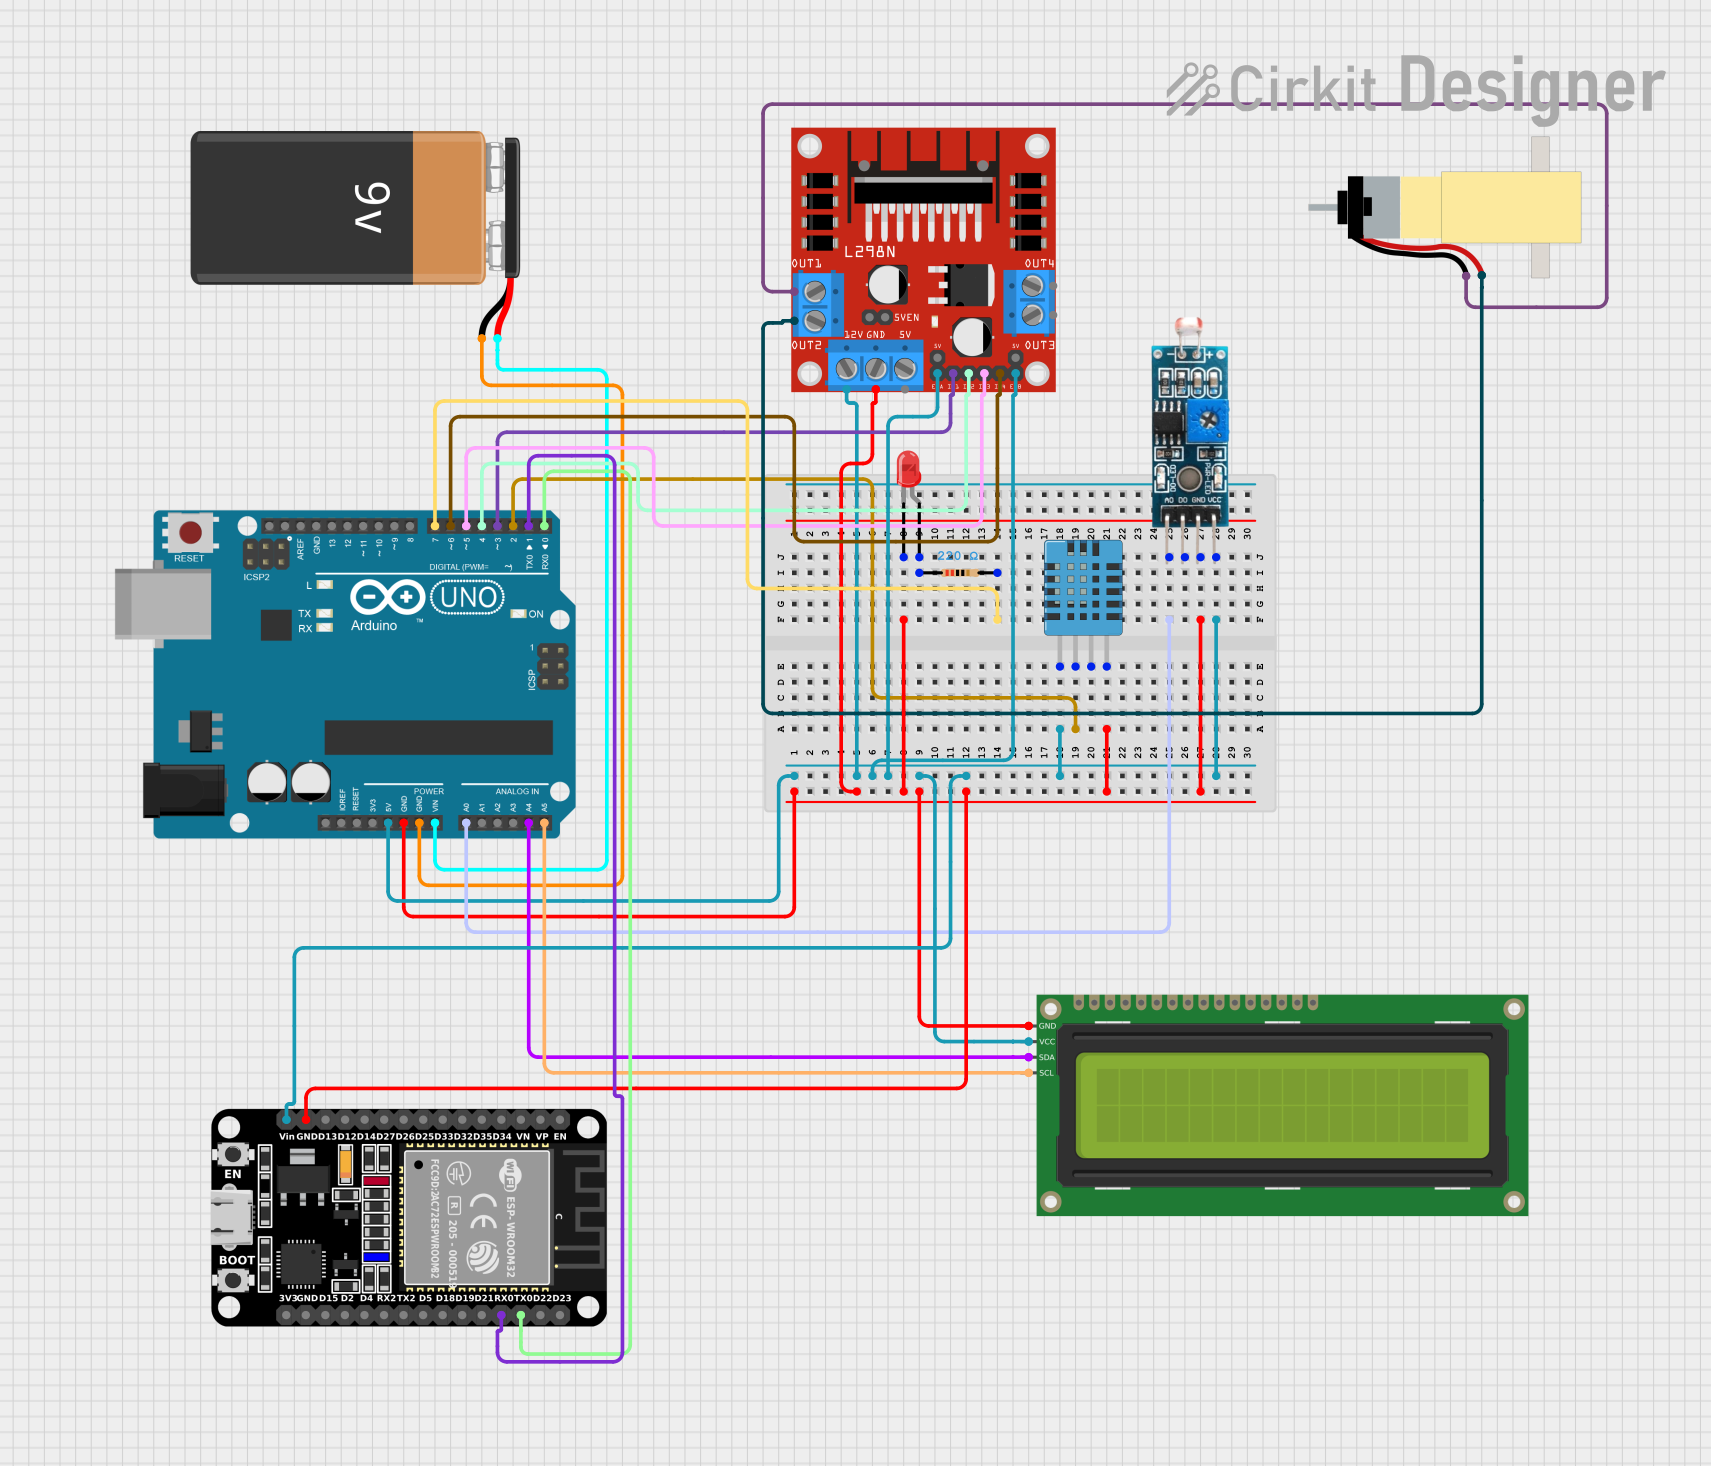
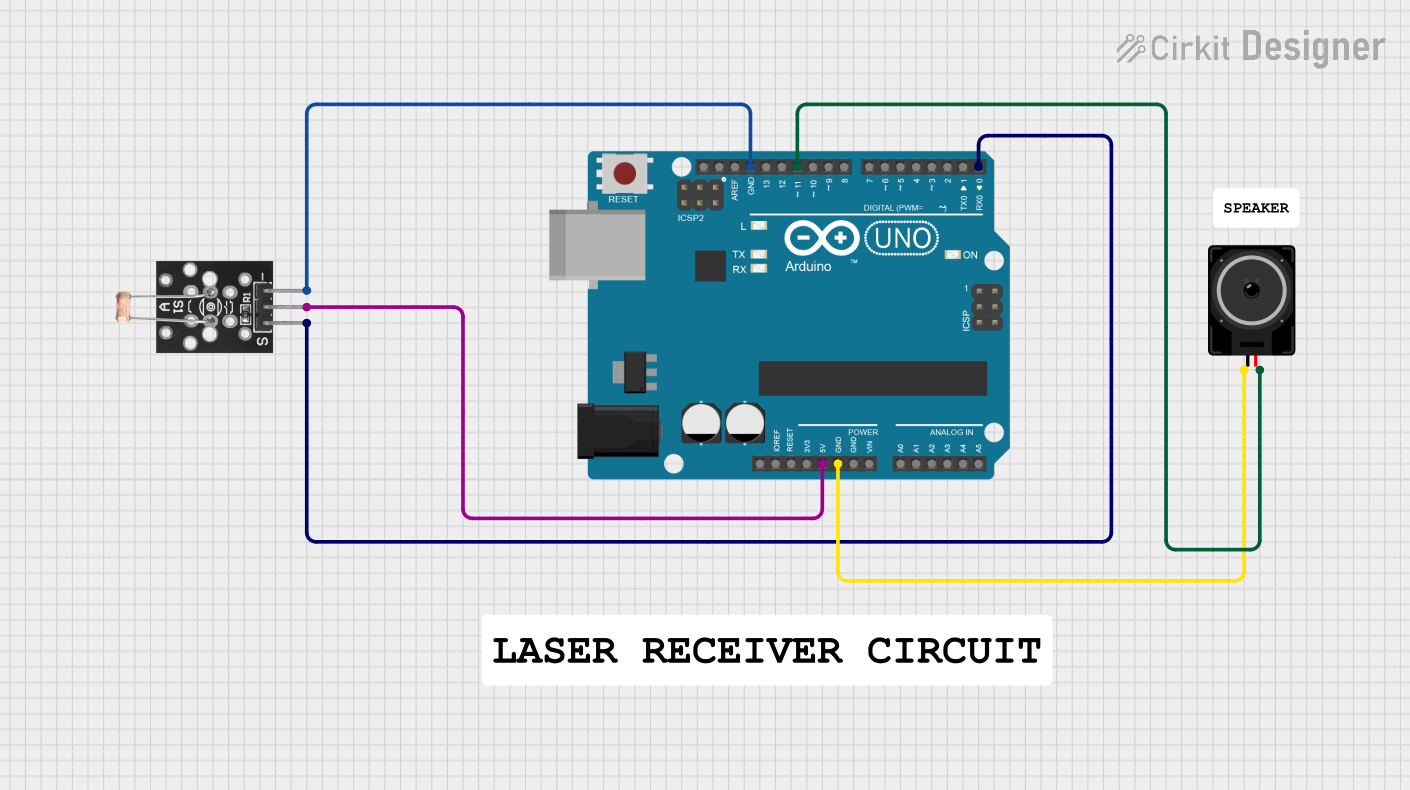
Explore Projects Built with Mean Well HDR-30-5
Common Applications
- Industrial control systems
- Building automation
- IoT devices and sensors
- Low-voltage LED lighting
- Embedded systems requiring a stable 5V DC power source
Technical Specifications
The following table outlines the key technical specifications of the Mean Well HDR-30-5:
| Parameter | Value |
|---|---|
| Input Voltage Range | 85-264 VAC / 120-370 VDC |
| Output Voltage | 5V DC |
| Output Current | 0-4.5A |
| Output Power | 30W |
| Efficiency | Up to 85% |
| Protection Features | Short circuit, overload, overvoltage |
| Operating Temperature | -30°C to +70°C |
| Dimensions | 35mm (W) x 90mm (H) x 54.5mm (D) |
| Mounting Type | DIN rail (TS-35/7.5 or TS-35/15) |
| Safety Standards | UL62368-1, EN62368-1, IEC62368-1 |
Pin Configuration and Descriptions
The Mean Well HDR-30-5 features screw terminal connections for input and output. The pin configuration is as follows:
| Pin | Label | Description |
|---|---|---|
| 1 | L | AC Line Input |
| 2 | N | AC Neutral Input |
| 3 | FG | Frame Ground (Earth) |
| 4 | +V | Positive DC Output |
| 5 | -V | Negative DC Output |
Usage Instructions
How to Use the HDR-30-5 in a Circuit
- Mounting: Secure the HDR-30-5 onto a DIN rail (TS-35/7.5 or TS-35/15) in your control panel or enclosure.
- Input Connection:
- Connect the AC line (L) and neutral (N) wires to the input terminals.
- Optionally, connect the frame ground (FG) terminal to earth ground for safety.
- Output Connection:
- Connect the positive (+V) and negative (-V) terminals to your load or circuit.
- Ensure the load does not exceed the maximum output current of 4.5A.
- Power On: Apply AC power to the input terminals. The HDR-30-5 will regulate the input voltage and provide a stable 5V DC output.
Important Considerations and Best Practices
- Load Requirements: Ensure the connected load does not exceed the rated output power of 30W.
- Ventilation: Install the power supply in a well-ventilated area to prevent overheating.
- Wiring: Use appropriately rated wires for both input and output connections.
- Protection: The HDR-30-5 includes built-in protection features, but external fuses or circuit breakers are recommended for additional safety.
- Testing: Verify the output voltage with a multimeter before connecting sensitive devices.
Example: Using HDR-30-5 with an Arduino UNO
The HDR-30-5 can be used to power an Arduino UNO by providing a stable 5V DC supply. Connect the output terminals of the HDR-30-5 to the Arduino's 5V and GND pins as follows:
HDR-30-5 Output (+V) --> Arduino UNO 5V Pin
HDR-30-5 Output (-V) --> Arduino UNO GND Pin
No additional code is required for this connection, as the HDR-30-5 simply provides power to the Arduino.
Troubleshooting and FAQs
Common Issues and Solutions
No Output Voltage:
- Cause: No AC input or incorrect wiring.
- Solution: Verify the AC input voltage and check the wiring connections.
Output Voltage Drops Under Load:
- Cause: Load exceeds the maximum output current of 4.5A.
- Solution: Reduce the load to within the rated output power of 30W.
Overheating:
- Cause: Poor ventilation or operation in high-temperature environments.
- Solution: Ensure proper ventilation and maintain ambient temperature within the operating range (-30°C to +70°C).
Intermittent Operation:
- Cause: Loose connections or unstable input voltage.
- Solution: Check all connections and ensure the input voltage is stable and within the specified range.
FAQs
Q1: Can the HDR-30-5 be used with DC input?
A1: Yes, the HDR-30-5 supports a DC input voltage range of 120-370 VDC.
Q2: Is the HDR-30-5 suitable for outdoor use?
A2: No, the HDR-30-5 is designed for indoor use in dry environments. Use an appropriate enclosure for outdoor applications.
Q3: Does the HDR-30-5 require an external fuse?
A3: While the HDR-30-5 has built-in protection, it is recommended to use an external fuse or circuit breaker for additional safety.
Q4: Can I use the HDR-30-5 to power multiple devices?
A4: Yes, as long as the total load does not exceed 30W or 4.5A.
By following this documentation, users can effectively integrate the Mean Well HDR-30-5 into their projects and ensure reliable operation.