How to Use Servomotor S05NF: Examples, Pinouts, and Specs
Introduction
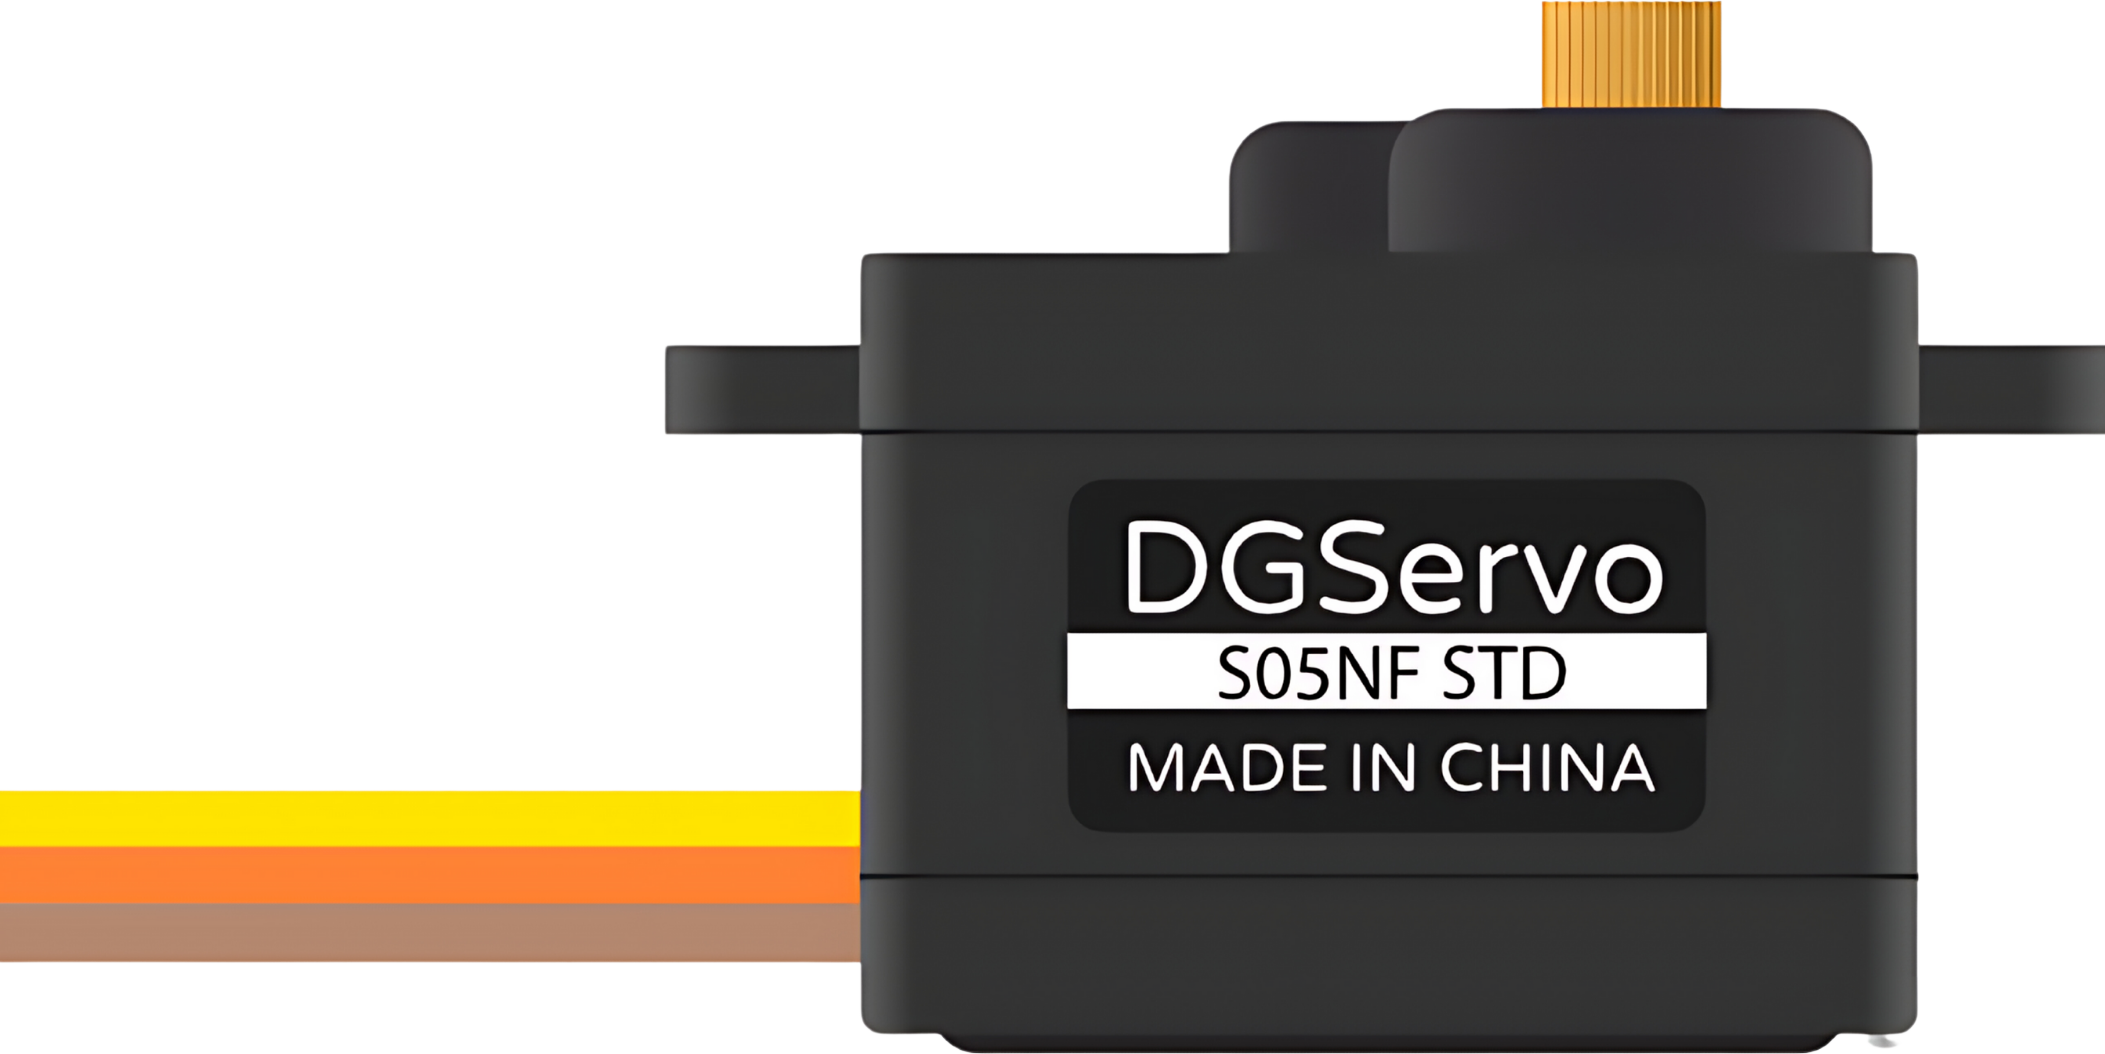
The Servomotor S05NF is a high-performance rotary actuator designed for precise control of angular position, velocity, and acceleration. It is widely used in automation systems, robotics, and remote-controlled vehicles due to its reliability and precision. The S05NF is particularly favored for applications requiring a compact form factor and efficient power consumption.
Explore Projects Built with Servomotor S05NF
Explore Projects Built with Servomotor S05NF
Common Applications and Use Cases
- Robotic arms and manipulators
- Radio-controlled vehicles
- Automated guided vehicles (AGVs)
- Antenna positioning
- Camera gimbal control
Technical Specifications
The following table outlines the key technical specifications of the Servomotor S05NF:
| Specification | Value |
|---|---|
| Operating Voltage | 4.8V - 6.0V DC |
| Stall Torque | 4.8V: 3.0 kg-cm; 6.0V: 3.7 kg-cm |
| Operating Speed | 4.8V: 0.16 sec/60°; 6.0V: 0.14 sec/60° |
| Dead Band Width | 5 µs |
| Temperature Range | -20°C to +60°C |
| Control Signal | PWM (Pulse Width Modulation) |
| Pulse Width Range | 900 to 2100 µs |
| Maximum Angle | Approximately 180° |
| Connector Type | JR/Futaba universal |
| Gear Type | Metal |
| Bearing Type | Dual ball bearings |
| Dimensions | 40.7 x 19.7 x 42.9 mm |
| Weight | 55g |
Pin Configuration and Descriptions
| Pin Number | Color | Description |
|---|---|---|
| 1 | Brown | Ground (GND) |
| 2 | Red | Power Supply (VCC) |
| 3 | Orange | Control Signal (PWM) |
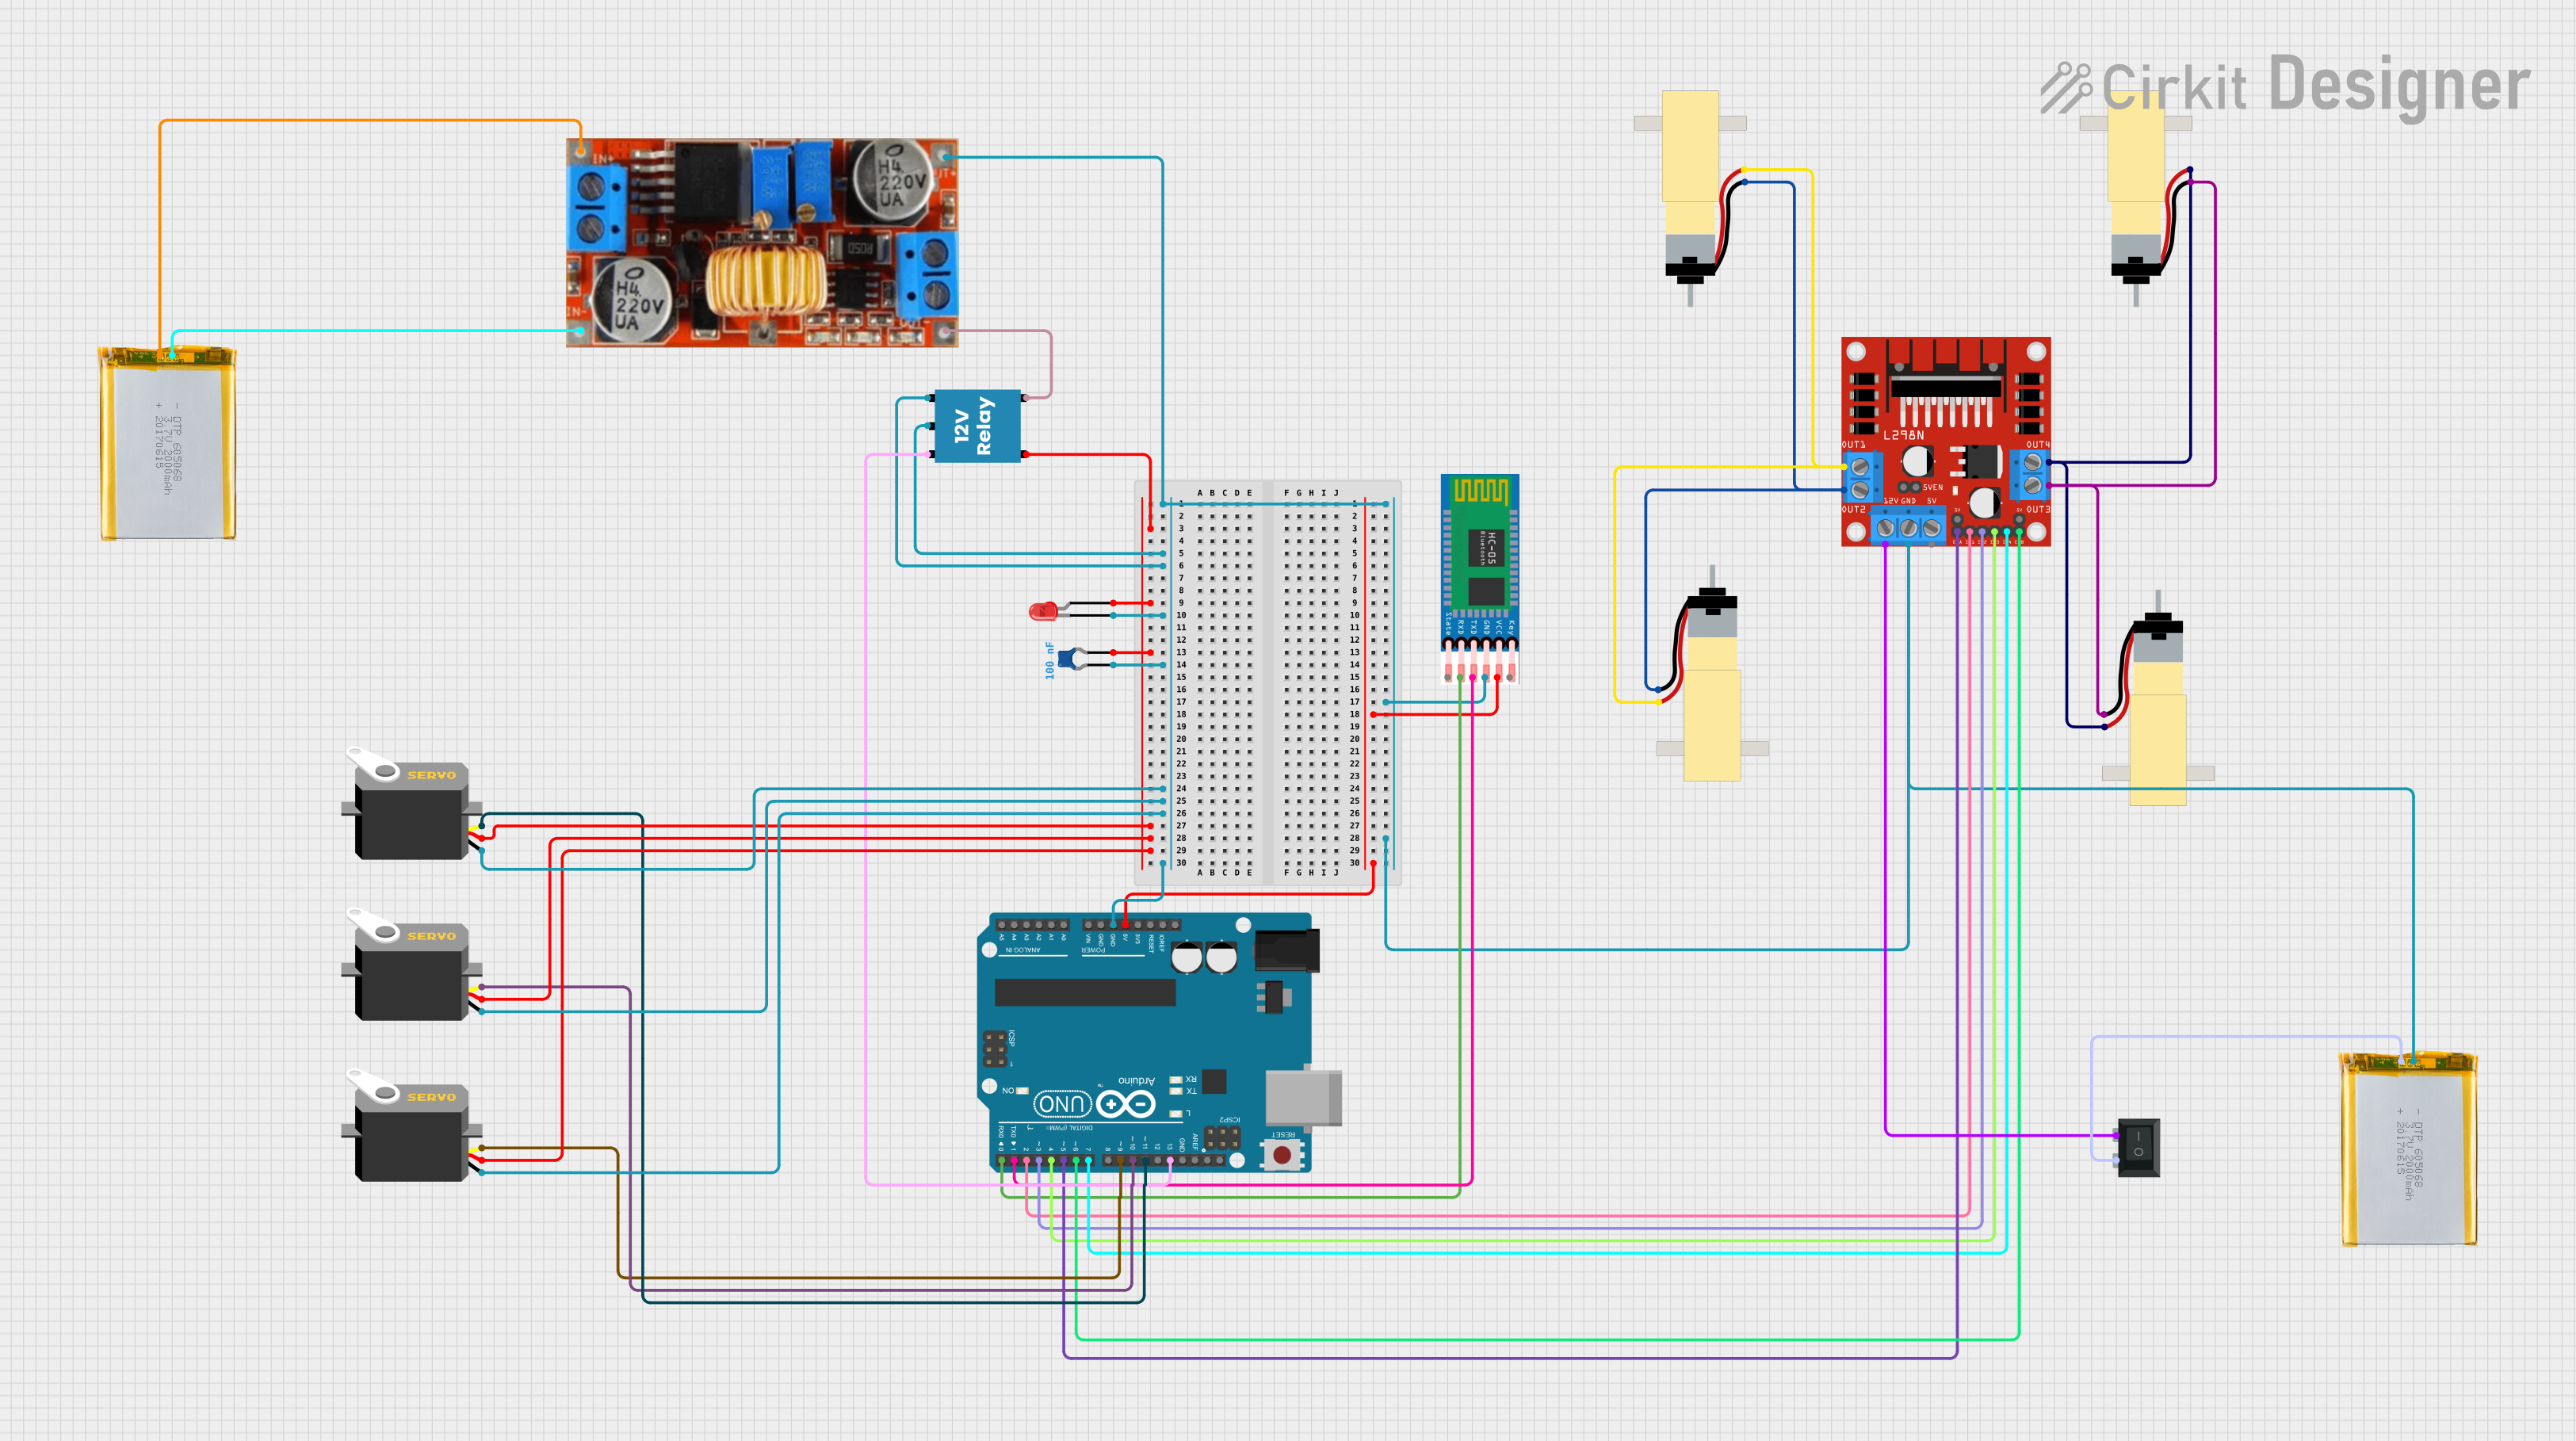
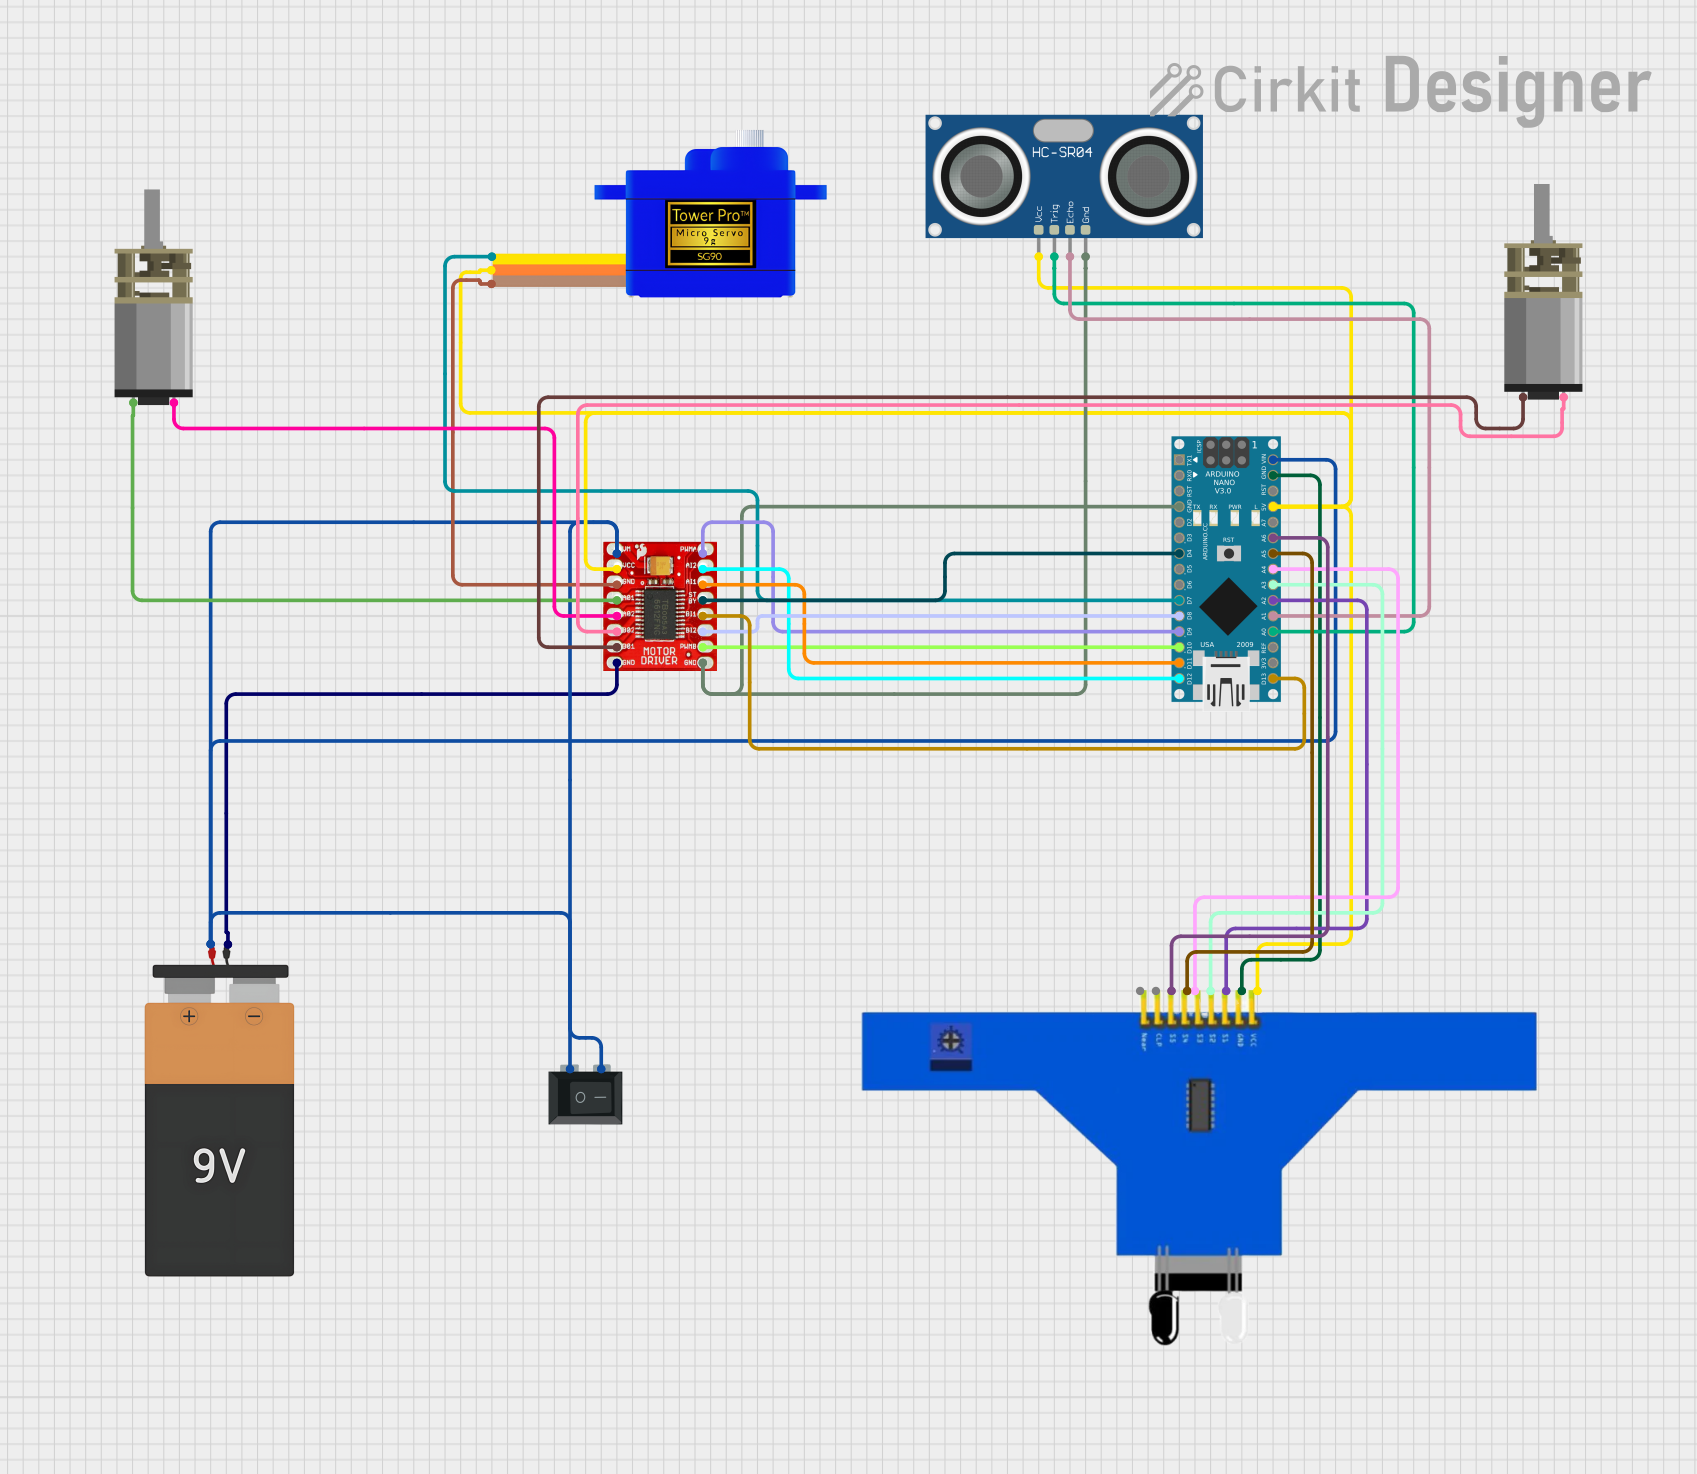
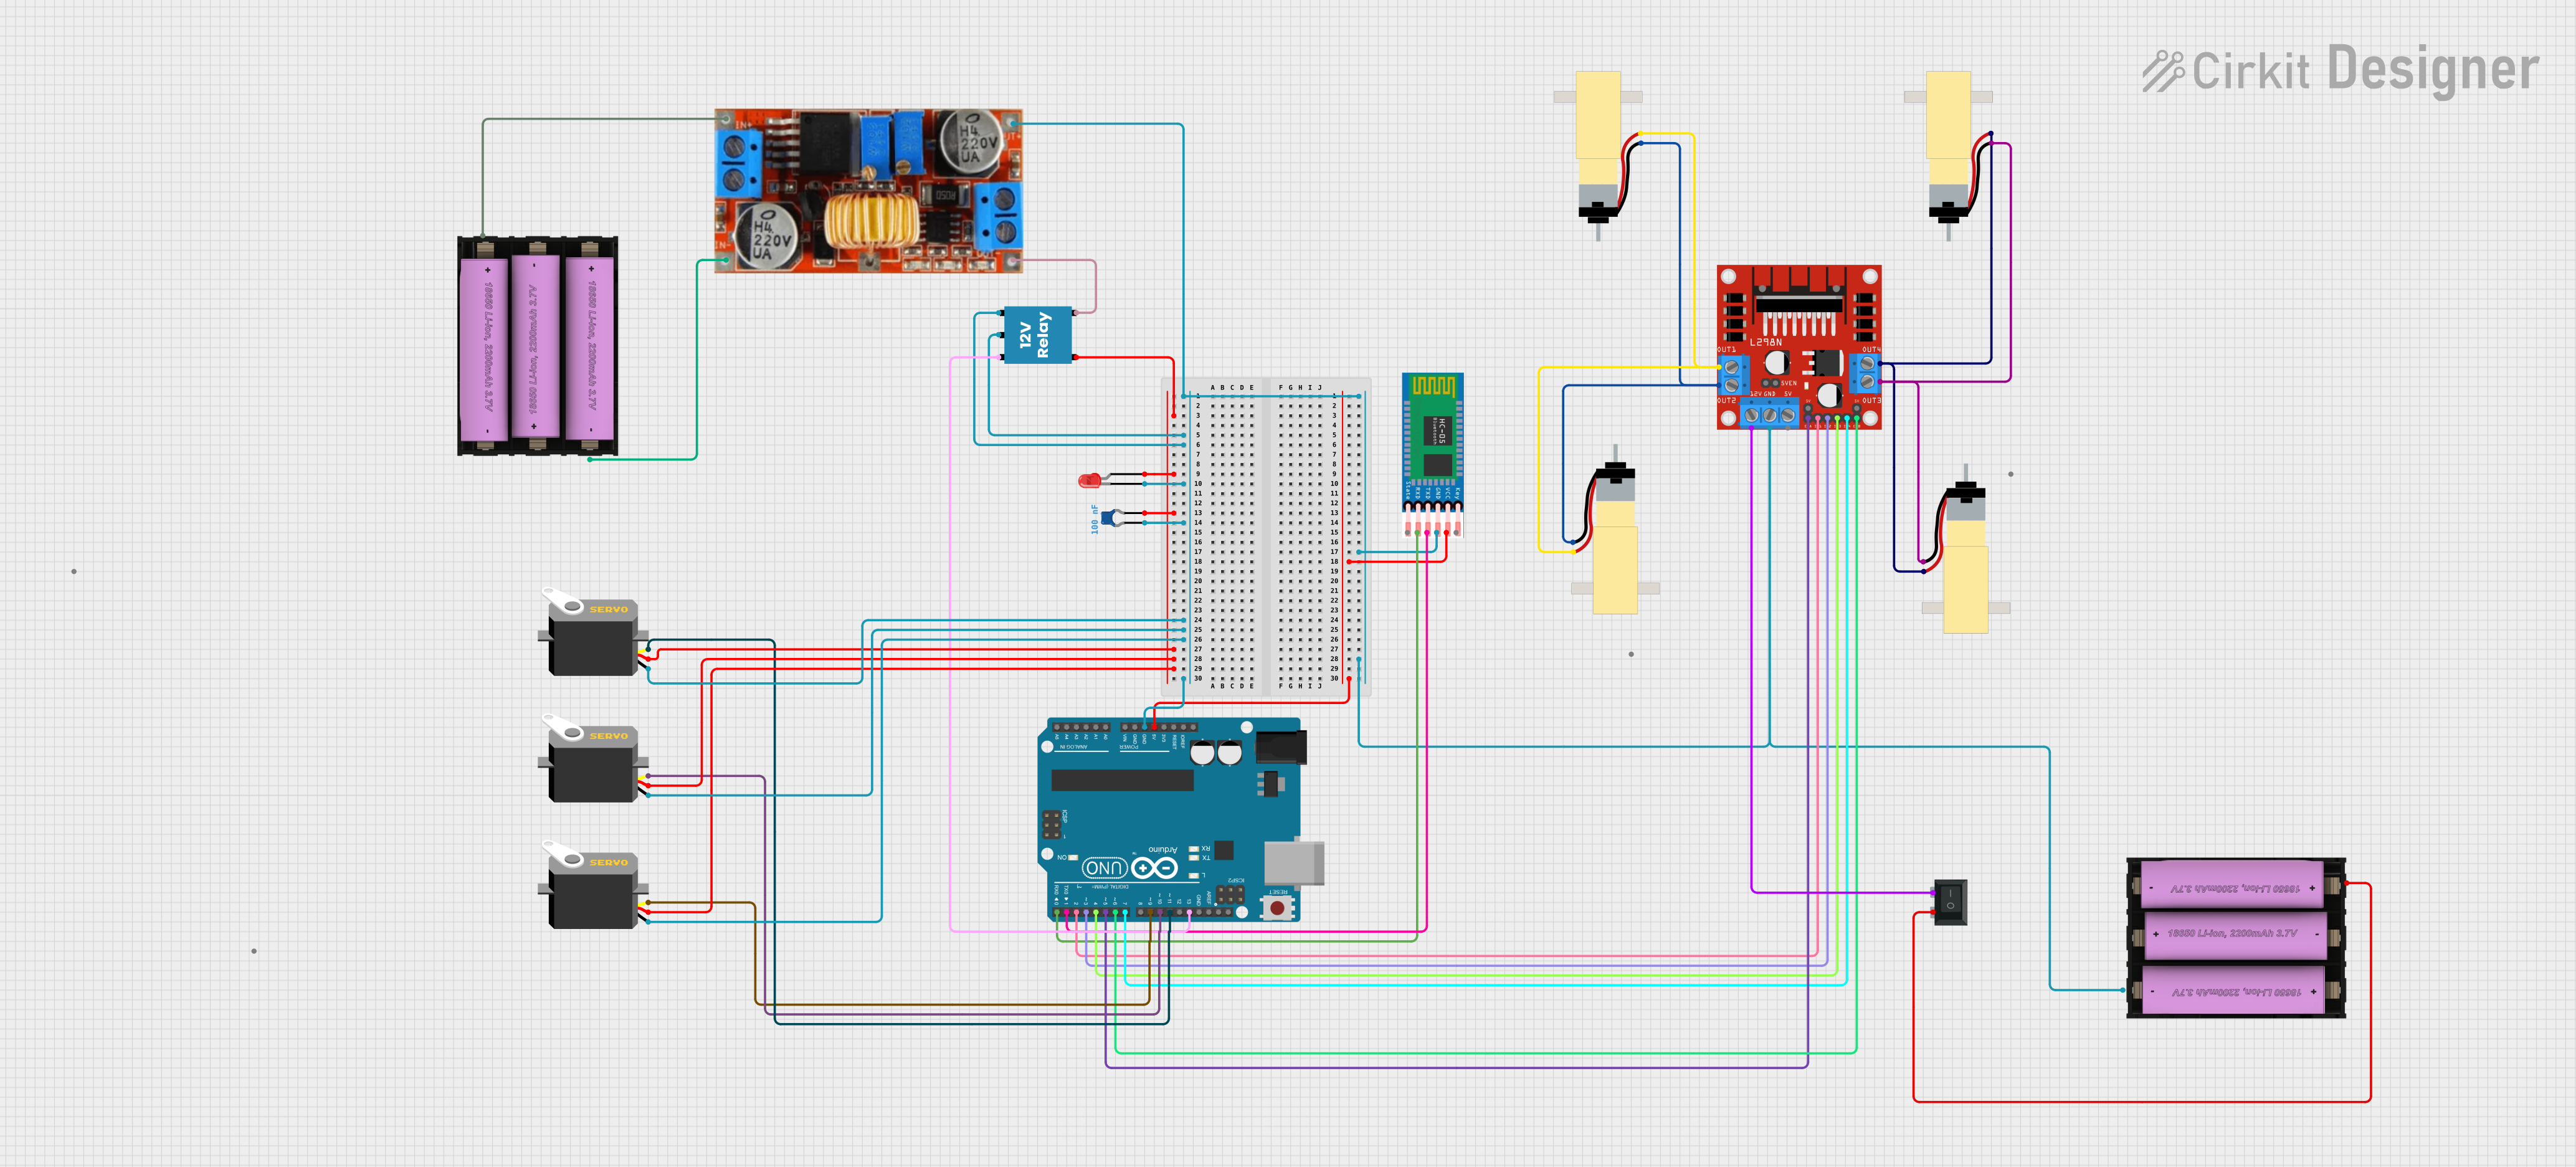
Usage Instructions
How to Use the Servomotor S05NF in a Circuit
Power Supply: Connect the red wire to a power supply that is within the operating voltage range (4.8V to 6.0V DC). Ensure that the power supply can deliver sufficient current for the servomotor's operation.
Ground Connection: Attach the brown wire to the ground of your power supply and the ground of your control signal source to ensure a common reference point.
Control Signal: Connect the orange wire to the PWM output of your control source, such as a microcontroller or servo controller.
Important Considerations and Best Practices
- Avoid exceeding the recommended voltage range to prevent damage to the servomotor.
- Ensure that the control signal pulse width is within the specified range (900 to 2100 µs) for proper operation.
- Do not stall the servomotor for extended periods, as this can lead to overheating and potential failure.
- When mounting the servomotor, ensure that the load is well-balanced to avoid excessive strain on the gears.
Example Code for Arduino UNO
#include <Servo.h>

Servo myservo;  // create servo object to control the S05NF

void setup() {
  myservo.attach(9);  // attaches the servo on pin 9 to the servo object
}

void loop() {
  myservo.write(90);  // sets the servo position to 90°
  delay(1000);        // waits for the servo to reach the position
  myservo.write(0);   // sets the servo to 0°
  delay(1000);        // waits for the servo to reach the position
}
Troubleshooting and FAQs
Common Issues
- Servomotor does not respond: Check the power supply and connections. Ensure the control signal is within the correct pulse width range.
- Erratic movement or jitter: This may be caused by an unstable power supply or interference on the control signal. Ensure that the power supply is stable and use shielded cables if necessary.
- Limited range of motion: Verify that the control signal pulse width is correct. Adjust the pulse width to achieve the desired range of motion.
Solutions and Tips for Troubleshooting
- Always double-check wiring connections before powering up the system.
- Use a multimeter to verify the power supply voltage and the control signal pulse width.
- If the servomotor is overheating, reduce the load or duty cycle to prevent damage.
FAQs
Q: Can I control the S05NF servomotor with a standard RC transmitter and receiver?
A: Yes, the S05NF can be controlled using a standard RC setup, as it accepts the typical PWM signal used in RC applications.
Q: What is the maximum weight the S05NF can lift?
A: The maximum weight the servomotor can lift depends on the leverage; refer to the stall torque specification for the maximum torque at a given voltage.
Q: How can I reverse the direction of rotation?
A: To reverse the direction, you can either modify the control signal in software or swap the position values in the code (e.g., use myservo.write(180) instead of myservo.write(0)).
Q: Is it possible to control multiple S05NF servomotors with one Arduino UNO?
A: Yes, the Arduino UNO can control multiple servomotors. Each servomotor must be attached to a separate PWM-capable pin, and you need to create a separate Servo object for each motor in your code.