How to Use DFPLAYER: Examples, Pinouts, and Specs
Introduction
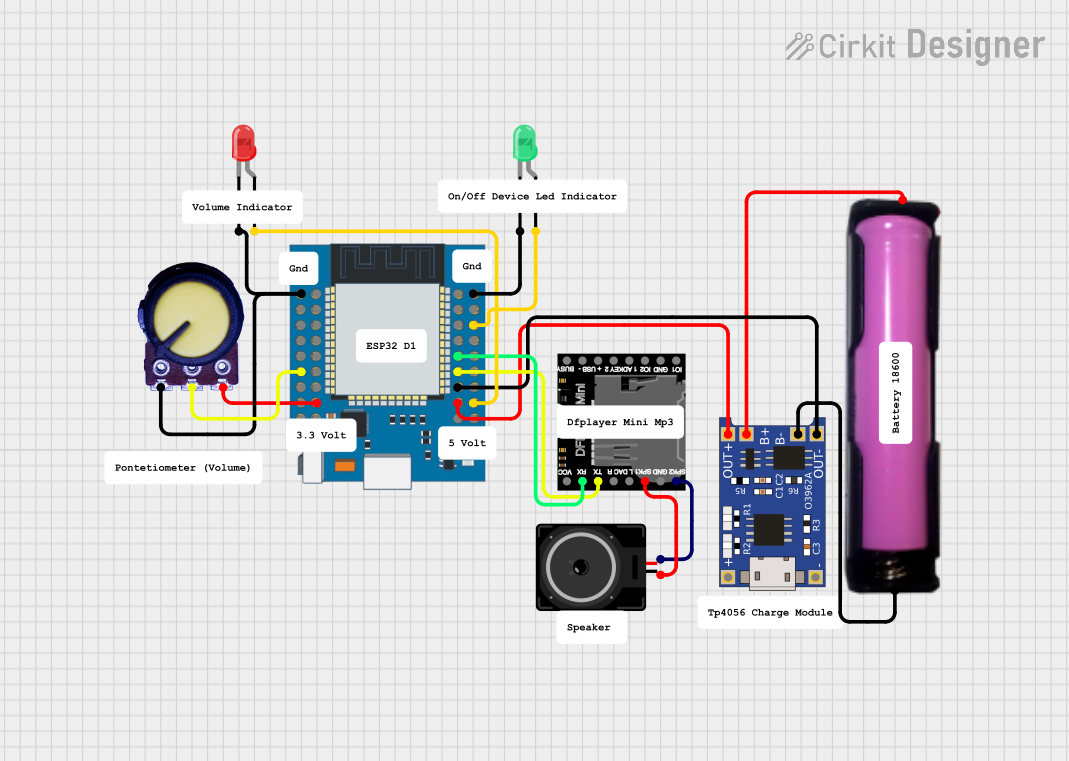
The DFPlayer is a compact, low-cost MP3 player module designed for audio playback in embedded systems. It supports audio files stored on a microSD card and offers simple serial communication for control. With its built-in amplifier, the DFPlayer can directly drive small speakers, making it an excellent choice for projects requiring sound effects, voice prompts, or music playback.
Explore Projects Built with DFPLAYER

Explore Projects Built with DFPLAYER
Common Applications
- Interactive kiosks and exhibits
- Talking toys and educational devices
- Alarm systems with voice alerts
- Audio guides and storytelling devices
- DIY projects requiring sound effects or music
Technical Specifications
Below are the key technical details of the DFPlayer module:
| Parameter | Specification |
|---|---|
| Operating Voltage | 3.2V - 5.0V |
| Operating Current | 20mA - 30mA |
| Audio Output | 3W (with 4Ω speaker, 5V power supply) |
| Storage Support | microSD card (up to 32GB, FAT16/32) |
| Audio Formats | MP3, WAV, WMA |
| Communication Protocol | UART (9600 bps default) |
| Dimensions | 22mm x 30mm |
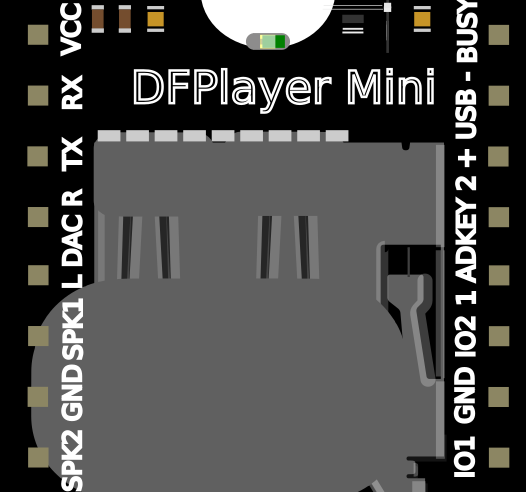
Pin Configuration
The DFPlayer module has 16 pins, but only a subset is commonly used. Below is the pinout description:
| Pin | Name | Description |
|---|---|---|
| 1 | VCC | Power supply input (3.2V - 5.0V). |
| 2 | GND | Ground connection. |
| 3 | RX | UART receive pin for serial communication. |
| 4 | TX | UART transmit pin for serial communication. |
| 5 | SPK_1 | Speaker output (positive terminal). |
| 6 | SPK_2 | Speaker output (negative terminal). |
| 7 | DAC_R | Right channel audio output (for external amplifier). |
| 8 | DAC_L | Left channel audio output (for external amplifier). |
| 9-16 | Other Pins | Not commonly used in basic applications (e.g., IO pins for advanced control). |
Usage Instructions
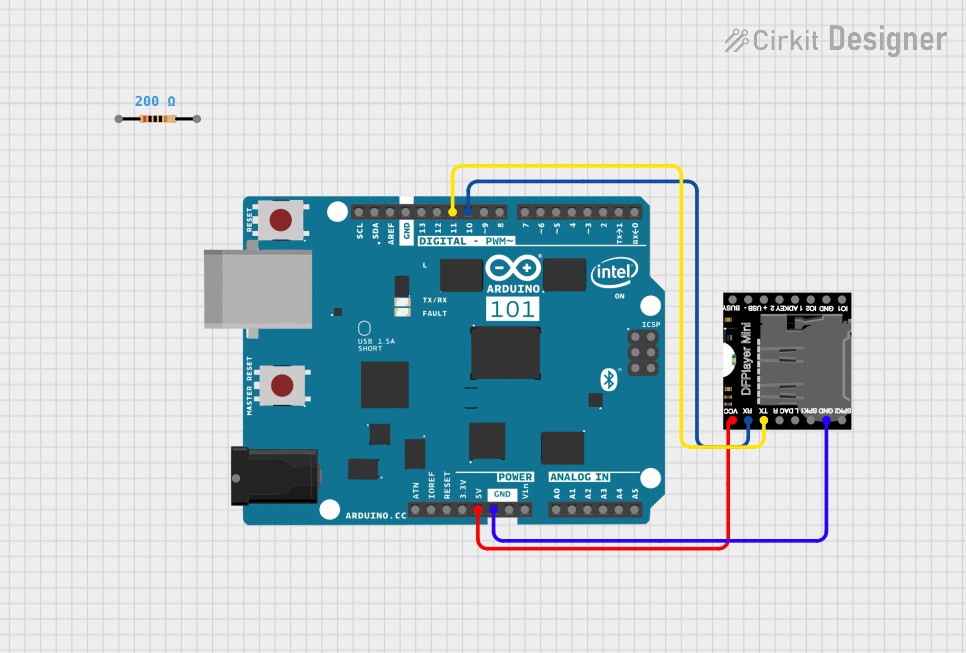
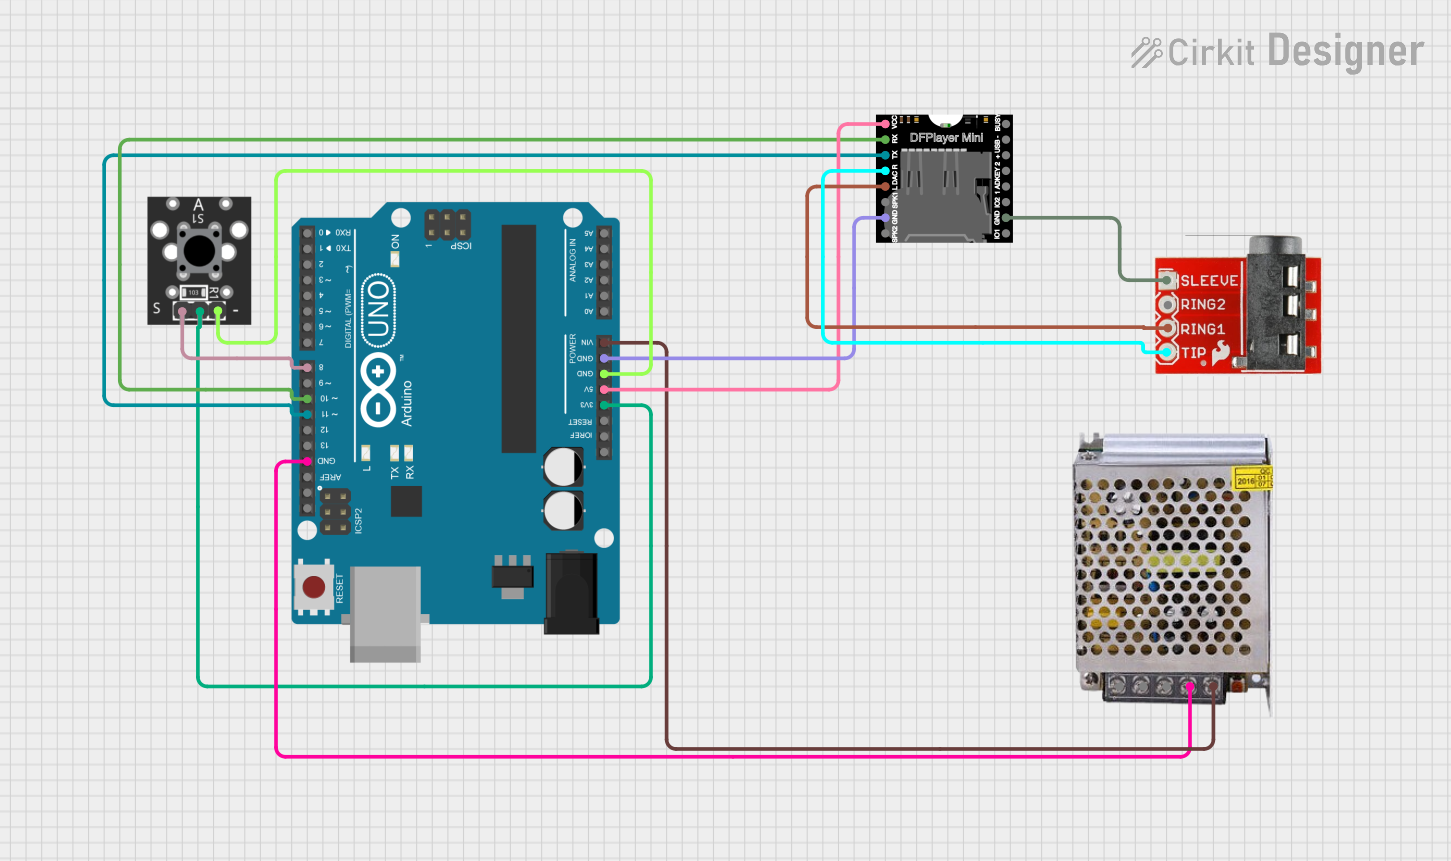
Connecting the DFPlayer
To use the DFPlayer in a circuit, follow these steps:
- Power Supply: Connect the
VCCpin to a 5V power source and theGNDpin to ground. - Speaker Connection: Attach a small speaker (4Ω or 8Ω) to the
SPK_1andSPK_2pins. - Serial Communication: Connect the
RXpin to the TX pin of a microcontroller (e.g., Arduino) and theTXpin to the RX pin of the microcontroller. - microSD Card: Format the microSD card to FAT16 or FAT32 and load audio files. Ensure the files are named in the format
0001.mp3,0002.mp3, etc., for proper playback.
Example: Using DFPlayer with Arduino UNO
Below is an example of how to control the DFPlayer using an Arduino UNO:
#include "SoftwareSerial.h"

// Define RX and TX pins for SoftwareSerial
SoftwareSerial mySerial(10, 11); // RX = Pin 10, TX = Pin 11

void setup() {
  mySerial.begin(9600); // Initialize DFPlayer communication at 9600 bps
  Serial.begin(9600);   // Initialize Serial Monitor for debugging

  // Send initialization commands to DFPlayer
  mySerial.write(0x7E); // Start byte
  mySerial.write(0xFF); // Version
  mySerial.write(0x06); // Command length
  mySerial.write(0x09); // Command: Select device
  mySerial.write(0x00); // Feedback
  mySerial.write(0x02); // Parameter: microSD card
  mySerial.write(0xFE); // Checksum high byte
  mySerial.write(0xED); // Checksum low byte
  mySerial.write(0xEF); // End byte

  delay(1000); // Wait for initialization
}

void loop() {
  // Play the first audio file (0001.mp3)
  mySerial.write(0x7E); // Start byte
  mySerial.write(0xFF); // Version
  mySerial.write(0x06); // Command length
  mySerial.write(0x03); // Command: Play track
  mySerial.write(0x00); // Feedback
  mySerial.write(0x00); // High byte of track number
  mySerial.write(0x01); // Low byte of track number (0001.mp3)
  mySerial.write(0xFE); // Checksum high byte
  mySerial.write(0xF7); // Checksum low byte
  mySerial.write(0xEF); // End byte

  delay(5000); // Wait for the track to finish
}
Best Practices
- Use a decoupling capacitor (e.g., 100µF) between
VCCandGNDto stabilize the power supply. - Avoid exceeding the maximum power rating of the speaker to prevent damage.
- Ensure the microSD card is properly formatted and files are named correctly.
Troubleshooting and FAQs
Common Issues
No Sound Output
- Cause: Incorrect speaker connection or damaged speaker.
- Solution: Verify the speaker is connected to
SPK_1andSPK_2. Test with a different speaker.
Module Not Responding
- Cause: Incorrect UART wiring or baud rate mismatch.
- Solution: Ensure
RXandTXpins are correctly connected. Confirm the baud rate is set to 9600 bps.
Audio Playback Issues
- Cause: Improper file format or naming.
- Solution: Ensure audio files are in MP3, WAV, or WMA format and named as
0001.mp3,0002.mp3, etc.
FAQs
Can I use headphones with the DFPlayer? Yes, connect headphones to the
DAC_LandDAC_Rpins for stereo output.What is the maximum speaker power supported? The DFPlayer can drive a 3W speaker at 5V with a 4Ω impedance.
Can I control the volume? Yes, volume can be adjusted via serial commands or by using external resistors on specific pins.
By following this documentation, you can effectively integrate the DFPlayer into your projects and troubleshoot common issues.