How to Use Adafruit NeoPixel Shield: Examples, Pinouts, and Specs
Introduction
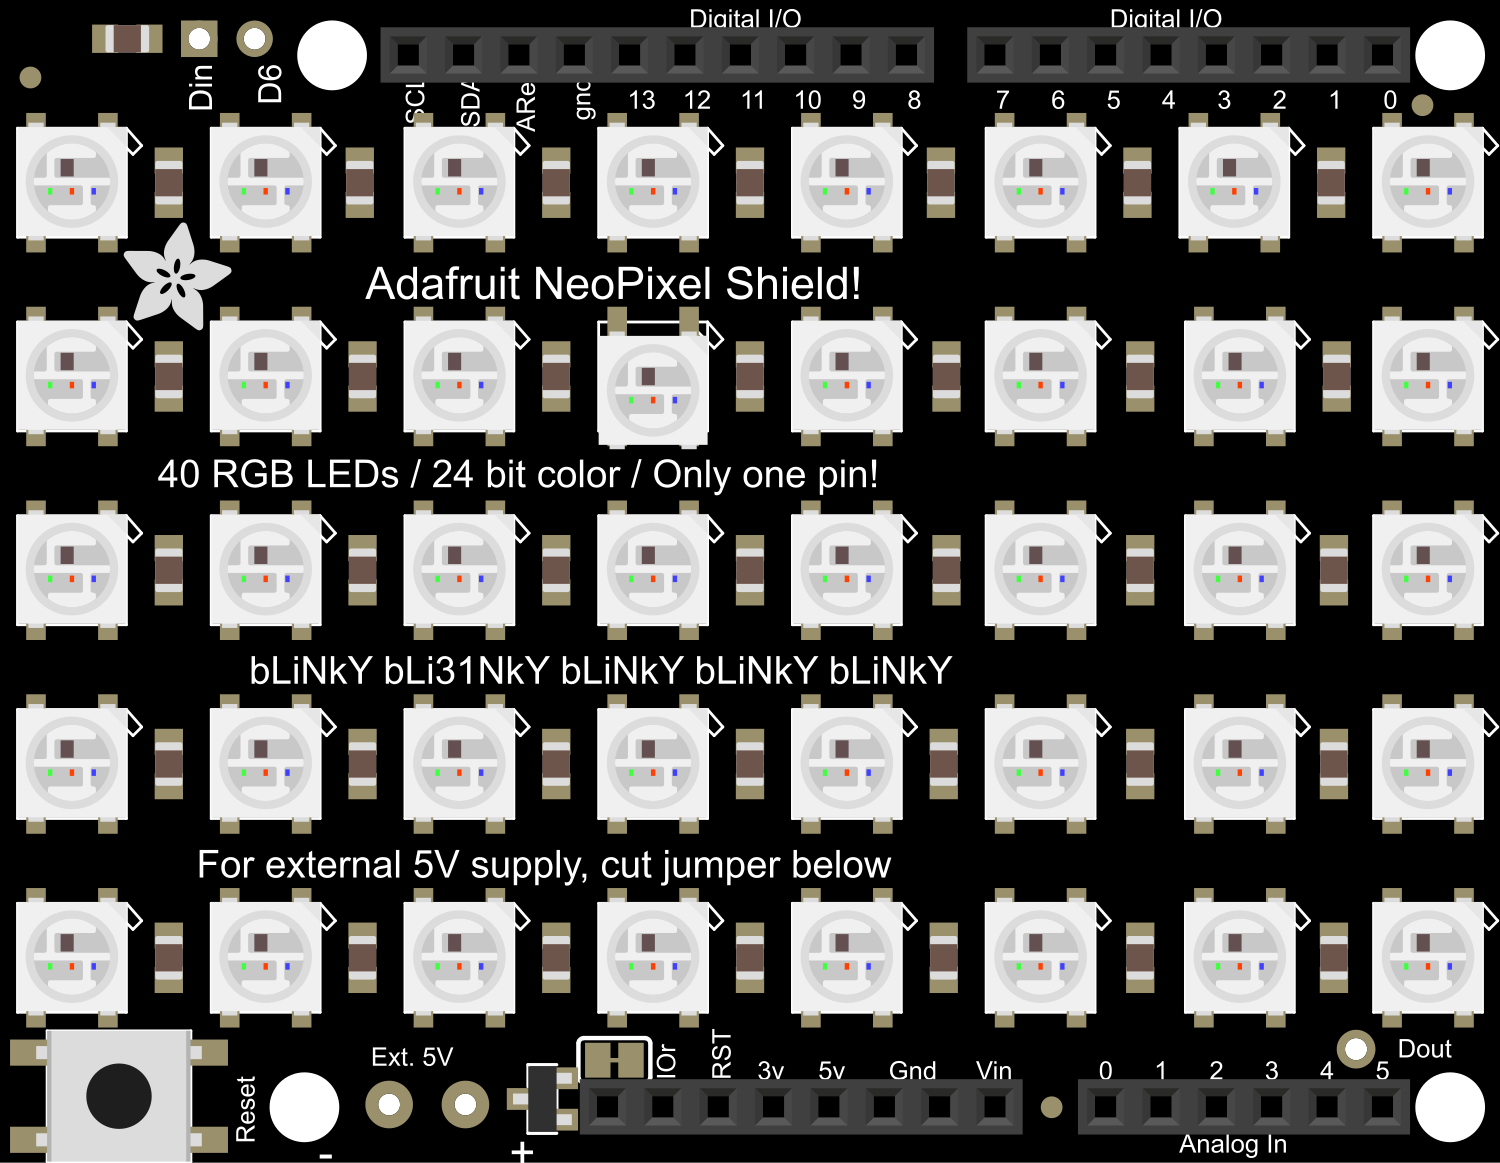
The Adafruit NeoPixel Shield is an Arduino-compatible shield designed to effortlessly control a grid of NeoPixel LEDs. NeoPixels, which are individually addressable RGB LEDs, are popular for creating vibrant and complex lighting displays. The shield simplifies the process of wiring and controlling these LEDs by providing a ready-to-use platform that can be directly mounted onto an Arduino or compatible microcontroller board.
Explore Projects Built with Adafruit NeoPixel Shield

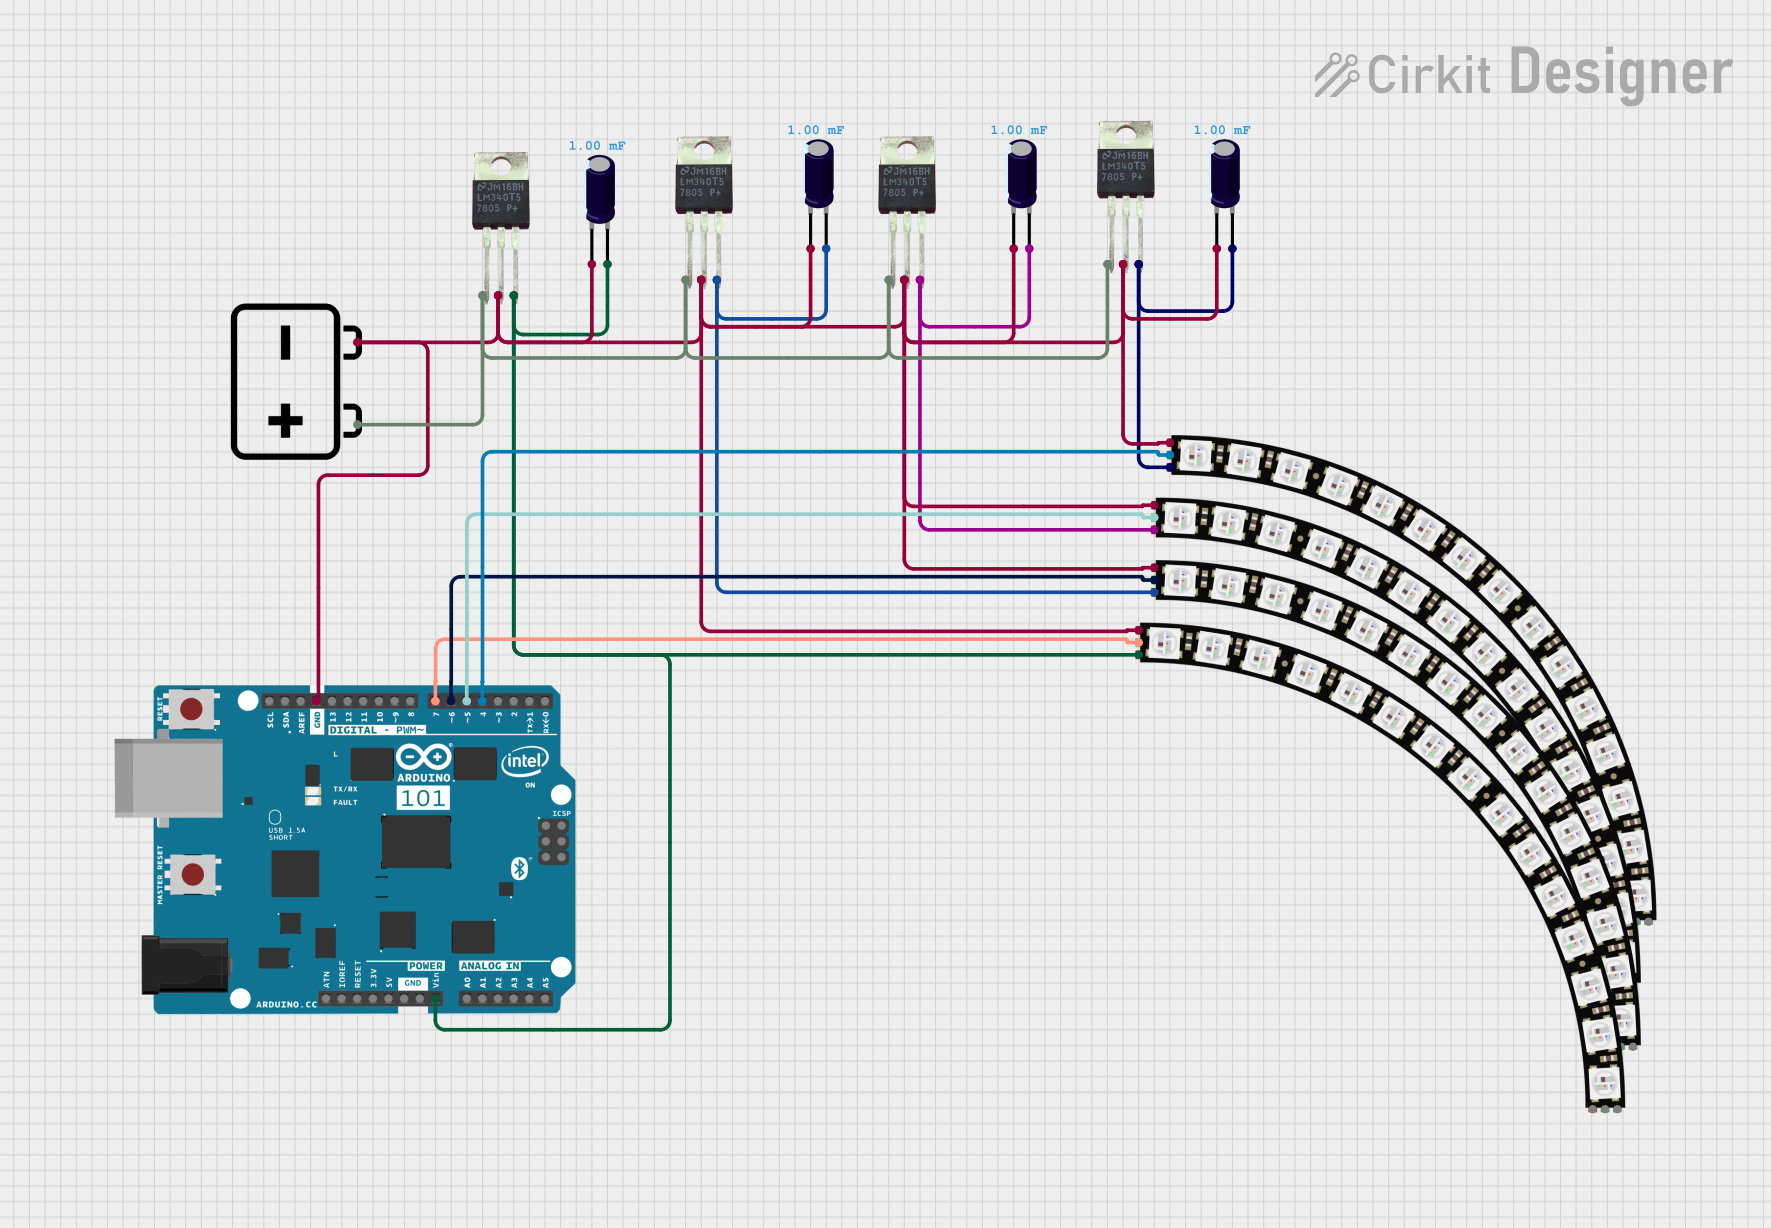
Explore Projects Built with Adafruit NeoPixel Shield
Common Applications and Use Cases
- Decorative lighting
- Wearable electronics
- Signal indicators
- Interactive art installations
- Educational projects to learn about programmable LEDs
Technical Specifications
Key Technical Details
- Operating Voltage: 5V DC
- Current: 18mA per LED at full brightness
- LED Count: 40 NeoPixel LEDs arranged in a 5x8 matrix
- Communication: Digital signal via a single data pin
- Compatibility: Works with both 3.3V and 5V logic level microcontrollers
Pin Configuration and Descriptions
| Pin Number | Description |
|---|---|
| D6 | Data input for NeoPixel LEDs |
| 5V | Power supply voltage (5V) |
| GND | Ground connection |
Usage Instructions
How to Use the Component in a Circuit
- Mounting the Shield: Place the NeoPixel Shield onto your Arduino board ensuring that the pins align correctly with the headers.
- Powering the Shield: Connect a 5V power supply to the Arduino's 5V and GND pins. The shield draws power from the Arduino board.
- Programming the Shield: Use the Arduino IDE to write and upload code to the Arduino board to control the NeoPixel LEDs.
Important Considerations and Best Practices
- Power Requirements: Ensure that your power supply can handle the maximum current draw when all LEDs are at full brightness.
- Data Signal: The data signal to the NeoPixels is time-sensitive. Avoid using blocking functions that can interfere with the timing.
- Heat Dissipation: Running all LEDs at full brightness can generate heat. Provide adequate ventilation if necessary.
- Library: Use the Adafruit NeoPixel library for easy control of the LEDs.
Example Code for Arduino UNO
#include <Adafruit_NeoPixel.h>

#define PIN 6 // Pin connected to NeoPixel data input
#define NUMPIXELS 40 // Number of NeoPixels on the shield

// Initialize the NeoPixel shield
Adafruit_NeoPixel pixels(NUMPIXELS, PIN, NEO_GRB + NEO_KHZ800);

void setup() {
  pixels.begin(); // Initialize the NeoPixel shield
}

void loop() {
  for(int i=0; i<NUMPIXELS; i++) {
    pixels.setPixelColor(i, pixels.Color(150, 0, 0)); // Set color to red
    pixels.show(); // Update the LEDs
    delay(50);
    pixels.setPixelColor(i, pixels.Color(0, 0, 0)); // Turn off the LED
  }
}
Troubleshooting and FAQs
Common Issues Users Might Face
- LEDs Not Lighting Up: Ensure the shield is properly seated on the Arduino and that the power supply is adequate.
- Incorrect Colors: Verify that the data signal is correctly connected to pin D6 and that the Adafruit NeoPixel library is correctly configured for the shield.
- Flickering LEDs: This can be caused by power fluctuations. Ensure a stable power supply.
Solutions and Tips for Troubleshooting
- Check Connections: Double-check that all connections are secure and correct.
- Power Supply: Use a dedicated 5V power supply if the Arduino's USB power is insufficient.
- Library Updates: Make sure you have the latest version of the Adafruit NeoPixel library.
FAQs
Q: Can I chain multiple NeoPixel Shields together? A: Yes, you can connect multiple shields in series, but ensure your power supply can handle the increased current draw.
Q: How do I control individual LEDs?
A: Use the setPixelColor function with the index of the LED you wish to control.
Q: What is the maximum number of LEDs I can control with one Arduino? A: It depends on the Arduino's RAM. Each LED requires some memory to store its color value. With the Arduino Uno, you can control thousands of LEDs, but power and processing speed may become limiting factors.