
How to Use XIAO-ESP32-S3: Examples, Pinouts, and Specs
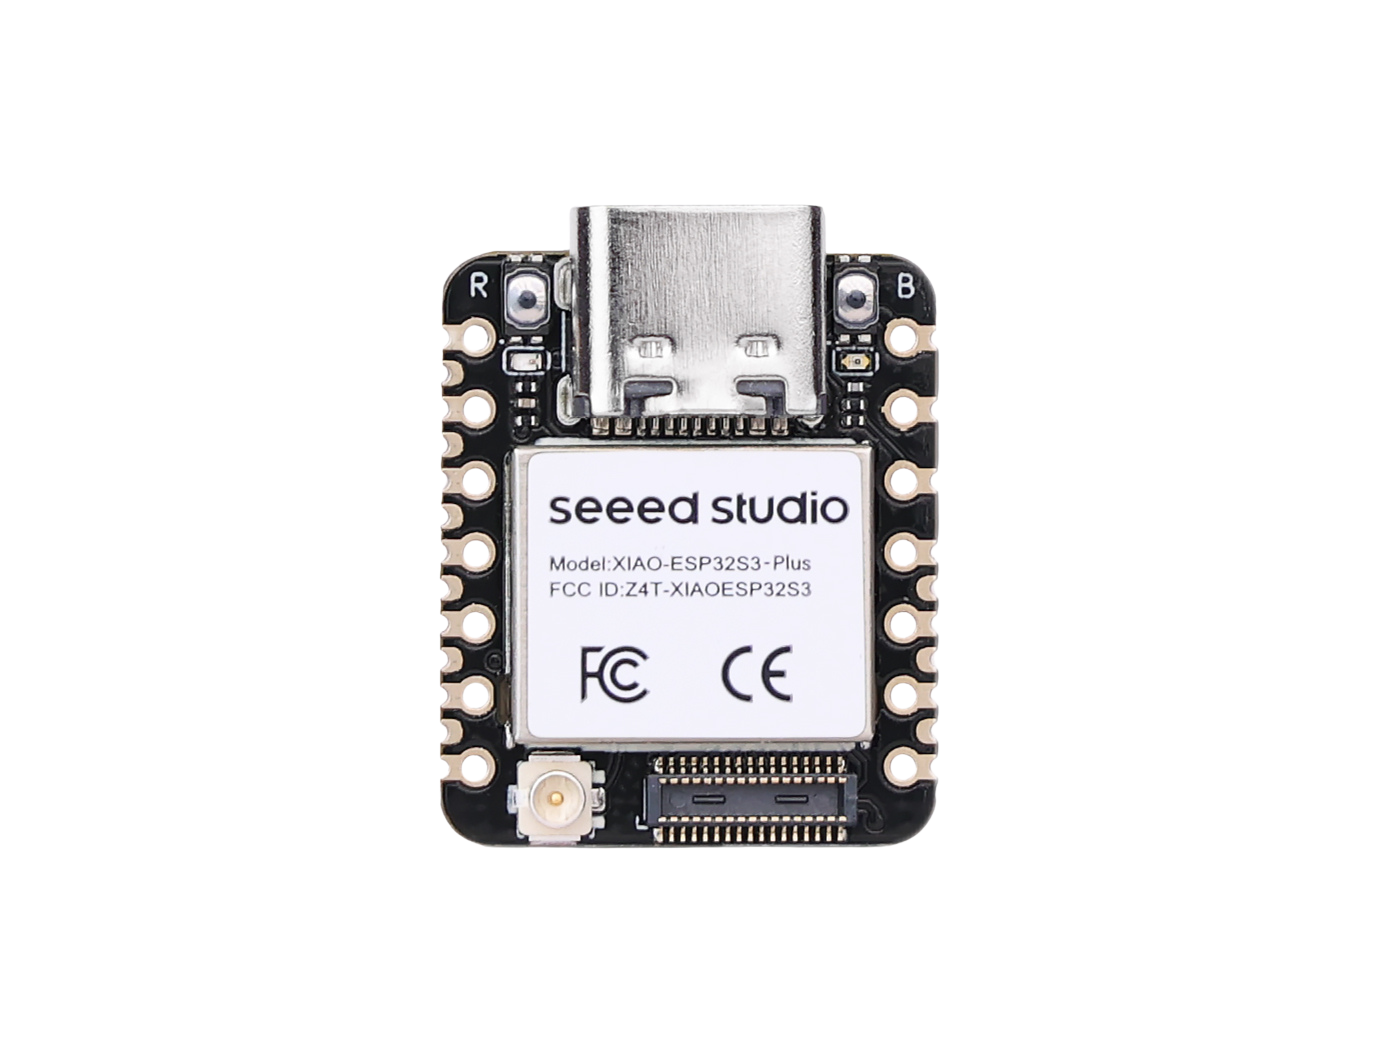
 Design with XIAO-ESP32-S3 in Cirkit Designer
Introduction
The XIAO-ESP32-S3 is a compact microcontroller board developed by ESP32, featuring the powerful ESP32-S3 chip. This board is specifically designed for IoT (Internet of Things) applications, offering built-in Wi-Fi and Bluetooth Low Energy (BLE) capabilities. Its small form factor and versatile features make it an excellent choice for projects requiring wireless connectivity, such as smart home devices, wearable electronics, and remote monitoring systems.
Explore Projects Built with XIAO-ESP32-S3
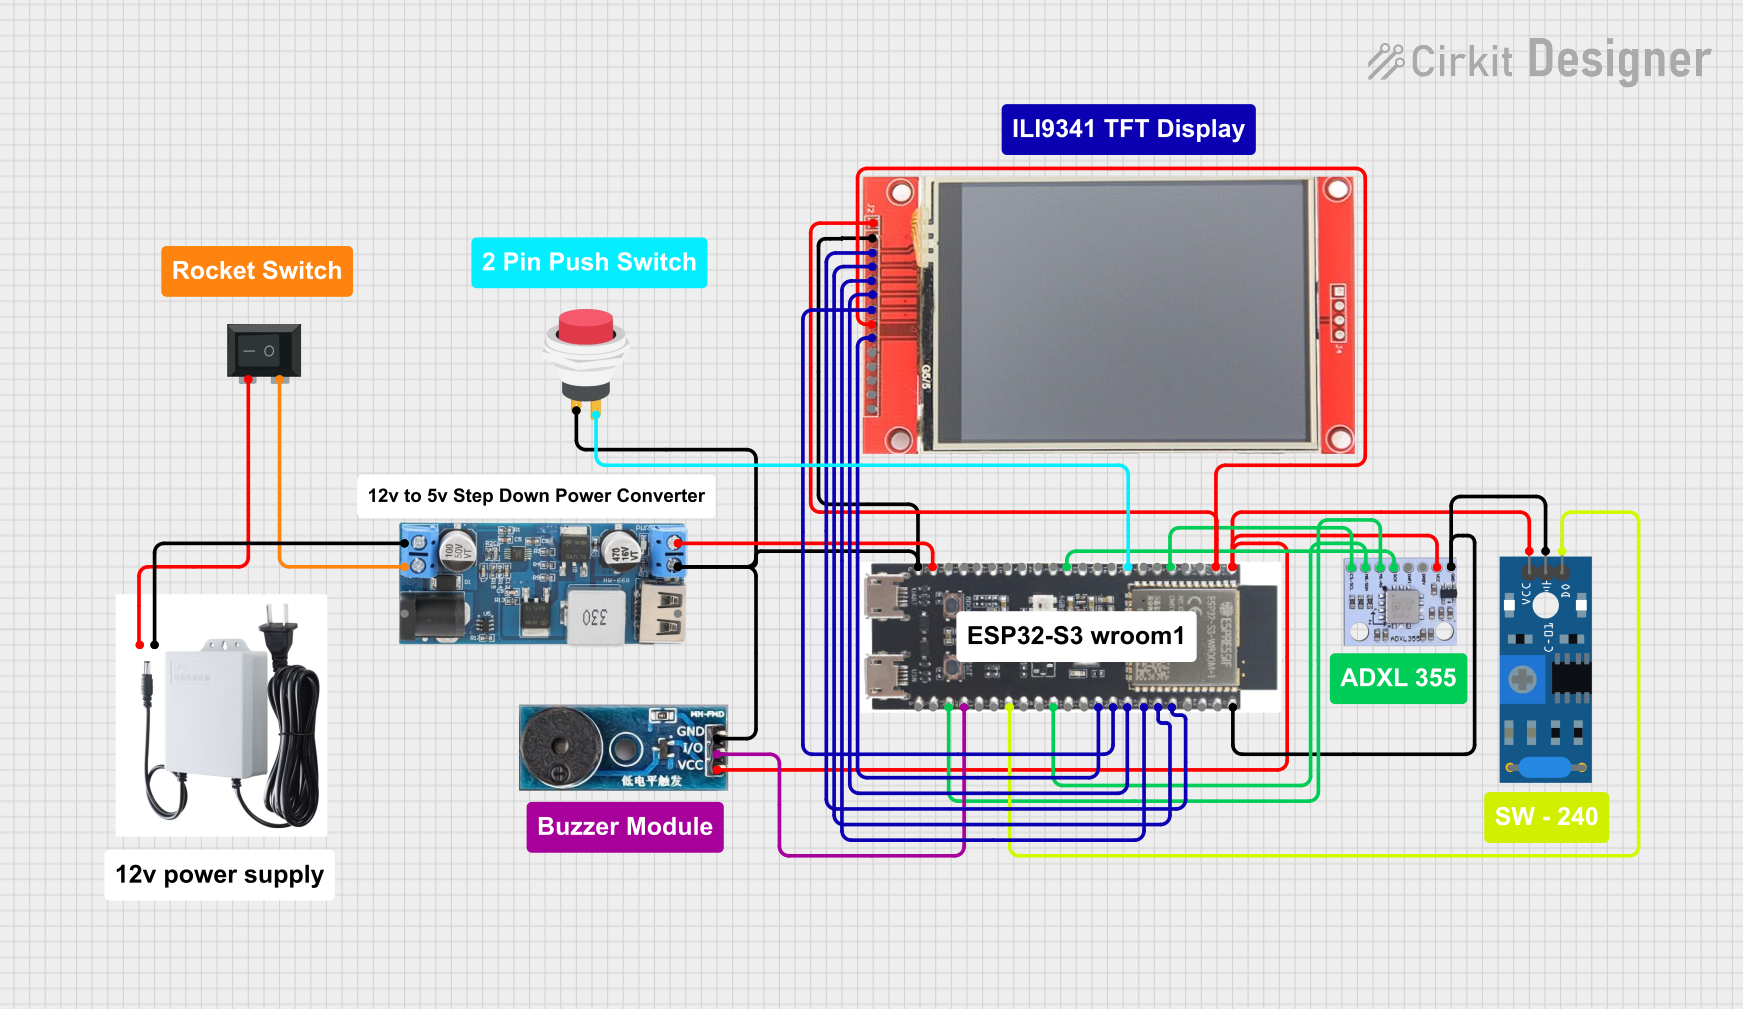 Open Project in Cirkit Designer
 Open Project in Cirkit Designer
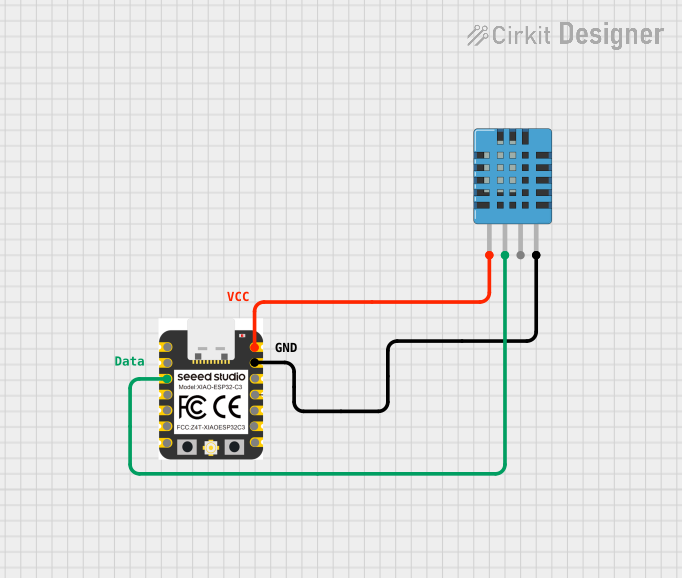 Open Project in Cirkit Designer
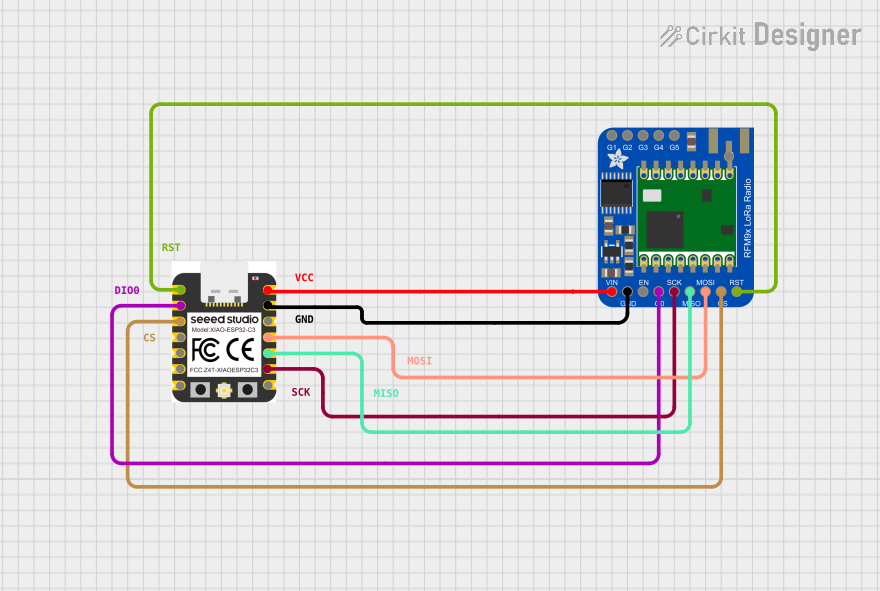 Open Project in Cirkit Designer
Explore Projects Built with XIAO-ESP32-S3
Open Project in Cirkit DesignerOpen Project in Cirkit DesignerOpen Project in Cirkit DesignerOpen Project in Cirkit DesignerCommon Applications and Use Cases
- IoT devices and smart home automation
- Wearable technology
- Wireless data logging and monitoring
- Robotics and sensor networks
- Prototyping for Wi-Fi and BLE-enabled projects
Technical Specifications
The XIAO-ESP32-S3 is packed with features that make it suitable for a wide range of applications. Below are its key technical specifications:
| Specification | Details |
|---|---|
| Microcontroller | ESP32-S3 (Xtensa® 32-bit LX7 dual-core processor) |
| Clock Speed | Up to 240 MHz |
| Flash Memory | 8 MB |
| SRAM | 512 KB |
| Wireless Connectivity | Wi-Fi 802.11 b/g/n (2.4 GHz), Bluetooth 5.0 LE |
| GPIO Pins | 11 (including ADC, I2C, SPI, UART, PWM) |
| Operating Voltage | 3.3V |
| Input Voltage Range | 5V (via USB-C) |
| Power Consumption | Ultra-low power consumption in deep sleep mode |
| Dimensions | 21 x 17.5 mm |
Pin Configuration and Descriptions
The XIAO-ESP32-S3 features a total of 11 GPIO pins, which can be configured for various functions. Below is the pinout description:
| Pin | Name | Function | Description |
|---|---|---|---|
| 1 | 3V3 | Power | 3.3V output for powering external components |
| 2 | GND | Ground | Ground connection |
| 3 | GPIO0 | Digital I/O, ADC, PWM | General-purpose I/O, analog input, or PWM output |
| 4 | GPIO1 | Digital I/O, ADC, PWM | General-purpose I/O, analog input, or PWM output |
| 5 | GPIO2 | Digital I/O, I2C SDA | General-purpose I/O or I2C data line |
| 6 | GPIO3 | Digital I/O, I2C SCL | General-purpose I/O or I2C clock line |
| 7 | GPIO4 | Digital I/O, UART TX | General-purpose I/O or UART transmit |
| 8 | GPIO5 | Digital I/O, UART RX | General-purpose I/O or UART receive |
| 9 | GPIO6 | Digital I/O, SPI MOSI | General-purpose I/O or SPI data out |
| 10 | GPIO7 | Digital I/O, SPI MISO | General-purpose I/O or SPI data in |
| 11 | GPIO8 | Digital I/O, SPI SCK | General-purpose I/O or SPI clock |
Usage Instructions
How to Use the XIAO-ESP32-S3 in a Circuit
Powering the Board:
- Use a USB-C cable to supply 5V to the board. The onboard voltage regulator will convert it to 3.3V for the microcontroller.
- Alternatively, you can power the board through the 3V3 pin with a regulated 3.3V supply.
Connecting Peripherals:
- Use the GPIO pins to connect sensors, actuators, or other peripherals. Ensure the voltage levels are compatible with the 3.3V logic of the board.
- For communication protocols like I2C, SPI, or UART, connect the appropriate pins as per the pinout table.
Programming the Board:
- Install the Arduino IDE or ESP-IDF (Espressif IoT Development Framework) on your computer.
- Add the ESP32 board support package to the Arduino IDE by including the appropriate URL in the Board Manager.
- Select "XIAO-ESP32-S3" as the target board and upload your code via the USB-C connection.
Important Considerations and Best Practices
- Voltage Levels: Ensure all connected peripherals operate at 3.3V logic levels to avoid damaging the board.
- Deep Sleep Mode: Utilize the deep sleep mode for battery-powered applications to minimize power consumption.
- Antenna Placement: Avoid placing metal objects near the onboard antenna to ensure optimal Wi-Fi and Bluetooth performance.
- Firmware Updates: Regularly update the firmware to benefit from the latest features and bug fixes.
Example Code for Arduino UNO Integration
Below is an example of using the XIAO-ESP32-S3 to read data from a temperature sensor and send it over Wi-Fi:
#include <WiFi.h>

// Replace with your network credentials
const char* ssid = "Your_SSID";
const char* password = "Your_PASSWORD";

void setup() {
  Serial.begin(115200); // Initialize serial communication
  WiFi.begin(ssid, password); // Connect to Wi-Fi

  // Wait for connection
  while (WiFi.status() != WL_CONNECTED) {
    delay(1000);
    Serial.println("Connecting to Wi-Fi...");
  }
  Serial.println("Connected to Wi-Fi!");
}

void loop() {
  // Example: Print the IP address
  Serial.println(WiFi.localIP());
  delay(5000); // Wait 5 seconds before printing again
}
Troubleshooting and FAQs
Common Issues Users Might Face
Wi-Fi Connection Fails:
- Ensure the SSID and password are correct.
- Check if the router is within range and functioning properly.
- Verify that the onboard antenna is not obstructed.
Board Not Recognized by Computer:
- Ensure the USB-C cable is data-capable (not just for charging).
- Install the necessary USB drivers for the XIAO-ESP32-S3.
Code Upload Fails:
- Check that the correct board and port are selected in the Arduino IDE.
- Press the reset button on the board before uploading the code.
Solutions and Tips for Troubleshooting
- Debugging with Serial Monitor: Use the Serial Monitor in the Arduino IDE to print debug messages and identify issues in your code.
- Power Supply Issues: If the board behaves erratically, ensure it is receiving a stable 5V input via USB-C or 3.3V via the 3V3 pin.
- Resetting the Board: If the board becomes unresponsive, press the reset button to restart it.
By following this documentation, you can effectively utilize the XIAO-ESP32-S3 for your IoT and wireless connectivity projects.