How to Use 12V White LED strip: Examples, Pinouts, and Specs
Introduction
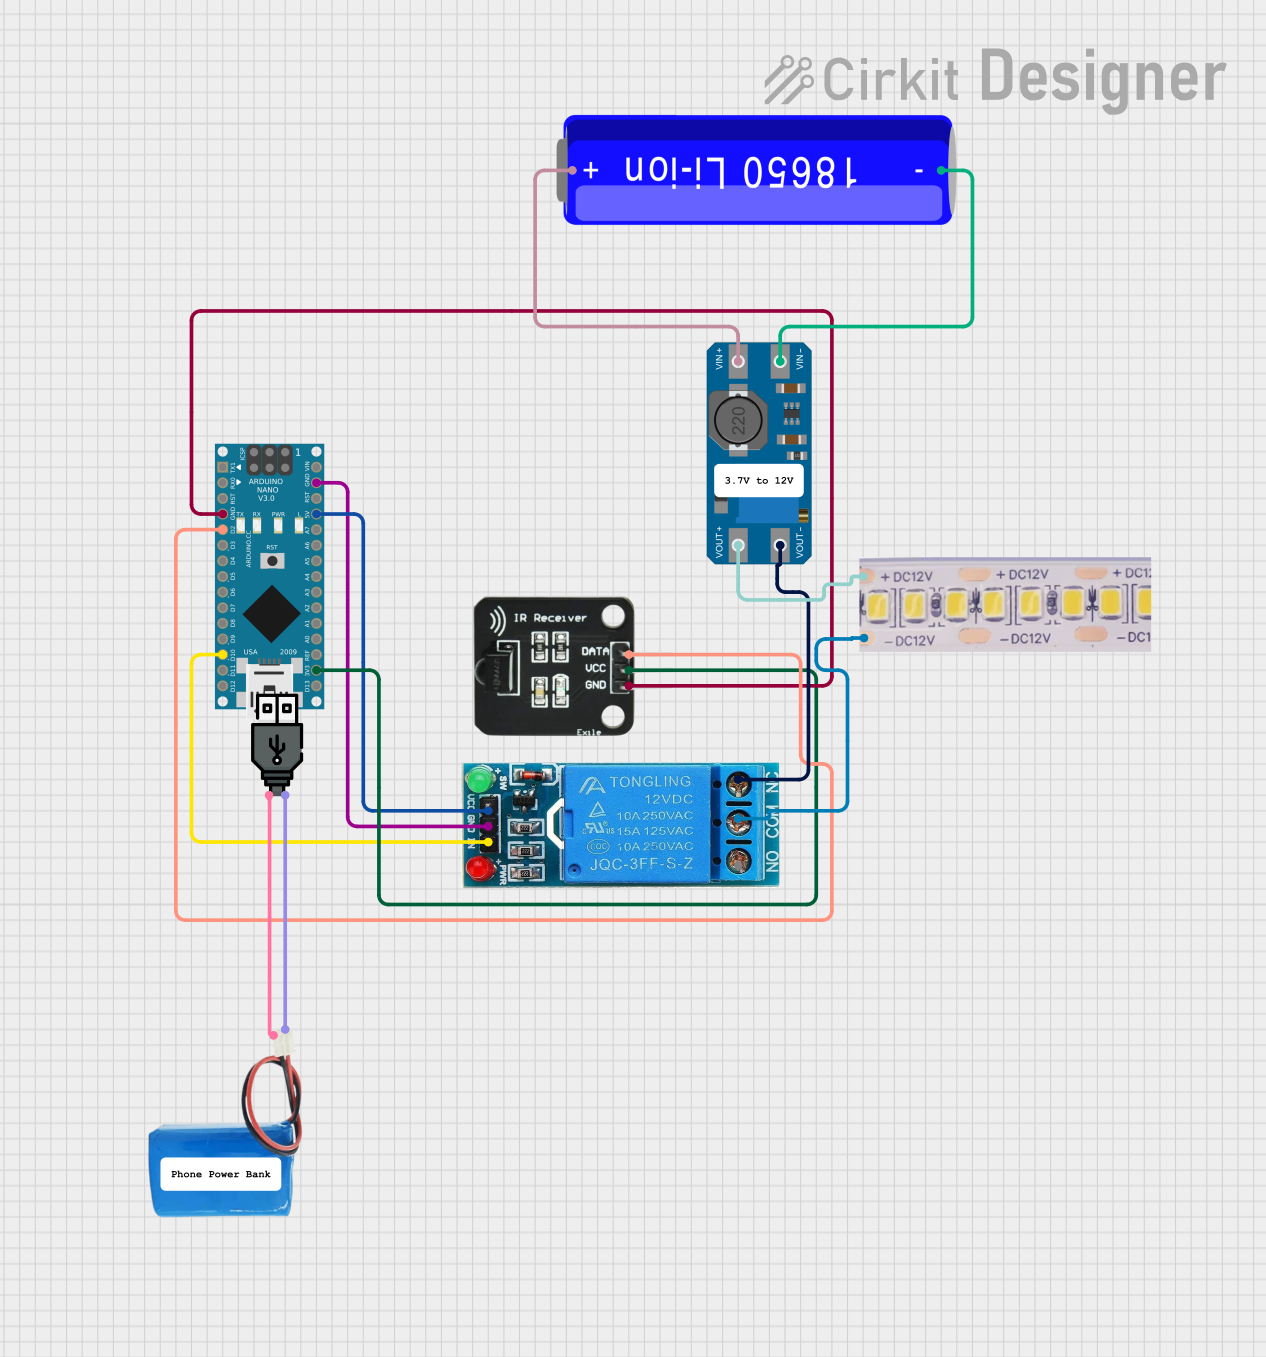
A 12V White LED Strip is a flexible and versatile lighting solution that consists of many small LED emitters mounted on a strip, which can be cut to size and installed in a variety of settings. These strips are commonly used for accent lighting, backlighting, task lighting, and decorative lighting in both residential and commercial environments.
Explore Projects Built with 12V White LED strip
Explore Projects Built with 12V White LED strip
Common Applications and Use Cases
- Under-cabinet lighting in kitchens
- Backlighting for TVs or computer monitors
- Accent lighting for shelves or display cases
- Illumination for signage
- Decorative lighting for events or holidays
Technical Specifications
Key Technical Details
- Operating Voltage: 12V DC
- Light Color: White
- Color Temperature: Typically 3000K (Warm White) to 6500K (Cool White)
- Luminous Flux: Varies by model, often around 300-400 lumens per meter
- Power Consumption: Varies by model, approximately 4.8W to 14.4W per meter
- LED Density: Commonly 30 to 60 LEDs per meter
- Strip Length: Often sold in reels of 5 meters, cuttable every 3 LEDs
- Lifespan: Approximately 25,000 to 50,000 hours
- Waterproof Rating: Varies (e.g., IP20 for no waterproofing, IP65 for splash-proof, IP67 for waterproof)
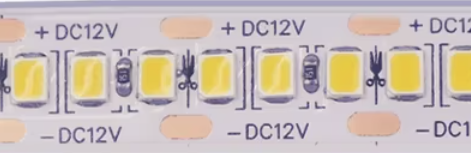
Pin Configuration and Descriptions
Since LED strips typically come with only two connections, a pin configuration table is not applicable. However, the two connections are as follows:
| Connection | Description |
|---|---|
| +12V | Power supply positive (anode) |
| GND | Power supply negative (cathode) |
Usage Instructions
How to Use the Component in a Circuit
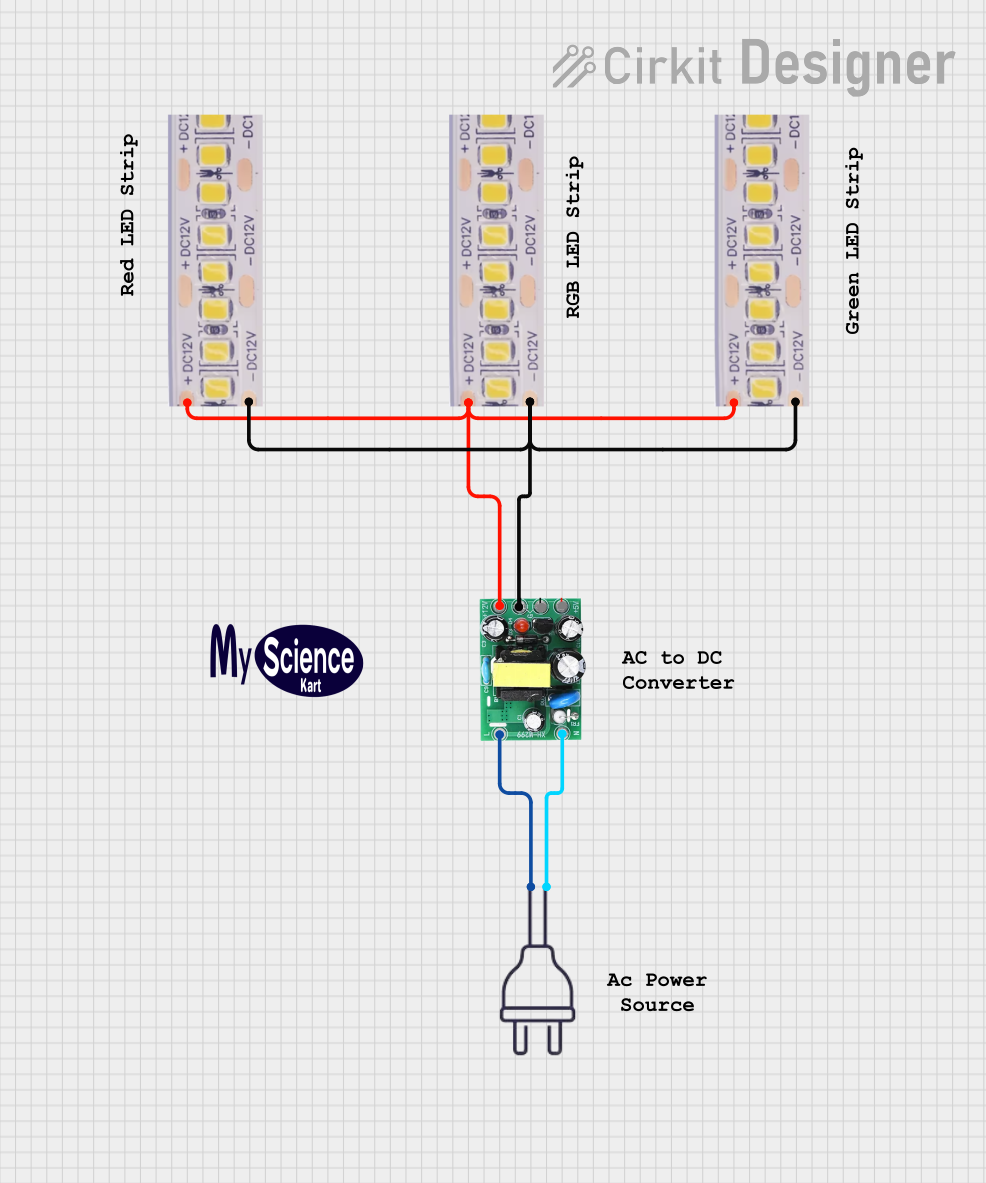
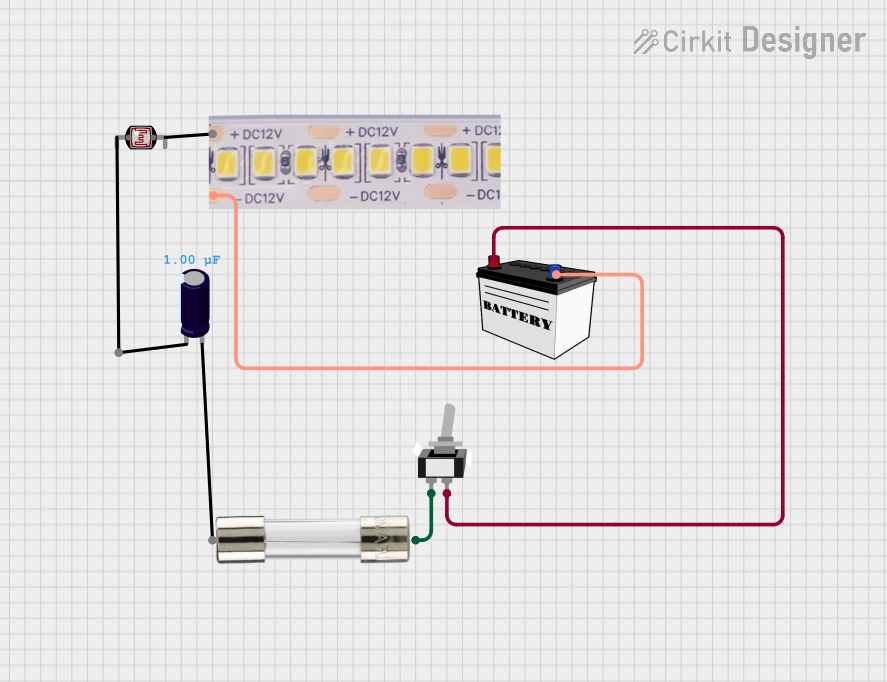
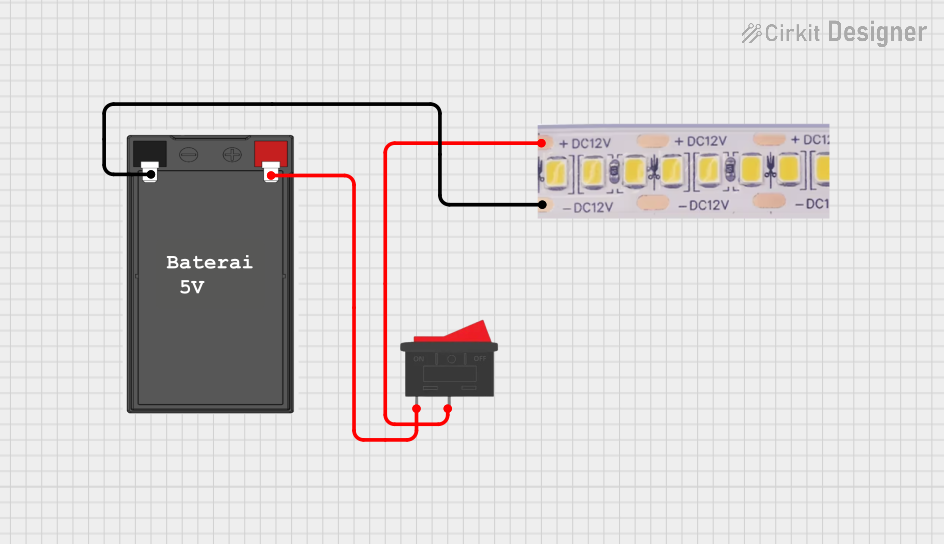
- Power Supply: Ensure you have a 12V DC power supply that can provide sufficient current for the length of the LED strip you intend to use.
- Connecting: Connect the +12V line of the LED strip to the positive terminal of the power supply, and the GND line to the negative terminal.
- Switching: To turn the LED strip on and off, a switch can be placed on the +12V line.
- Dimming: For dimming capabilities, a 12V LED dimmer can be inserted between the power supply and the LED strip.
Important Considerations and Best Practices
- Current Draw: Calculate the total current draw of your LED strip to ensure the power supply can handle the load.
- Heat Dissipation: LED strips can generate heat; ensure they are mounted on a surface that can help dissipate heat.
- Avoiding Voltage Drop: For long runs of LED strip, you may experience voltage drop. Use a higher gauge wire for power injection at various points along the strip.
- Cutting: Only cut the strip at the designated cut points to avoid damaging the LEDs or circuitry.
- Waterproofing: If the LED strip is not waterproof and you are using it in a moisture-prone area, additional waterproofing measures should be taken.
Troubleshooting and FAQs
Common Issues Users Might Face
- LED Strip Not Lighting Up: Check all connections, ensure the power supply is working, and that the polarity is correct.
- Dim or Uneven Lighting: This could be due to voltage drop; try power injection at multiple points.
- Flickering Lights: This may be caused by a loose connection or an inadequate power supply.
Solutions and Tips for Troubleshooting
- Ensure Polarity is Correct: The +12V and GND connections must be connected to the corresponding terminals on the power supply.
- Check Power Supply: Verify that the power supply is rated for the total current draw of the LED strip.
- Inspect Connections: Loose or poor connections can cause issues; ensure all connections are secure.
Example Arduino UNO Code
// Example code to control a 12V White LED Strip with an Arduino UNO
// and a MOSFET for switching/dimming.

const int ledPin = 9; // PWM pin connected to the gate of the MOSFET

void setup() {
  pinMode(ledPin, OUTPUT);
}

void loop() {
  // Fade the LED strip from off to full brightness
  for (int brightness = 0; brightness <= 255; brightness++) {
    analogWrite(ledPin, brightness);
    delay(10); // Short delay to see the dimming effect
  }

  // Fade the LED strip from full brightness to off
  for (int brightness = 255; brightness >= 0; brightness--) {
    analogWrite(ledPin, brightness);
    delay(10); // Short delay to see the dimming effect
  }
}
Note: When connecting a 12V LED strip to an Arduino, a MOSFET should be used to switch the higher voltage, as the Arduino operates at 5V. The above code assumes a MOSFET is being used to control the LED strip. Ensure the MOSFET can handle the current required by the LED strip.