How to Use DF ROBOT FLAME SENSOR: Examples, Pinouts, and Specs
Introduction
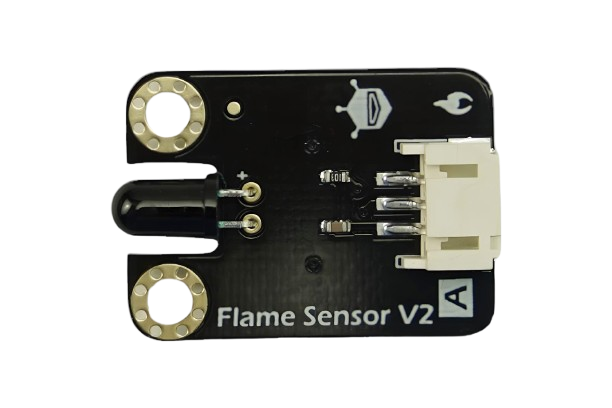
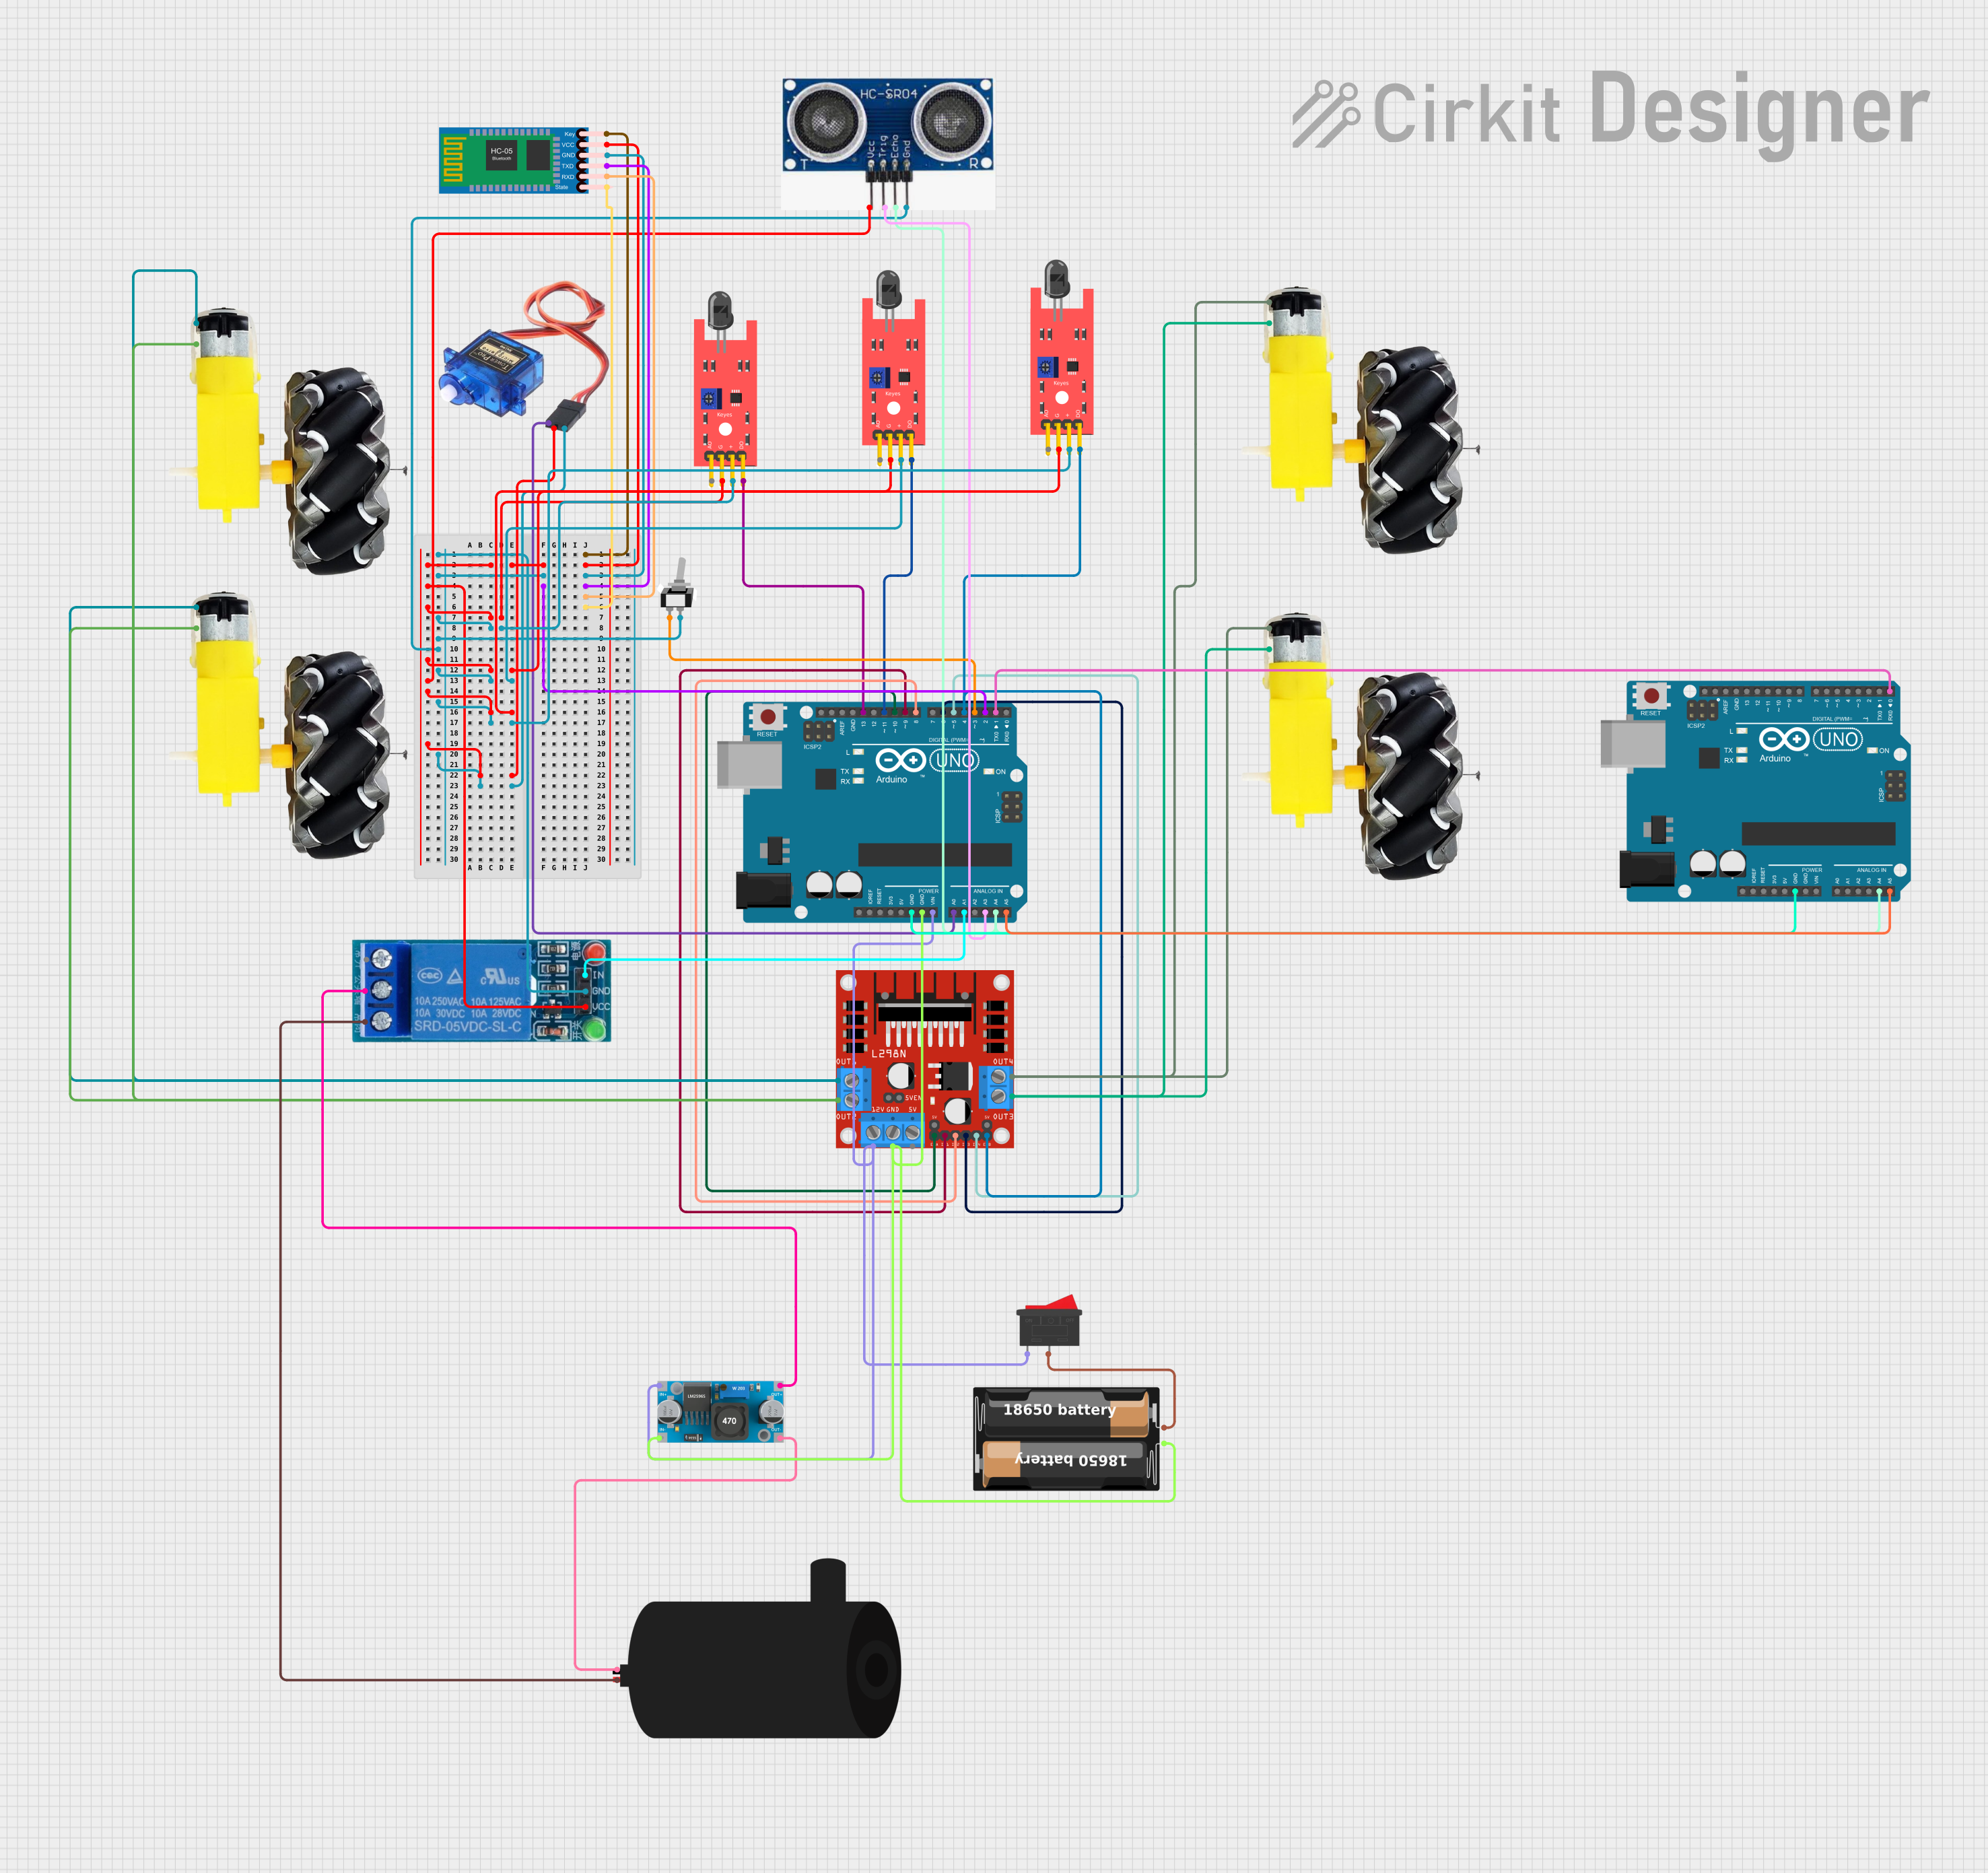
The DF Robot Flame Sensor is a specialized sensor designed to detect the presence of a flame or light source within the wavelength range of 760nm to 1100nm. This sensor is commonly used in fire detection systems, safety applications, and various projects requiring flame detection. Its ability to detect infrared light makes it an essential component in environments where fire safety is a priority.
Explore Projects Built with DF ROBOT FLAME SENSOR
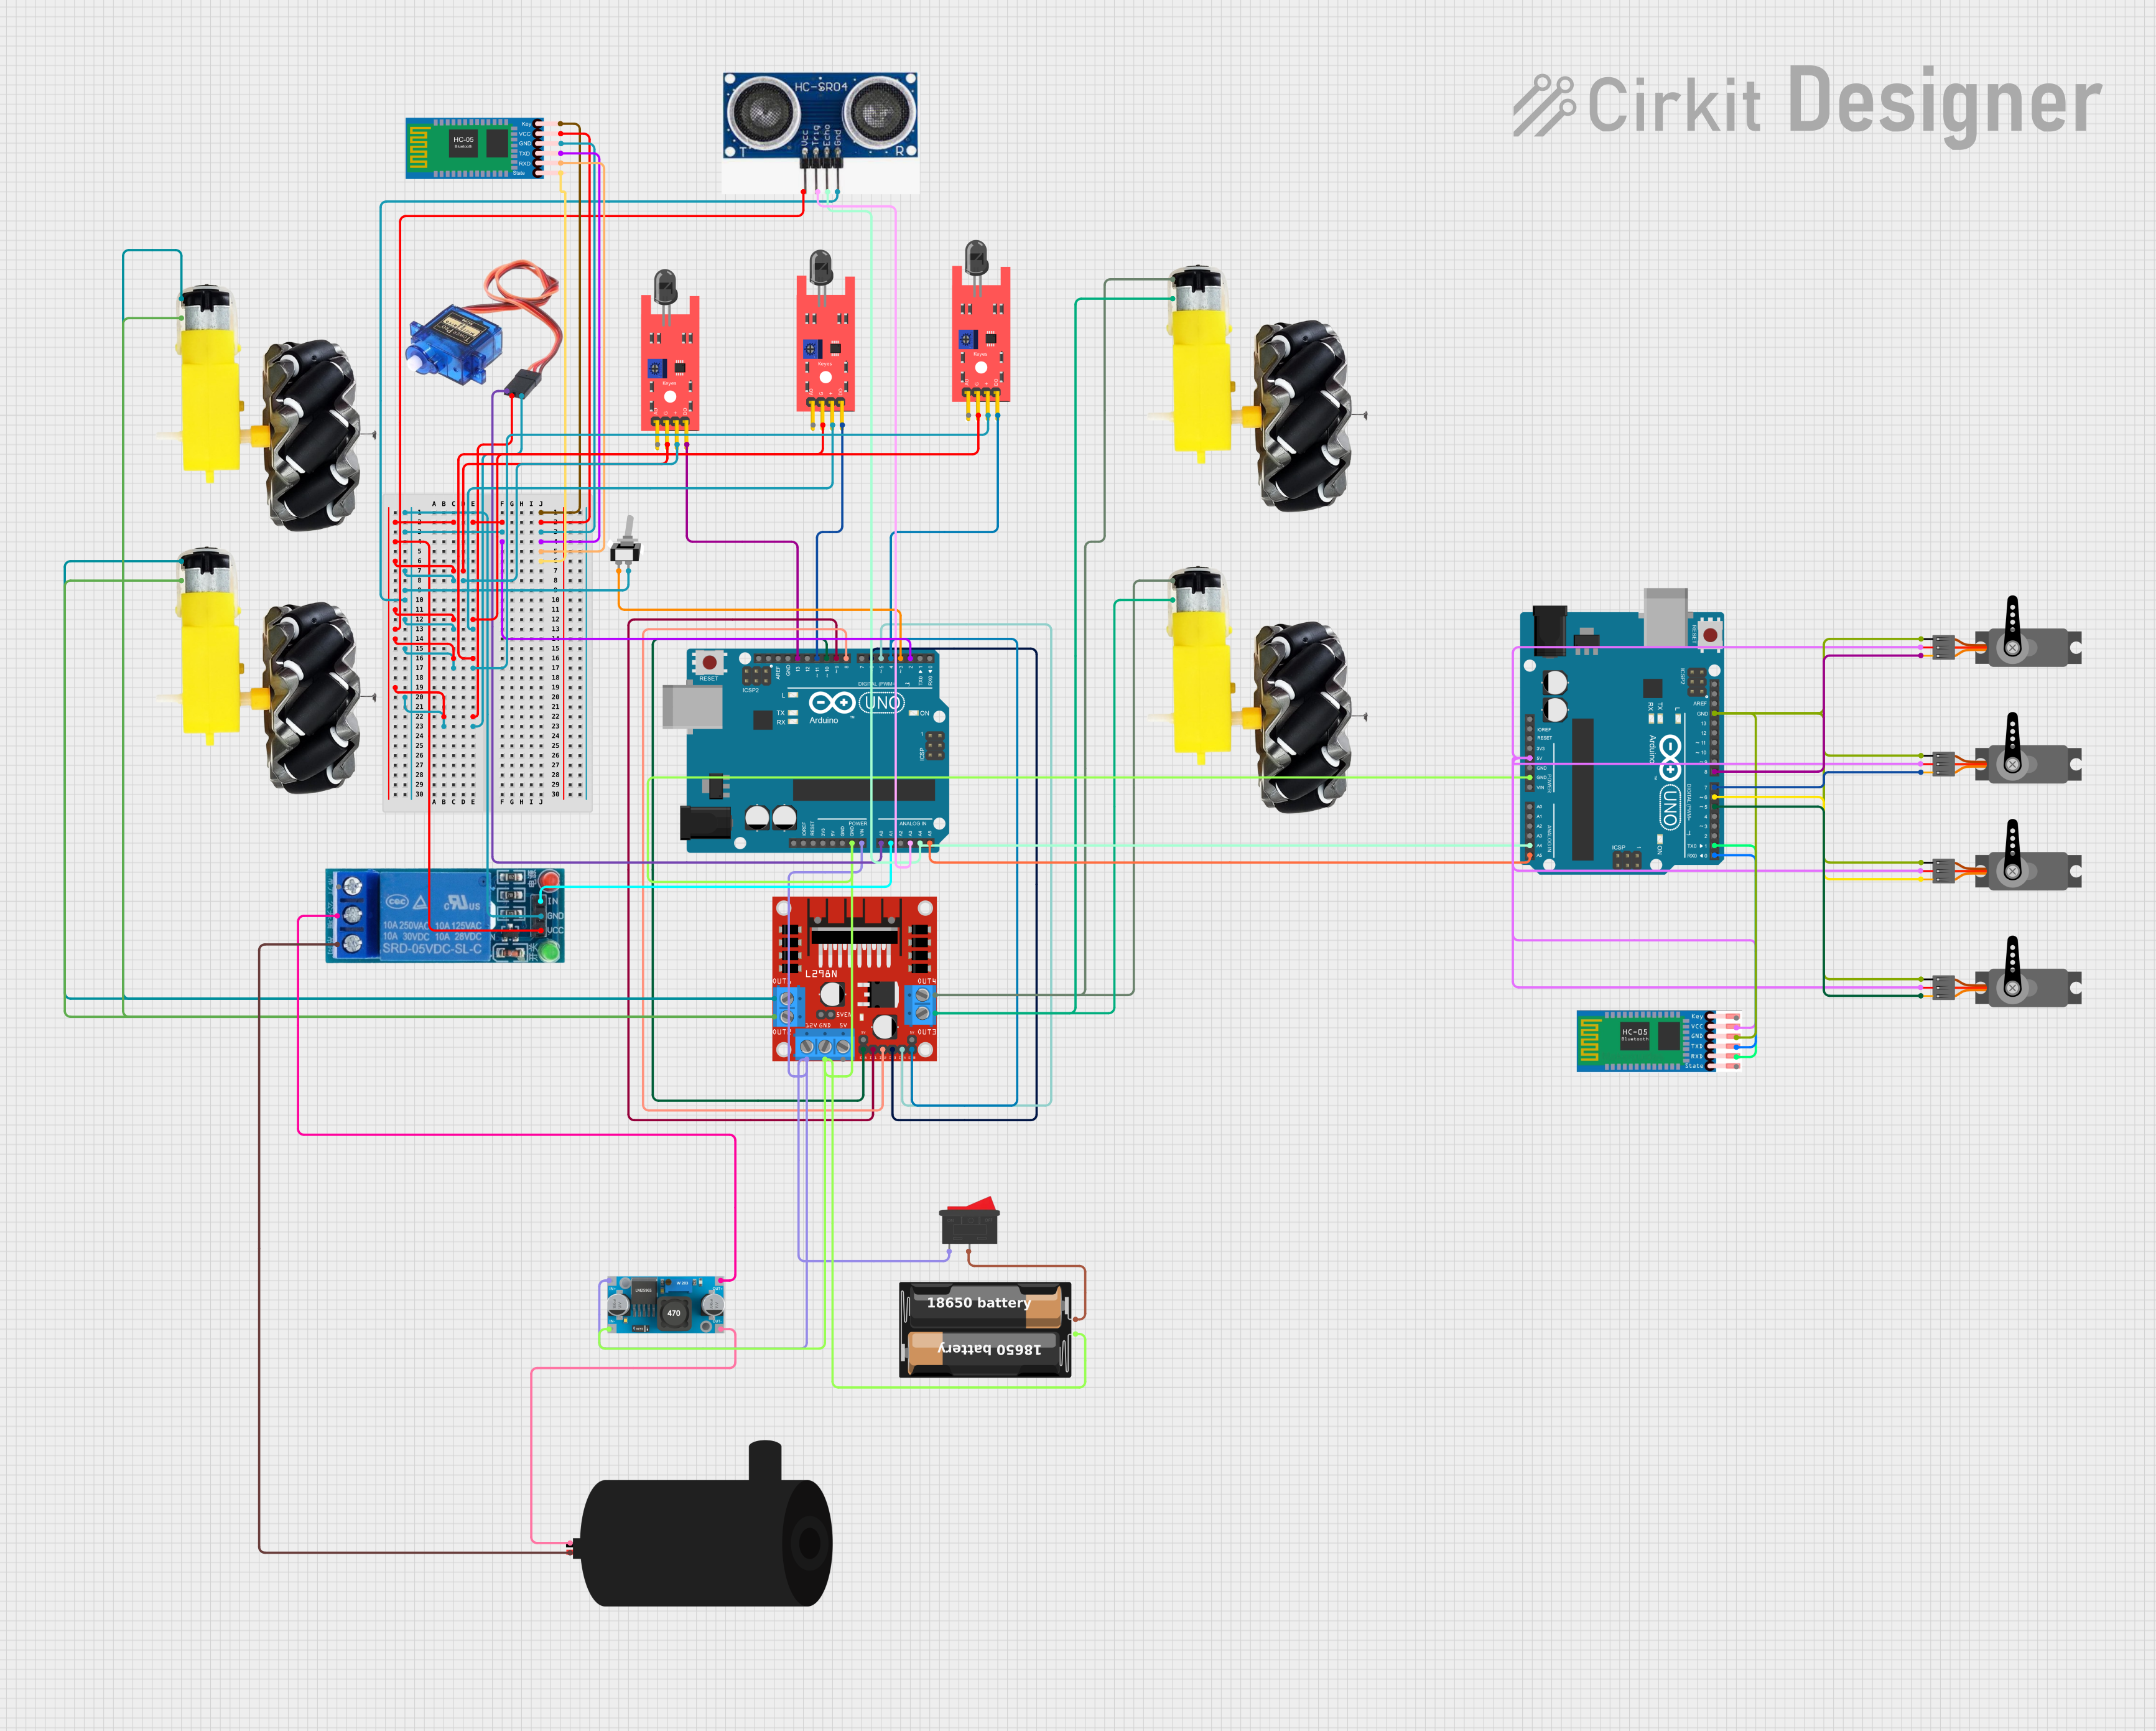
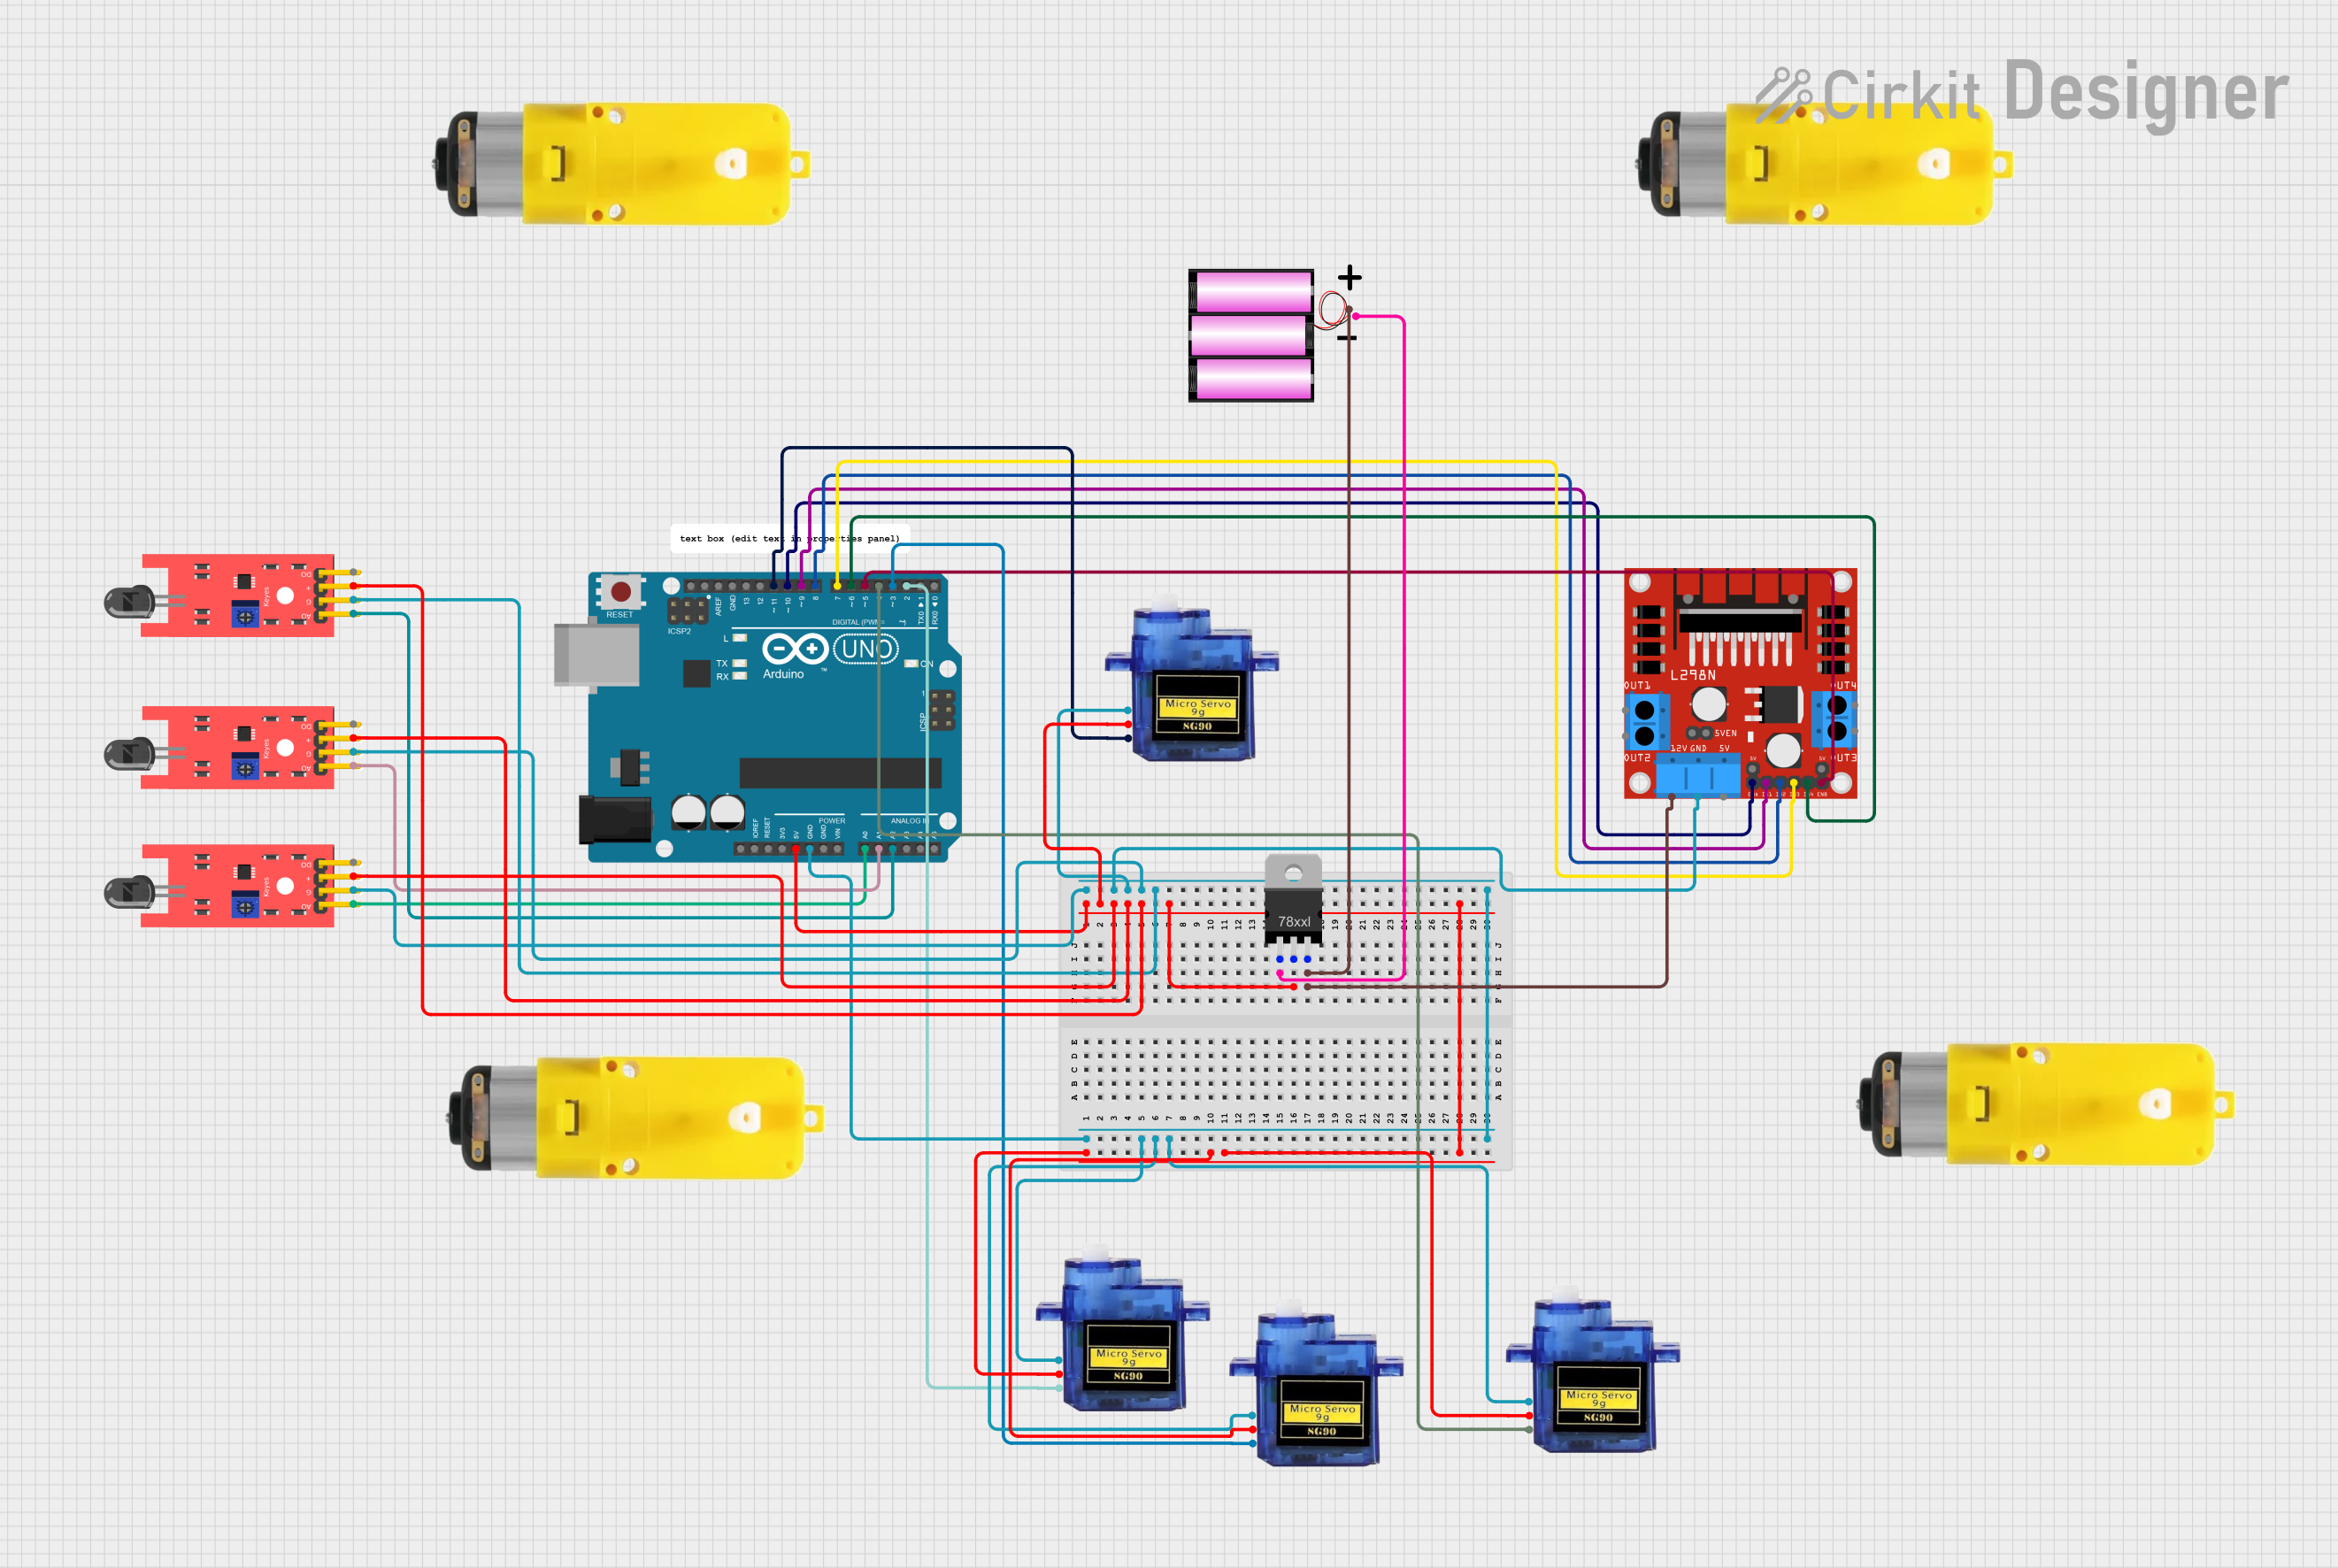
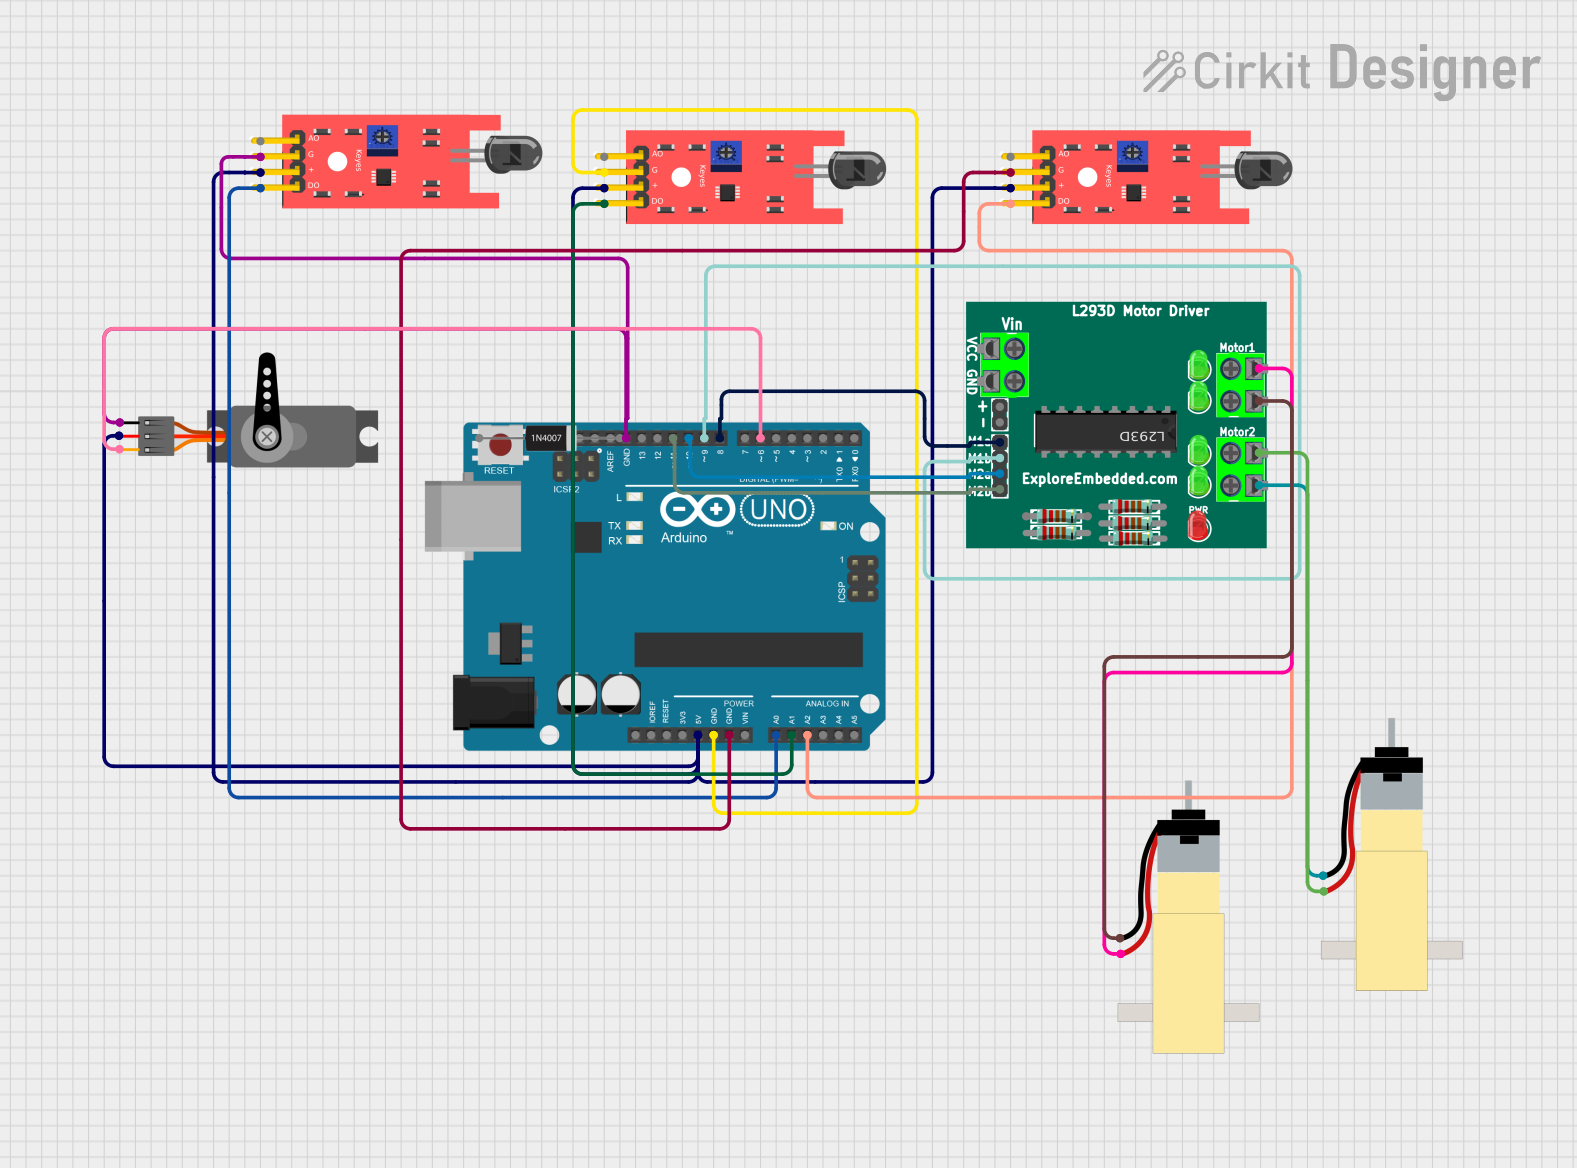
Explore Projects Built with DF ROBOT FLAME SENSOR
Technical Specifications
Key Technical Details
| Specification | Value |
|---|---|
| Operating Voltage | 3.3V to 5V |
| Operating Current | 20mA |
| Detection Range | 0 to 1 meter |
| Detection Angle | 60 degrees |
| Wavelength Range | 760nm to 1100nm |
| Output Type | Digital and Analog |
| Dimensions | 30mm x 16mm x 10mm |
Pin Configuration and Descriptions
| Pin Number | Pin Name | Description |
|---|---|---|
| 1 | VCC | Power supply (3.3V to 5V) |
| 2 | GND | Ground |
| 3 | D0 | Digital output (High when flame is detected) |
| 4 | A0 | Analog output (Voltage proportional to IR light) |
Usage Instructions
How to Use the Component in a Circuit
- Power Connection: Connect the VCC pin to a 3.3V or 5V power supply and the GND pin to the ground of your circuit.
- Digital Output: Connect the D0 pin to a digital input pin on your microcontroller (e.g., Arduino UNO) to receive a high signal when a flame is detected.
- Analog Output: Connect the A0 pin to an analog input pin on your microcontroller to receive a voltage proportional to the intensity of the detected IR light.
Important Considerations and Best Practices
- Power Supply: Ensure that the power supply voltage is within the specified range (3.3V to 5V) to avoid damaging the sensor.
- Detection Range: The sensor has a detection range of up to 1 meter. Position the sensor appropriately to ensure accurate detection.
- Interference: Avoid placing the sensor near other sources of infrared light to prevent false positives.
- Calibration: If using the analog output, consider calibrating the sensor to account for ambient light conditions.
Sample Arduino Code
// DF Robot Flame Sensor Example Code
// This code reads the digital and analog outputs of the flame sensor
// and prints the values to the Serial Monitor.

const int flameDigitalPin = 2; // Digital pin connected to D0
const int flameAnalogPin = A0; // Analog pin connected to A0

void setup() {
  pinMode(flameDigitalPin, INPUT); // Set digital pin as input
  Serial.begin(9600); // Initialize serial communication
}

void loop() {
  int flameDigitalValue = digitalRead(flameDigitalPin); // Read digital value
  int flameAnalogValue = analogRead(flameAnalogPin); // Read analog value

  // Print the digital and analog values to the Serial Monitor
  Serial.print("Digital Value: ");
  Serial.print(flameDigitalValue);
  Serial.print(" | Analog Value: ");
  Serial.println(flameAnalogValue);

  delay(500); // Wait for 500 milliseconds before next reading
}
Troubleshooting and FAQs
Common Issues Users Might Face
No Detection: The sensor does not detect any flame.
- Solution: Ensure the sensor is powered correctly and the flame is within the detection range and angle.
False Positives: The sensor detects a flame when there is none.
- Solution: Check for other sources of infrared light that might be interfering with the sensor.
Inconsistent Readings: The analog output values fluctuate significantly.
- Solution: Calibrate the sensor in the specific environment where it will be used to account for ambient light conditions.
Solutions and Tips for Troubleshooting
- Check Connections: Ensure all connections are secure and correct according to the pin configuration.
- Power Supply: Verify that the power supply voltage is within the specified range.
- Environmental Factors: Consider the environment where the sensor is used. Excessive ambient light or reflective surfaces can affect performance.
- Sensor Positioning: Adjust the sensor's position to ensure it has a clear line of sight to the flame source.
By following this documentation, users can effectively integrate the DF Robot Flame Sensor into their projects, ensuring reliable flame detection and enhancing safety measures.