How to Use 9v 6AA Battery: Examples, Pinouts, and Specs
Introduction
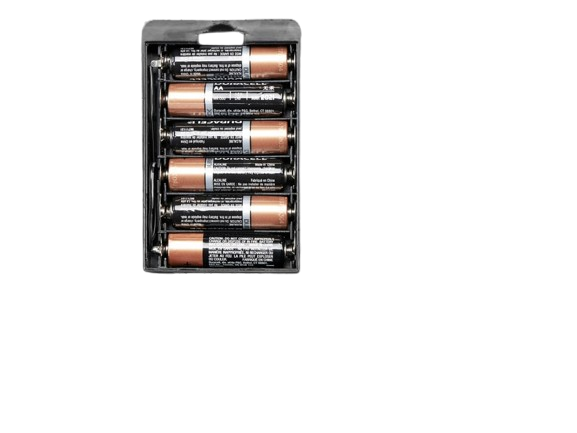
The 9V 6AA Battery is a battery pack consisting of six AA batteries connected in series to provide a total output voltage of 9 volts. This configuration is widely used in portable electronic devices, robotics, and DIY electronics projects due to its compact size and reliable power output. The battery pack is often equipped with a standard 9V snap connector, making it easy to integrate into circuits and devices.
Explore Projects Built with 9v 6AA Battery


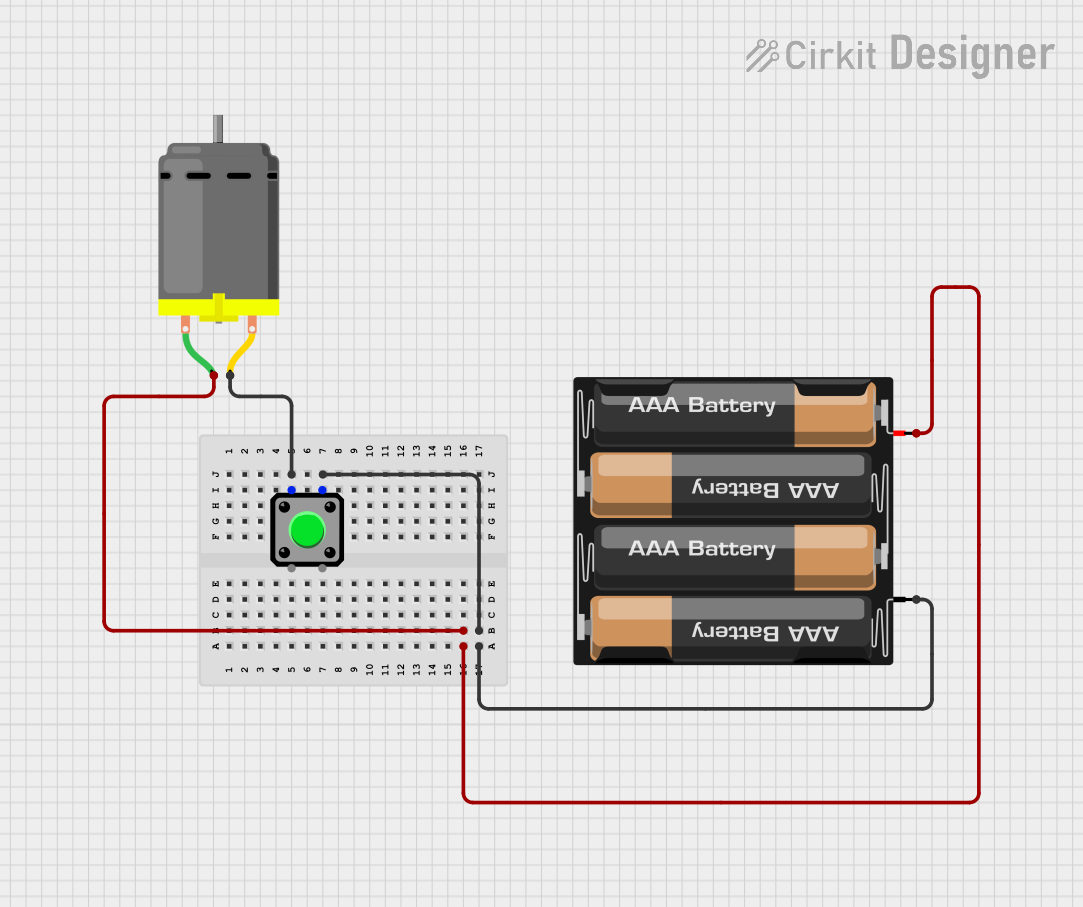

Explore Projects Built with 9v 6AA Battery
Common Applications
- Powering small electronic devices such as radios, remote controls, and toys.
- Supplying power to microcontroller-based projects (e.g., Arduino, Raspberry Pi).
- Backup power for low-power systems.
- Portable robotics and motorized systems.
Technical Specifications
The following table outlines the key technical details of the 9V 6AA Battery:
| Parameter | Specification |
|---|---|
| Nominal Voltage | 9V |
| Battery Type | 6 x AA (1.5V each, connected in series) |
| Capacity | Varies based on AA battery type (e.g., 2000-3000 mAh for alkaline) |
| Connector Type | Standard 9V snap connector |
| Dimensions | Approx. 58mm x 50mm x 30mm (varies by holder design) |
| Weight | Approx. 150-200g (with batteries) |
Pin Configuration
The 9V 6AA Battery pack typically uses a 9V snap connector with two terminals:
| Pin | Description |
|---|---|
| Positive (+) | Supplies +9V output voltage |
| Negative (-) | Ground (0V reference) |
Usage Instructions
How to Use the 9V 6AA Battery in a Circuit
- Connect the Battery Pack: Attach the 9V snap connector to the corresponding terminals of your circuit or device. Ensure the polarity is correct (positive to positive, negative to ground).
- Verify Voltage: Use a multimeter to confirm the output voltage is approximately 9V before connecting to sensitive components.
- Powering Devices: The battery pack can directly power devices that operate at 9V. For devices requiring lower voltages, use a voltage regulator (e.g., LM7805 for 5V output).
- Mounting: Secure the battery pack in your project using a holder or adhesive to prevent movement.
Important Considerations
- Battery Type: Use high-quality AA batteries (alkaline or rechargeable NiMH) for optimal performance.
- Current Draw: Ensure the total current draw of your circuit does not exceed the capacity of the batteries.
- Polarity: Double-check the polarity of the connections to avoid damaging your components.
- Battery Life: Replace or recharge the batteries when the voltage drops below the required level for your device.
Example: Connecting to an Arduino UNO
The 9V 6AA Battery can be used to power an Arduino UNO via its DC barrel jack or VIN pin. Below is an example of how to connect it:
- Connect the positive terminal of the battery pack to the Arduino's VIN pin (or DC barrel jack center pin).
- Connect the negative terminal to the Arduino's GND pin.
Sample Code for Arduino UNO
// Example: Blinking an LED using a 9V 6AA Battery to power the Arduino UNO

const int ledPin = 13; // Pin connected to the onboard LED

void setup() {
  pinMode(ledPin, OUTPUT); // Set the LED pin as an output
}

void loop() {
  digitalWrite(ledPin, HIGH); // Turn the LED on
  delay(1000);                // Wait for 1 second
  digitalWrite(ledPin, LOW);  // Turn the LED off
  delay(1000);                // Wait for 1 second
}
Note: Ensure the Arduino's onboard voltage regulator is functioning properly when using the VIN pin or DC barrel jack.
Troubleshooting and FAQs
Common Issues
Battery Pack Not Supplying Power
- Cause: Loose or incorrect connections.
- Solution: Check the snap connector and ensure proper polarity.
Voltage Drops Below 9V
- Cause: Batteries are depleted or of low quality.
- Solution: Replace the batteries with new or fully charged ones.
Device Not Powering On
- Cause: Excessive current draw or incorrect voltage.
- Solution: Verify the current and voltage requirements of your device. Use a voltage regulator if needed.
Overheating
- Cause: Short circuit or excessive current draw.
- Solution: Disconnect the battery immediately and inspect the circuit for faults.
FAQs
Q: Can I use rechargeable batteries in the 9V 6AA Battery pack?
A: Yes, you can use rechargeable NiMH or NiCd AA batteries. However, note that their nominal voltage is typically 1.2V per cell, resulting in a total output of 7.2V instead of 9V.
Q: How long will the battery pack last?
A: Battery life depends on the capacity of the AA batteries and the current draw of your device. For example, with 2000mAh batteries and a 100mA load, the pack can last approximately 20 hours.
Q: Can I connect multiple 9V 6AA Battery packs in parallel?
A: Yes, connecting packs in parallel increases the total capacity (mAh) while maintaining the same voltage. Ensure all packs are of the same type and charge level.
Q: Is it safe to leave the battery pack connected when not in use?
A: It is recommended to disconnect the battery pack when not in use to prevent unnecessary discharge or potential short circuits.
By following this documentation, you can effectively use the 9V 6AA Battery pack in your projects and troubleshoot common issues with ease.