
How to Use SPEAKJET: Examples, Pinouts, and Specs
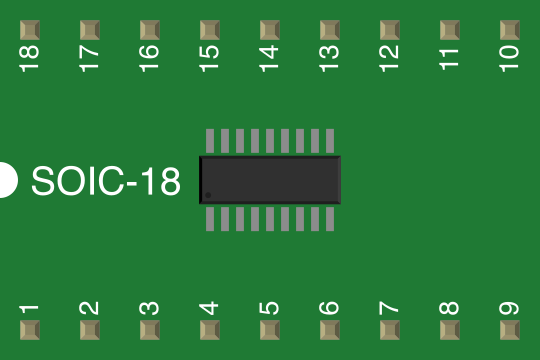
 Design with SPEAKJET in Cirkit Designer
Introduction
The SpeakJet by Magnevation is a compact and versatile sound synthesis IC designed to generate audio output for a wide range of applications. It is capable of producing speech, sound effects, and musical tones without the need for external processing. The SpeakJet is based on a 5-channel synthesizer and can generate over 72 speech elements, 43 sound effects, and 12 DTMF (Dual-Tone Multi-Frequency) tones. Its standalone operation and ease of integration make it ideal for use in toys, robotics, alarms, and other electronic projects requiring audio feedback or voice playback.
Explore Projects Built with SPEAKJET
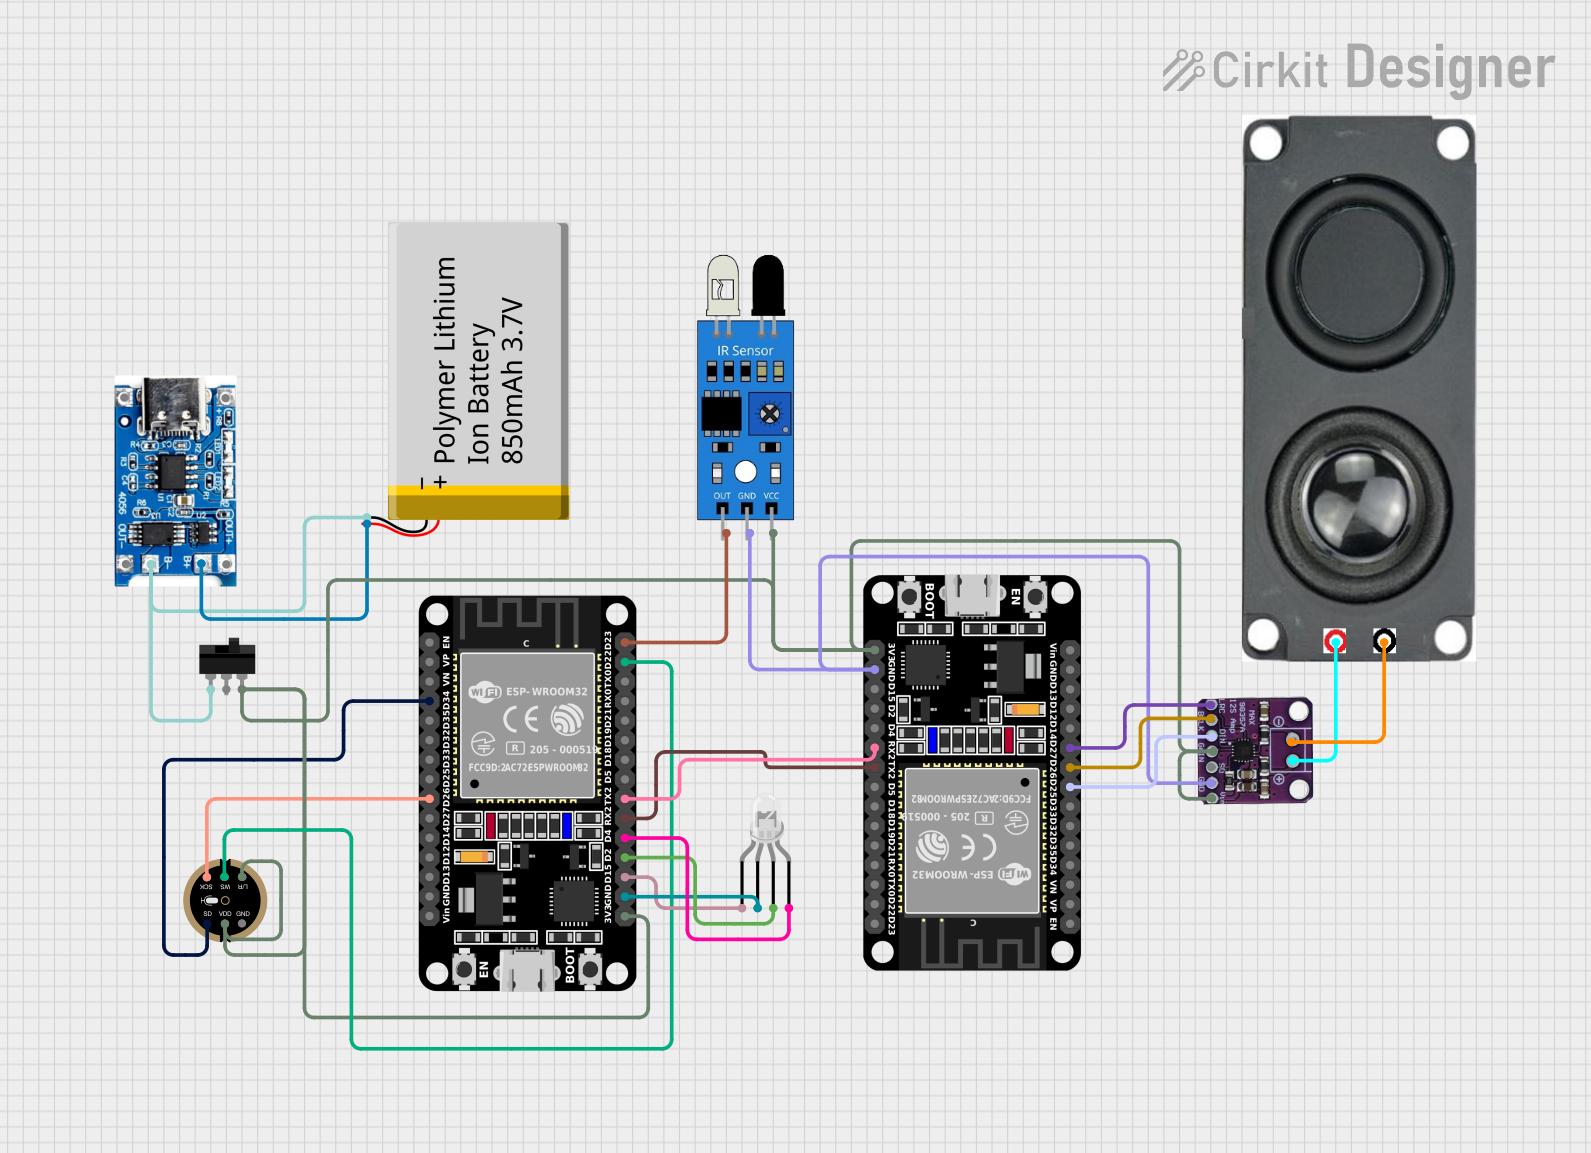 Open Project in Cirkit Designer
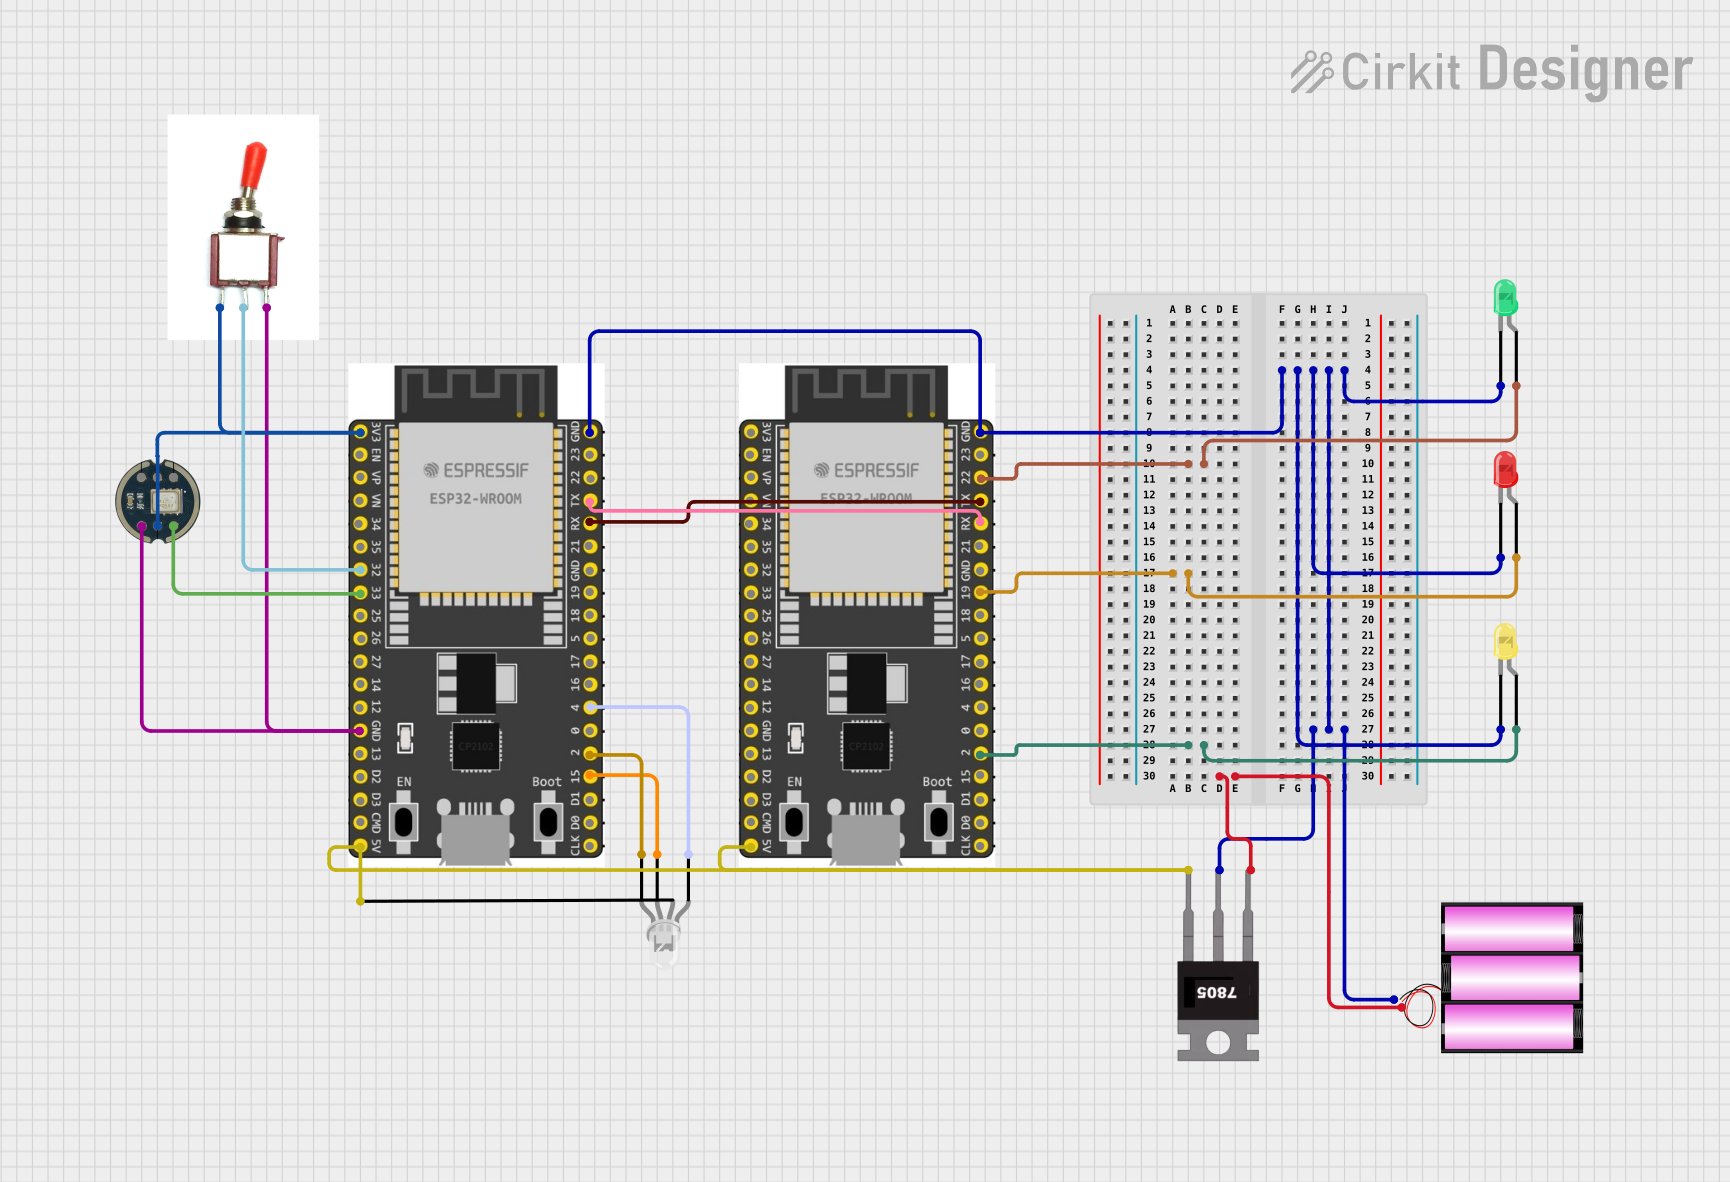 Open Project in Cirkit Designer
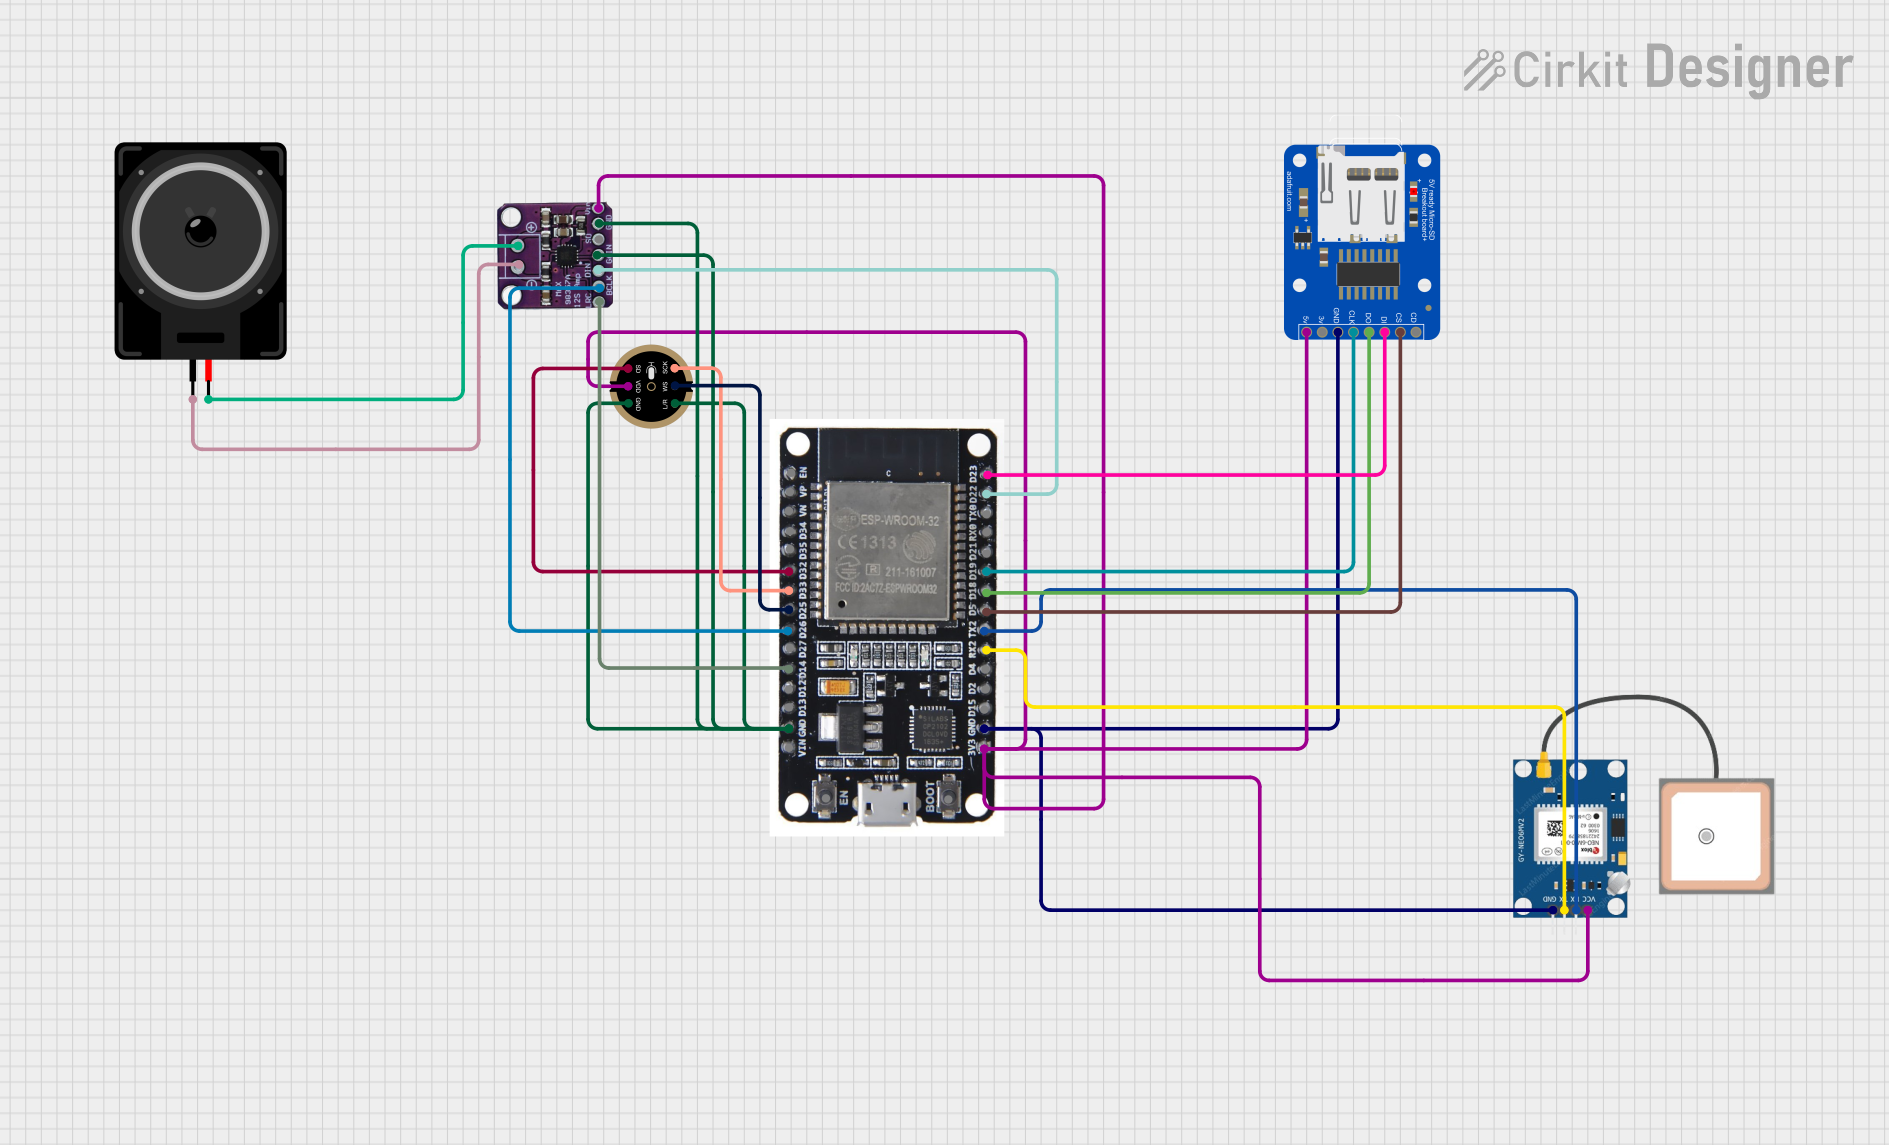 Open Project in Cirkit Designer
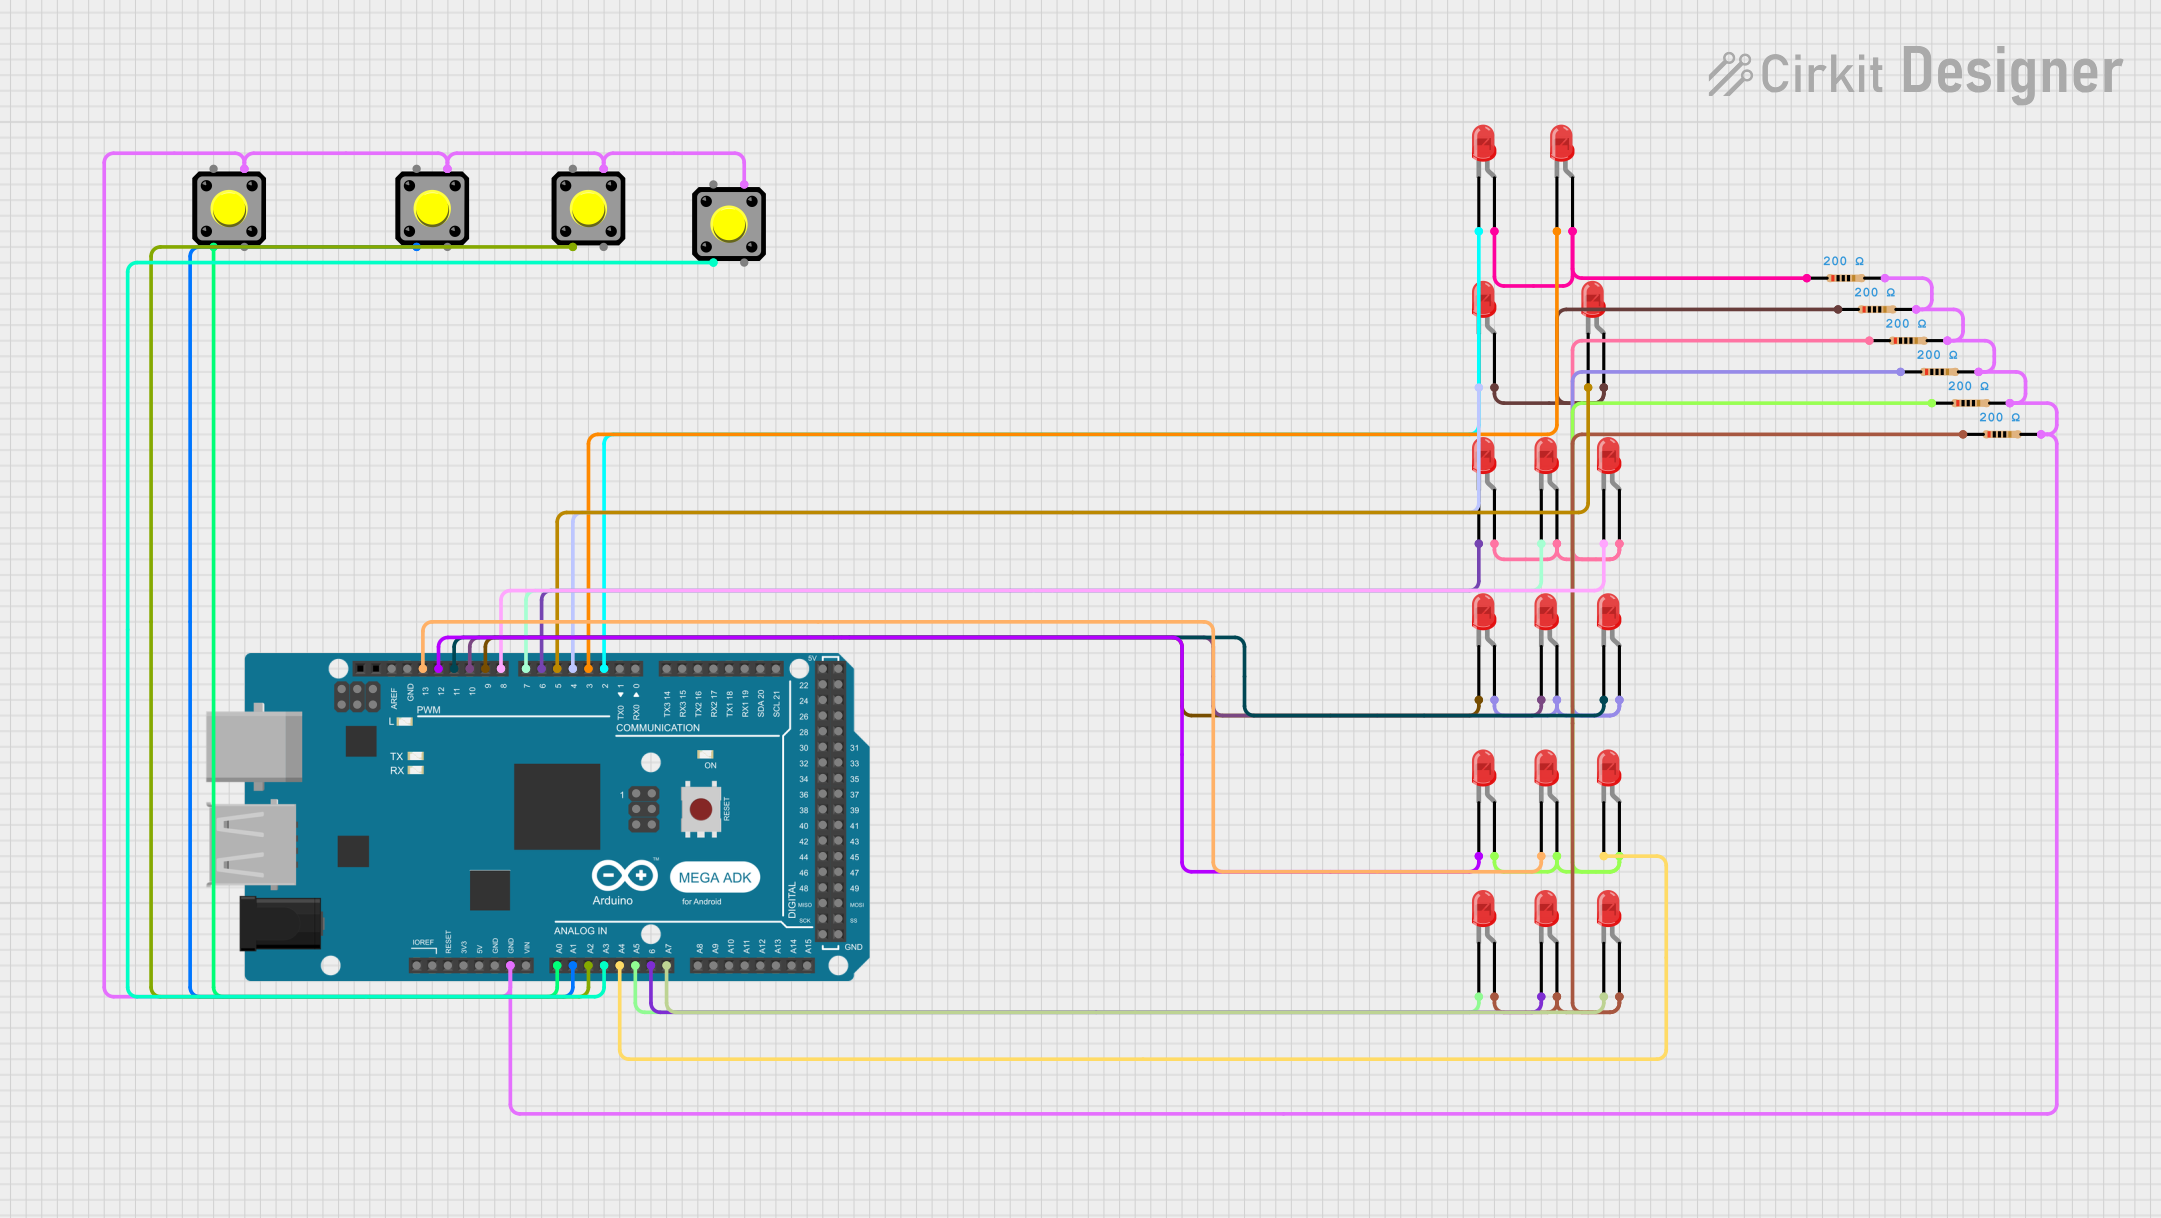 Open Project in Cirkit Designer
Explore Projects Built with SPEAKJET
Open Project in Cirkit DesignerOpen Project in Cirkit DesignerOpen Project in Cirkit DesignerOpen Project in Cirkit DesignerCommon Applications
- Robotics: Voice feedback and sound effects
- Toys: Interactive sound generation
- Alarms and security systems: Audible alerts
- Educational projects: Speech synthesis for learning tools
- DIY electronics: Custom sound effects and audio playback
Technical Specifications
The SpeakJet is a highly capable sound module with the following key specifications:
| Parameter | Value |
|---|---|
| Manufacturer | Magnevation |
| Part Number | SpeakJet |
| Operating Voltage | 4.8V to 5.5V |
| Operating Current | 15mA (typical) |
| Communication Interface | Serial (TTL, 9600 baud default) |
| Audio Output | PWM (Pulse Width Modulation) |
| Frequency Range | 0 Hz to 4 kHz |
| Speech Elements | 72 phonemes |
| Sound Effects | 43 pre-programmed effects |
| DTMF Tones | 12 tones |
| Package Type | 18-pin DIP |
Pin Configuration and Descriptions
The SpeakJet comes in an 18-pin DIP package. Below is the pinout and description:
| Pin Number | Pin Name | Description |
|---|---|---|
| 1 | VCC | Positive power supply (4.8V to 5.5V). |
| 2 | GND | Ground connection. |
| 3 | OSC1 | External oscillator input (connect to 3.58 MHz crystal). |
| 4 | OSC2 | External oscillator output (connect to 3.58 MHz crystal). |
| 5 | RESET | Active-low reset pin. Pull low to reset the SpeakJet. |
| 6 | BAUD | Baud rate selection pin (connect to GND for 9600 baud). |
| 7 | RX | Serial data input (TTL level). |
| 8 | TX | Serial data output (TTL level). |
| 9 | A0 | Address line 0 for parallel mode (leave unconnected for serial mode). |
| 10 | A1 | Address line 1 for parallel mode (leave unconnected for serial mode). |
| 11 | A2 | Address line 2 for parallel mode (leave unconnected for serial mode). |
| 12 | A3 | Address line 3 for parallel mode (leave unconnected for serial mode). |
| 13 | A4 | Address line 4 for parallel mode (leave unconnected for serial mode). |
| 14 | A5 | Address line 5 for parallel mode (leave unconnected for serial mode). |
| 15 | A6 | Address line 6 for parallel mode (leave unconnected for serial mode). |
| 16 | A7 | Address line 7 for parallel mode (leave unconnected for serial mode). |
| 17 | SPK+ | Positive PWM audio output. Connect to a speaker or amplifier. |
| 18 | SPK- | Negative PWM audio output. Connect to a speaker or amplifier. |
Usage Instructions
How to Use the SpeakJet in a Circuit
- Power Supply: Connect the VCC pin to a 5V power source and the GND pin to ground.
- Oscillator: Attach a 3.58 MHz crystal between the OSC1 and OSC2 pins. Add two 22pF capacitors from each pin to ground for stability.
- Serial Communication: Connect the RX pin to the TX pin of a microcontroller (e.g., Arduino UNO) for serial communication. Ensure the baud rate is set to 9600.
- Audio Output: Connect the SPK+ and SPK- pins to a speaker or an audio amplifier for sound output.
- Reset: Optionally, connect the RESET pin to a push button or microcontroller pin for manual or software reset functionality.
Important Considerations and Best Practices
- Speaker Impedance: Use a speaker with an impedance of 8 ohms for optimal performance.
- Decoupling Capacitor: Place a 0.1µF ceramic capacitor close to the VCC and GND pins to reduce noise.
- Serial Commands: The SpeakJet accepts ASCII commands to generate speech and sound effects. Refer to the SpeakJet command set for details.
- Avoid Overdriving: Do not exceed the recommended voltage and current ratings to prevent damage to the IC.
Example: Using SpeakJet with Arduino UNO
Below is an example of how to interface the SpeakJet with an Arduino UNO to generate speech:
// Include necessary libraries (if any)

// Define the SpeakJet RX pin
#define SPEAKJET_RX_PIN 3  // Connect SpeakJet RX to Arduino pin 3

void setup() {
  // Initialize serial communication at 9600 baud
  Serial.begin(9600);

  // Send a test command to SpeakJet
  Serial.println("Hello, SpeakJet!");  // Replace with SpeakJet-compatible commands
}

void loop() {
  // Example: Send a phoneme sequence to SpeakJet
  Serial.write(0xF0);  // Start of command
  Serial.write(0xC9);  // Phoneme for "Hello"
  Serial.write(0xF7);  // End of command

  delay(2000);  // Wait 2 seconds before repeating
}
Troubleshooting and FAQs
Common Issues
No Sound Output
- Cause: Incorrect wiring of the SPK+ and SPK- pins.
- Solution: Verify the speaker or amplifier connections. Ensure the speaker impedance is 8 ohms.
SpeakJet Not Responding
- Cause: Incorrect baud rate or serial connection.
- Solution: Ensure the baud rate is set to 9600 and the RX pin is correctly connected to the microcontroller's TX pin.
Distorted Audio
- Cause: Insufficient power supply or noisy environment.
- Solution: Use a stable 5V power source and add decoupling capacitors near the IC.
Reset Pin Not Working
- Cause: Floating RESET pin.
- Solution: Pull the RESET pin high using a 10kΩ resistor.
FAQs
Can the SpeakJet operate without a microcontroller?
- Yes, the SpeakJet can operate in standalone mode using parallel inputs or pre-programmed sequences.
What is the maximum speaker power supported?
- The SpeakJet outputs PWM signals, so an external amplifier is recommended for higher power speakers.
Can I change the baud rate?
- Yes, the baud rate can be adjusted by configuring the BAUD pin or using specific commands.
Is the SpeakJet compatible with other microcontrollers?
- Yes, the SpeakJet can interface with any microcontroller that supports TTL serial communication.
By following this documentation, you can effectively integrate the SpeakJet into your projects and troubleshoot common issues with ease.