
How to Use Rotoshield - Motor driver shield for Arduino: Examples, Pinouts, and Specs
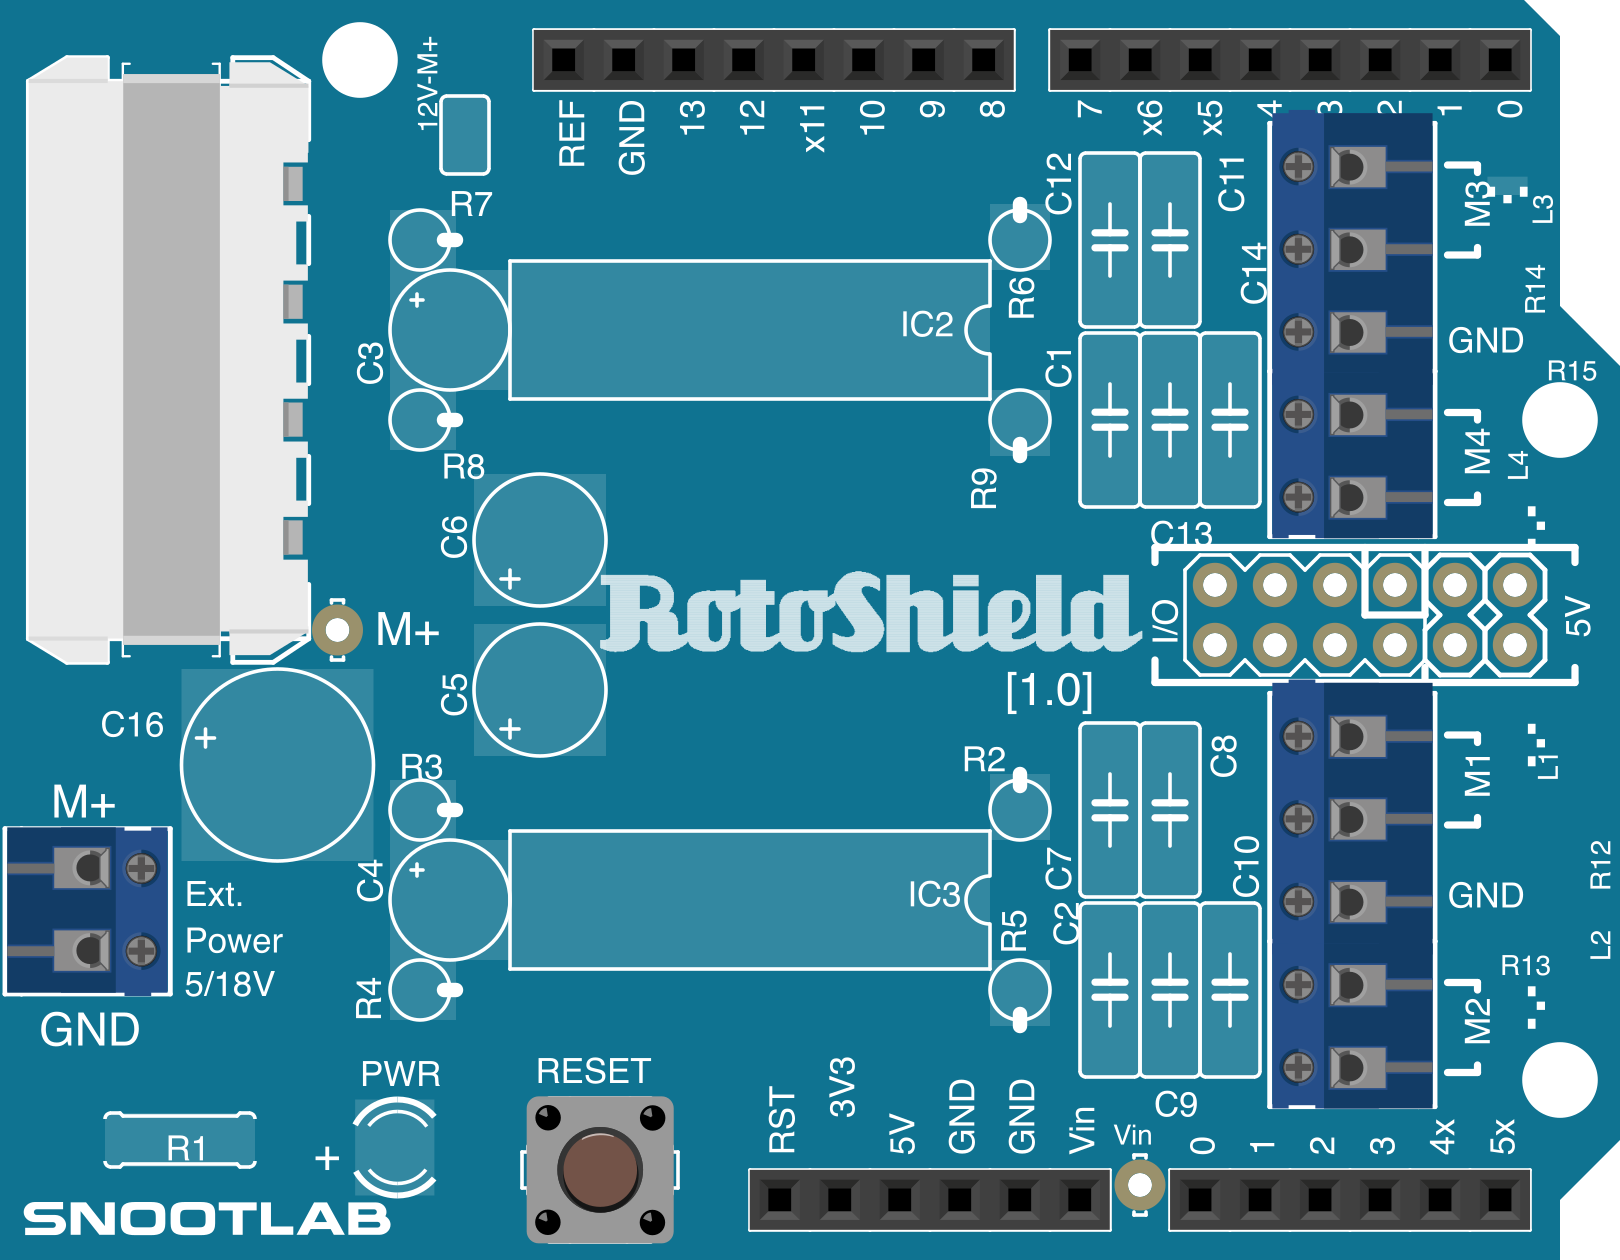
 Design with Rotoshield - Motor driver shield for Arduino in Cirkit Designer
Introduction
The Rotoshield 1.0a, manufactured by Snootlab, is a motor driver shield designed specifically for Arduino boards. It simplifies the process of controlling DC motors and stepper motors by providing an easy-to-use interface for speed control, direction management, and motor operation. This shield is ideal for robotics, automation projects, and any application requiring precise motor control.
Explore Projects Built with Rotoshield - Motor driver shield for Arduino
 Open Project in Cirkit Designer
 Open Project in Cirkit Designer
 Open Project in Cirkit Designer
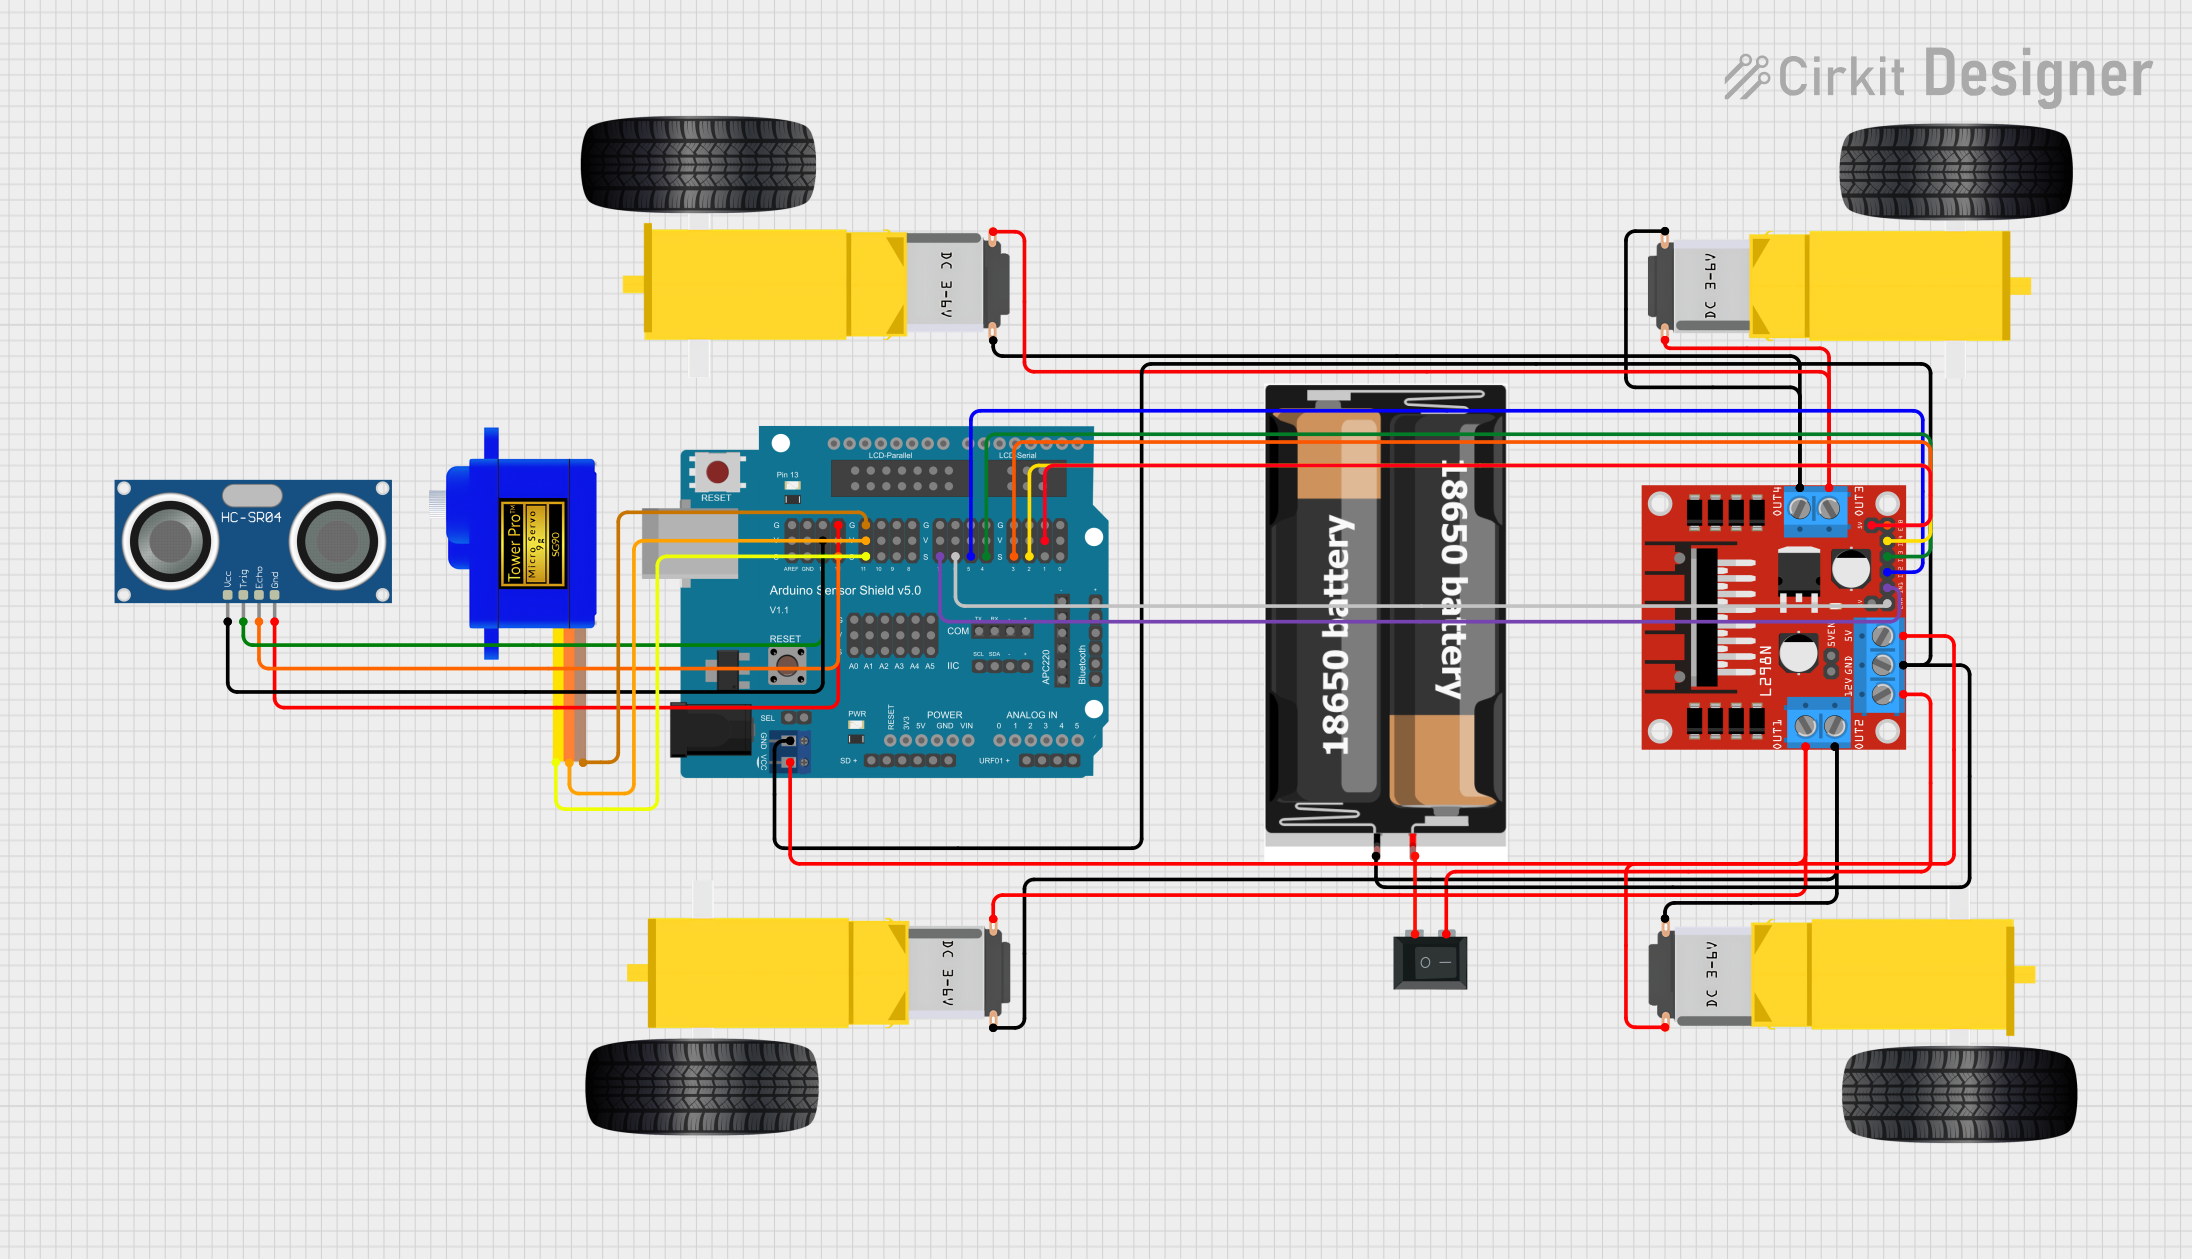 Open Project in Cirkit Designer
Explore Projects Built with Rotoshield - Motor driver shield for Arduino
Open Project in Cirkit DesignerOpen Project in Cirkit DesignerOpen Project in Cirkit DesignerOpen Project in Cirkit DesignerCommon Applications and Use Cases
- Robotics and autonomous vehicles
- Conveyor belt systems
- Automated door mechanisms
- DIY motorized projects
- Educational projects for learning motor control
Technical Specifications
The Rotoshield 1.0a is built to handle a variety of motor control tasks with robust performance. Below are its key technical details:
Key Technical Details
- Input Voltage (Logic): 5V (from Arduino)
- Motor Voltage Range: 4.5V to 25V
- Maximum Motor Current (per channel): 2A continuous
- Number of Channels: 2 (supports two DC motors or one stepper motor)
- Control Interface: PWM (Pulse Width Modulation) for speed control
- Direction Control: H-Bridge configuration
- Compatible Arduino Boards: Arduino UNO, Mega, Leonardo, and others with standard headers
- Dimensions: 68.6mm x 53.4mm (fits standard Arduino form factor)
Pin Configuration and Descriptions
The Rotoshield connects directly to the Arduino board via its headers. Below is the pin configuration:
| Pin | Function | Description |
|---|---|---|
| D3 | PWM for Motor A | Controls the speed of Motor A using PWM signals. |
| D12 | Direction for Motor A | Sets the rotation direction of Motor A. |
| D11 | PWM for Motor B | Controls the speed of Motor B using PWM signals. |
| D13 | Direction for Motor B | Sets the rotation direction of Motor B. |
| VIN | Motor Power Supply | External power input for motors (4.5V to 25V). |
| GND | Ground | Common ground for the shield and Arduino. |
| A0, A1 | Optional Analog Inputs | Can be used for additional sensors or custom configurations. |
Usage Instructions
The Rotoshield 1.0a is designed for plug-and-play operation with Arduino boards. Follow these steps to use the shield effectively:
Step 1: Hardware Setup
- Mount the Shield: Place the Rotoshield on top of your Arduino board, ensuring the pins align correctly with the headers.
- Connect Motors: Attach the DC motors or stepper motor to the terminal blocks on the shield.
- For DC motors, connect Motor A to the first terminal block and Motor B to the second.
- Power the Motors: Provide an external power supply (4.5V to 25V) to the VIN and GND terminals on the shield.
- Check Connections: Ensure all connections are secure and polarity is correct.
Step 2: Software Setup
- Install Arduino IDE: Download and install the Arduino IDE from arduino.cc.
- Write or Load Code: Use the example code below to control the motors.
Example Code
The following code demonstrates how to control two DC motors using the Rotoshield:
// Example code for controlling two DC motors with the Rotoshield 1.0a

// Define motor control pins
const int motorA_pwm = 3;  // PWM pin for Motor A
const int motorA_dir = 12; // Direction pin for Motor A
const int motorB_pwm = 11; // PWM pin for Motor B
const int motorB_dir = 13; // Direction pin for Motor B

void setup() {
  // Set motor control pins as outputs
  pinMode(motorA_pwm, OUTPUT);
  pinMode(motorA_dir, OUTPUT);
  pinMode(motorB_pwm, OUTPUT);
  pinMode(motorB_dir, OUTPUT);
}

void loop() {
  // Motor A: Forward at 50% speed
  digitalWrite(motorA_dir, HIGH); // Set direction
  analogWrite(motorA_pwm, 128);  // Set speed (0-255)

  // Motor B: Reverse at 75% speed
  digitalWrite(motorB_dir, LOW);  // Set direction
  analogWrite(motorB_pwm, 192);  // Set speed (0-255)

  delay(2000); // Run motors for 2 seconds

  // Stop both motors
  analogWrite(motorA_pwm, 0);
  analogWrite(motorB_pwm, 0);

  delay(1000); // Pause for 1 second
}
Step 3: Upload and Test
- Connect your Arduino to your computer via USB.
- Upload the code to the Arduino using the Arduino IDE.
- Observe the motors running as per the programmed instructions.
Important Considerations and Best Practices
- Power Supply: Ensure the external power supply matches the voltage and current requirements of your motors.
- Heat Dissipation: The shield may heat up during operation. Allow proper ventilation to prevent overheating.
- Avoid Overloading: Do not exceed the maximum current rating (2A per channel) to avoid damaging the shield.
- Secure Connections: Use proper connectors and avoid loose wires to ensure reliable operation.
Troubleshooting and FAQs
Common Issues and Solutions
Motors Not Running:
- Check the power supply to ensure it is connected and providing the correct voltage.
- Verify that the motor connections are secure and polarity is correct.
- Ensure the Arduino is powered and the code is uploaded successfully.
Motors Running in the Wrong Direction:
- Swap the motor wires or adjust the direction pin logic in the code.
Shield Overheating:
- Reduce the motor load or ensure proper ventilation.
- Check for short circuits or excessive current draw.
PWM Control Not Working:
- Verify that the correct PWM pins are used in the code.
- Ensure the Arduino board supports PWM on the specified pins.
FAQs
Q: Can I use the Rotoshield with stepper motors?
A: Yes, the Rotoshield supports stepper motors. You can use both channels to drive a single stepper motor.
Q: What happens if I exceed the current rating?
A: Exceeding the 2A per channel limit may damage the shield. Use motors within the specified current range.
Q: Can I stack other shields on top of the Rotoshield?
A: Yes, as long as the additional shield does not conflict with the pins used by the Rotoshield.
Q: Is the Rotoshield compatible with 3.3V Arduino boards?
A: The Rotoshield is designed for 5V logic. Using it with 3.3V boards may require level shifters.
By following this documentation, you can effectively use the Rotoshield 1.0a for your motor control projects.