
How to Use Parallax Propeller D40: Examples, Pinouts, and Specs
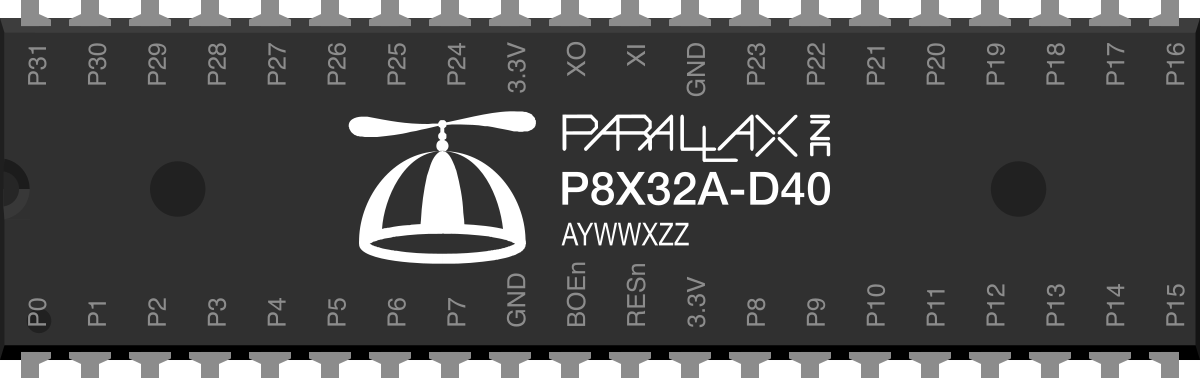
 Design with Parallax Propeller D40 in Cirkit Designer
Introduction
The Parallax Propeller D40 (Manufacturer Part ID: P8X32A-D40) is a high-performance microcontroller designed for multitasking and parallel processing. Manufactured by Parallax, this microcontroller features 8 independent cores, allowing it to execute multiple tasks simultaneously. Its unique architecture makes it ideal for applications requiring real-time control, such as robotics, automation, signal processing, and complex control systems.
Explore Projects Built with Parallax Propeller D40
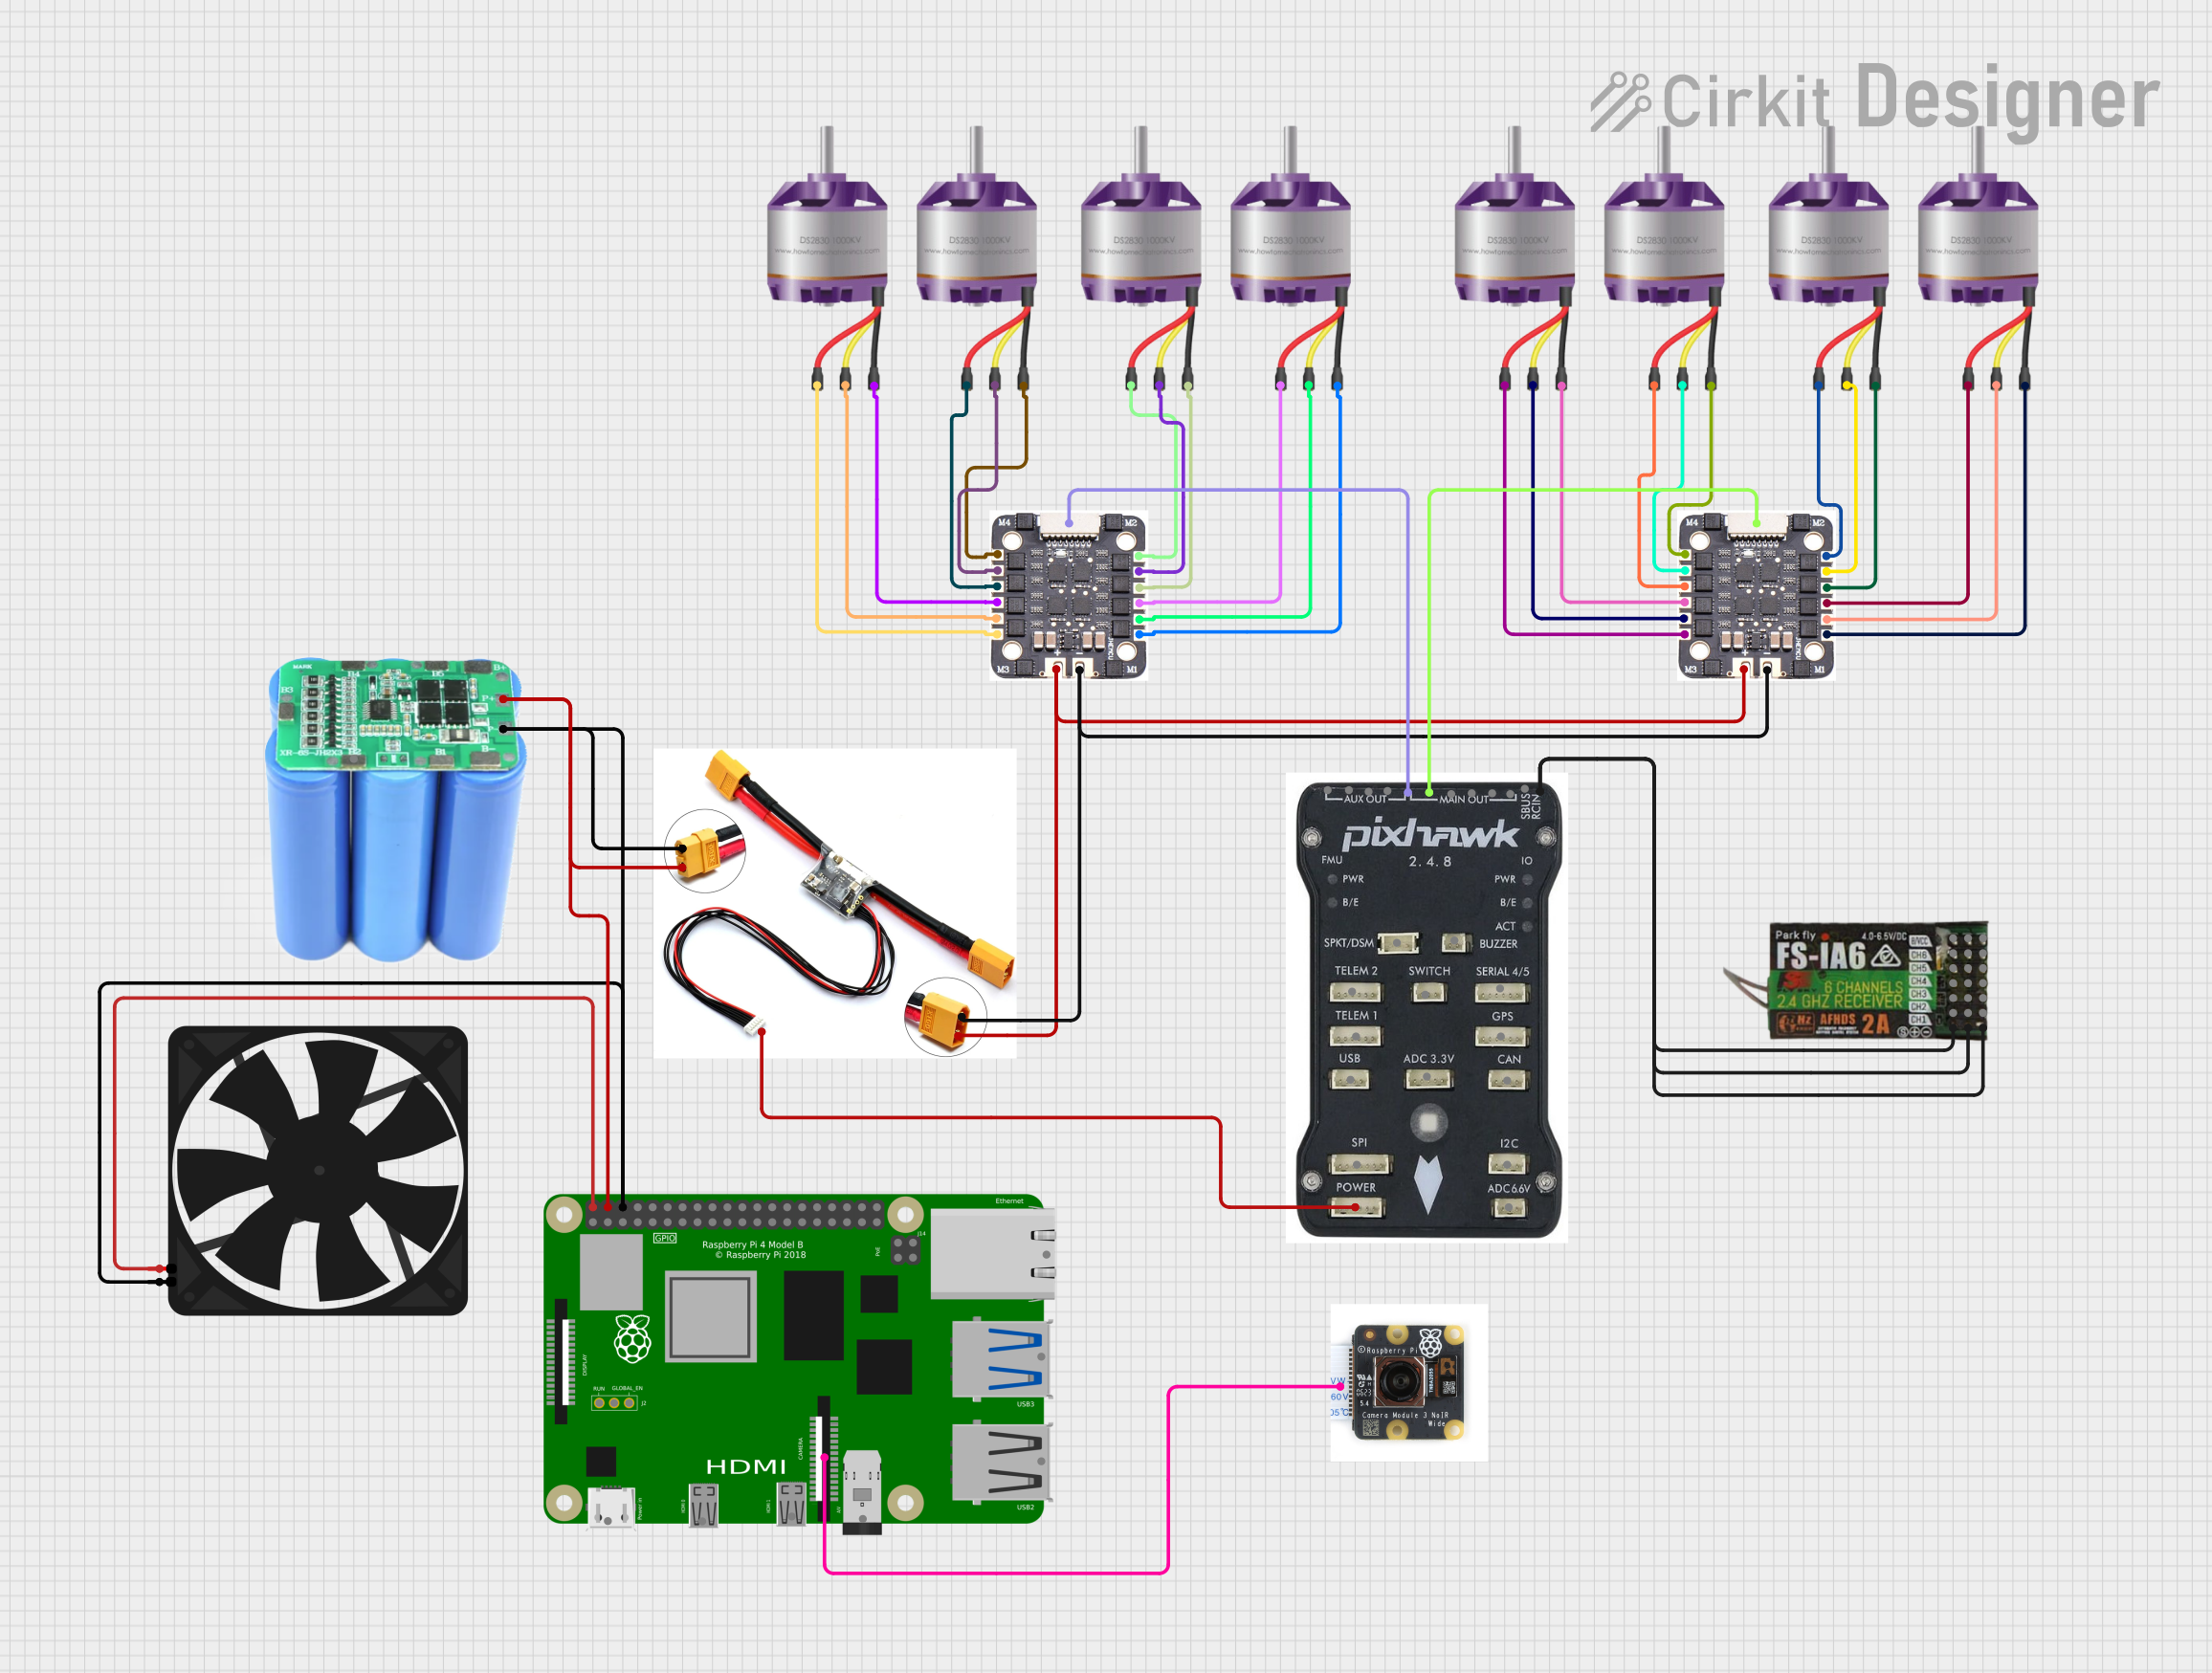 Open Project in Cirkit Designer
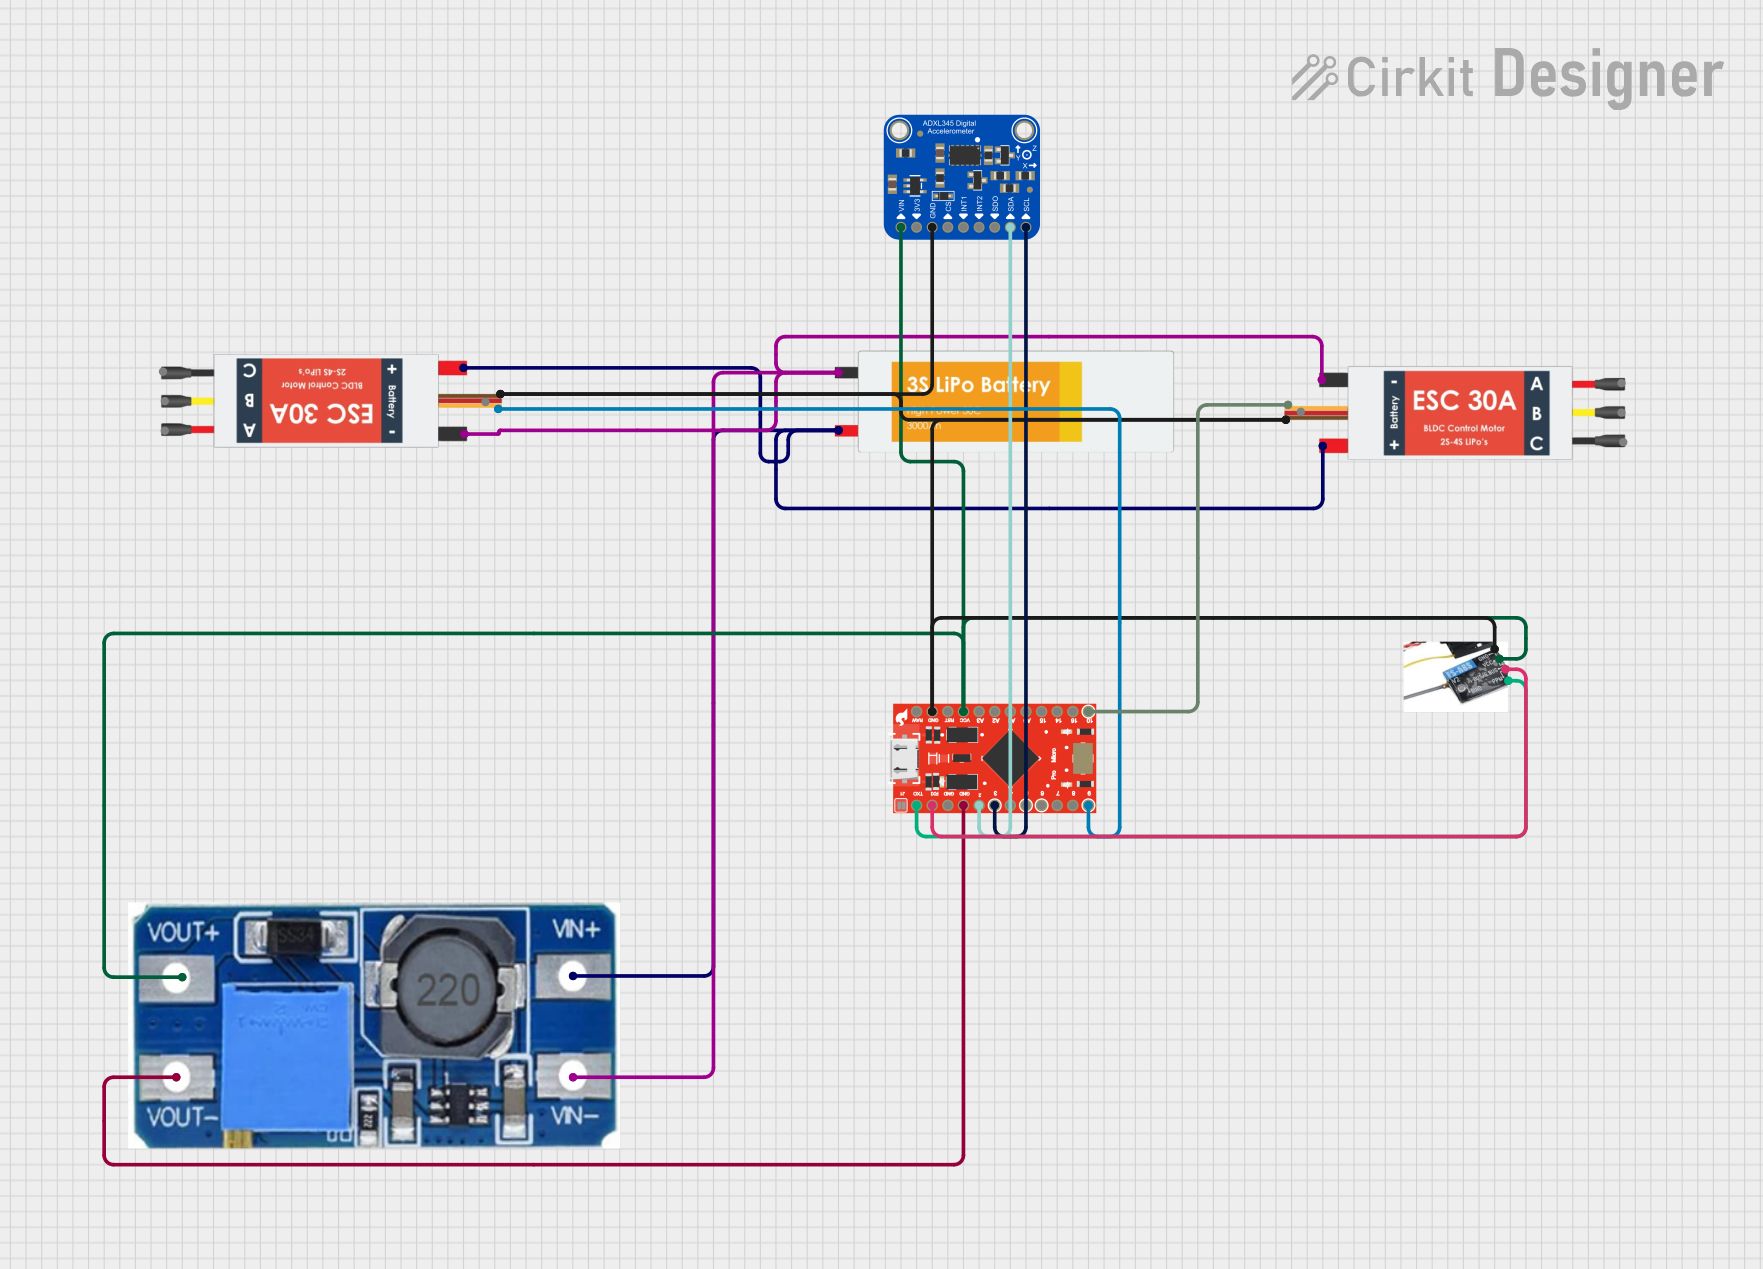 Open Project in Cirkit Designer
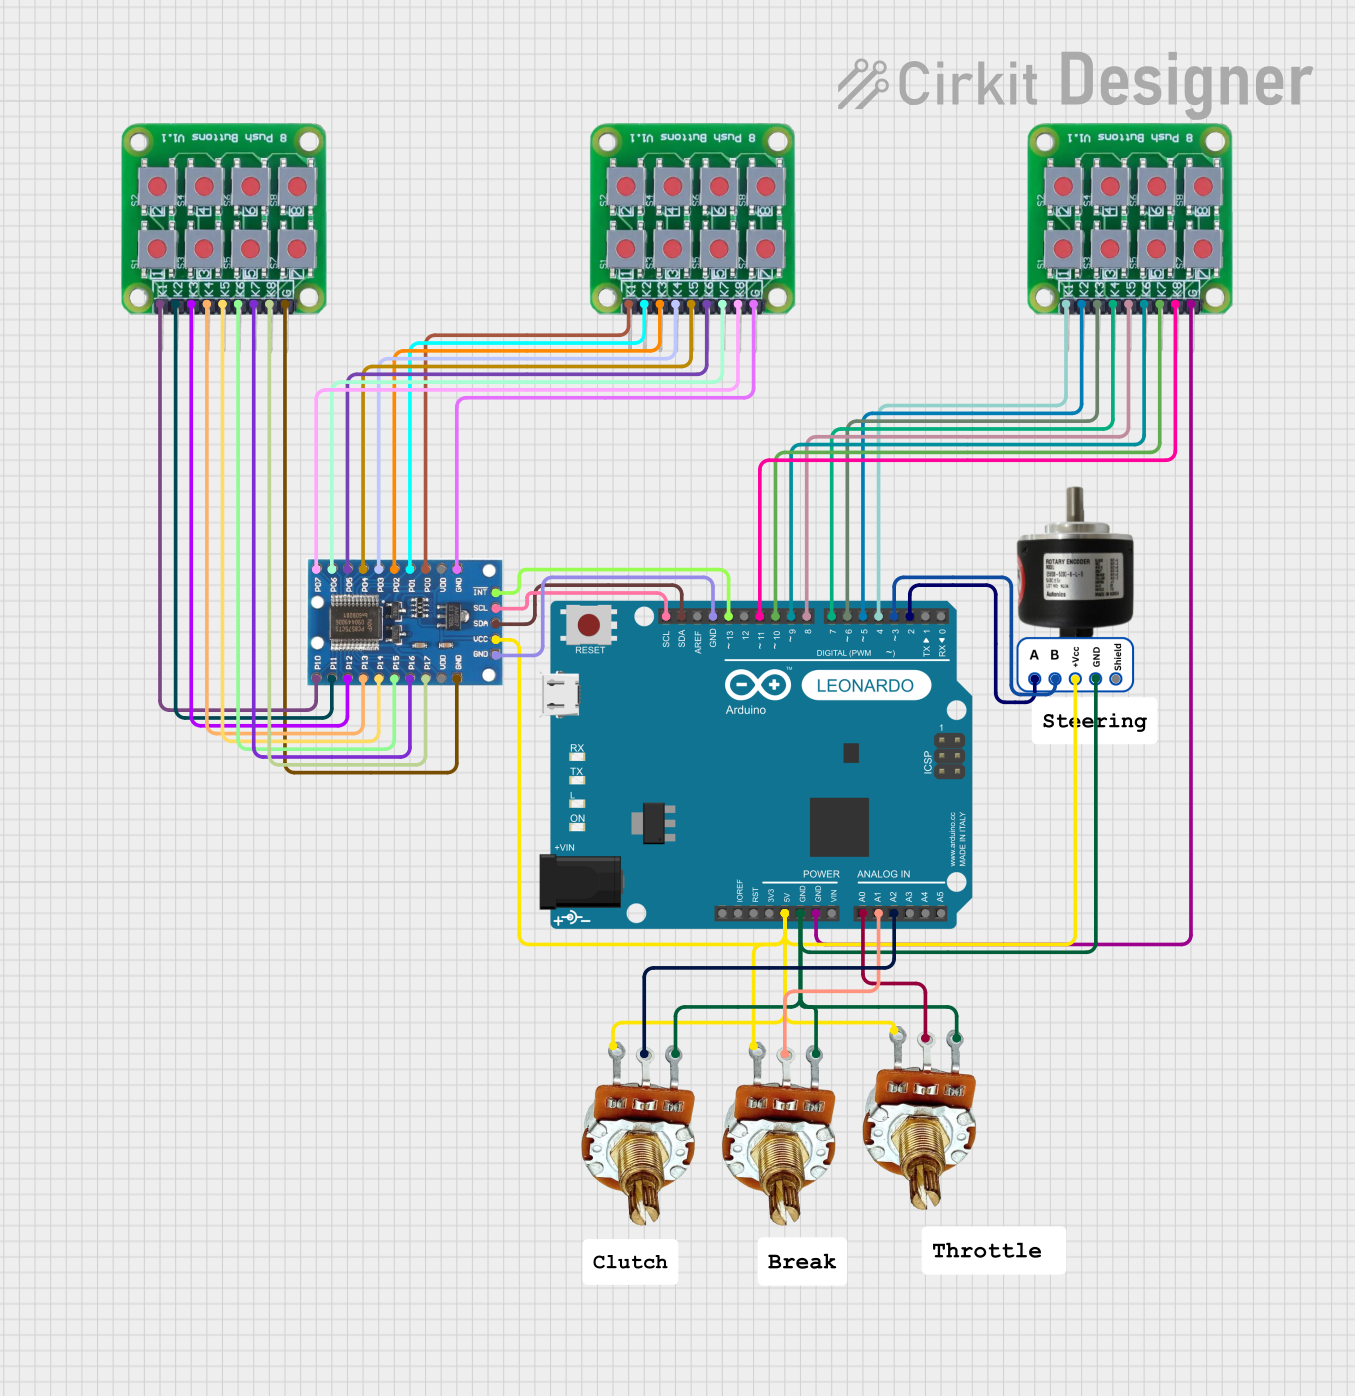 Open Project in Cirkit Designer
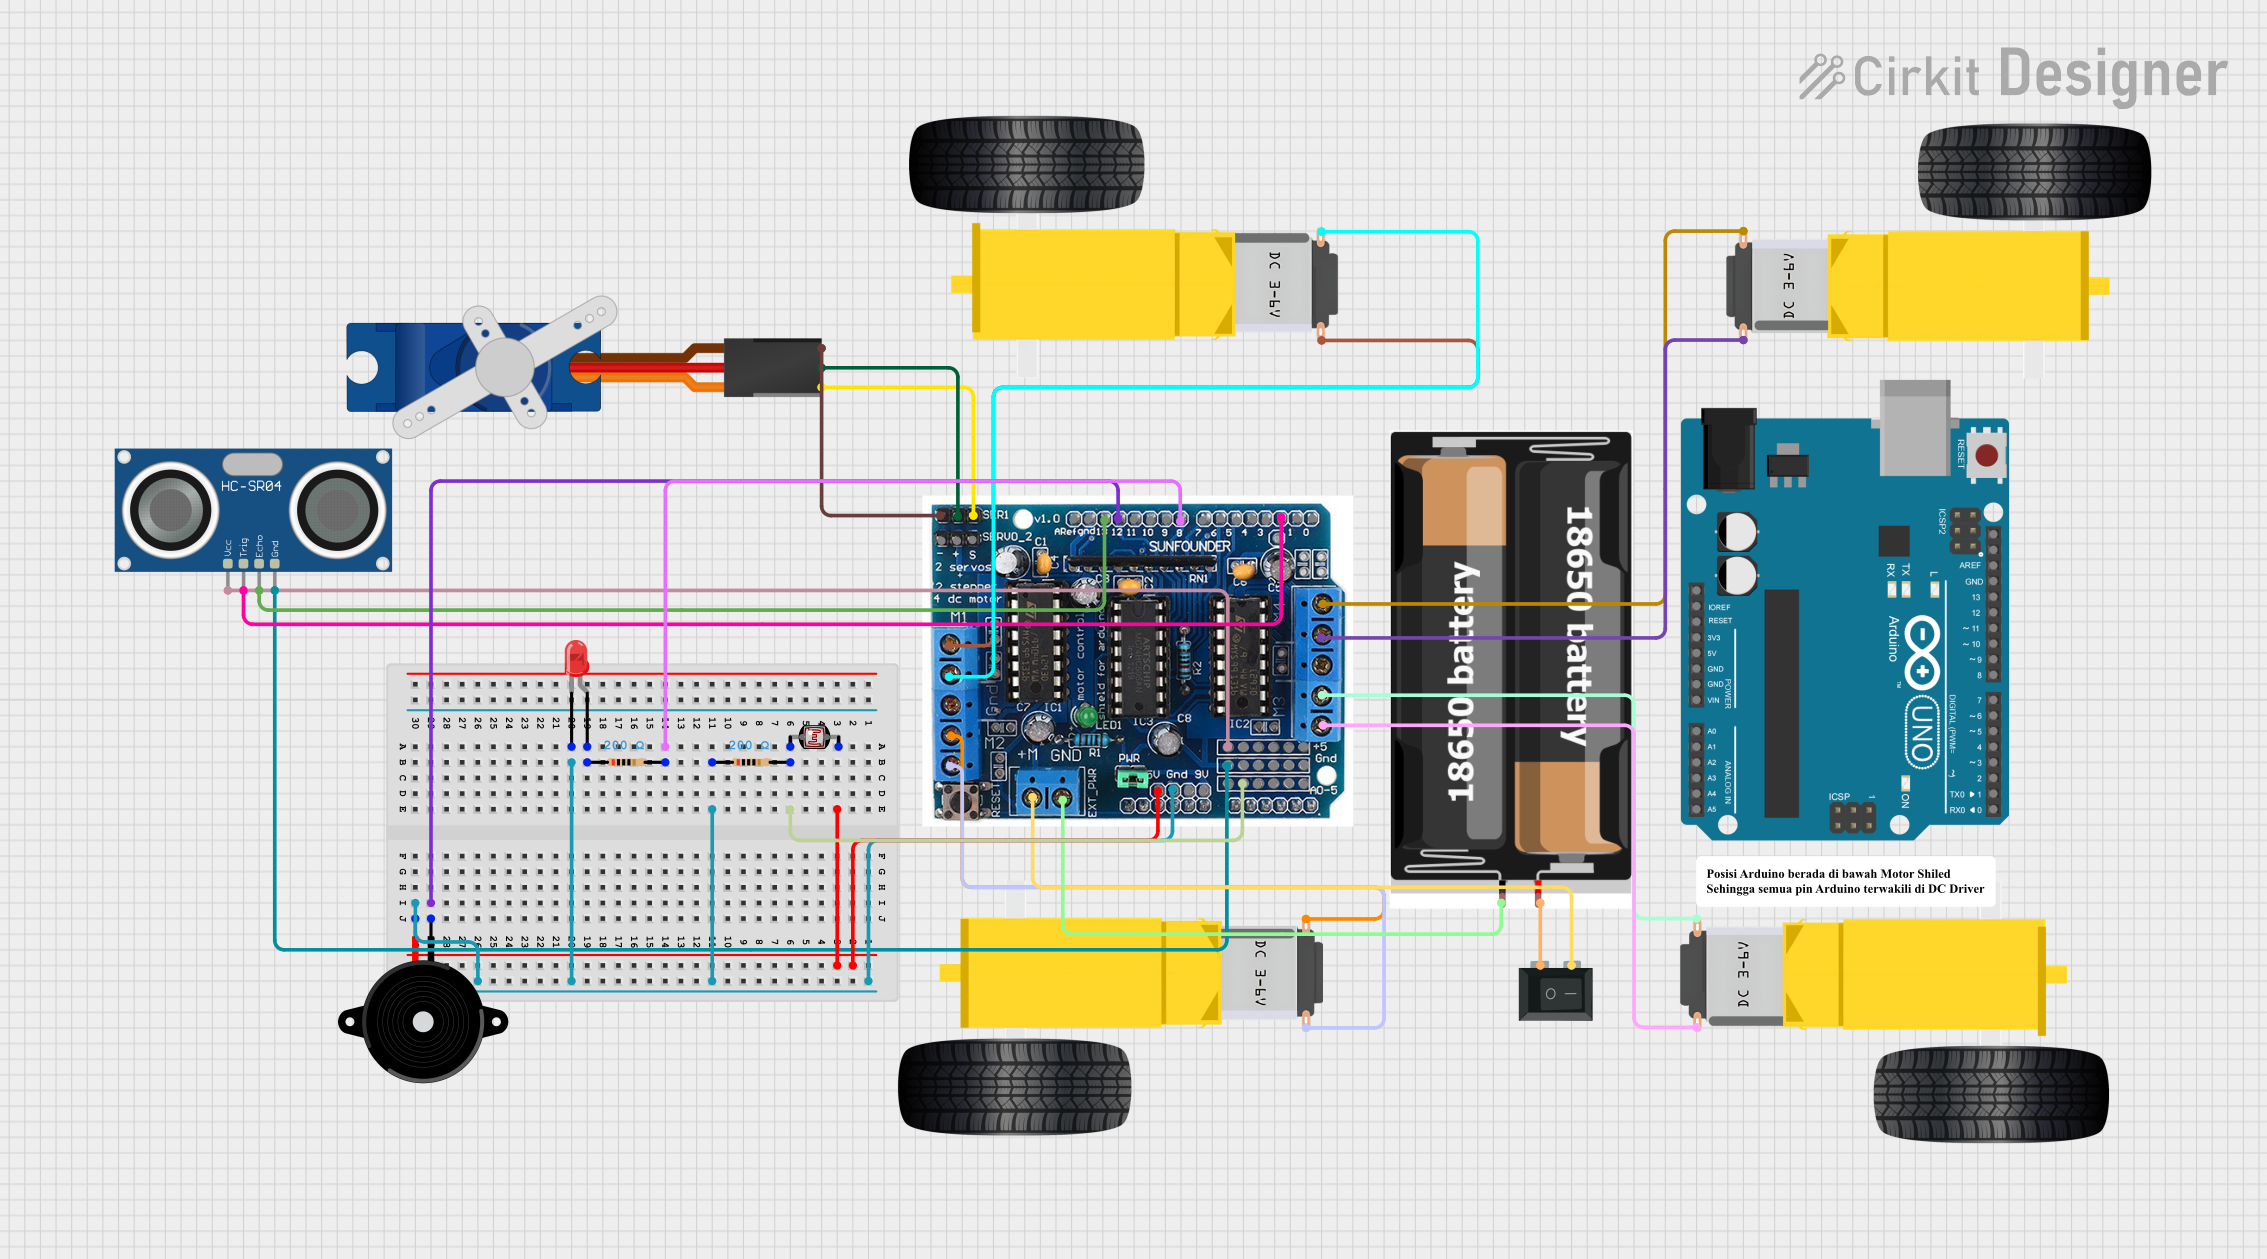 Open Project in Cirkit Designer
Explore Projects Built with Parallax Propeller D40
Open Project in Cirkit DesignerOpen Project in Cirkit DesignerOpen Project in Cirkit DesignerOpen Project in Cirkit DesignerCommon Applications
- Robotics and autonomous systems
- Industrial automation and control
- Signal processing and data acquisition
- Real-time multitasking applications
- Educational projects and prototyping
Technical Specifications
Key Technical Details
| Parameter | Specification |
|---|---|
| Manufacturer | Parallax |
| Part Number | P8X32A-D40 |
| Architecture | 32-bit |
| Number of Cores | 8 |
| Clock Speed | Up to 80 MHz |
| Program Memory | 32 KB (shared among cores) |
| RAM | 32 KB (shared among cores) |
| Operating Voltage | 1.8V to 3.3V |
| I/O Pins | 32 (general-purpose, bidirectional) |
| Package Type | 40-pin DIP |
| Communication Interfaces | UART, I2C, SPI |
| Power Consumption | ~80 mA at 3.3V (typical) |
| Temperature Range | -40°C to +85°C |
Pin Configuration and Descriptions
The Parallax Propeller D40 comes in a 40-pin DIP package. Below is the pin configuration:
| Pin Number | Pin Name | Description |
|---|---|---|
| 1-8 | P0-P7 | General-purpose I/O pins (Core 0) |
| 9-16 | P8-P15 | General-purpose I/O pins (Core 1) |
| 17-24 | P16-P23 | General-purpose I/O pins (Core 2) |
| 25-32 | P24-P31 | General-purpose I/O pins (Core 3) |
| 33 | VDD | Positive supply voltage (3.3V) |
| 34 | VSS | Ground |
| 35 | RESn | Active-low reset pin |
| 36 | XI | Crystal oscillator input |
| 37 | XO | Crystal oscillator output |
| 38 | VIO | I/O voltage reference |
| 39 | BOEn | Brown-out enable (active low) |
| 40 | TEST | Test pin (leave unconnected) |
Usage Instructions
How to Use the Parallax Propeller D40 in a Circuit
- Power Supply: Connect the VDD pin to a regulated 3.3V power source and the VSS pin to ground. Ensure the power supply can provide sufficient current (~80 mA typical).
- Clock Source: Connect a crystal oscillator (e.g., 5 MHz) to the XI and XO pins. The Propeller D40 internally multiplies the clock frequency up to 80 MHz.
- Reset Circuit: Use a pull-up resistor (e.g., 10 kΩ) on the RESn pin to ensure proper reset functionality.
- I/O Pins: Configure the 32 general-purpose I/O pins (P0-P31) as needed for your application. These pins can be used for digital input/output, PWM, or communication protocols like UART, I2C, and SPI.
- Programming: Use the Parallax Propeller Tool or a compatible IDE to write and upload programs to the microcontroller.
Important Considerations
- Shared Memory: The 32 KB of RAM and program memory are shared among all 8 cores. Efficient memory management is crucial for multitasking applications.
- Voltage Levels: Ensure all I/O signals are within the 3.3V range to avoid damage to the microcontroller.
- Heat Dissipation: While the Propeller D40 is efficient, ensure proper ventilation or heat sinking in high-performance applications.
Example Code for Arduino UNO Communication
The Propeller D40 can communicate with an Arduino UNO via UART. Below is an example Arduino sketch for sending data to the Propeller D40:
// Arduino UNO UART Communication with Parallax Propeller D40
// Ensure the Propeller D40 is connected to the Arduino's TX and RX pins

void setup() {
  Serial.begin(9600); // Initialize UART at 9600 baud rate
  delay(1000);        // Wait for the Propeller D40 to initialize
  Serial.println("Hello, Propeller!"); // Send a test message
}

void loop() {
  // Continuously send data to the Propeller D40
  Serial.println("Data from Arduino");
  delay(1000); // Send data every second
}
On the Propeller D40 side, you can use its UART capabilities to receive and process the data.
Troubleshooting and FAQs
Common Issues and Solutions
Microcontroller Not Responding
- Cause: Incorrect power supply or clock configuration.
- Solution: Verify the VDD and VSS connections. Ensure the crystal oscillator is properly connected to the XI and XO pins.
I/O Pins Not Functioning
- Cause: Pins not configured correctly in the program.
- Solution: Double-check the pin configuration in your code. Ensure the pins are set as input or output as required.
Program Upload Fails
- Cause: Faulty connection or incorrect programming tool.
- Solution: Ensure the programming tool is compatible with the Propeller D40. Check all connections and try again.
Overheating
- Cause: Excessive current draw or insufficient ventilation.
- Solution: Reduce the load on the I/O pins and improve ventilation around the microcontroller.
FAQs
Q: Can the Propeller D40 run multiple programs simultaneously?
A: Yes, the Propeller D40's 8 cores allow it to run multiple tasks or programs in parallel.
Q: What is the maximum clock speed of the Propeller D40?
A: The Propeller D40 can operate at a maximum clock speed of 80 MHz.
Q: Is the Propeller D40 compatible with 5V logic?
A: No, the Propeller D40 operates at 3.3V. Use level shifters if interfacing with 5V devices.
Q: How do I program the Propeller D40?
A: Use the Parallax Propeller Tool or a compatible IDE to write and upload programs via a serial connection.
This concludes the documentation for the Parallax Propeller D40. For further assistance, refer to the official Parallax documentation or support forums.