Cirkit Designer Logo
Cirkit Designer
Your all-in-one circuit design IDE
Home / 
Component Documentation

How to Use ESP32-C6 Feather: Examples, Pinouts, and Specs

Image of ESP32-C6 Feather
Cirkit Designer LogoDesign with ESP32-C6 Feather in Cirkit Designer

Introduction

The ESP32-C6 Feather is a versatile and powerful development board that integrates the ESP32-C6 microcontroller, designed for Internet of Things (IoT) applications. The board is part of the Feather ecosystem, known for its compact size, ease of use, and extensive community support. The ESP32-C6 chip offers Wi-Fi 6 and Bluetooth 5 (LE) capabilities, making it suitable for modern wireless applications.

Explore Projects Built with ESP32-C6 Feather

Use Cirkit Designer to design, explore, and prototype these projects online. Some projects support real-time simulation. Click "Open Project" to start designing instantly!
Battery-Powered ESP32 Temperature Monitoring System
Image of Temp Sensor: A project utilizing ESP32-C6 Feather in a practical application
This circuit consists of an Adafruit HUZZAH32 ESP32 Feather microcontroller, a temperature sensor, and a battery. The ESP32 reads temperature data from the sensor and is powered by the battery, enabling wireless temperature monitoring.
Cirkit Designer LogoOpen Project in Cirkit Designer
ESP32-C6 Feather Controlled Smart Relay for AC Bulb Automation
Image of ESP32 Based ZigBee Device: A project utilizing ESP32-C6 Feather in a practical application
This circuit uses an ESP32-C6 Feather microcontroller to control an AC bulb via a KY-019 5V relay module. The ESP32 is programmed to receive Zigbee wireless commands to toggle the relay, which in turn switches the AC bulb on or off. The relay module is powered by a DC power source, and the bulb is connected to an AC supply, with the relay acting as an intermediary to control the bulb's power state.
Cirkit Designer LogoOpen Project in Cirkit Designer
ESP32-Based Force Measurement System with LSM303AGR Sensor
Image of final circuit diagram: A project utilizing ESP32-C6 Feather in a practical application
This circuit features an Adafruit HUZZAH32 ESP32 Feather microcontroller connected to an Adafruit LSM303AGR sensor via I2C communication lines (SCL and SDA), a force sensing resistor (FSR) interfaced through an analog input with a pull-up resistor, and powered by a 3xAA battery pack. The LSM303AGR sensor provides acceleration and magnetic field measurements, while the FSR detects applied force. The ESP32 processes these inputs and can be programmed to respond to sensor data for applications such as motion tracking and force measurement.
Cirkit Designer LogoOpen Project in Cirkit Designer
ESP32-Based Vibration Feedback System with Quad Alphanumeric Display and ADXL343 Accelerometer
Image of EC444 - Quest 3: A project utilizing ESP32-C6 Feather in a practical application
This circuit features an Adafruit HUZZAH32 ESP32 Feather board as the central microcontroller, which is connected to an Adafruit Quad AlphaNumeric Featherwing display and an Adafruit ADXL343 accelerometer via I2C communication (SCL and SDA lines). The ESP32 controls a vibration motor connected to one of its GPIO pins (A5_IO4) and shares a common power supply (3.3V) and ground (GND) with the other components. The purpose of this circuit is likely to read acceleration data, display information on the alphanumeric display, and provide haptic feedback through the vibration motor.
Cirkit Designer LogoOpen Project in Cirkit Designer

Explore Projects Built with ESP32-C6 Feather

Use Cirkit Designer to design, explore, and prototype these projects online. Some projects support real-time simulation. Click "Open Project" to start designing instantly!
Image of Temp Sensor: A project utilizing ESP32-C6 Feather in a practical application
Battery-Powered ESP32 Temperature Monitoring System
This circuit consists of an Adafruit HUZZAH32 ESP32 Feather microcontroller, a temperature sensor, and a battery. The ESP32 reads temperature data from the sensor and is powered by the battery, enabling wireless temperature monitoring.
Cirkit Designer LogoOpen Project in Cirkit Designer
Image of ESP32 Based ZigBee Device: A project utilizing ESP32-C6 Feather in a practical application
ESP32-C6 Feather Controlled Smart Relay for AC Bulb Automation
This circuit uses an ESP32-C6 Feather microcontroller to control an AC bulb via a KY-019 5V relay module. The ESP32 is programmed to receive Zigbee wireless commands to toggle the relay, which in turn switches the AC bulb on or off. The relay module is powered by a DC power source, and the bulb is connected to an AC supply, with the relay acting as an intermediary to control the bulb's power state.
Cirkit Designer LogoOpen Project in Cirkit Designer
Image of final circuit diagram: A project utilizing ESP32-C6 Feather in a practical application
ESP32-Based Force Measurement System with LSM303AGR Sensor
This circuit features an Adafruit HUZZAH32 ESP32 Feather microcontroller connected to an Adafruit LSM303AGR sensor via I2C communication lines (SCL and SDA), a force sensing resistor (FSR) interfaced through an analog input with a pull-up resistor, and powered by a 3xAA battery pack. The LSM303AGR sensor provides acceleration and magnetic field measurements, while the FSR detects applied force. The ESP32 processes these inputs and can be programmed to respond to sensor data for applications such as motion tracking and force measurement.
Cirkit Designer LogoOpen Project in Cirkit Designer
Image of EC444 - Quest 3: A project utilizing ESP32-C6 Feather in a practical application
ESP32-Based Vibration Feedback System with Quad Alphanumeric Display and ADXL343 Accelerometer
This circuit features an Adafruit HUZZAH32 ESP32 Feather board as the central microcontroller, which is connected to an Adafruit Quad AlphaNumeric Featherwing display and an Adafruit ADXL343 accelerometer via I2C communication (SCL and SDA lines). The ESP32 controls a vibration motor connected to one of its GPIO pins (A5_IO4) and shares a common power supply (3.3V) and ground (GND) with the other components. The purpose of this circuit is likely to read acceleration data, display information on the alphanumeric display, and provide haptic feedback through the vibration motor.
Cirkit Designer LogoOpen Project in Cirkit Designer

Common Applications and Use Cases

  • Smart home devices
  • Wireless sensors and actuators
  • IoT nodes with cloud connectivity
  • Wearable electronics
  • Energy management systems
  • DIY electronics projects

Technical Specifications

Key Technical Details

  • Microcontroller: ESP32-C6
  • Operating Voltage: 3.3V
  • Input Voltage: USB 5V or via LiPo battery
  • Wi-Fi: 802.11ax (Wi-Fi 6)
  • Bluetooth: Bluetooth 5 (LE)
  • Flash Memory: 4MB
  • SRAM: 520KB
  • GPIO Pins: 21
  • Analog Inputs: 6 (12-bit ADC)
  • UARTs: 2
  • SPIs: 2
  • I2Cs: 2
  • PWM Channels: 16
  • Dimensions: 51mm x 23mm x 7.8mm

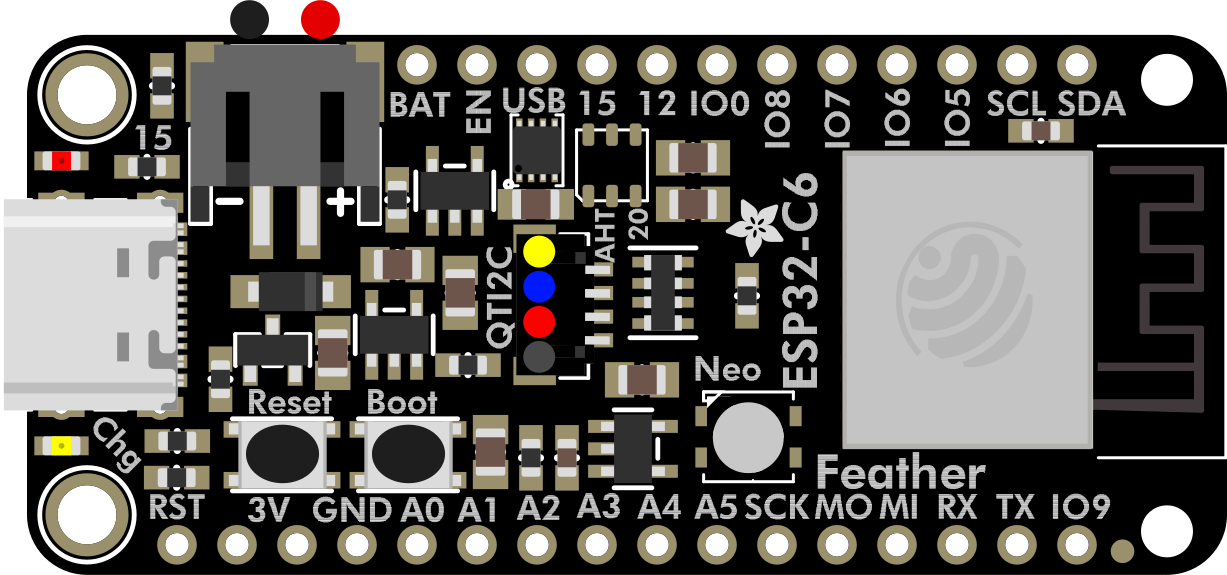
Pin Configuration and Descriptions

Pin Number Function Description
1 3V3 3.3V power supply
2 GND Ground
3-8 GPIO 0-5 General Purpose Input/Output Pins
9-10 TX0, RX0 UART0 pins
11-12 SCL, SDA I2C pins
13-14 SCK, MISO SPI pins
15 MOSI SPI Master Out Slave In
16-17 GPIO 6, GPIO 7 Additional GPIO pins
18 ADC1 Analog to Digital Converter channel 1
... ... ...
21 EN Enable pin for the module

Note: This table is not exhaustive and serves as an example. Refer to the ESP32-C6 Feather datasheet for the complete pinout.

Usage Instructions

How to Use the Component in a Circuit
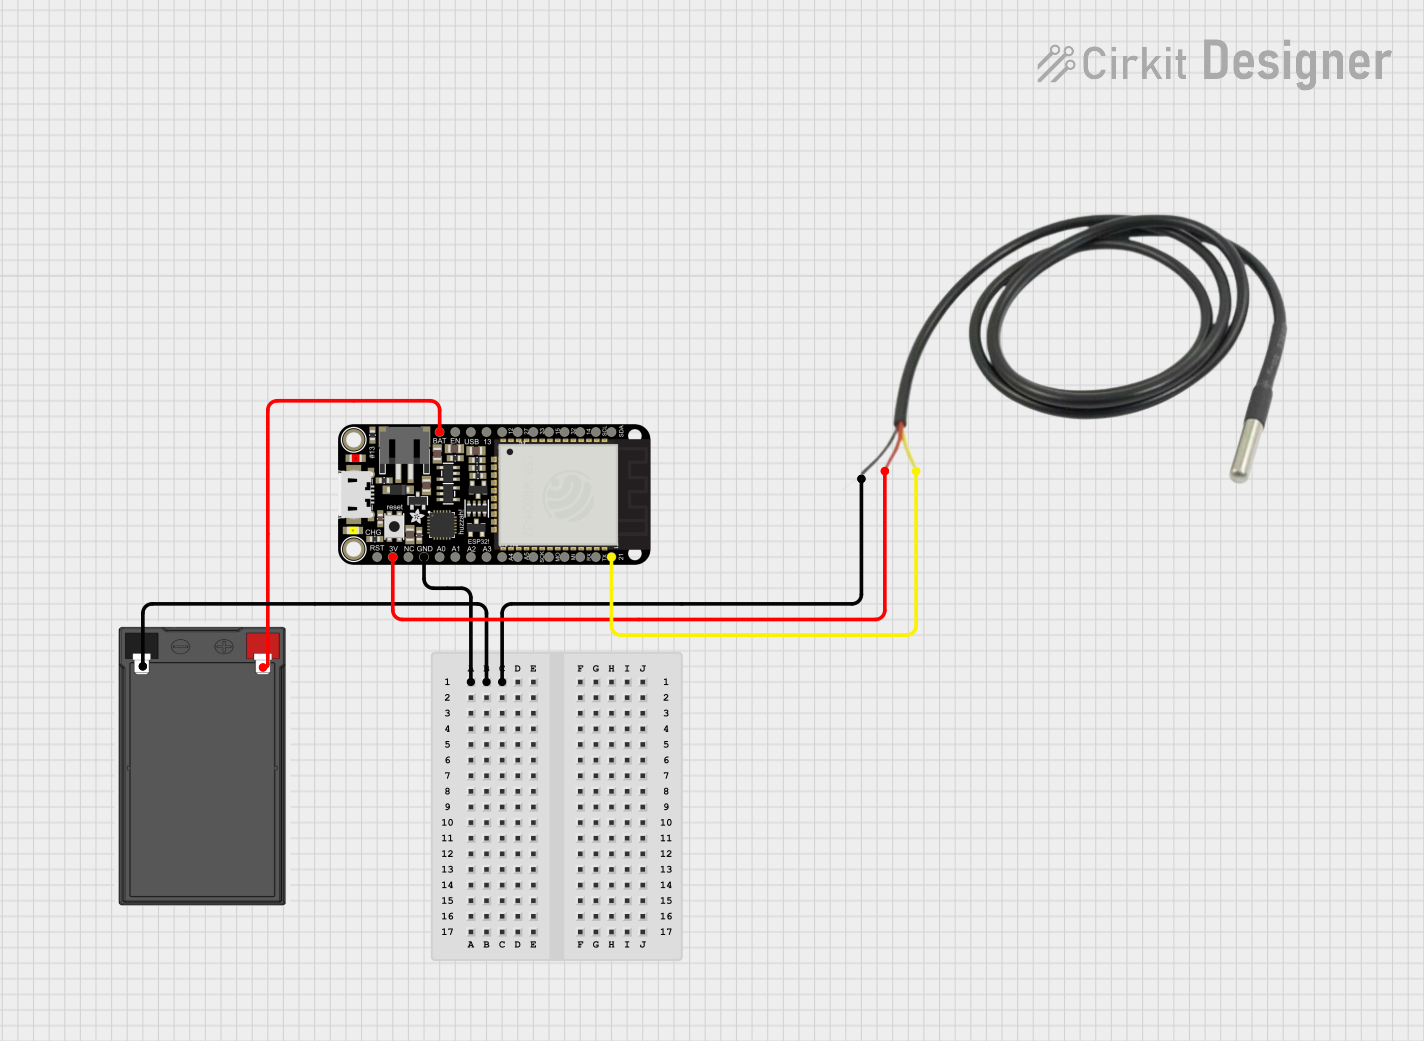
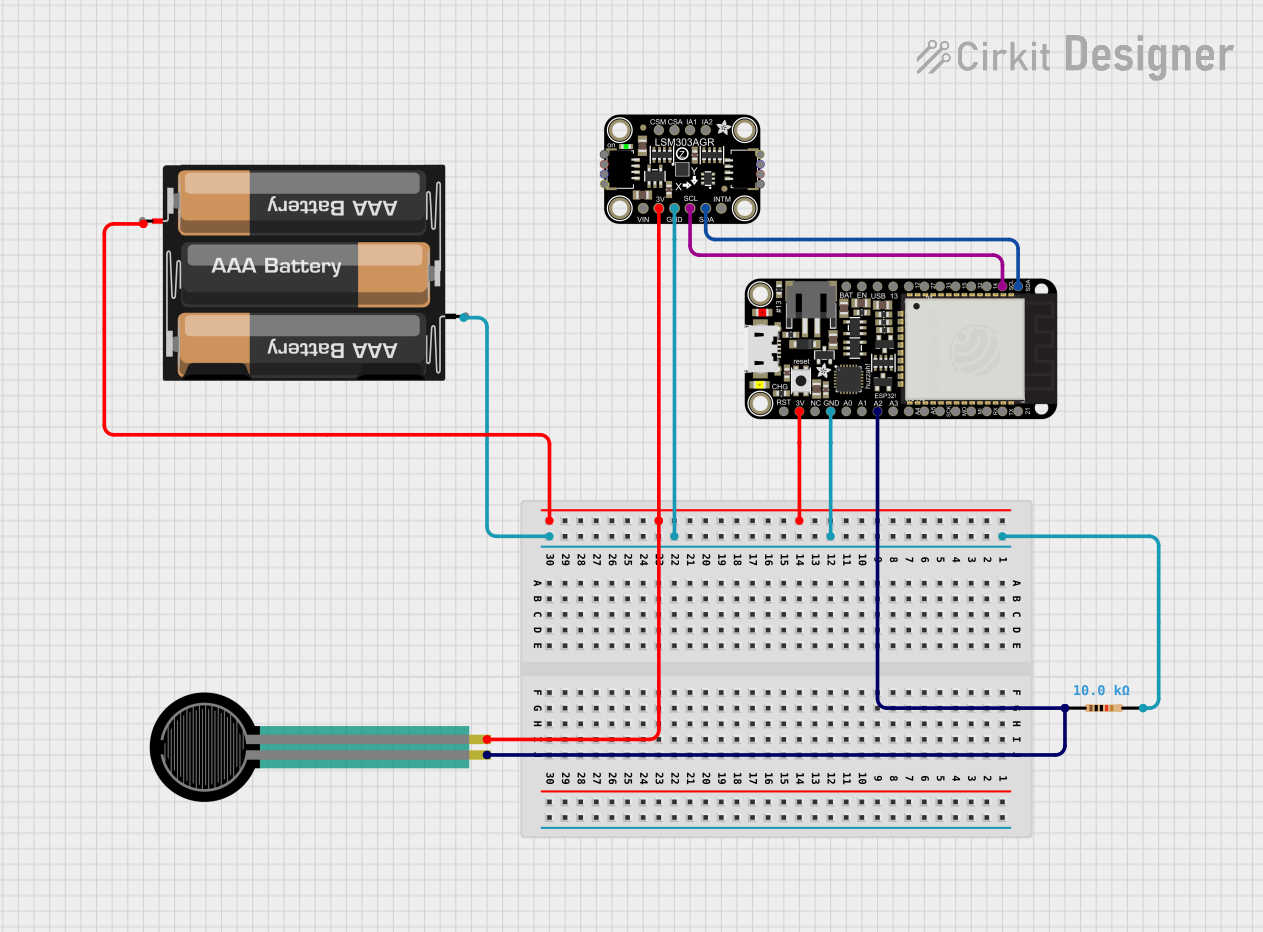
  1. Powering the Board:

    • Connect the USB cable to the board and your computer to power the board.
    • Alternatively, connect a LiPo battery to the JST connector for portable applications.
  2. Connecting to Peripherals:

    • Use the GPIO pins to connect sensors, actuators, or other peripherals.
    • Ensure that the peripherals are compatible with the board's operating voltage.
  3. Programming the Board:

    • Install the required drivers and the Arduino IDE or other compatible development environments.
    • Select the ESP32-C6 board from the board manager and the correct port.
  4. Uploading Code:

    • Write your code or use an example sketch.
    • Click the upload button in the IDE to program the board.

Important Considerations and Best Practices

  • Always ensure that the input voltage does not exceed the recommended levels to prevent damage.
  • When using Wi-Fi or Bluetooth, consider the power consumption and plan for adequate power supply.
  • Use proper decoupling capacitors close to the board to minimize power supply noise.
  • Avoid placing the board near metal objects or in enclosures that can block Wi-Fi/Bluetooth signals.

Example Code for Arduino UNO

#include <WiFi.h>

// Replace with your network credentials
const char* ssid = "your_SSID";
const char* password = "your_PASSWORD";

void setup() {
  Serial.begin(115200);
  
  // Connect to Wi-Fi
  WiFi.begin(ssid, password);
  while (WiFi.status() != WL_CONNECTED) {
    delay(500);
    Serial.println("Connecting to WiFi...");
  }
  Serial.println("Connected to WiFi");
}

void loop() {
  // Put your main code here, to run repeatedly:
}

Troubleshooting and FAQs

Common Issues

  • Board not recognized by the computer:

    • Ensure the USB cable is properly connected and the board is powered.
    • Check if the correct drivers are installed.
  • Unable to connect to Wi-Fi:

    • Verify the SSID and password are correct.
    • Ensure the board is within the range of the Wi-Fi router.
  • Sketch not uploading:

    • Check the selected board and port in the IDE.
    • Press the boot button on the board when initiating the upload if required.

Solutions and Tips for Troubleshooting

  • If the board is not recognized, try using a different USB cable or port.
  • For Wi-Fi issues, restart the router and ensure other devices can connect.
  • When uploading fails, double-check the connections and ensure no other programs are using the same COM port.

FAQs

Q: Can the ESP32-C6 Feather be powered by a battery? A: Yes, it can be powered by a LiPo battery connected to the JST connector.

Q: Does the board come with pre-installed firmware? A: The board typically comes with factory-installed firmware, but it's recommended to update to the latest firmware for your specific use case.

Q: How do I enable Bluetooth functionality? A: Bluetooth can be enabled using the appropriate libraries in your development environment. Refer to the ESP32-C6 documentation for specific instructions.

Q: What is the maximum range of the Wi-Fi/Bluetooth signal? A: The range depends on various factors, including obstacles, antenna design, and power output. Typically, Wi-Fi can reach up to 50 meters indoors, while Bluetooth range is around 10 meters.

For more detailed information, refer to the ESP32-C6 Feather datasheet and the official documentation provided by the manufacturer.