Cirkit Designer Logo
Cirkit Designer
Your all-in-one circuit design IDE
Home / 
Component Documentation

How to Use SX1262 LoRa HAT: Examples, Pinouts, and Specs

Image of SX1262 LoRa HAT
Cirkit Designer LogoDesign with SX1262 LoRa HAT in Cirkit Designer

Introduction

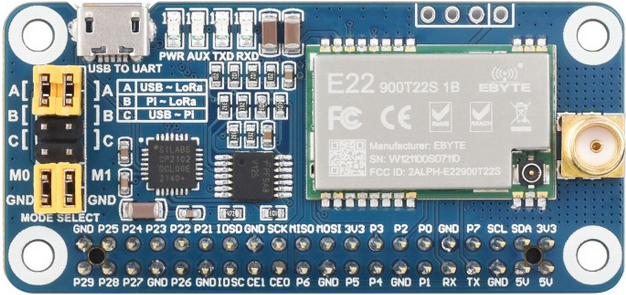
The SX1262 915M LoRa HAT by Waveshare is a hardware add-on designed to enable long-range, low-power wireless communication using the LoRa (Long Range) protocol. This HAT is based on the Semtech SX1262 LoRa transceiver and is compatible with Raspberry Pi and other microcontrollers. It is ideal for Internet of Things (IoT) applications, where reliable communication over long distances is required with minimal power consumption.

Explore Projects Built with SX1262 LoRa HAT

Use Cirkit Designer to design, explore, and prototype these projects online. Some projects support real-time simulation. Click "Open Project" to start designing instantly!
ESP8266 NodeMCU with GPS and LoRa Connectivity
Image of Copy of lora based gps traking: A project utilizing SX1262 LoRa HAT in a practical application
This circuit comprises an ESP8266 NodeMCU microcontroller interfaced with a LoRa Ra-02 SX1278 module for long-range communication and a GPS NEO 6M module for location tracking. The ESP8266 reads GPS data via UART and transmits it using the LoRa module, which is connected via SPI. A 3.7v battery powers the system, making it suitable for remote tracking applications.
Cirkit Designer LogoOpen Project in Cirkit Designer
ESP8266 and LoRa SX1278 Based Wireless Communication Module
Image of Receiver: A project utilizing SX1262 LoRa HAT in a practical application
This circuit integrates a LoRa Ra-02 SX1278 module with an ESP8266 NodeMCU to enable long-range wireless communication. The ESP8266 NodeMCU handles the control and data processing, while the LoRa module provides the capability to transmit and receive data over long distances using LoRa technology.
Cirkit Designer LogoOpen Project in Cirkit Designer
Arduino UNO and LoRa SX1278 Wireless Communication Module
Image of LoRa_wiring: A project utilizing SX1262 LoRa HAT in a practical application
This circuit connects an Arduino UNO with a LoRa Ra-02 SX1278 module to enable long-range communication capabilities. The Arduino is configured to interface with the LoRa module via SPI (Serial Peripheral Interface), using digital pins D13 (SCK), D12 (MISO), D11 (MOSI), and D10 (NSS) for the clock, master-in-slave-out, master-out-slave-in, and slave select functions, respectively. Additional connections include a reset line to D9 and an interrupt line to D4, which are typically used for module reset and interrupt-driven event handling.
Cirkit Designer LogoOpen Project in Cirkit Designer
ESP32-Based LoRa Communication Module
Image of Receptor_Proyect_Of_Grade: A project utilizing SX1262 LoRa HAT in a practical application
This circuit integrates an ESP32 microcontroller with a LoRa Ra-02 SX1278 module for long-range wireless communication. The ESP32's digital pins are connected to the LoRa module's SPI interface (MOSI, MISO, SCK, NSS) and control lines (RST, DI00) to enable data transmission and reception. The circuit is likely designed for IoT applications requiring low-power, wide-area network connectivity.
Cirkit Designer LogoOpen Project in Cirkit Designer

Explore Projects Built with SX1262 LoRa HAT

Use Cirkit Designer to design, explore, and prototype these projects online. Some projects support real-time simulation. Click "Open Project" to start designing instantly!
Image of Copy of lora based gps traking: A project utilizing SX1262 LoRa HAT in a practical application
ESP8266 NodeMCU with GPS and LoRa Connectivity
This circuit comprises an ESP8266 NodeMCU microcontroller interfaced with a LoRa Ra-02 SX1278 module for long-range communication and a GPS NEO 6M module for location tracking. The ESP8266 reads GPS data via UART and transmits it using the LoRa module, which is connected via SPI. A 3.7v battery powers the system, making it suitable for remote tracking applications.
Cirkit Designer LogoOpen Project in Cirkit Designer
Image of Receiver: A project utilizing SX1262 LoRa HAT in a practical application
ESP8266 and LoRa SX1278 Based Wireless Communication Module
This circuit integrates a LoRa Ra-02 SX1278 module with an ESP8266 NodeMCU to enable long-range wireless communication. The ESP8266 NodeMCU handles the control and data processing, while the LoRa module provides the capability to transmit and receive data over long distances using LoRa technology.
Cirkit Designer LogoOpen Project in Cirkit Designer
Image of LoRa_wiring: A project utilizing SX1262 LoRa HAT in a practical application
Arduino UNO and LoRa SX1278 Wireless Communication Module
This circuit connects an Arduino UNO with a LoRa Ra-02 SX1278 module to enable long-range communication capabilities. The Arduino is configured to interface with the LoRa module via SPI (Serial Peripheral Interface), using digital pins D13 (SCK), D12 (MISO), D11 (MOSI), and D10 (NSS) for the clock, master-in-slave-out, master-out-slave-in, and slave select functions, respectively. Additional connections include a reset line to D9 and an interrupt line to D4, which are typically used for module reset and interrupt-driven event handling.
Cirkit Designer LogoOpen Project in Cirkit Designer
Image of Receptor_Proyect_Of_Grade: A project utilizing SX1262 LoRa HAT in a practical application
ESP32-Based LoRa Communication Module
This circuit integrates an ESP32 microcontroller with a LoRa Ra-02 SX1278 module for long-range wireless communication. The ESP32's digital pins are connected to the LoRa module's SPI interface (MOSI, MISO, SCK, NSS) and control lines (RST, DI00) to enable data transmission and reception. The circuit is likely designed for IoT applications requiring low-power, wide-area network connectivity.
Cirkit Designer LogoOpen Project in Cirkit Designer

Common Applications and Use Cases

  • Smart agriculture and environmental monitoring
  • Industrial IoT and asset tracking
  • Smart cities and home automation
  • Remote data collection and telemetry
  • Wireless sensor networks

Technical Specifications

The SX1262 LoRa HAT is designed to operate in the 915 MHz frequency band, making it suitable for use in regions where this frequency is allocated for LoRa communication. Below are the key technical details:

Key Specifications

Parameter Value
Frequency Band 915 MHz
Modulation LoRa, FSK
Communication Range Up to 5 km (line of sight)
Transmit Power Up to +22 dBm
Sensitivity -148 dBm
Operating Voltage 3.3V / 5V (via onboard regulator)
Interface SPI
Dimensions 65mm × 30mm
Operating Temperature -40°C to +85°C

Pin Configuration and Descriptions

The SX1262 LoRa HAT uses a 40-pin GPIO header for interfacing with Raspberry Pi or other microcontrollers. Below is the pinout and description:

Pin Number Pin Name Description
1 3.3V Power supply (3.3V)
2 5V Power supply (5V)
3 GPIO2 SPI Chip Select (CS)
5 GPIO3 SPI Clock (SCK)
7 GPIO4 SPI Master Out Slave In (MOSI)
9 GND Ground
11 GPIO17 SPI Master In Slave Out (MISO)
13 GPIO27 Reset Pin (RST)
15 GPIO22 Busy Pin (BUSY)
19 GPIO10 DIO1 (Interrupt Pin)
21 GPIO9 DIO2 (Optional Interrupt Pin)

Usage Instructions

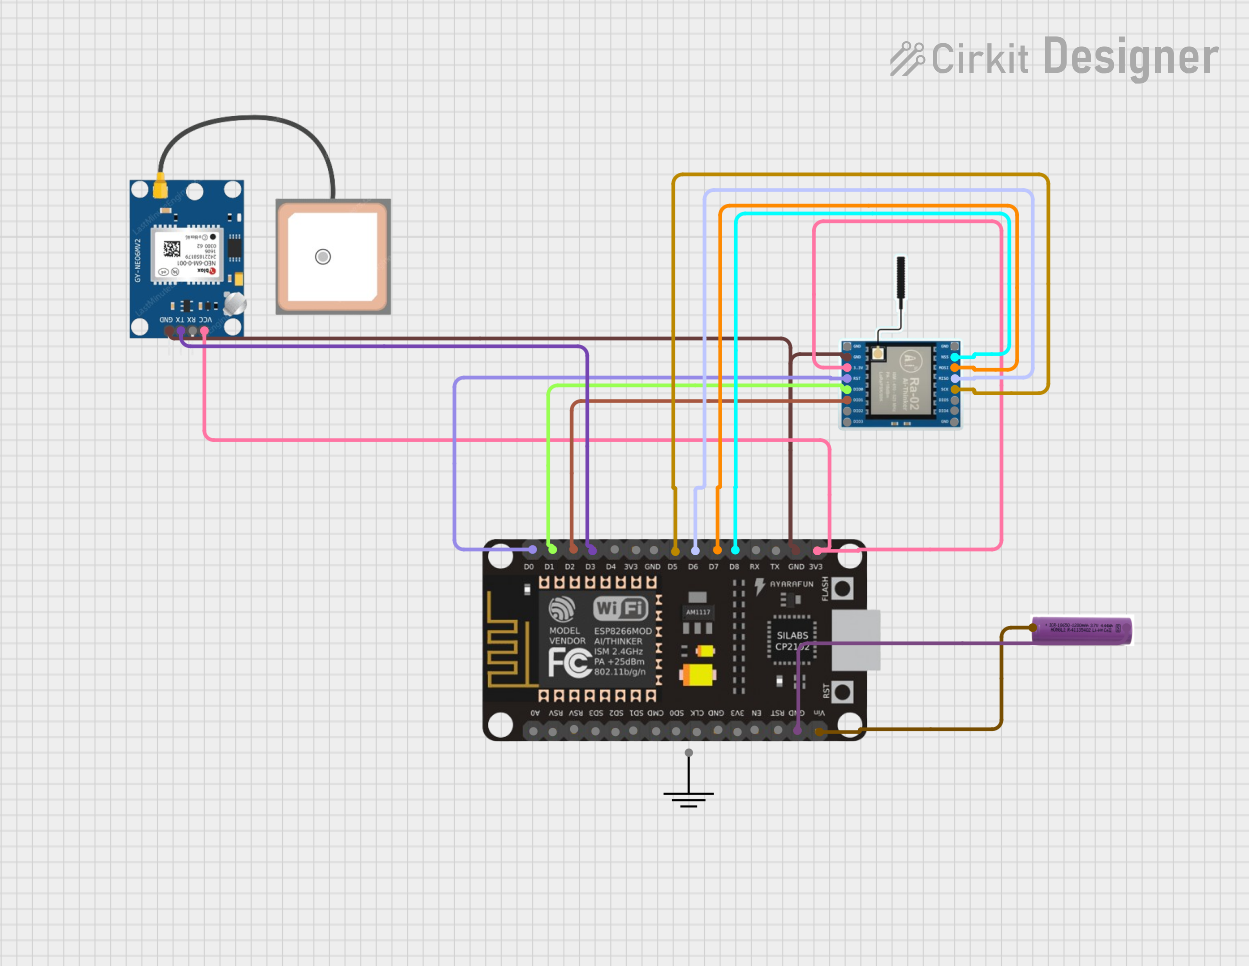
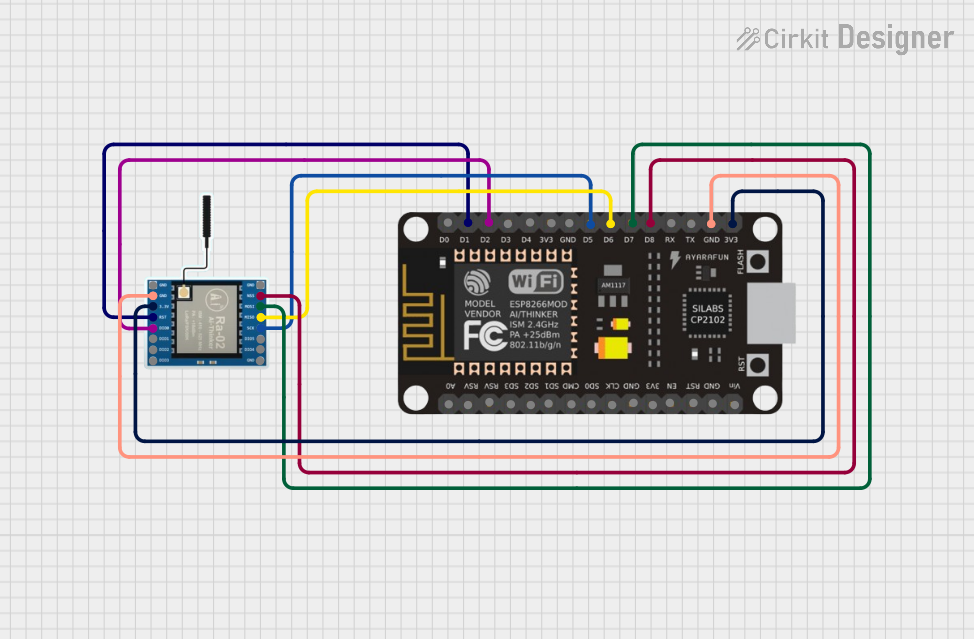
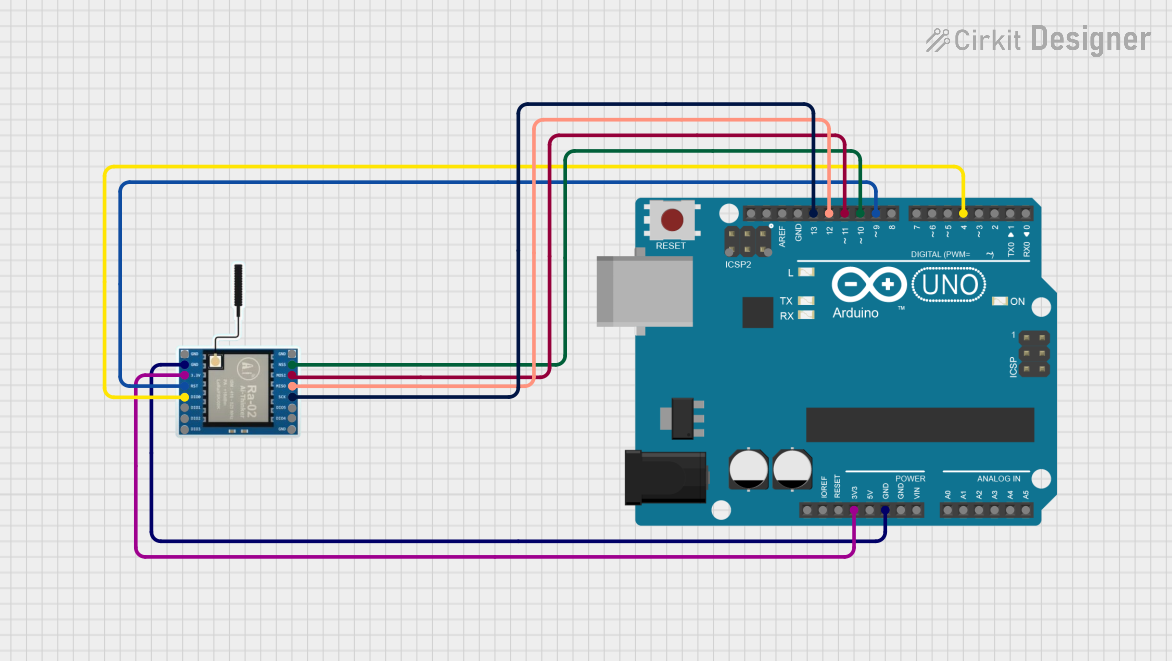
The SX1262 LoRa HAT can be used to establish long-range wireless communication between devices. Below are the steps to set up and use the HAT:

1. Hardware Setup

  1. Attach the SX1262 LoRa HAT to the GPIO header of a Raspberry Pi or compatible microcontroller.
  2. Ensure the antenna is securely connected to the HAT to avoid damage to the transceiver.
  3. Power the Raspberry Pi or microcontroller.

2. Software Setup

  1. Install the required libraries and dependencies for LoRa communication. For Raspberry Pi, you can use the wiringPi library or Python-based libraries like pyLoRa.
  2. Configure the SPI interface on the Raspberry Pi by enabling it in the raspi-config tool.

3. Example Code for Arduino UNO

If you are using the SX1262 LoRa HAT with an Arduino UNO, you can use the following example code to send a simple message:

#include <SPI.h>
#include <LoRa.h> // Include the LoRa library

#define CS_PIN 10    // Chip Select pin
#define RST_PIN 9    // Reset pin
#define BUSY_PIN 8   // Busy pin

void setup() {
  Serial.begin(9600); // Initialize serial communication
  while (!Serial);

  Serial.println("Initializing LoRa...");

  // Initialize LoRa with the specified pins
  if (!LoRa.begin(915E6)) { // Set frequency to 915 MHz
    Serial.println("LoRa initialization failed!");
    while (1);
  }

  Serial.println("LoRa initialized successfully.");
}

void loop() {
  Serial.println("Sending message...");
  LoRa.beginPacket(); // Start a new LoRa packet
  LoRa.print("Hello, LoRa!"); // Add data to the packet
  LoRa.endPacket(); // Send the packet

  delay(5000); // Wait 5 seconds before sending the next message
}

4. Important Considerations

  • Always use the correct antenna for the 915 MHz frequency band to ensure optimal performance.
  • Avoid operating the HAT without an antenna, as this can damage the transceiver.
  • Ensure the SPI pins on your microcontroller are correctly configured to match the HAT's pinout.

Troubleshooting and FAQs

Common Issues and Solutions

  1. LoRa initialization failed

    • Ensure the SPI interface is enabled on your microcontroller.
    • Check the wiring and ensure all connections are secure.
    • Verify that the correct frequency (915 MHz) is being used.
  2. No communication between devices

    • Ensure both devices are configured to use the same frequency, spreading factor, and bandwidth.
    • Check the antenna connections on both devices.
    • Verify that the devices are within range and there are no significant obstacles blocking the signal.
  3. Low communication range

    • Ensure the antenna is properly connected and positioned vertically.
    • Check for sources of interference in the environment, such as other wireless devices.

FAQs

  1. Can the SX1262 LoRa HAT be used with Arduino?
    Yes, the HAT can be used with Arduino boards via SPI. Ensure proper wiring and use a compatible LoRa library.

  2. What is the maximum range of the SX1262 LoRa HAT?
    The maximum range is up to 5 km in line-of-sight conditions. Actual range may vary depending on environmental factors.

  3. Is the SX1262 LoRa HAT compatible with Raspberry Pi Pico?
    Yes, the HAT can be used with Raspberry Pi Pico via SPI, but additional wiring may be required.

By following this documentation, you can effectively use the SX1262 915M LoRa HAT for your IoT and wireless communication projects.