How to Use Adafruit AMG8833 IR Camera FeatherWing: Examples, Pinouts, and Specs
Introduction
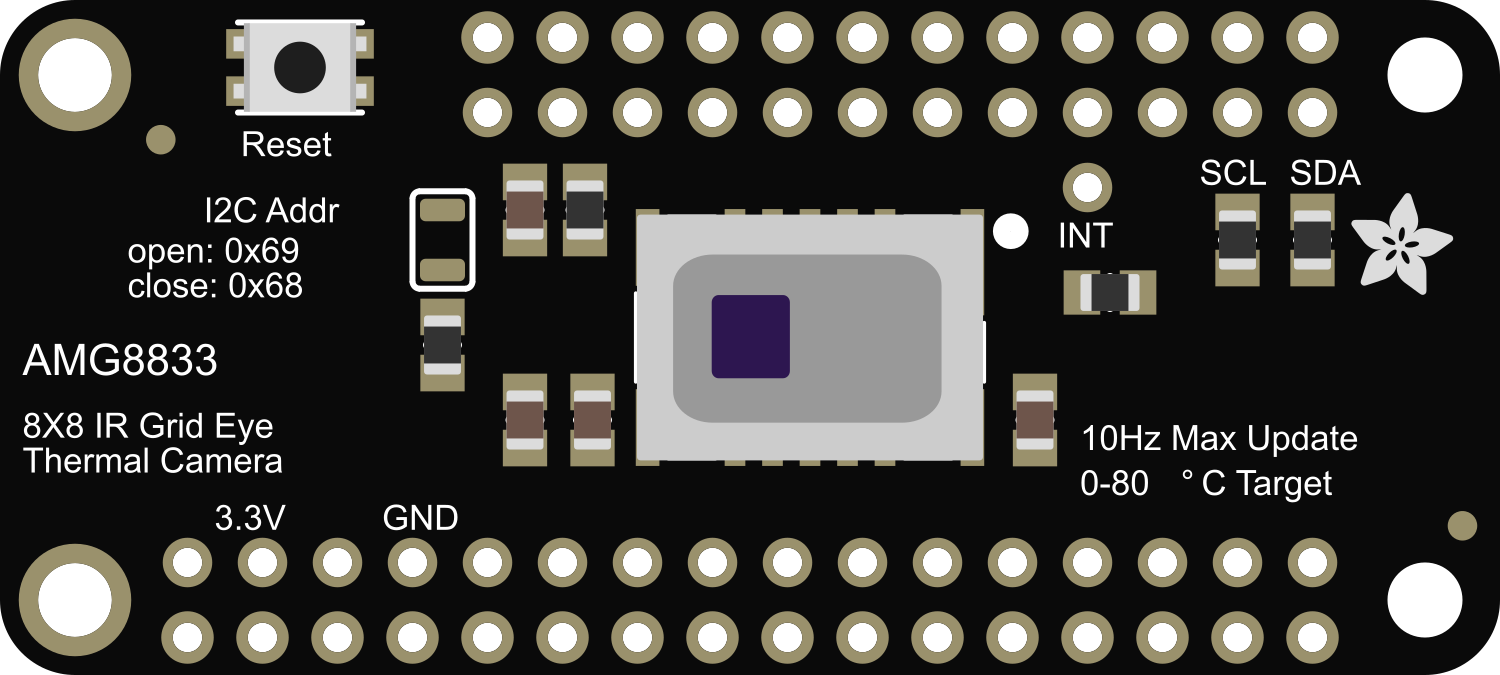
The Adafruit AMG8833 IR Camera FeatherWing is a sophisticated thermal imaging add-on for hobbyists and professionals alike. It utilizes an 8x8 grid of IR thermal sensors to detect heat and represent it as a visual image. This module is particularly useful in applications such as human presence detection, temperature measurement in electronics, or even creating your own thermal camera.
Explore Projects Built with Adafruit AMG8833 IR Camera FeatherWing

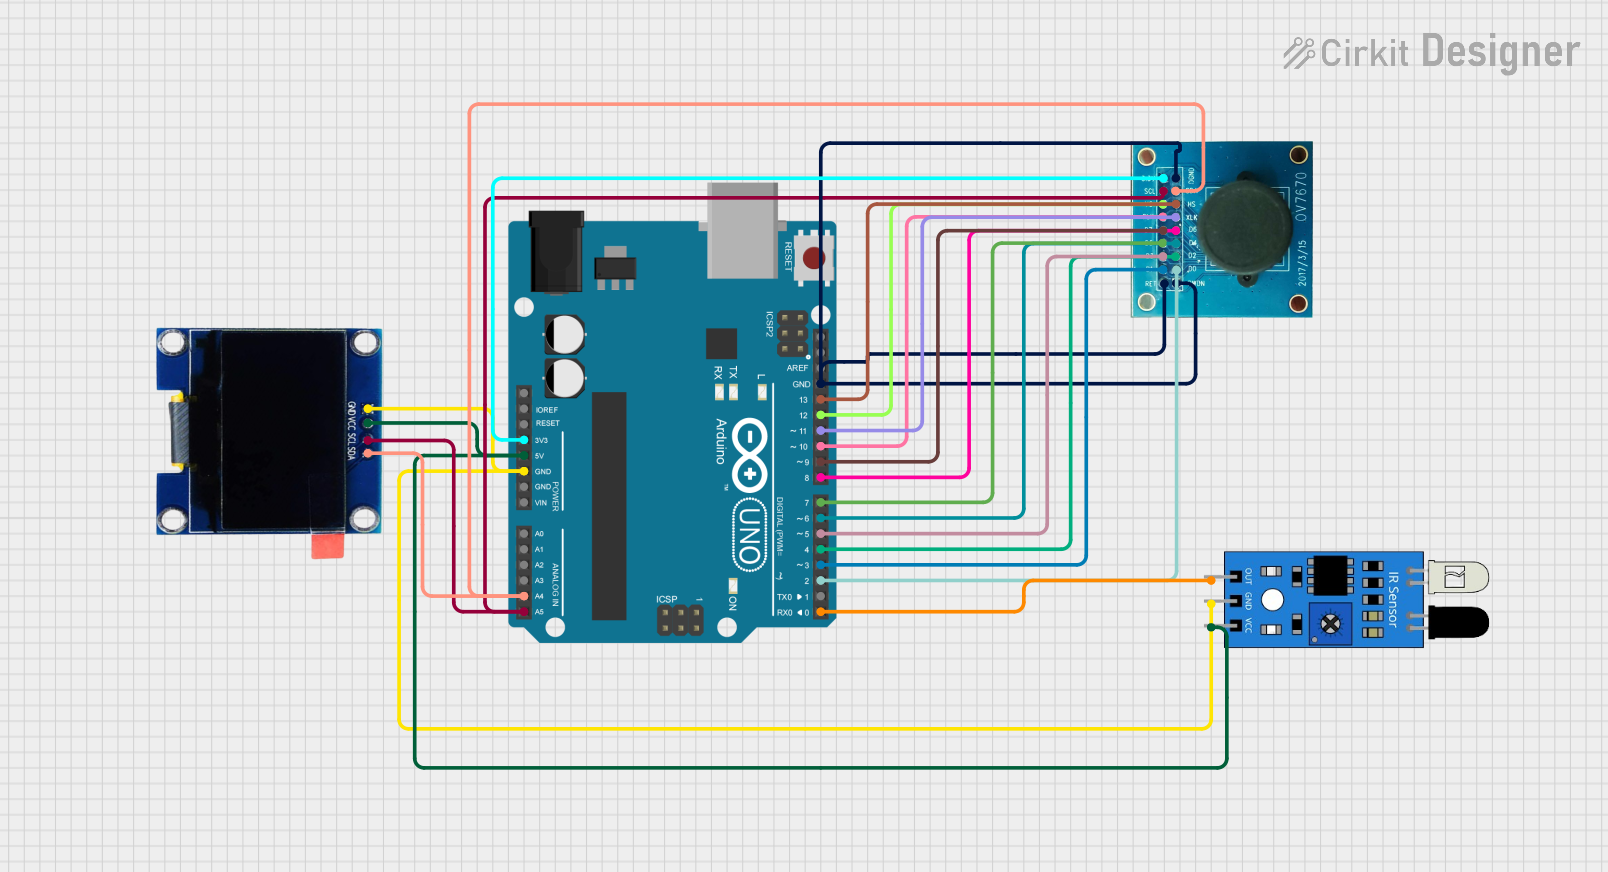
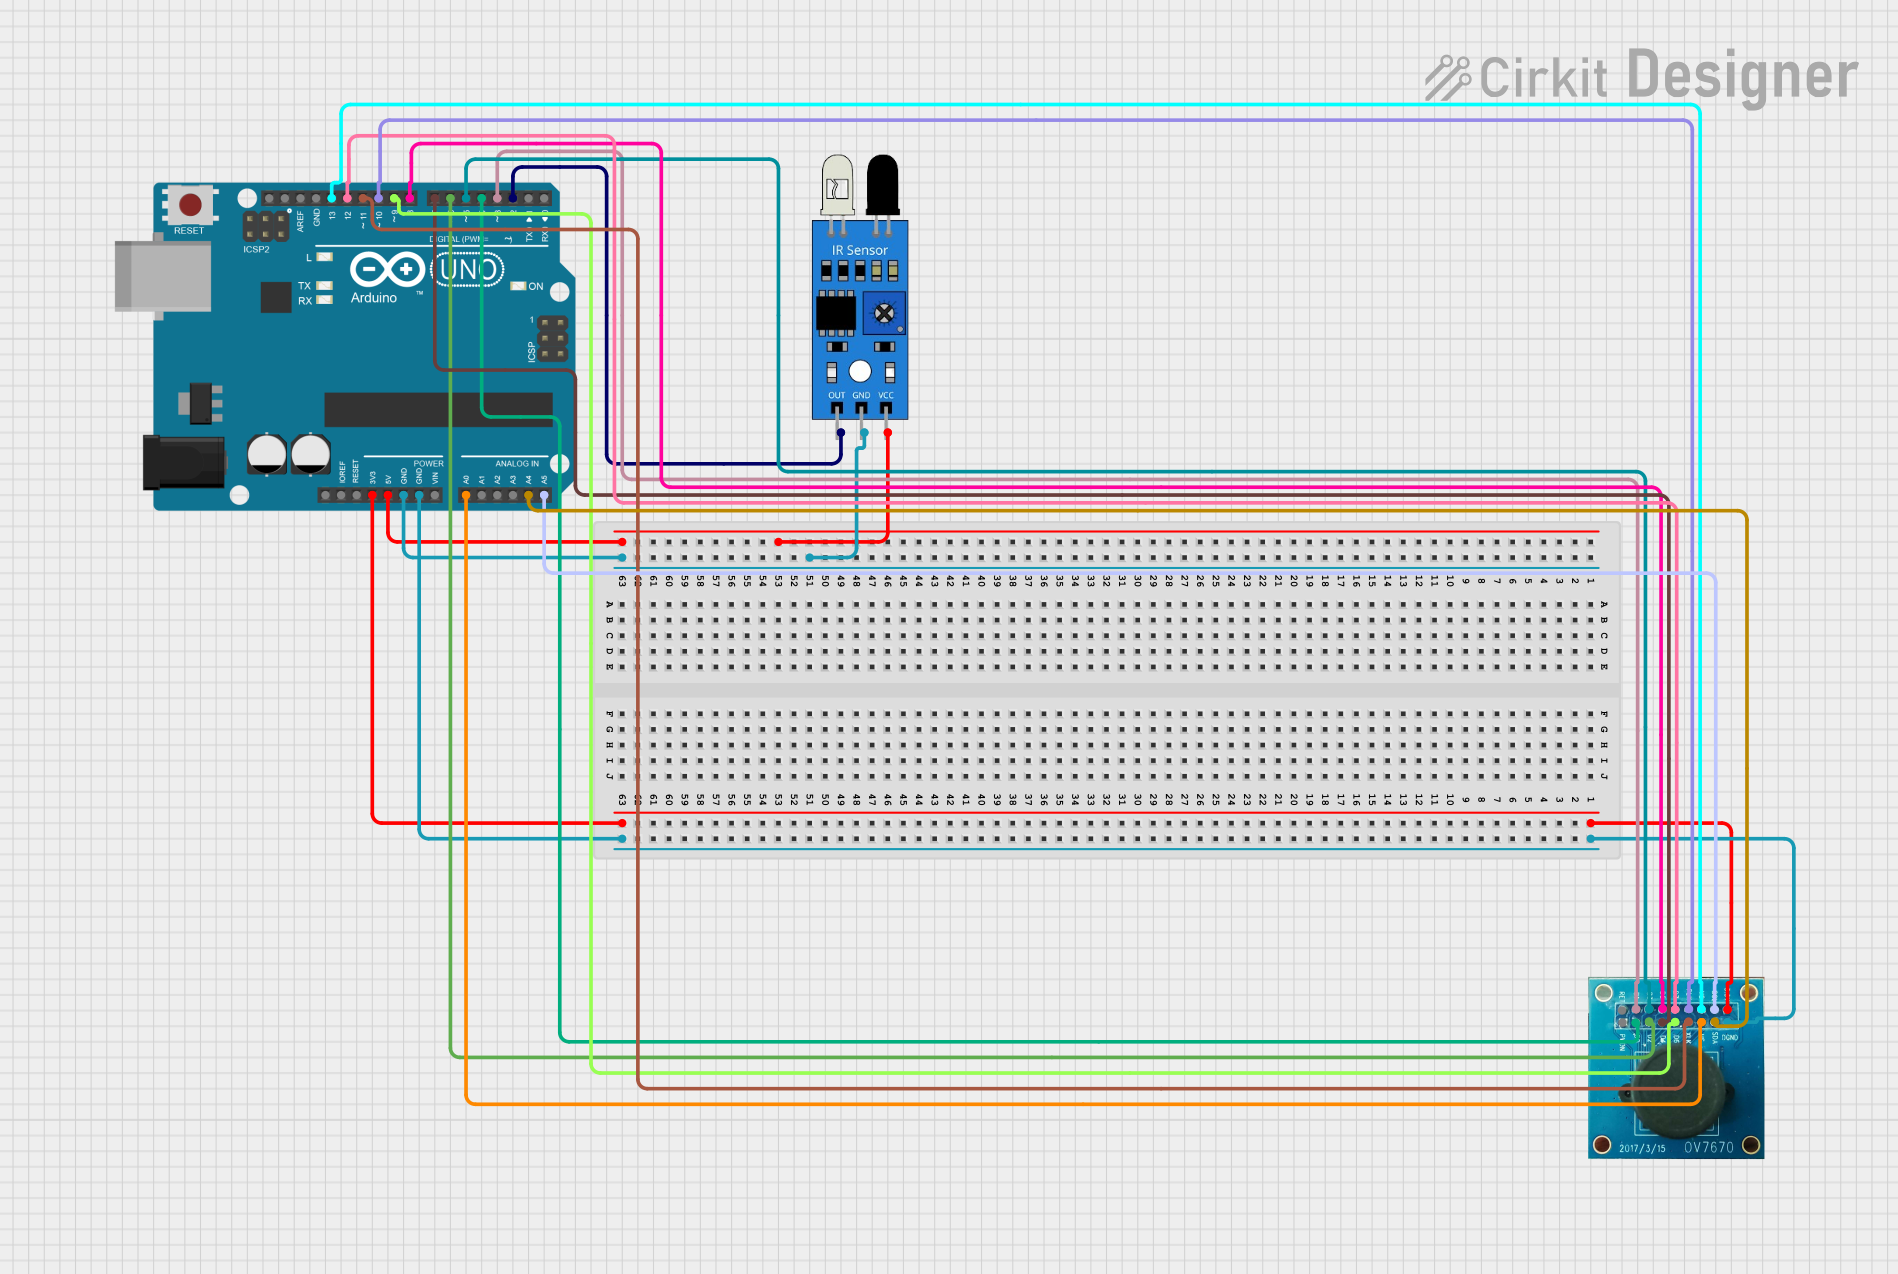
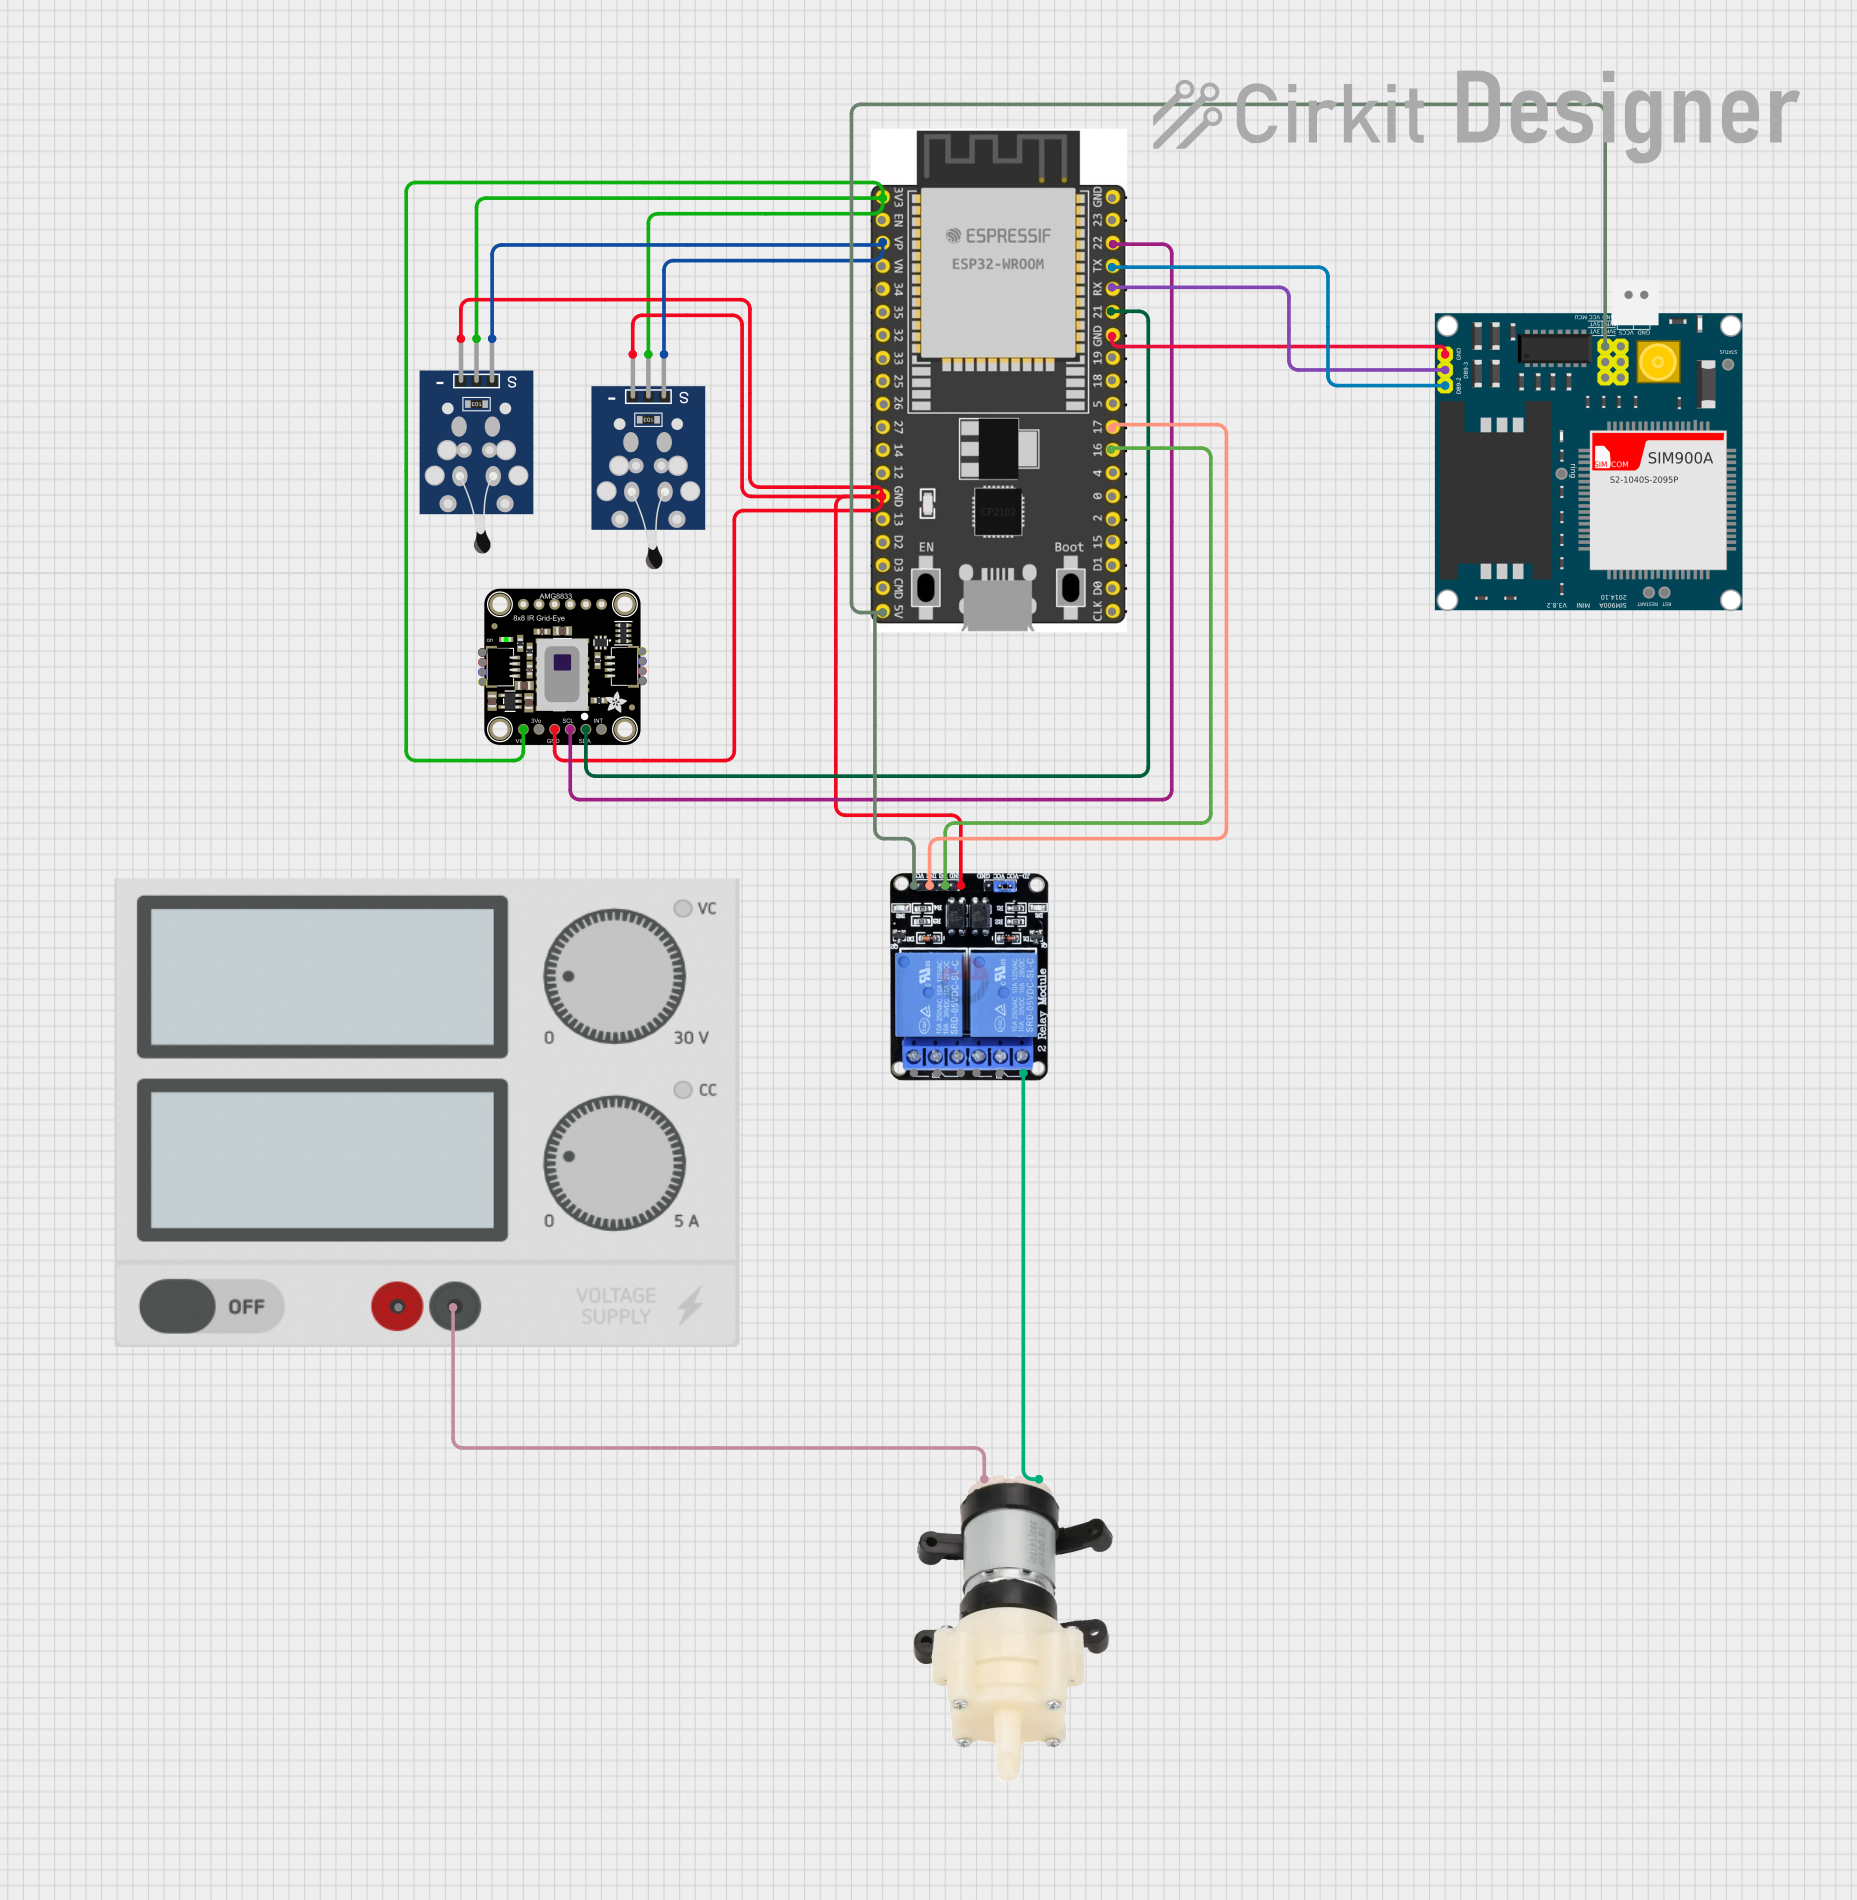
Explore Projects Built with Adafruit AMG8833 IR Camera FeatherWing
Common Applications and Use Cases
- Human presence detection for smart home systems
- Temperature monitoring for system cooling or environmental data
- Thermal imaging for night vision or heat leakage detection
- Interactive art installations
- Robotics for object detection or navigation
Technical Specifications
Key Technical Details
- Sensor Array: 8x8 (64) IR sensor grid
- Temperature Range: -20°C to 100°C
- Frame Rate: 1 to 10 Hz
- Interface: I2C
- Operating Voltage: 3V to 5V
Pin Configuration and Descriptions
| Pin | Description |
|---|---|
| VCC | Power supply (3V to 5V) |
| GND | Ground connection |
| SDA | I2C data line |
| SCL | I2C clock line |
| INT | Interrupt pin (optional use) |
Usage Instructions
Integration with a Circuit
To use the AMG8833 FeatherWing with a microcontroller like the Arduino UNO, follow these steps:
- Connect VCC to the 3.3V output on the Arduino.
- Connect GND to a ground pin on the Arduino.
- Connect SDA and SCL to the corresponding I2C pins on the Arduino (A4 and A5 on the UNO).
- (Optional) Connect the INT pin to a digital pin if you plan to use the interrupt feature.
Important Considerations and Best Practices
- Ensure that the power supply is within the specified range (3V to 5V).
- Use pull-up resistors on the I2C lines if they are not included in your microcontroller board.
- Avoid exposing the sensor to direct sunlight or strong infrared sources to prevent damage.
- For accurate temperature readings, allow the sensor to acclimate to its environment before use.
Example Code for Arduino UNO
#include <Wire.h>
#include <Adafruit_AMG88xx.h>

Adafruit_AMG88xx amg;

void setup() {
  Serial.begin(9600);
  Serial.println(F("AMG8833 IR Camera FeatherWing"));

  bool status = amg.begin();
  if (!status) {
    Serial.println("Could not find a valid AMG8833 sensor, check wiring!");
    while (1);
  }

  // Wait for the sensor to stabilize
  delay(100);
}

void loop() {
  // Read the pixels from the sensor
  float pixels[AMG88xx_PIXEL_ARRAY_SIZE];
  amg.readPixels(pixels);

  Serial.println("Pixel Temperatures (C):");
  for(int i = 1; i <= AMG88xx_PIXEL_ARRAY_SIZE; i++){
    Serial.print(pixels[i-1]);
    Serial.print(", ");
    if( i % 8 == 0 ) Serial.println();
  }
  Serial.println();

  // Delay between readings
  delay(1000);
}
Troubleshooting and FAQs
Common Issues
- Sensor not detected: Check the wiring, ensure that the SDA and SCL lines are connected properly, and that the correct voltage is applied.
- Inaccurate temperature readings: Make sure the sensor has had time to acclimate to the ambient temperature. Avoid placing the sensor near heat sources or in direct sunlight.
Solutions and Tips for Troubleshooting
- If the sensor is not responding, try resetting the power to the module.
- Ensure that the I2C address of the sensor does not conflict with other devices on the I2C bus.
- Use the interrupt pin to detect rapid temperature changes without polling the sensor continuously.
FAQs
Q: Can I connect multiple AMG8833 sensors to one microcontroller? A: Yes, you can connect multiple sensors using different I2C addresses or separate I2C buses if your microcontroller supports this.
Q: How can I visualize the thermal data? A: You can send the pixel data to a computer and use processing software to create a heatmap, or use an OLED/LCD display connected to your microcontroller to show the data in real-time.
Q: Is calibration required for the sensor? A: The sensor comes factory-calibrated, but for precise applications, you may need to perform additional calibration against known temperature references.