How to Use Billacceptor TB74: Examples, Pinouts, and Specs
Introduction
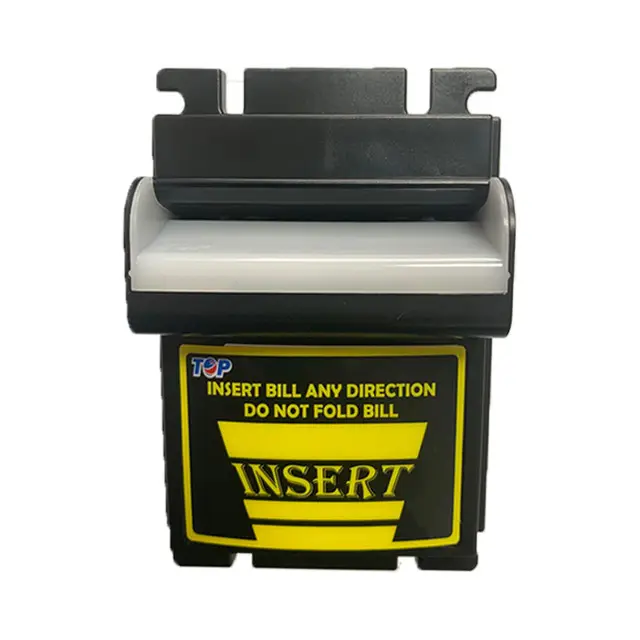
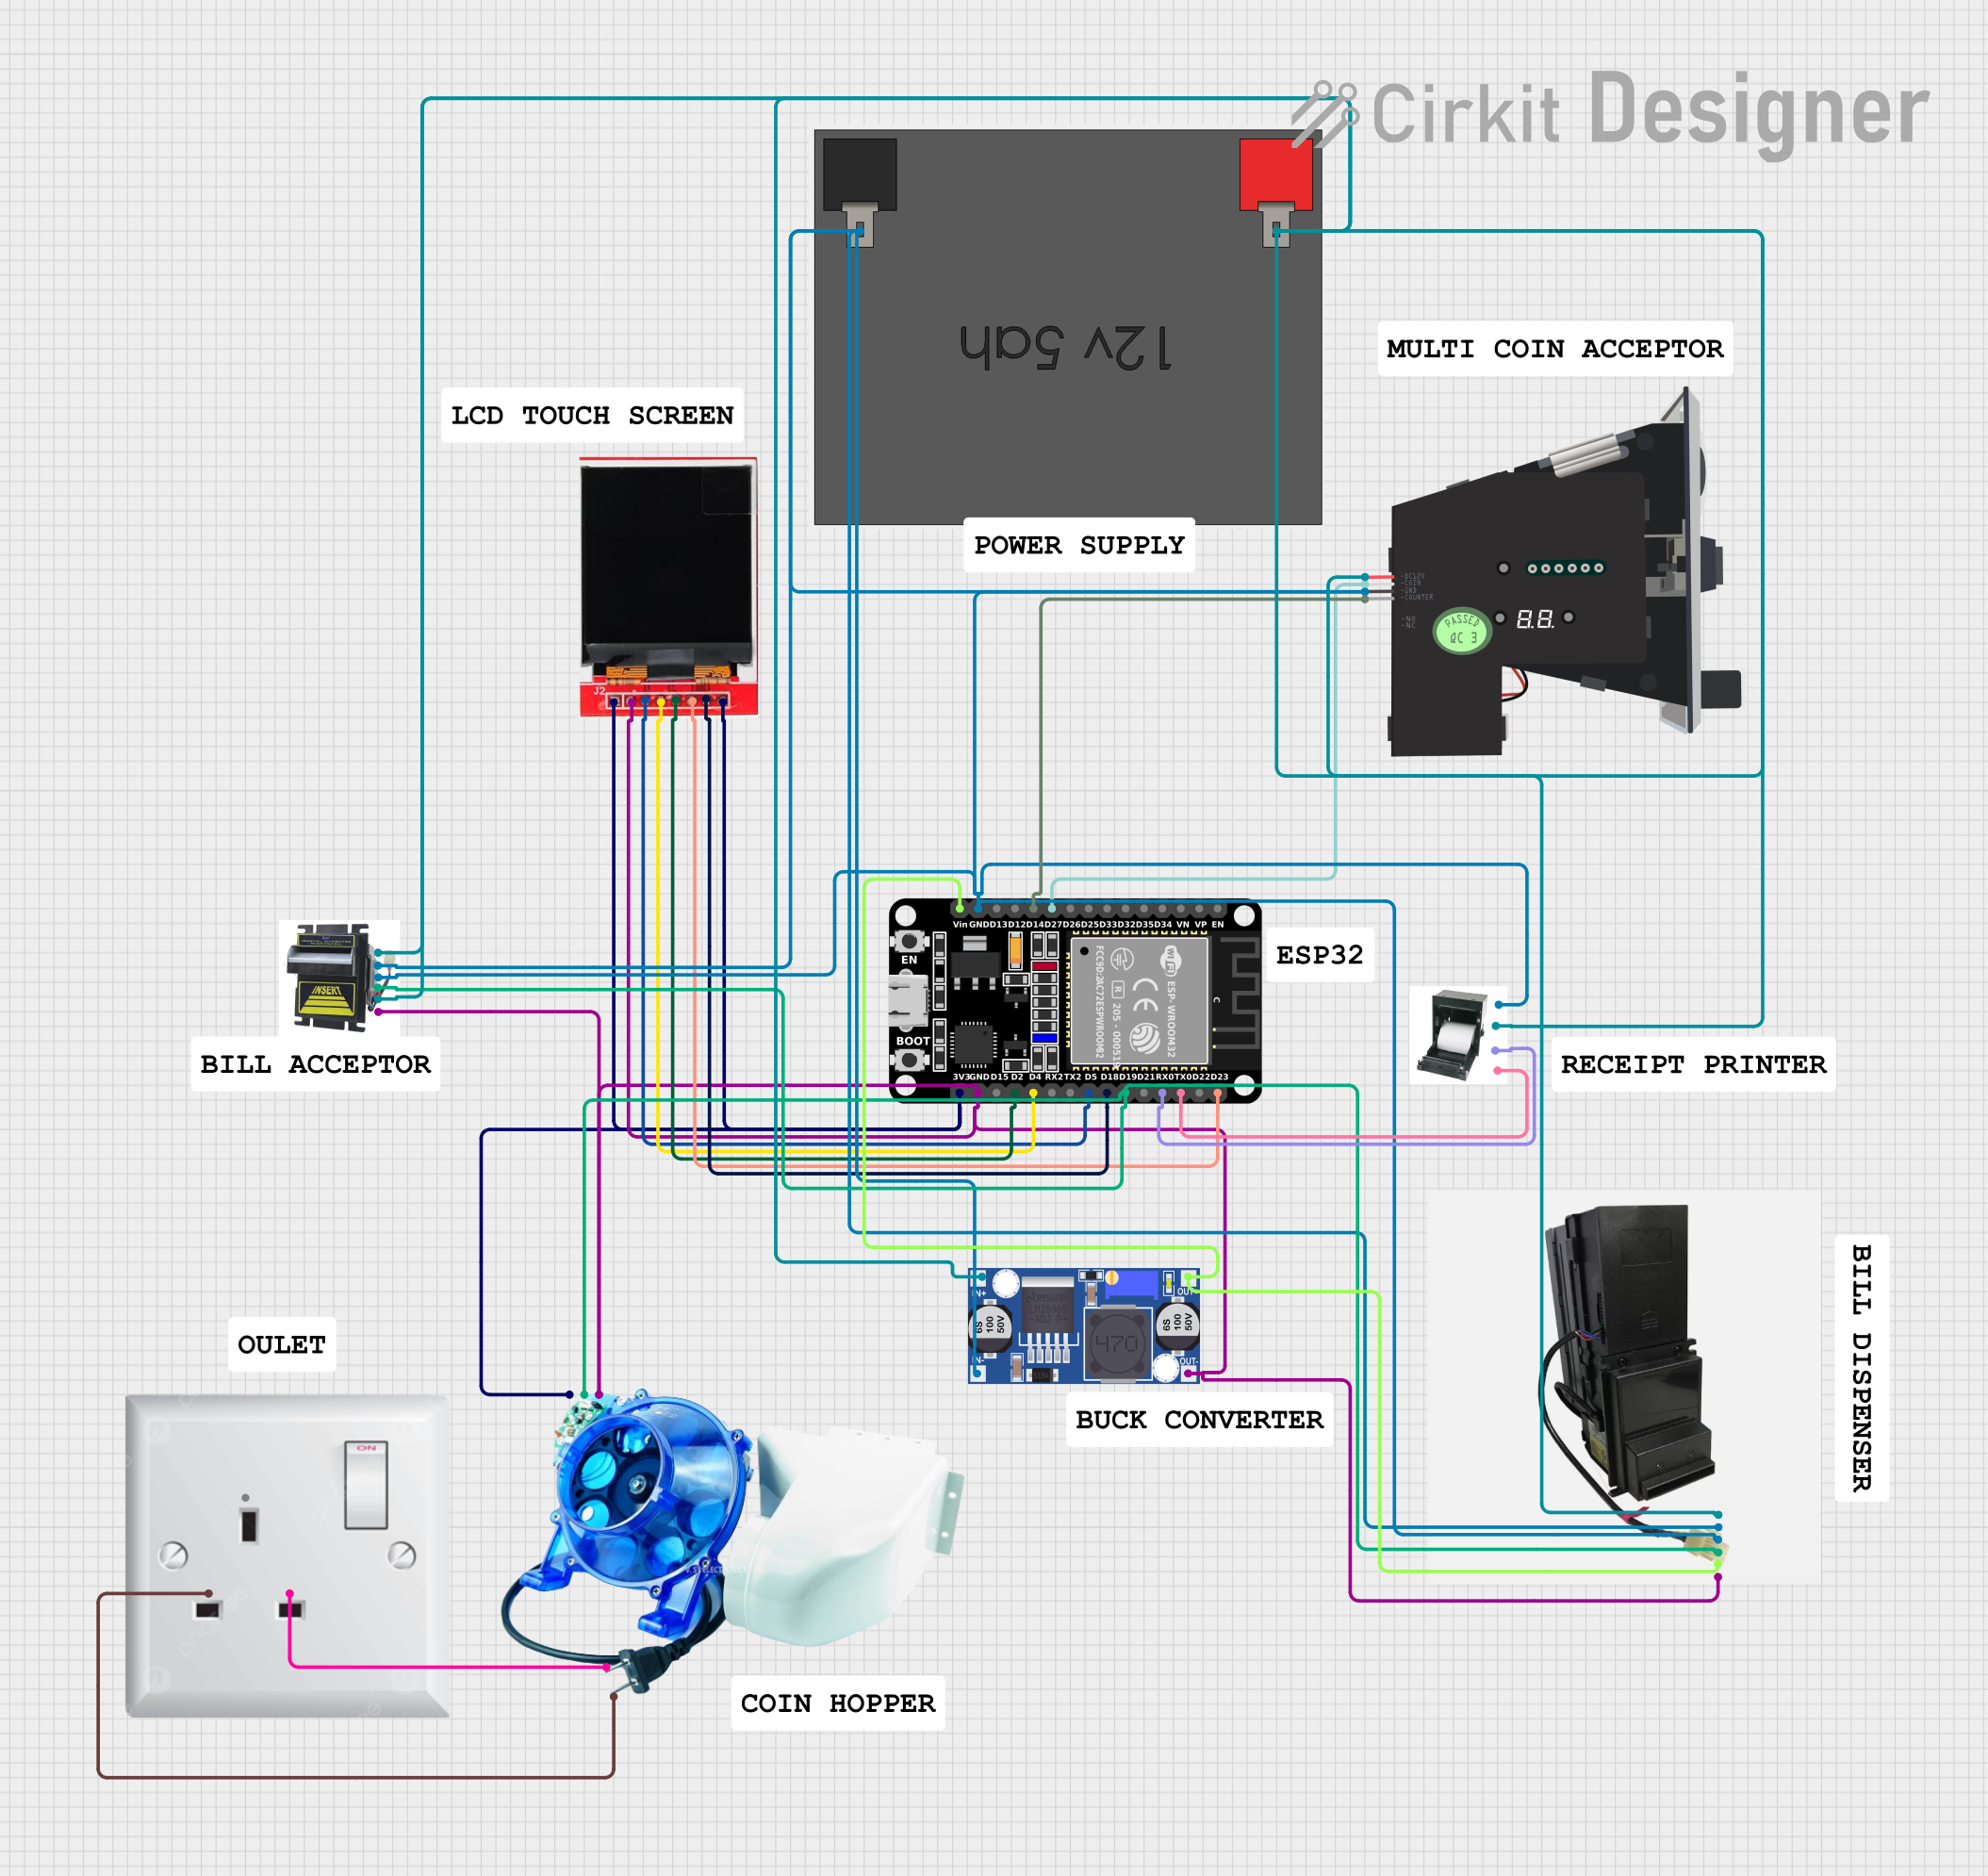
The Billacceptor TB74 is a currency validation and acceptance device designed for use in vending machines, kiosks, arcade systems, and other automated payment systems. Manufactured in China, this device ensures secure and efficient transactions by accurately detecting and accepting various denominations of banknotes. Its robust design and reliable performance make it a popular choice for applications requiring automated cash handling.
Explore Projects Built with Billacceptor TB74
Explore Projects Built with Billacceptor TB74
Common Applications
- Vending machines
- Parking payment systems
- Arcade and gaming machines
- Ticketing kiosks
- Automated retail systems
Technical Specifications
The following table outlines the key technical details of the Billacceptor TB74:
| Specification | Details |
|---|---|
| Manufacturer | China |
| Part ID | 6 pins |
| Operating Voltage | 12V DC |
| Current Consumption | 500mA (typical) |
| Supported Banknote Width | 62mm to 78mm |
| Communication Protocol | Pulse or Serial (RS232) |
| Acceptance Speed | ~3 seconds per banknote |
| Operating Temperature | 0°C to 50°C |
| Storage Temperature | -20°C to 70°C |
| Dimensions | 240mm x 120mm x 100mm |
| Weight | 1.2 kg |
Pin Configuration and Descriptions
The Billacceptor TB74 features a 6-pin connector for interfacing with external systems. The pin configuration is as follows:
| Pin Number | Name | Description |
|---|---|---|
| 1 | VCC | Power supply input (12V DC). |
| 2 | GND | Ground connection. |
| 3 | PULSE/RS232 TX | Output for communication (Pulse signal or RS232 transmit, depending on mode). |
| 4 | RS232 RX | Input for RS232 communication (only in RS232 mode). |
| 5 | ENABLE | Enable signal to activate the bill acceptor. |
| 6 | INHIBIT | Inhibit signal to disable the bill acceptor. |
Usage Instructions
How to Use the Billacceptor TB74 in a Circuit
- Power Supply: Connect the VCC pin to a stable 12V DC power source and the GND pin to the ground of your circuit.
- Communication Mode: Determine whether you will use the Pulse or RS232 communication mode:
- For Pulse Mode, use the PULSE/RS232 TX pin to receive pulse signals corresponding to the accepted banknote denomination.
- For RS232 Mode, connect the RS232 RX and PULSE/RS232 TX pins to the respective TX and RX pins of your microcontroller or PC.
- Enable/Disable Control:
- Use the ENABLE pin to activate the bill acceptor. Pull this pin HIGH (logic 1) to enable the device.
- Use the INHIBIT pin to disable the bill acceptor. Pull this pin HIGH (logic 1) to inhibit operation.
- Banknote Insertion: Insert a banknote into the slot. The device will validate the currency and send a corresponding signal (pulse or serial data) to the connected system.
Important Considerations and Best Practices
- Ensure the power supply is stable and within the specified voltage range (12V DC).
- Avoid exposing the device to extreme temperatures or humidity to maintain optimal performance.
- Regularly clean the bill path to prevent dust or debris from affecting the validation process.
- If using RS232 communication, configure the baud rate and other parameters as specified in the manufacturer's datasheet.
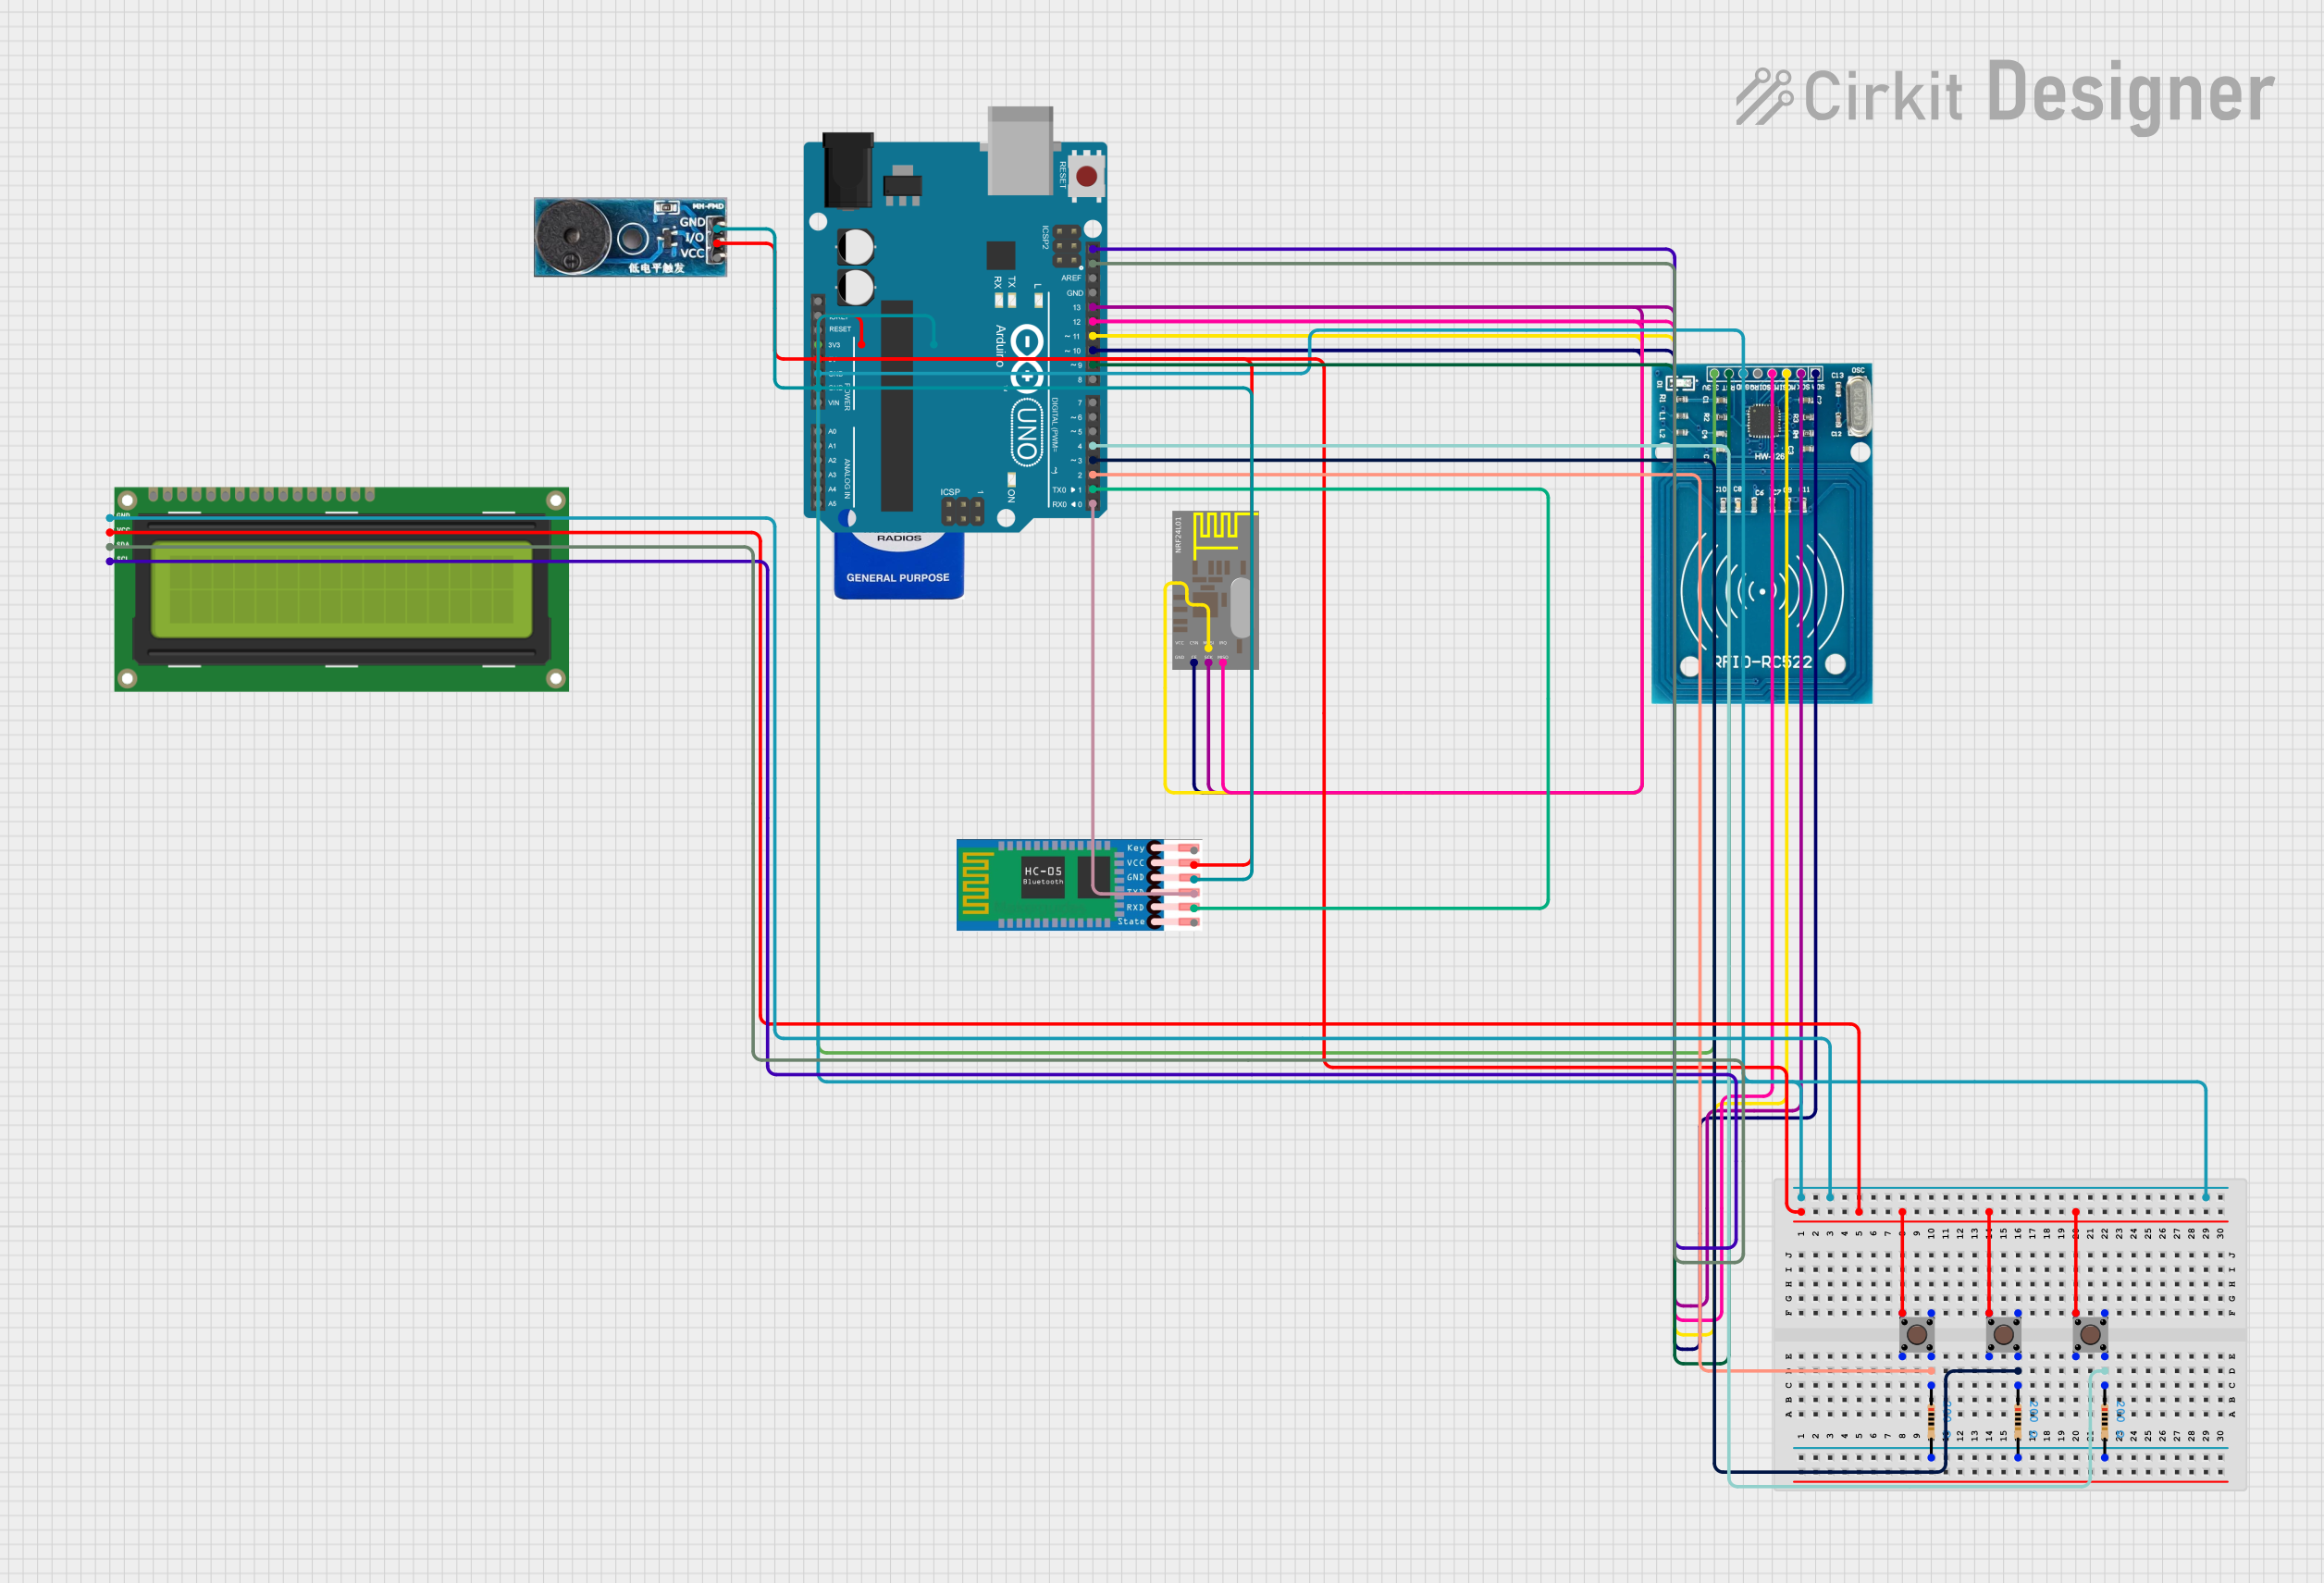
Example: Connecting to an Arduino UNO (Pulse Mode)
Below is an example of how to connect and use the Billacceptor TB74 with an Arduino UNO in Pulse Mode:
Circuit Connections
- Connect the VCC pin to the Arduino's 12V power supply.
- Connect the GND pin to the Arduino's GND.
- Connect the PULSE/RS232 TX pin to Arduino digital pin 2.
- Connect the ENABLE pin to Arduino digital pin 3.
Arduino Code
// Define pins for the Billacceptor TB74
const int pulsePin = 2;  // Pin connected to PULSE/RS232 TX
const int enablePin = 3; // Pin connected to ENABLE

// Variables to store pulse count
volatile int pulseCount = 0;

void setup() {
  // Initialize serial communication for debugging
  Serial.begin(9600);

  // Configure pins
  pinMode(pulsePin, INPUT_PULLUP); // Set pulse pin as input with pull-up
  pinMode(enablePin, OUTPUT);      // Set enable pin as output

  // Enable the bill acceptor
  digitalWrite(enablePin, HIGH);

  // Attach interrupt to count pulses
  attachInterrupt(digitalPinToInterrupt(pulsePin), countPulse, FALLING);
}

void loop() {
  // Print the pulse count to the serial monitor
  Serial.print("Pulse Count: ");
  Serial.println(pulseCount);

  // Add a small delay to avoid flooding the serial monitor
  delay(500);
}

// Interrupt service routine to count pulses
void countPulse() {
  pulseCount++;
}
Troubleshooting and FAQs
Common Issues and Solutions
The device does not power on:
- Ensure the power supply is providing 12V DC.
- Check the connections to the VCC and GND pins.
Banknotes are not being accepted:
- Verify that the ENABLE pin is set to HIGH.
- Check if the INHIBIT pin is set to LOW (logic 0).
- Clean the bill path to remove any dust or debris.
Incorrect or no communication:
- Ensure the correct communication mode (Pulse or RS232) is selected.
- For RS232 mode, verify the baud rate and wiring connections.
Frequent rejection of valid banknotes:
- Ensure the banknotes are not damaged or excessively worn.
- Calibrate the device if necessary (refer to the manufacturer's instructions).
FAQs
Q: Can the Billacceptor TB74 handle multiple currencies?
A: Yes, the device can be programmed to recognize multiple currencies, but this requires configuration using the manufacturer's tools.
Q: What is the default baud rate for RS232 communication?
A: The default baud rate is typically 9600 bps, but refer to the manufacturer's datasheet for confirmation.
Q: How do I clean the bill acceptor?
A: Use a soft, lint-free cloth and a mild cleaning solution to gently wipe the bill path. Avoid using abrasive materials.
Q: Can I use the Billacceptor TB74 with a Raspberry Pi?
A: Yes, the device can be interfaced with a Raspberry Pi using GPIO pins for Pulse Mode or the UART interface for RS232 Mode.