How to Use Blower: Examples, Pinouts, and Specs

 Design with Blower in Cirkit Designer
Introduction
A blower is a device that moves air or gas with a fan, often used for ventilation, cooling, or heating applications in various systems. Blowers are essential in many industries, including HVAC (Heating, Ventilation, and Air Conditioning), automotive, and electronics cooling. They help maintain optimal operating temperatures and ensure proper air circulation.
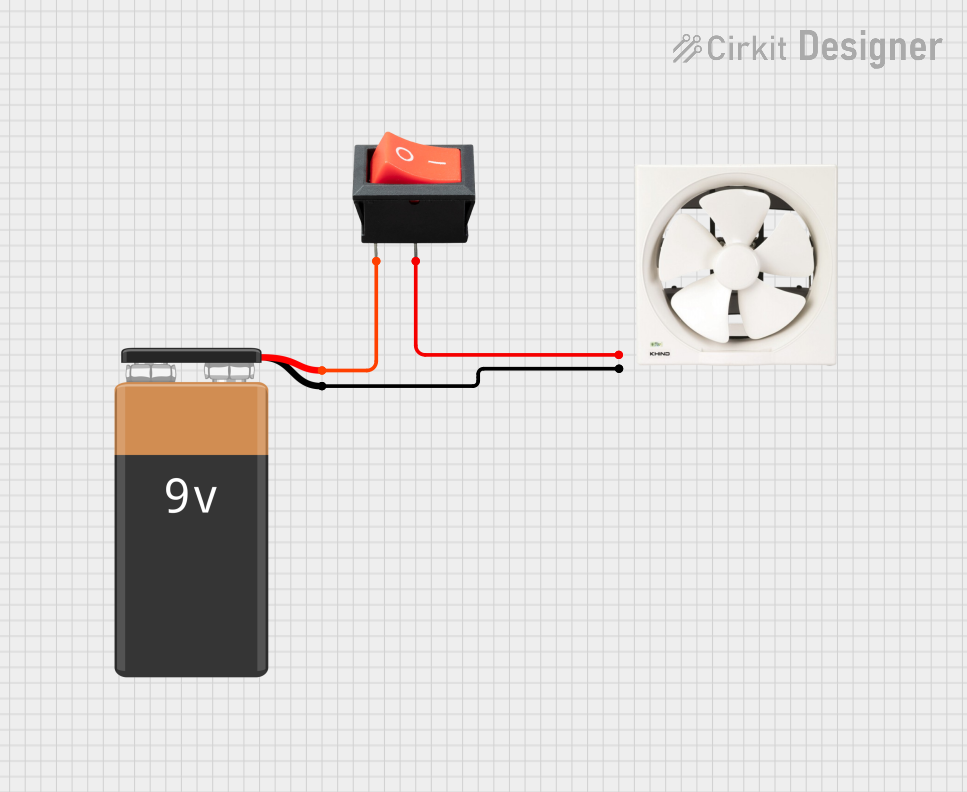
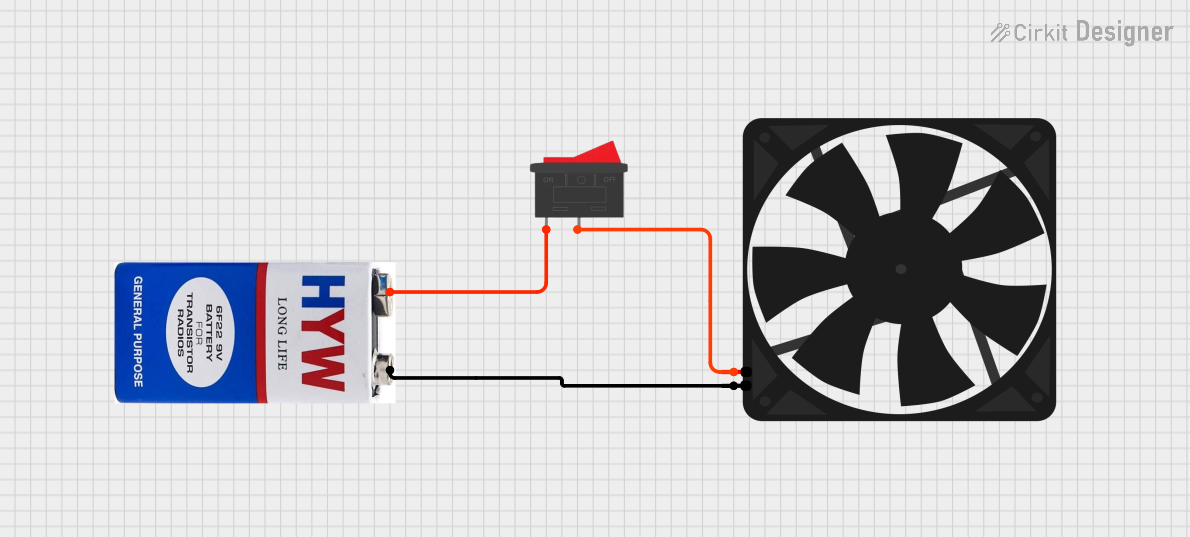
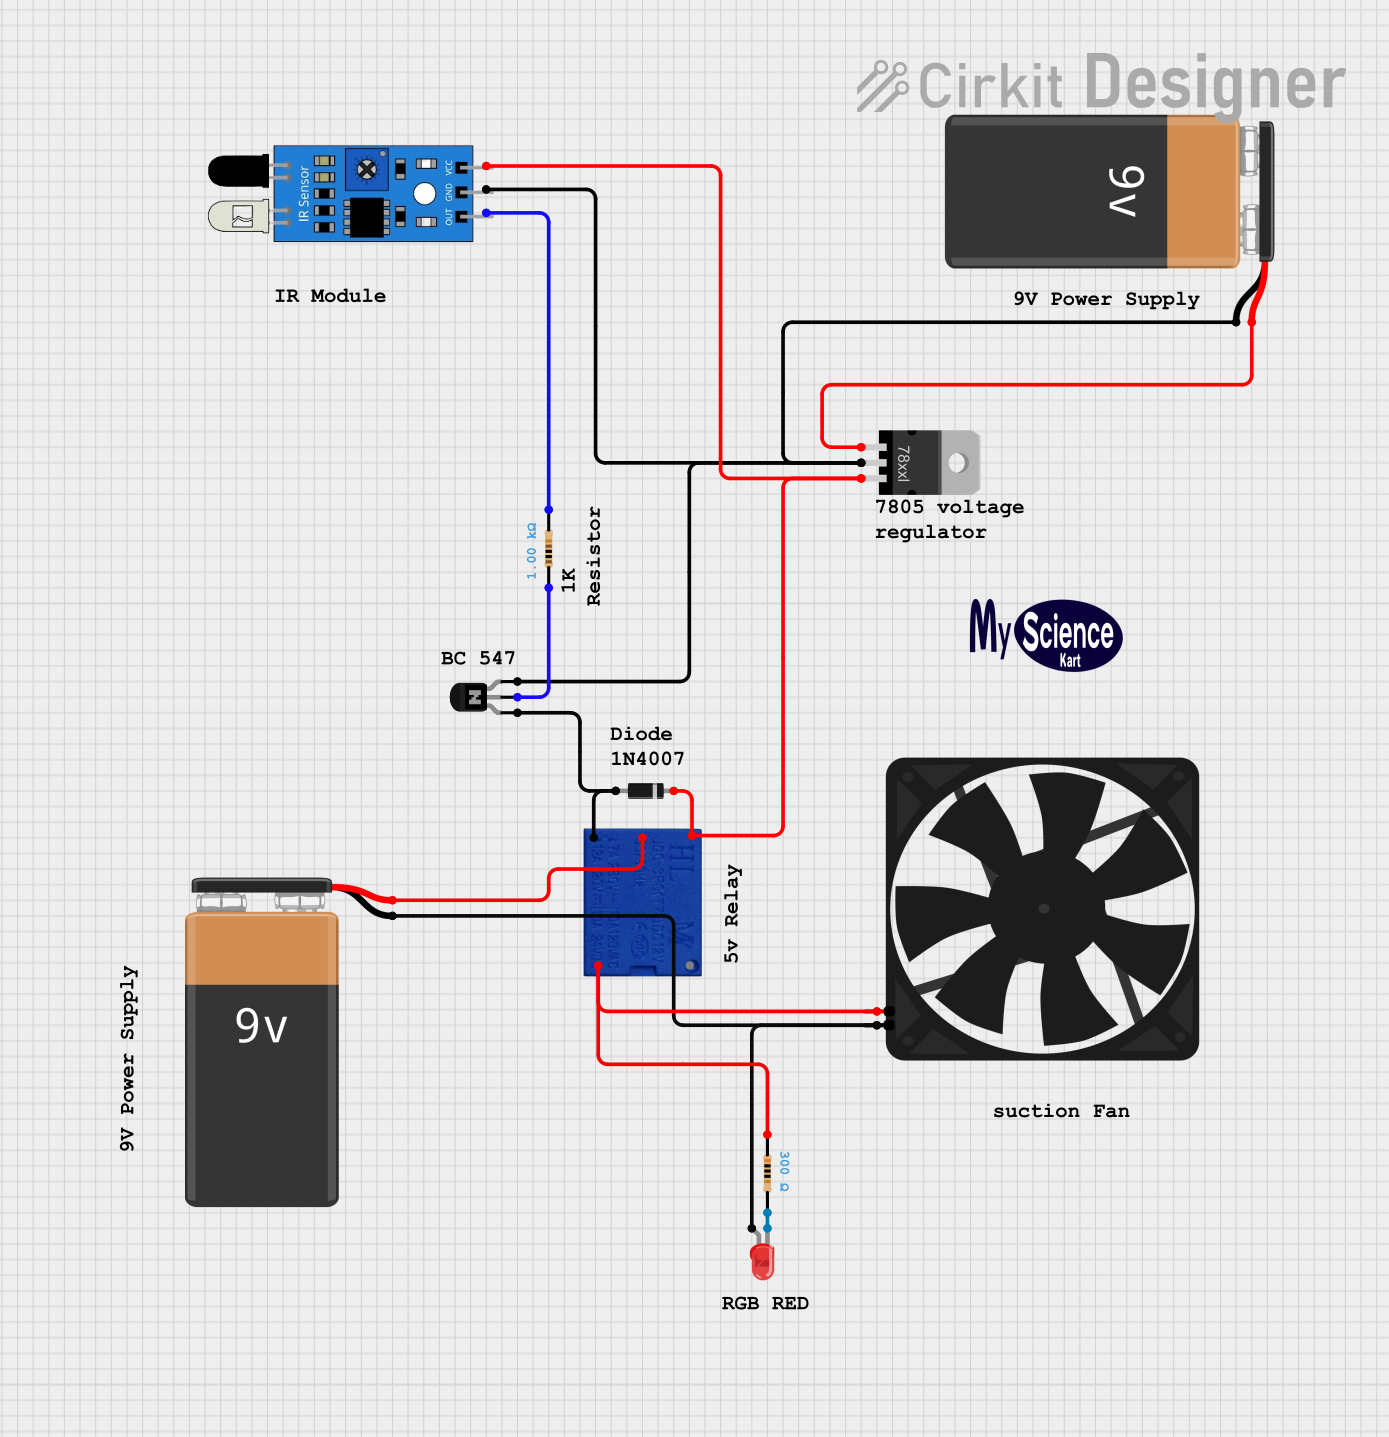
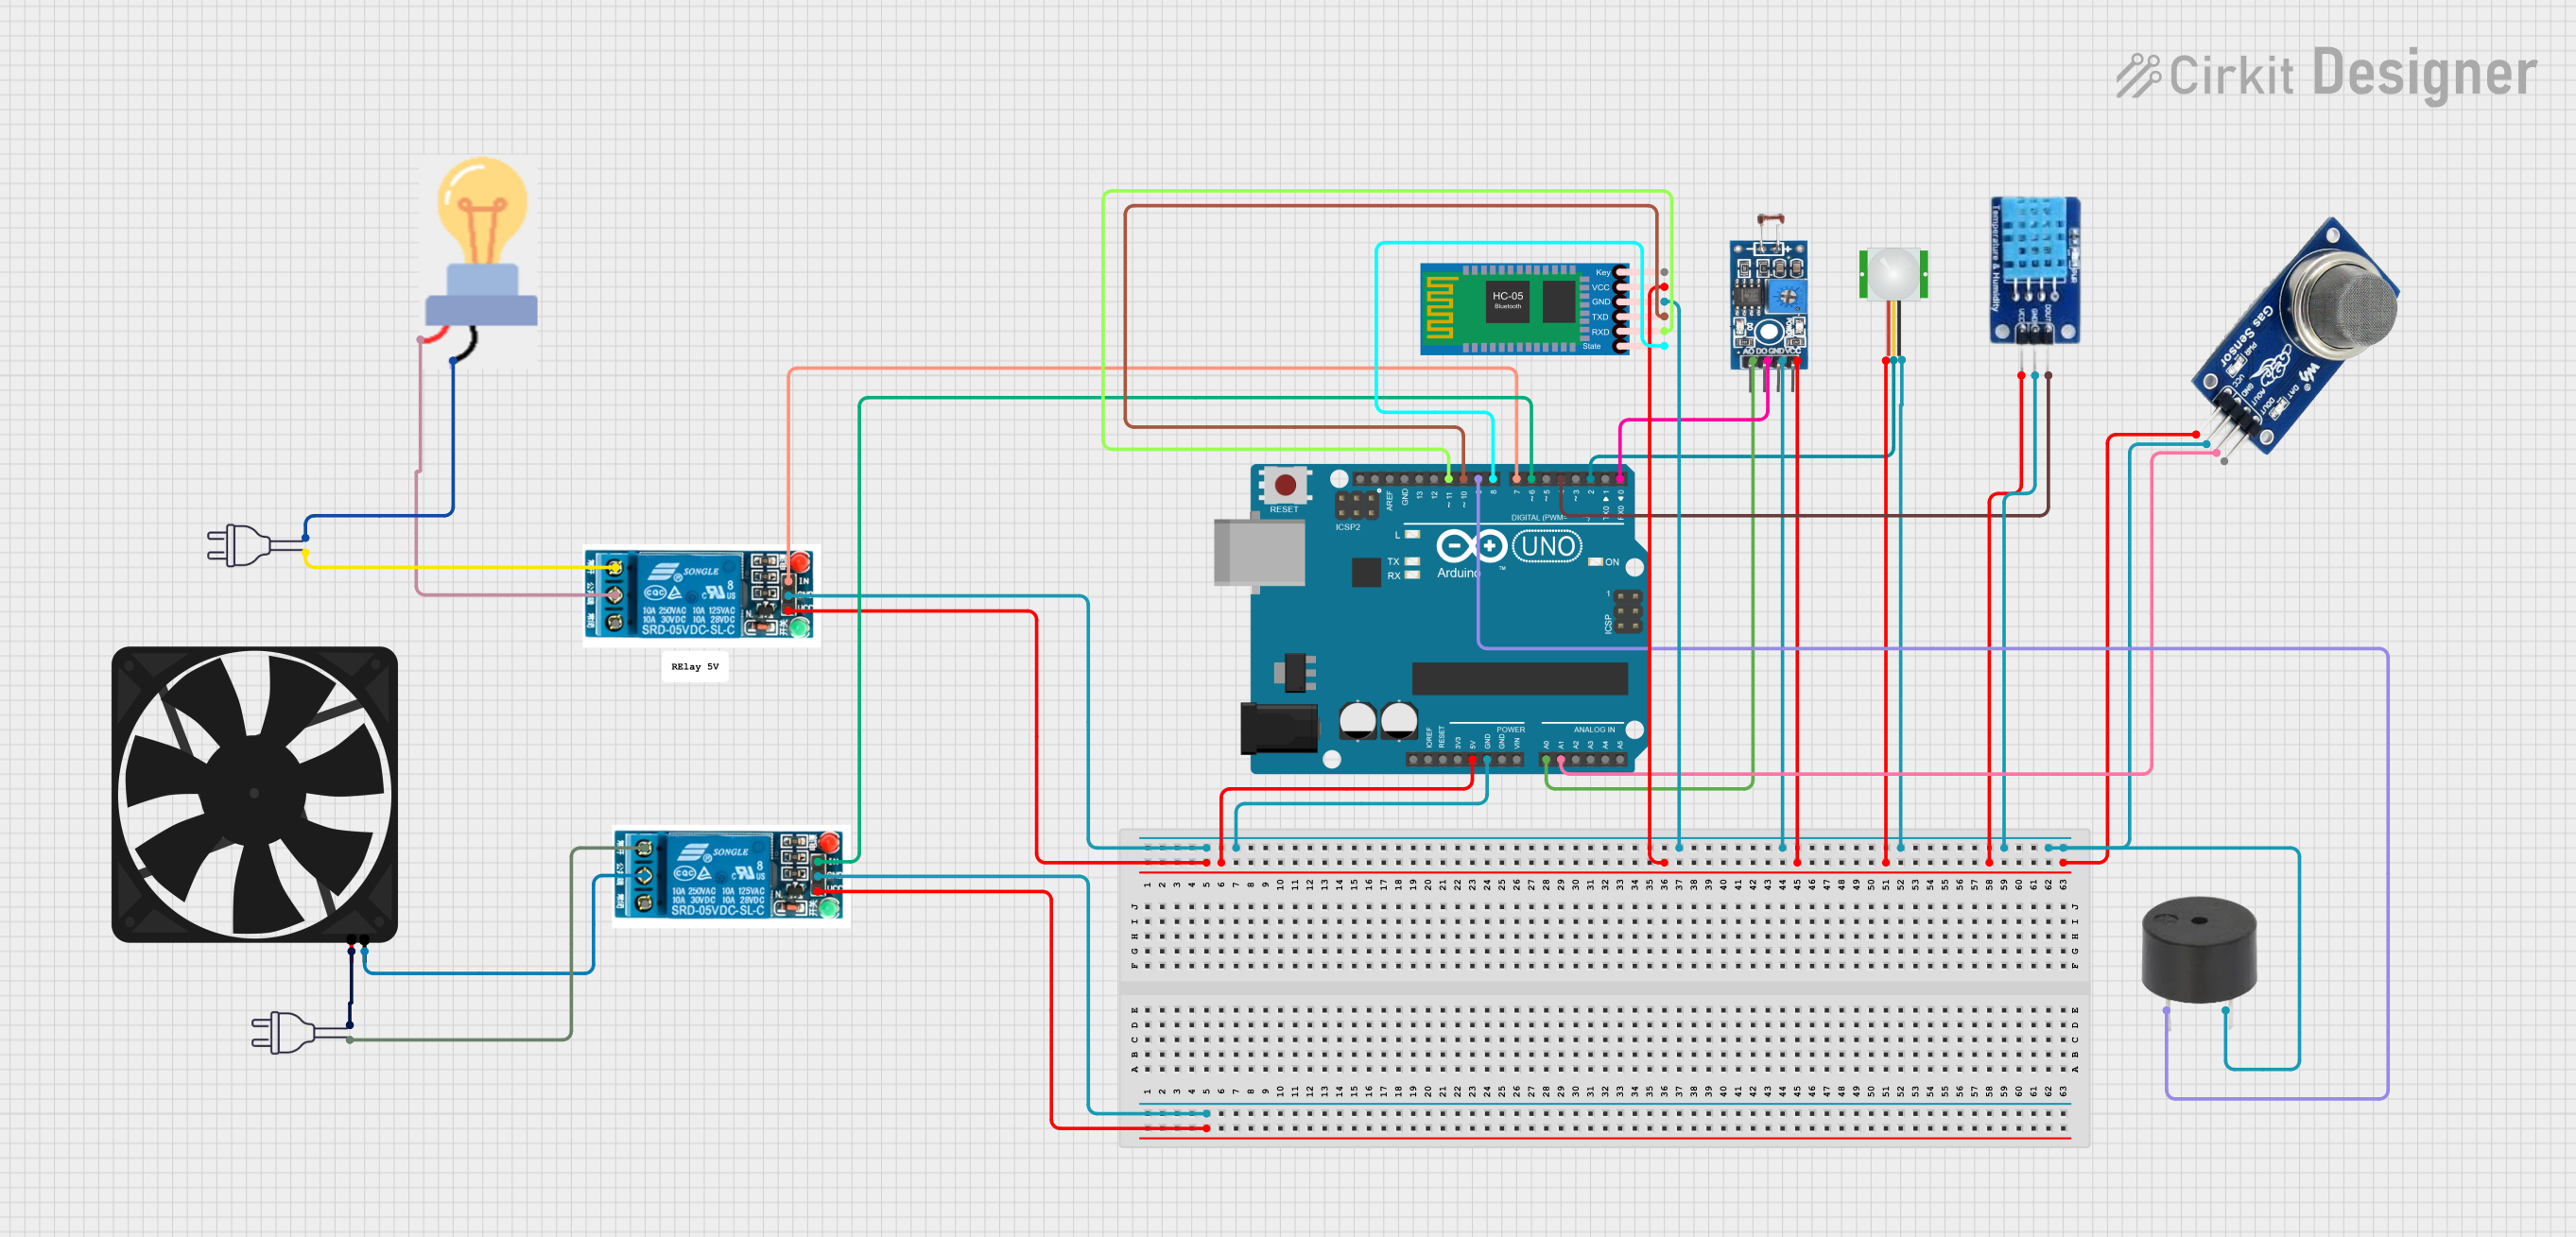
Explore Projects Built with Blower

 Open Project in Cirkit Designer
 Open Project in Cirkit Designer
 Open Project in Cirkit Designer
 Open Project in Cirkit Designer
Explore Projects Built with Blower

 Open Project in Cirkit Designer
 Open Project in Cirkit Designer
 Open Project in Cirkit Designer
 Open Project in Cirkit Designer
Technical Specifications
Below are the key technical details and pin configuration for a typical blower component:
Key Technical Details
| Parameter | Value |
|---|---|
| Operating Voltage | 12V DC |
| Current Rating | 0.5A |
| Power Rating | 6W |
| Airflow | 50 CFM (Cubic Feet per Minute) |
| Noise Level | 30 dB |
| Dimensions | 80mm x 80mm x 25mm |
| Weight | 100g |
Pin Configuration and Descriptions
| Pin Number | Pin Name | Description |
|---|---|---|
| 1 | VCC | Power supply (12V DC) |
| 2 | GND | Ground |
| 3 | PWM | Pulse Width Modulation control input |
Usage Instructions
How to Use the Blower in a Circuit
To use the blower in a circuit, follow these steps:
- Power Supply Connection: Connect the VCC pin of the blower to a 12V DC power supply.
- Ground Connection: Connect the GND pin of the blower to the ground of the power supply.
- PWM Control (Optional): If you want to control the speed of the blower, connect the PWM pin to a PWM output pin of a microcontroller (e.g., Arduino).
Important Considerations and Best Practices
- Power Supply: Ensure that the power supply can provide sufficient current (at least 0.5A) to the blower.
- Heat Dissipation: Place the blower in a location where it can effectively dissipate heat and provide proper ventilation.
- Noise Reduction: If noise is a concern, consider using vibration dampening mounts or enclosures to reduce noise levels.
- PWM Control: Use a PWM frequency that is compatible with the blower's specifications to avoid noise and ensure smooth operation.
Example: Connecting the Blower to an Arduino UNO
Below is an example of how to connect and control the blower using an Arduino UNO:
Circuit Diagram
Arduino UNO       Blower
-----------       ------
5V  -----------   VCC
GND -----------   GND
D9  -----------   PWM
Arduino Code
// Define the PWM pin connected to the blower
const int blowerPin = 9;

void setup() {
  // Set the blower pin as an output
  pinMode(blowerPin, OUTPUT);
}

void loop() {
  // Set the blower speed to 50% using PWM
  analogWrite(blowerPin, 128); // 128 is 50% of 255

  // Run the blower at 50% speed for 5 seconds
  delay(5000);

  // Turn off the blower
  analogWrite(blowerPin, 0);

  // Wait for 5 seconds before turning it on again
  delay(5000);
}
Troubleshooting and FAQs
Common Issues Users Might Face
Blower Not Turning On:
- Solution: Check the power supply connections and ensure that the voltage is 12V DC. Verify that the ground connection is secure.
Blower Running at Full Speed Constantly:
- Solution: Ensure that the PWM pin is properly connected to the microcontroller and that the PWM signal is being generated correctly.
Excessive Noise:
- Solution: Check for any obstructions or debris in the blower. Use vibration dampening mounts to reduce noise.
Blower Overheating:
- Solution: Ensure proper ventilation around the blower. Verify that the power supply is not exceeding the current rating.
Solutions and Tips for Troubleshooting
- Check Connections: Always double-check all connections to ensure they are secure and correctly placed.
- Use a Multimeter: Use a multimeter to measure the voltage and current to ensure they are within the specified range.
- Consult the Datasheet: Refer to the blower's datasheet for detailed specifications and troubleshooting tips.
By following this documentation, users can effectively integrate and troubleshoot a blower component in their electronic systems.