
How to Use Adafruit 128x64 OLED FeatherWing: Examples, Pinouts, and Specs
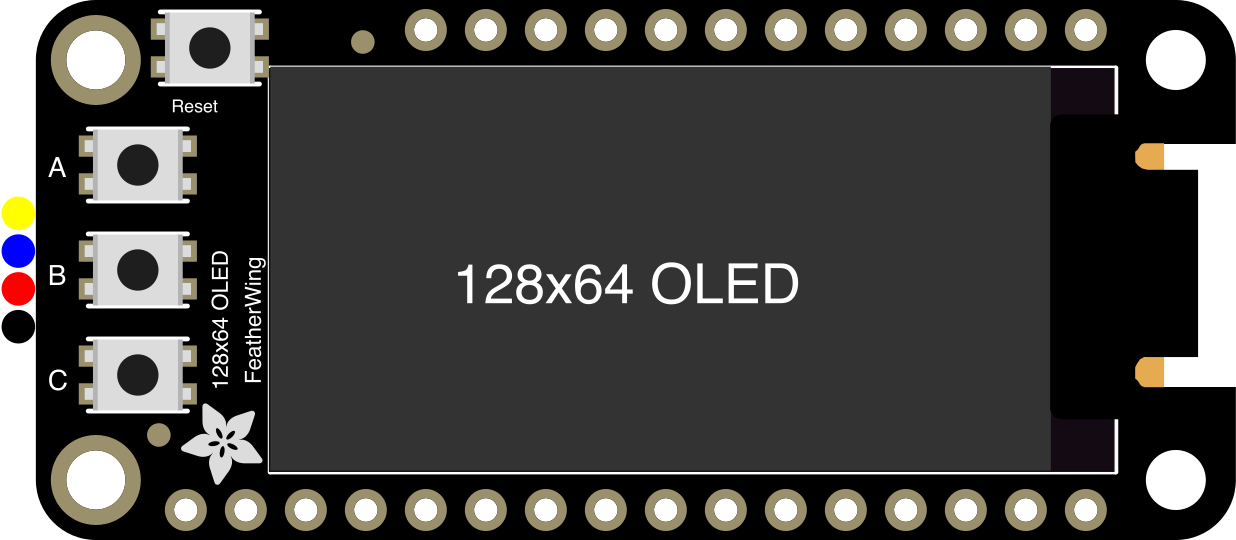
 Design with Adafruit 128x64 OLED FeatherWing in Cirkit Designer
Introduction
The Adafruit 128x64 OLED FeatherWing (Part ID: 4650) is a compact display module featuring a 128x64 pixel OLED screen. Designed specifically for use with Adafruit Feather microcontroller boards, this module provides a high-contrast, low-power display solution for a wide range of projects. Its small form factor and crisp display make it ideal for applications such as data visualization, user interfaces, and status monitoring.
Explore Projects Built with Adafruit 128x64 OLED FeatherWing
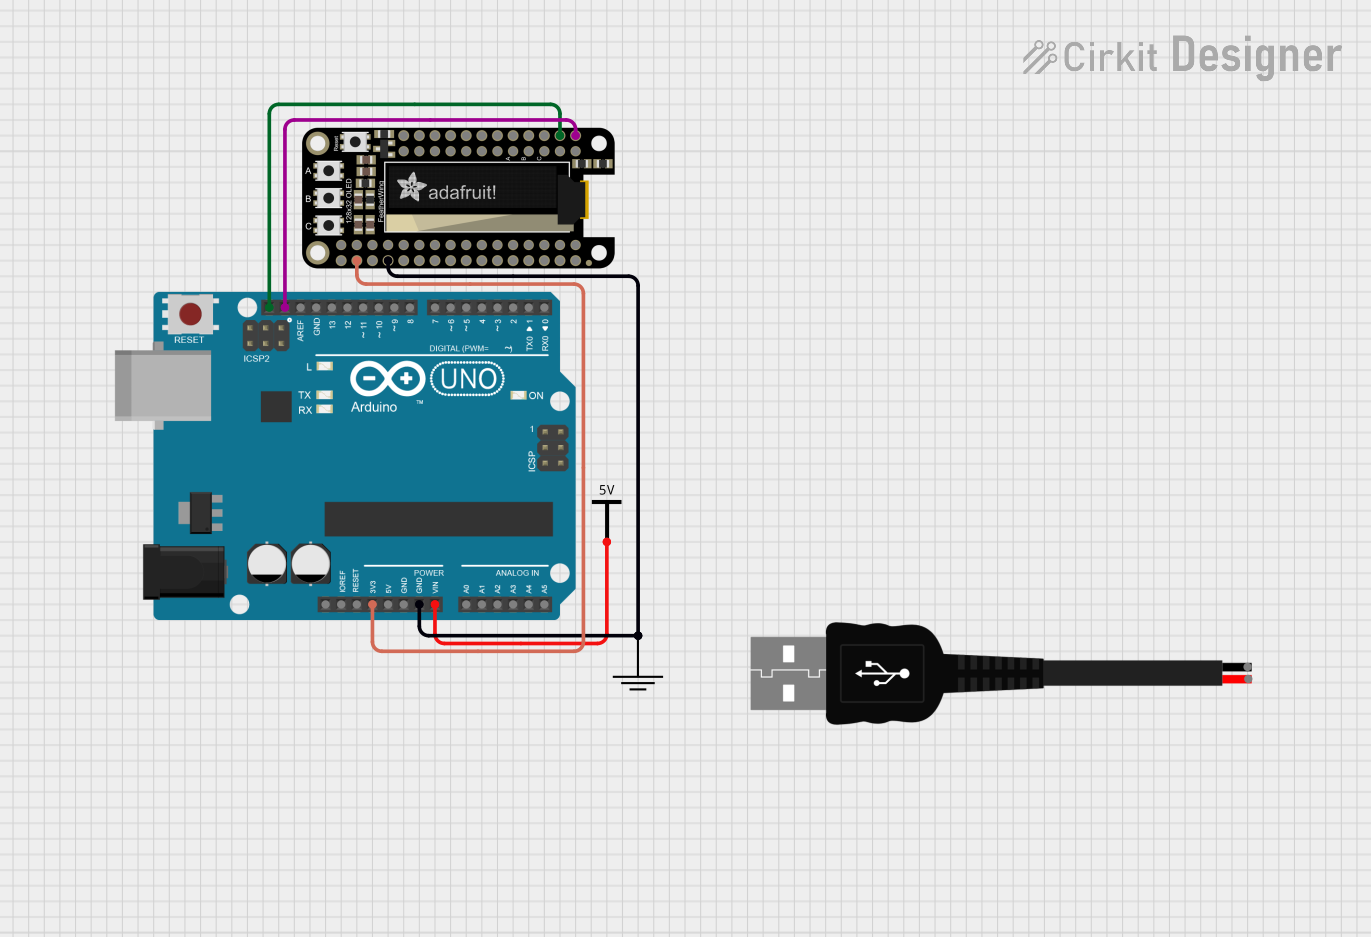 Open Project in Cirkit Designer
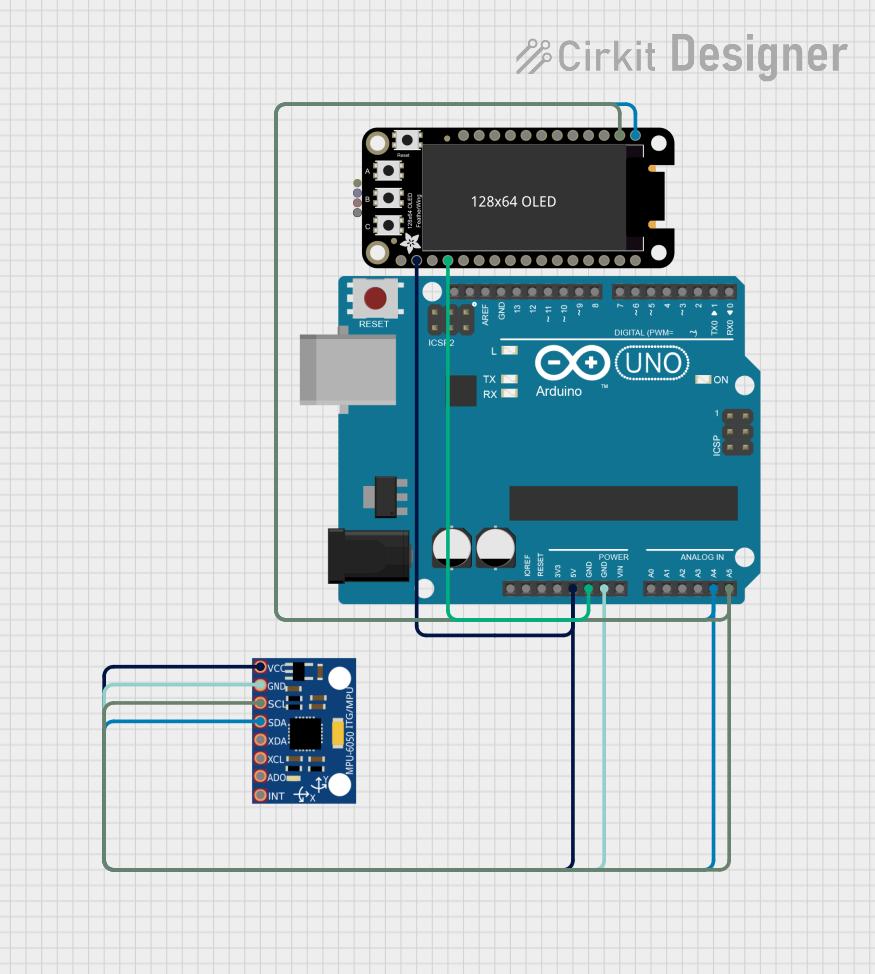 Open Project in Cirkit Designer
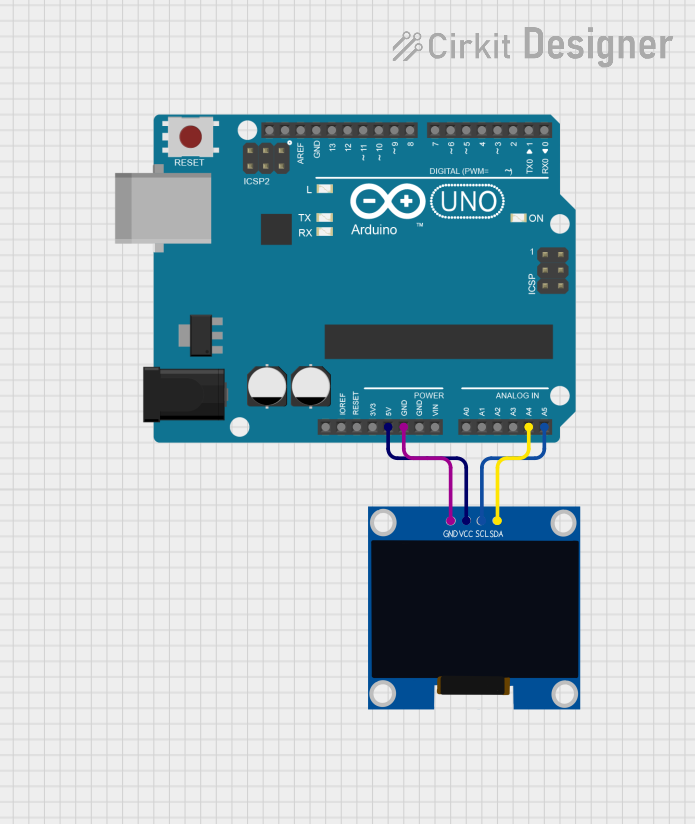 Open Project in Cirkit Designer
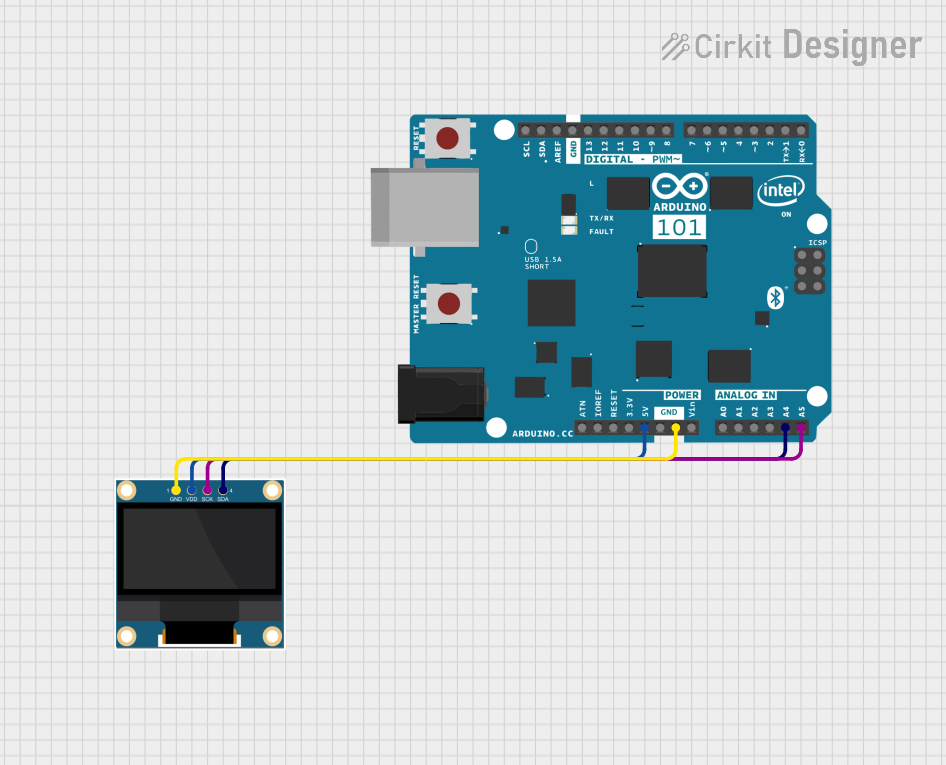 Open Project in Cirkit Designer
Explore Projects Built with Adafruit 128x64 OLED FeatherWing
Open Project in Cirkit DesignerOpen Project in Cirkit DesignerOpen Project in Cirkit DesignerOpen Project in Cirkit DesignerCommon Applications
- Displaying sensor data in IoT projects
- Creating compact user interfaces for embedded systems
- Visualizing text, graphics, or animations in portable devices
- Debugging and monitoring microcontroller outputs
Technical Specifications
The following table outlines the key technical details of the Adafruit 128x64 OLED FeatherWing:
| Specification | Details |
|---|---|
| Display Type | OLED (Organic Light Emitting Diode) |
| Resolution | 128x64 pixels |
| Interface | I2C or SPI |
| Operating Voltage | 3.3V (compatible with Feather boards) |
| Current Consumption | ~10mA (varies with pixel usage) |
| Dimensions | 50.8mm x 22.8mm x 4.3mm |
| Weight | 5.4g |
| Controller Chip | SSD1306 |
| Viewing Angle | >160° |
| Operating Temperature | -40°C to +85°C |
Pin Configuration
The Adafruit 128x64 OLED FeatherWing has the following pin configuration:
I2C Mode
| Pin Name | Description |
|---|---|
| GND | Ground |
| 3V | Power supply (3.3V) |
| SCL | I2C Clock Line |
| SDA | I2C Data Line |
SPI Mode
| Pin Name | Description |
|---|---|
| GND | Ground |
| 3V | Power supply (3.3V) |
| SCK | SPI Clock Line |
| MOSI | SPI Data Line |
| DC | Data/Command Select |
| RST | Reset |
| CS | Chip Select |
Usage Instructions
Connecting the OLED FeatherWing
- Select the Communication Protocol: The FeatherWing supports both I2C and SPI. By default, it is configured for I2C. To switch to SPI, solder the appropriate jumpers on the back of the board as per the Adafruit guide.
- Attach to a Feather Board: Align the FeatherWing with the Feather microcontroller and solder the headers for a secure connection.
- Connect Power and Ground: Ensure the 3V and GND pins are properly connected to the Feather board.
Installing the Required Libraries
To use the OLED FeatherWing with an Arduino-compatible board, install the following libraries via the Arduino IDE Library Manager:
- Adafruit_GFX: Provides graphics functions.
- Adafruit_SSD1306: Driver for the SSD1306 OLED controller.
Example Code for I2C
Below is an example sketch to display text on the OLED FeatherWing using I2C:
#include <Wire.h>
#include <Adafruit_GFX.h>
#include <Adafruit_SSD1306.h>

// Define the screen dimensions
#define SCREEN_WIDTH 128
#define SCREEN_HEIGHT 64

// Create an SSD1306 object for I2C communication
Adafruit_SSD1306 display(SCREEN_WIDTH, SCREEN_HEIGHT, &Wire, -1);

void setup() {
  // Initialize the display
  if (!display.begin(SSD1306_I2C_ADDRESS, 0x3C)) {
    // If initialization fails, print an error message
    Serial.println(F("SSD1306 allocation failed"));
    for (;;); // Halt execution
  }

  // Clear the display buffer
  display.clearDisplay();

  // Set text size and color
  display.setTextSize(1);      // Normal 1:1 pixel scale
  display.setTextColor(SSD1306_WHITE); // White text

  // Display a message
  display.setCursor(0, 0);     // Start at top-left corner
  display.println(F("Hello, OLED!"));
  display.display();           // Render the text on the screen
}

void loop() {
  // Nothing to do here
}
Important Considerations
- Power Supply: Ensure the FeatherWing is powered with 3.3V. Supplying higher voltages may damage the module.
- Contrast and Brightness: OLED displays consume more power when more pixels are lit. Optimize your design to minimize power usage.
- I2C Address: The default I2C address is
0x3C. If multiple I2C devices are used, ensure there are no address conflicts.
Troubleshooting and FAQs
Common Issues
Display Not Turning On
- Solution: Verify the power and ground connections. Ensure the FeatherWing is securely attached to the Feather board.
- Tip: Check if the correct communication protocol (I2C or SPI) is selected.
Text or Graphics Not Displaying
- Solution: Ensure the required libraries (
Adafruit_GFXandAdafruit_SSD1306) are installed and up to date. - Tip: Double-check the I2C address in the code. The default is
0x3C.
- Solution: Ensure the required libraries (
Flickering or Artifacts on the Screen
- Solution: Verify the solder joints and ensure there are no loose connections.
- Tip: Reduce the update rate of the display to avoid overloading the microcontroller.
I2C Address Conflict
- Solution: If another device uses the same I2C address, modify the FeatherWing's address by adjusting the solder jumpers on the back of the board.
FAQs
Can I use the FeatherWing with non-Adafruit boards? Yes, the FeatherWing can be used with other microcontrollers that support I2C or SPI communication. Ensure proper wiring and library compatibility.
What is the maximum refresh rate of the display? The refresh rate depends on the communication protocol and microcontroller speed. For most applications, the refresh rate is sufficient for smooth animations.
Can I use the FeatherWing in outdoor environments? While the OLED display has a wide operating temperature range, it is not weatherproof. Use an enclosure for outdoor applications.
By following this documentation, you can effectively integrate the Adafruit 128x64 OLED FeatherWing into your projects and troubleshoot common issues with ease.