
How to Use Lattepanda 3 Delta: Examples, Pinouts, and Specs
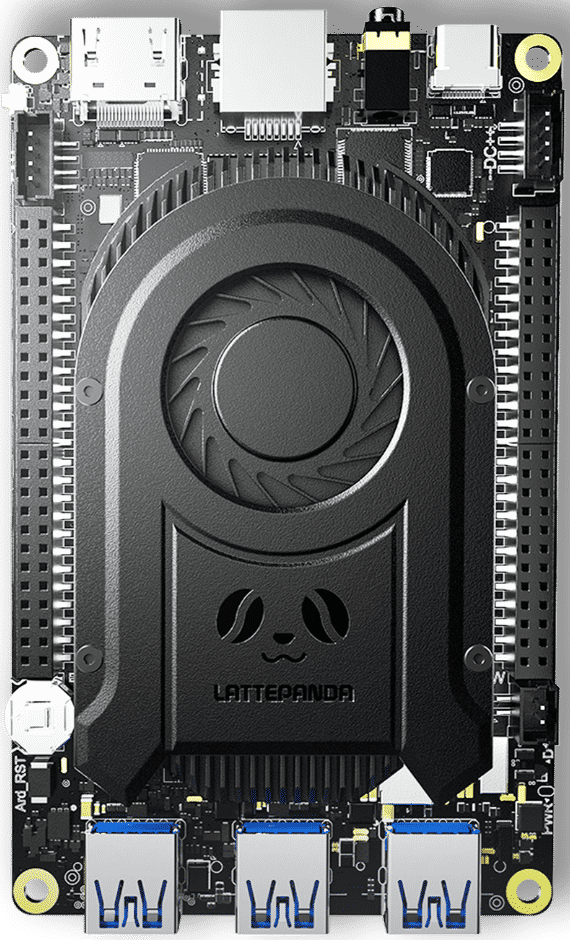
 Design with Lattepanda 3 Delta in Cirkit Designer
Introduction
The Lattepanda 3 Delta is a high-performance single-board computer (SBC) manufactured by Lattepanda. It combines the power of an Intel processor with an integrated Arduino Leonardo co-processor, making it a versatile platform for IoT applications, robotics, and embedded systems. With its compact design and robust connectivity options, the Lattepanda 3 Delta is ideal for developers, hobbyists, and engineers looking to build innovative projects.
Explore Projects Built with Lattepanda 3 Delta
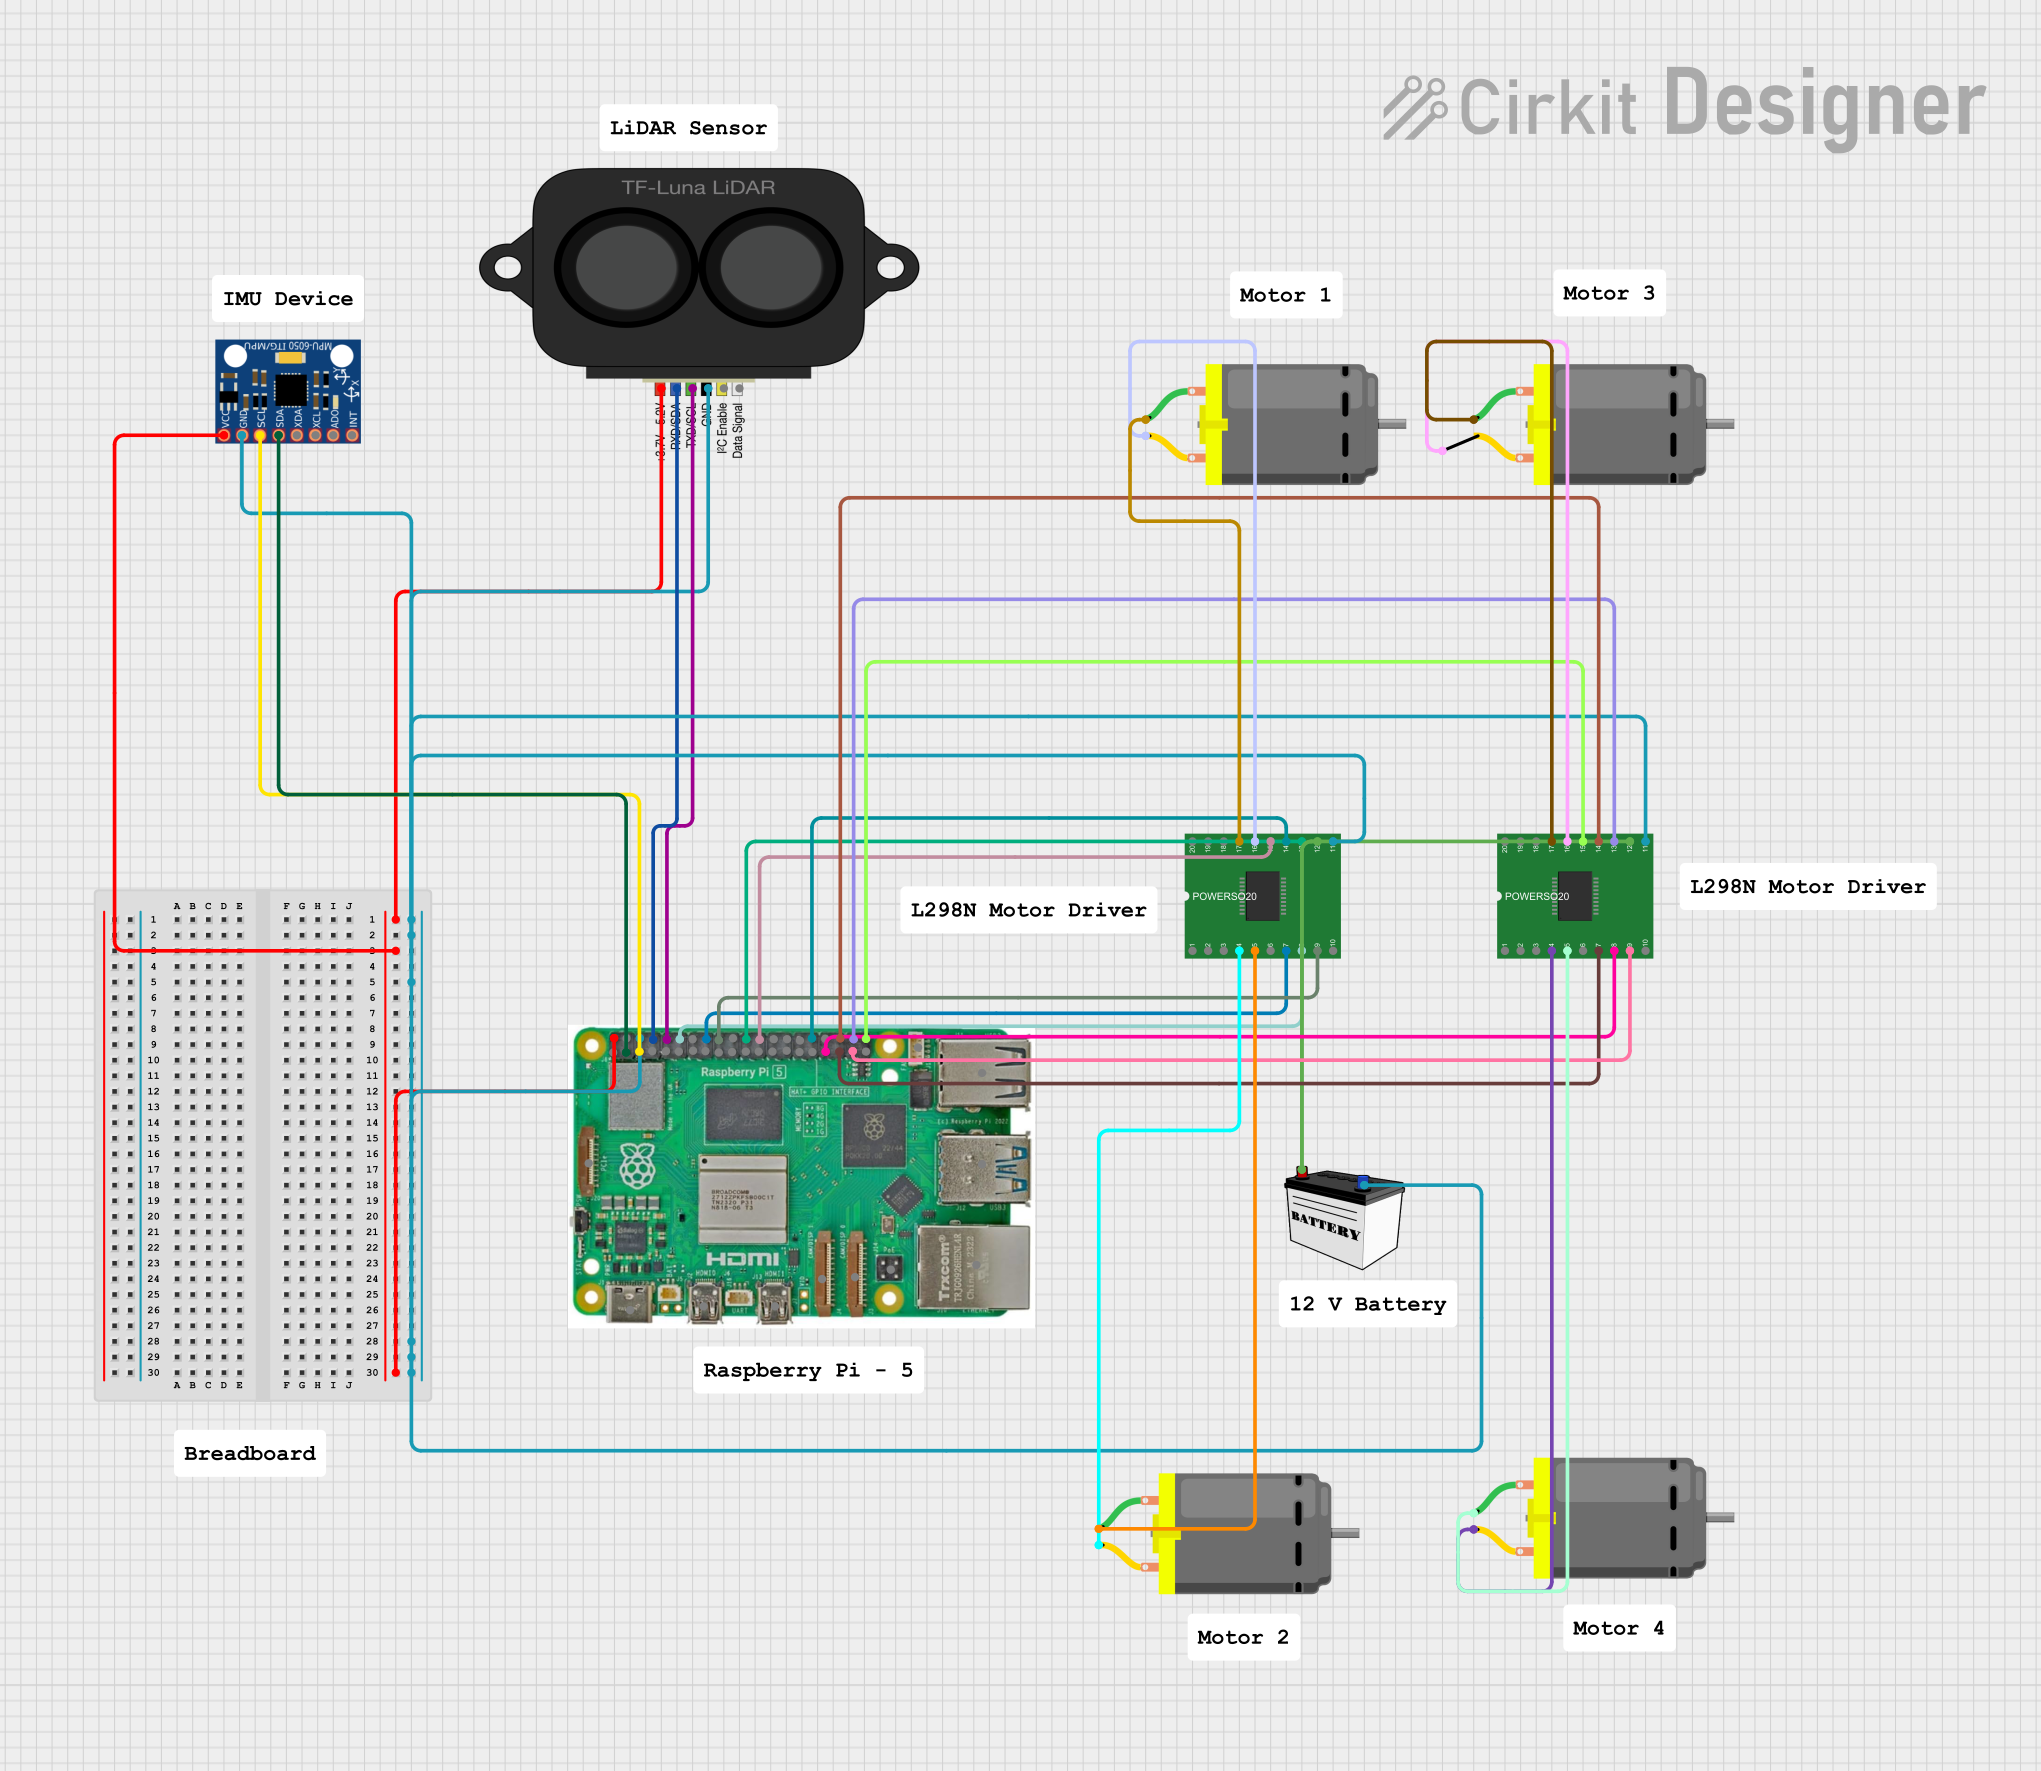 Open Project in Cirkit Designer
 Open Project in Cirkit Designer
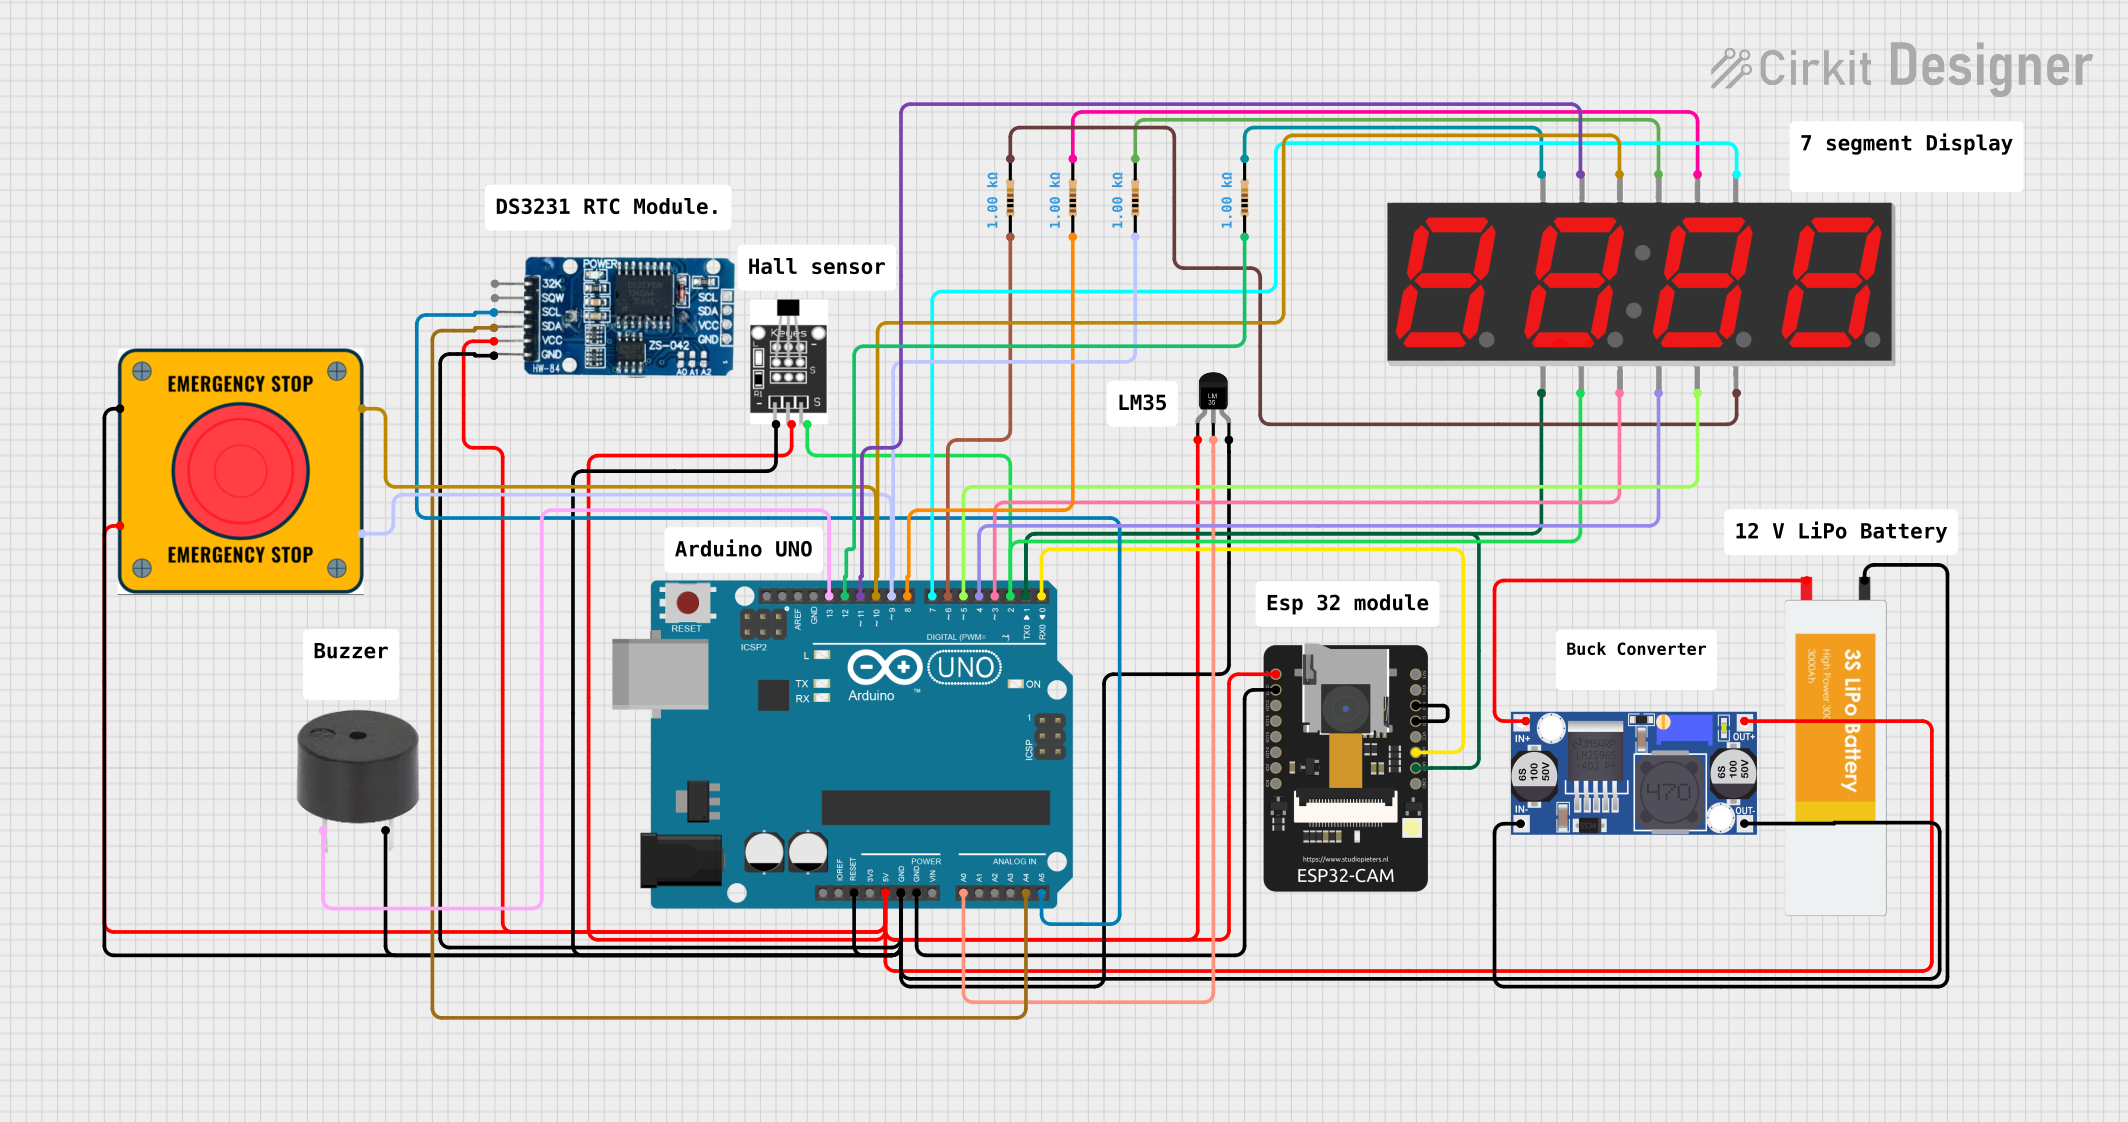 Open Project in Cirkit Designer
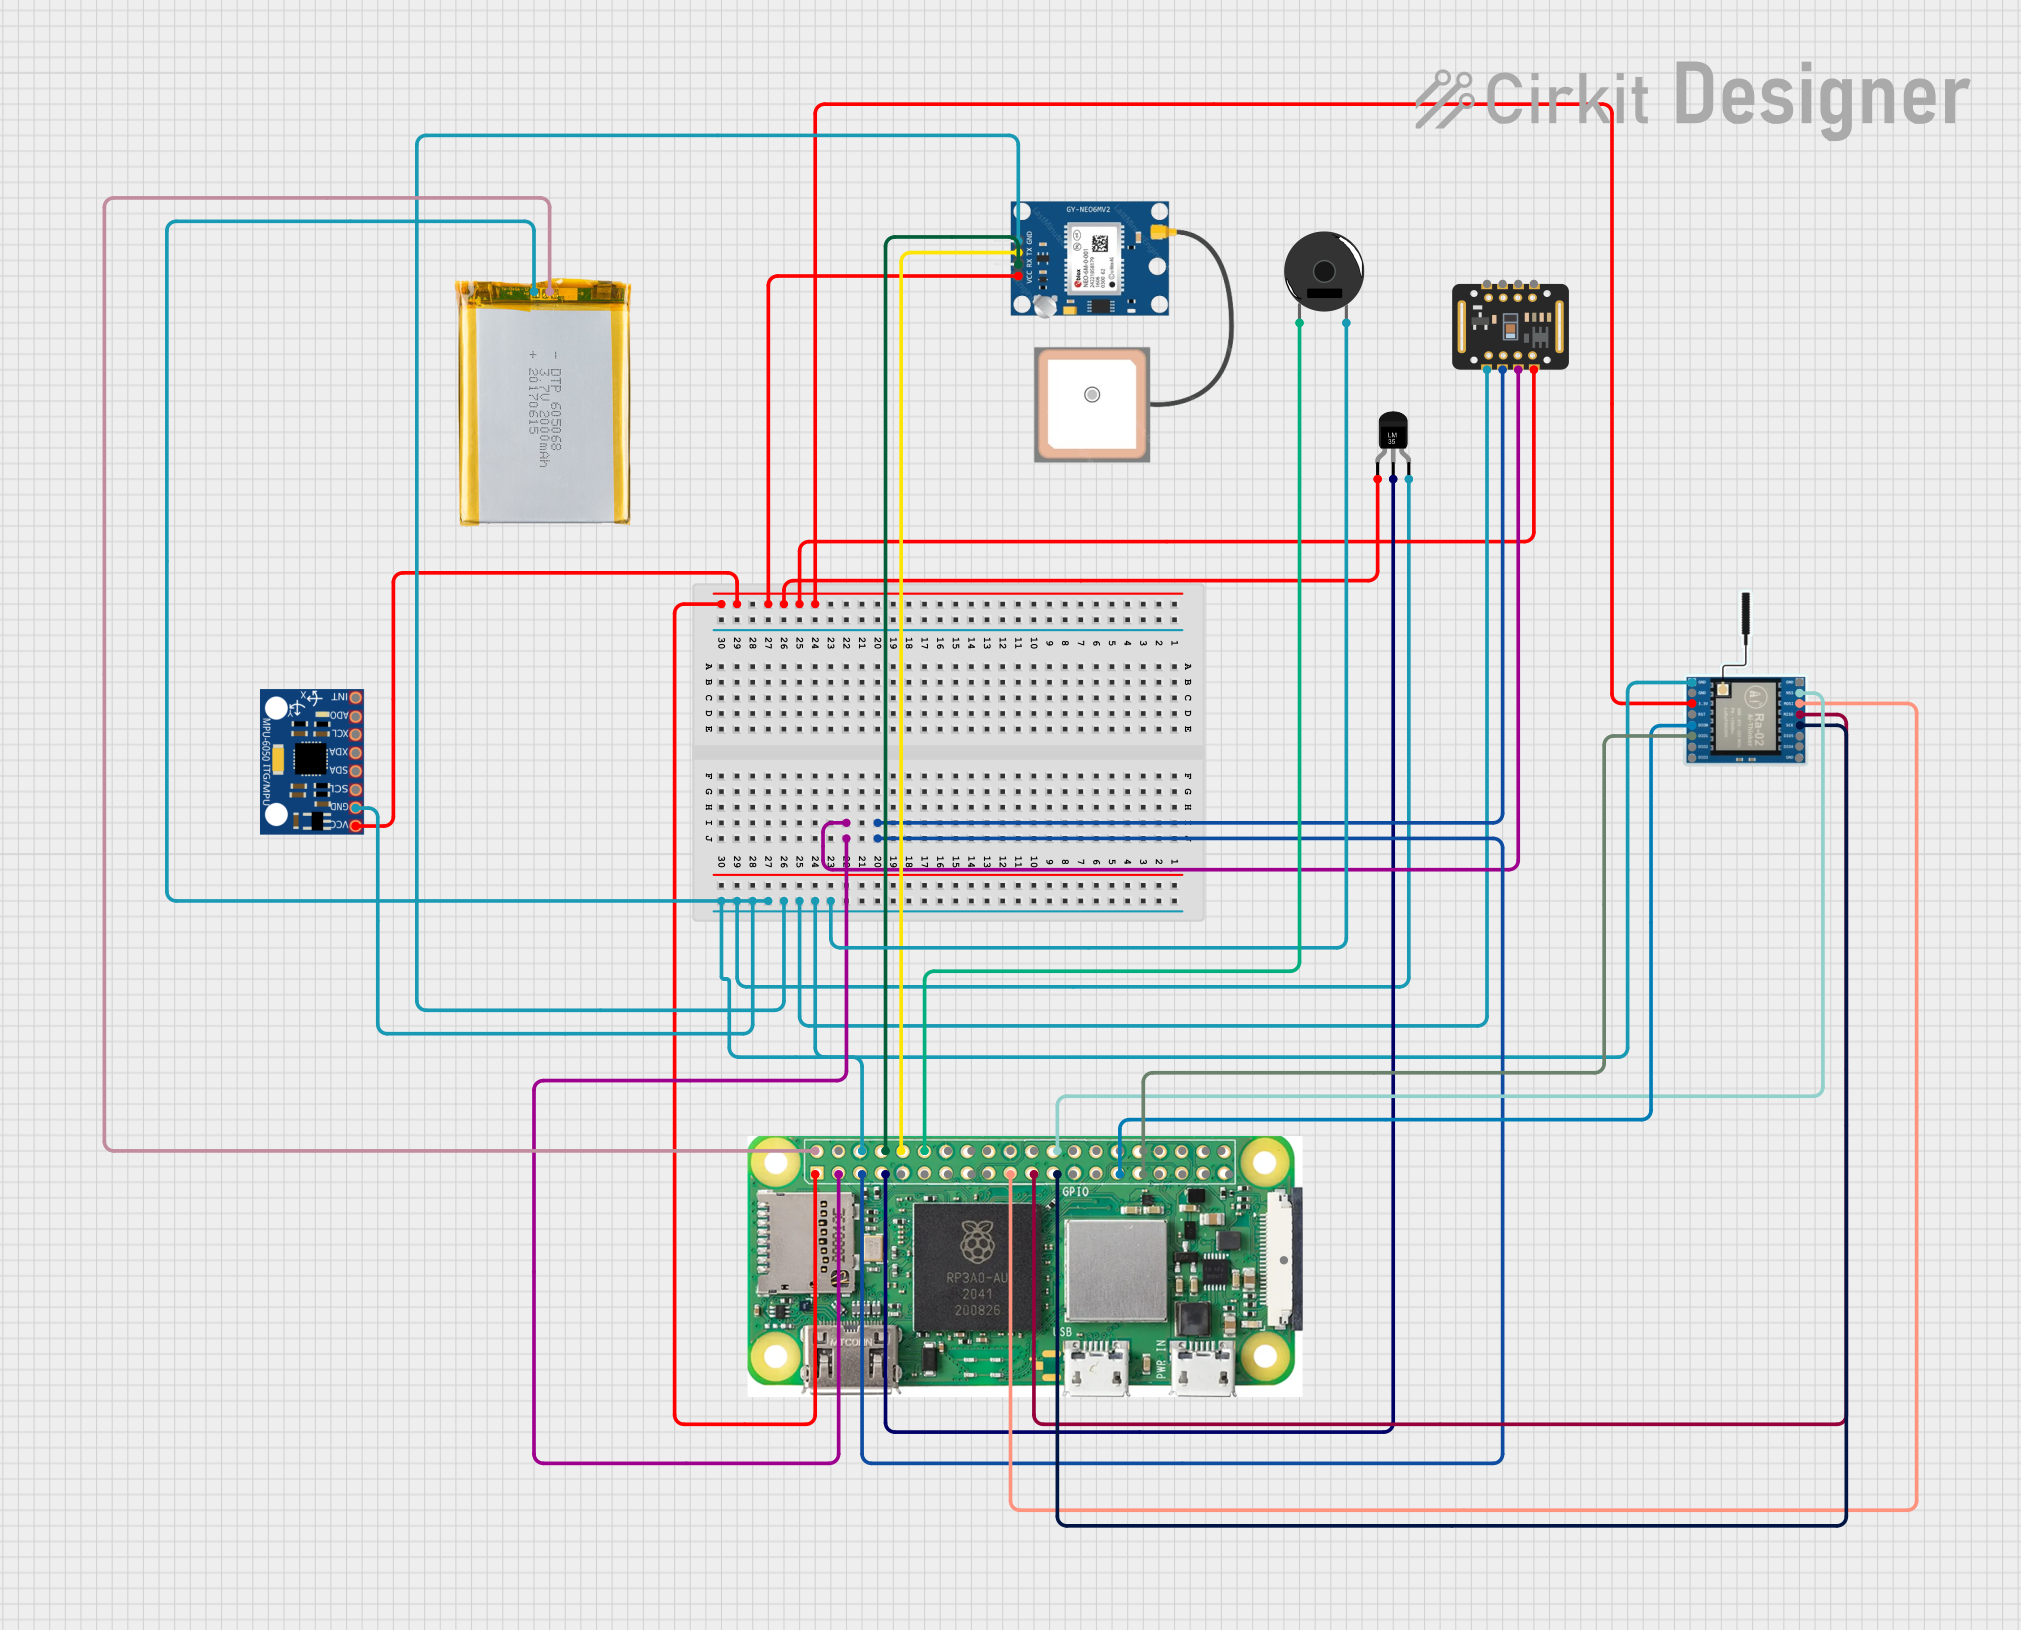 Open Project in Cirkit Designer
Explore Projects Built with Lattepanda 3 Delta
Open Project in Cirkit DesignerOpen Project in Cirkit DesignerOpen Project in Cirkit DesignerOpen Project in Cirkit DesignerCommon Applications and Use Cases
- IoT Development: Ideal for smart home devices, industrial IoT, and edge computing.
- Robotics: Suitable for controlling robots with real-time processing and sensor integration.
- Embedded Systems: Perfect for applications requiring a compact yet powerful computing platform.
- Prototyping: Combines PC-level performance with Arduino compatibility for rapid prototyping.
- Media Centers: Can be used as a media server or streaming device with its HDMI output.
Technical Specifications
Key Technical Details
| Specification | Details |
|---|---|
| Processor | Intel Celeron N5105 (Quad-Core, up to 2.9 GHz) |
| Co-Processor | Arduino Leonardo (ATmega32U4) |
| RAM | 8GB LPDDR4 |
| Storage | 64GB eMMC (expandable via M.2 PCIe SSD or microSD card) |
| Operating System | Windows 10/11, Linux (Ubuntu, Debian, etc.) |
| Connectivity | Wi-Fi 6, Bluetooth 5.2, Gigabit Ethernet |
| Display Output | HDMI 2.0 (4K@60Hz) |
| USB Ports | 3x USB 3.2 Gen 2, 1x USB Type-C (supports power delivery and data transfer) |
| GPIO Pins | 24 GPIO pins (compatible with Arduino IDE) |
| Power Input | 5V/4A via USB Type-C |
| Dimensions | 125mm x 78mm x 16mm |
Pin Configuration and Descriptions
GPIO Pinout (Arduino Leonardo Co-Processor)
| Pin | Function | Description |
|---|---|---|
| D0-D13 | Digital I/O | General-purpose digital input/output pins |
| A0-A5 | Analog Input | Analog input pins (10-bit resolution) |
| GND | Ground | Ground connection |
| 5V | Power Output | 5V power output for external components |
| 3.3V | Power Output | 3.3V power output for external components |
| SDA | I2C Data Line | Used for I2C communication |
| SCL | I2C Clock Line | Used for I2C communication |
| TX/RX | UART Communication | Serial communication pins (TX for transmit, RX for receive) |
Power and Connectivity Ports
| Port | Function | Description |
|---|---|---|
| USB Type-C | Power and Data | Provides power input and supports data transfer |
| HDMI | Display Output | Outputs video and audio to external displays |
| Ethernet | Network Connectivity | Gigabit Ethernet port for wired network connections |
| USB 3.2 Gen 2 | Peripheral Connectivity | High-speed USB ports for peripherals like keyboards, mice, and more |
Usage Instructions
How to Use the Lattepanda 3 Delta in a Circuit
Powering the Board:
- Use a 5V/4A power adapter with a USB Type-C connector to power the board.
- Ensure the power supply is stable to avoid unexpected shutdowns.
Connecting Peripherals:
- Attach a monitor via the HDMI port for display output.
- Connect peripherals like a keyboard, mouse, or external storage via the USB ports.
Using the Arduino Co-Processor:
- The Arduino Leonardo co-processor can be programmed using the Arduino IDE.
- Connect sensors or actuators to the GPIO pins for embedded applications.
Installing an Operating System:
- The board comes pre-installed with Windows 10/11. Alternatively, you can install Linux by creating a bootable USB drive.
Networking:
- Use Wi-Fi 6 or Gigabit Ethernet for internet connectivity.
- Bluetooth 5.2 can be used for wireless communication with other devices.
Important Considerations and Best Practices
- Heat Management: The board may heat up during intensive tasks. Use a heatsink or cooling fan for optimal performance.
- Power Supply: Always use a high-quality power adapter to prevent voltage fluctuations.
- Static Protection: Handle the board with care and use anti-static precautions to avoid damaging sensitive components.
- GPIO Voltage Levels: Ensure connected devices operate at 5V or 3.3V to avoid damaging the GPIO pins.
Example Code for Arduino Co-Processor
Below is an example of how to blink an LED connected to pin D13 using the Arduino IDE:
// Blink an LED connected to pin D13 on the Arduino Leonardo co-processor

void setup() {
  pinMode(13, OUTPUT); // Set pin D13 as an output
}

void loop() {
  digitalWrite(13, HIGH); // Turn the LED on
  delay(1000);            // Wait for 1 second
  digitalWrite(13, LOW);  // Turn the LED off
  delay(1000);            // Wait for 1 second
}
Troubleshooting and FAQs
Common Issues and Solutions
The board does not power on:
- Ensure the power adapter provides 5V/4A and is connected securely.
- Check the USB Type-C cable for any damage.
No display output on the monitor:
- Verify the HDMI cable is properly connected.
- Ensure the monitor is set to the correct input source.
- Check if the operating system is booting correctly.
Arduino co-processor not detected in the Arduino IDE:
- Install the correct drivers for the Arduino Leonardo.
- Ensure the USB cable is connected to the correct port.
Wi-Fi or Bluetooth not working:
- Update the drivers for the wireless module.
- Check if the antennas are securely connected.
Overheating during operation:
- Install a heatsink or cooling fan to manage heat dissipation.
- Avoid running intensive tasks for prolonged periods without proper cooling.
FAQs
Can I use the Lattepanda 3 Delta with a battery?
- Yes, you can use a 5V battery pack with sufficient current output (4A) via the USB Type-C port.
What operating systems are supported?
- The board supports Windows 10/11 and various Linux distributions like Ubuntu and Debian.
Is the Arduino co-processor programmable independently?
- Yes, the Arduino Leonardo can be programmed independently using the Arduino IDE.
Can I expand the storage?
- Yes, you can expand storage using an M.2 PCIe SSD or a microSD card.
Does the board support 4K video output?
- Yes, the HDMI 2.0 port supports 4K resolution at 60Hz.
This concludes the documentation for the Lattepanda 3 Delta. For further assistance, refer to the official Lattepanda website or community forums.