
How to Use Temperature Sensor : Examples, Pinouts, and Specs
 Design with Temperature Sensor in Cirkit Designer
Introduction
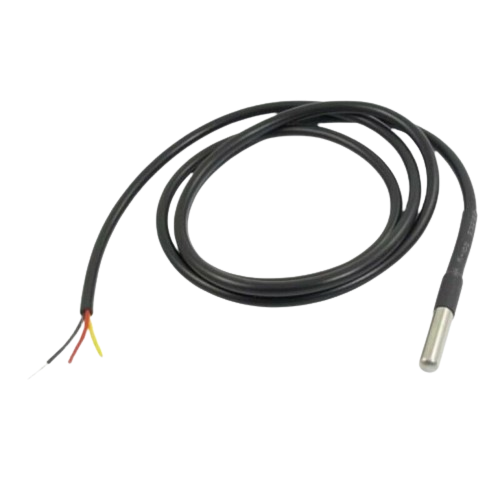
A temperature sensor is a device that measures the temperature of its environment and converts the measurement into an electrical signal for monitoring or control purposes. These sensors are widely used in various applications, including HVAC systems, industrial automation, weather monitoring, medical devices, and consumer electronics. Temperature sensors come in different types, such as thermistors, thermocouples, resistance temperature detectors (RTDs), and integrated circuit (IC) sensors, each suited for specific use cases.
Explore Projects Built with Temperature Sensor
 Open Project in Cirkit Designer
 Open Project in Cirkit Designer
 Open Project in Cirkit Designer
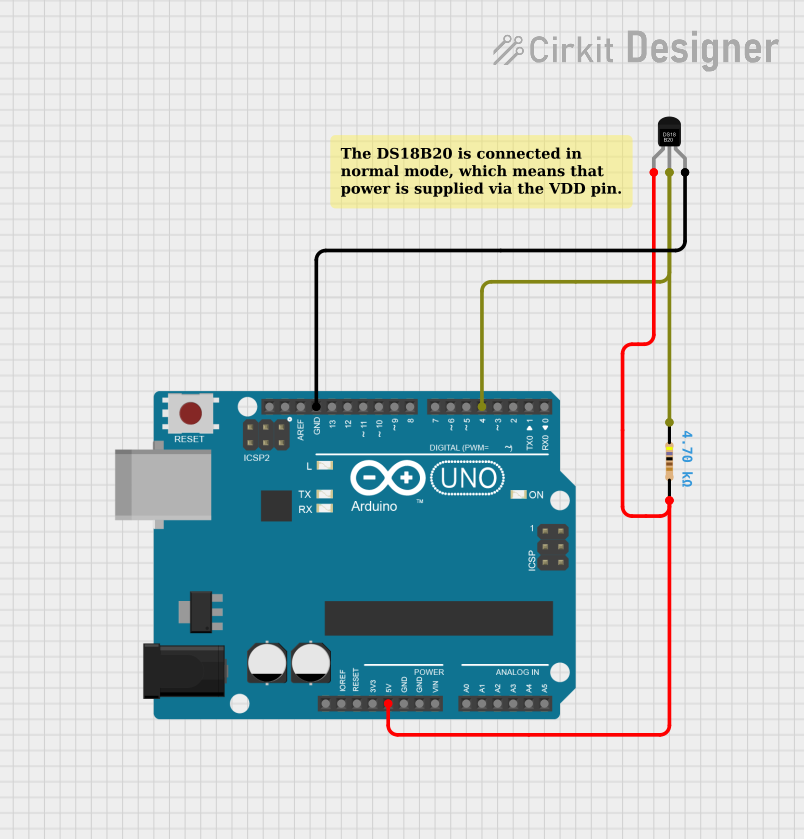 Open Project in Cirkit Designer
Explore Projects Built with Temperature Sensor
Open Project in Cirkit DesignerOpen Project in Cirkit DesignerOpen Project in Cirkit DesignerOpen Project in Cirkit DesignerTechnical Specifications
Below are the general technical specifications for a common IC-based temperature sensor, such as the LM35:
- Operating Voltage: 4V to 30V DC
- Output Voltage Range: 0mV to 1500mV (for -55°C to +150°C)
- Accuracy: ±0.5°C (at 25°C)
- Temperature Range: -55°C to +150°C
- Output Sensitivity: 10mV/°C
- Current Consumption: <60µA
- Response Time: <1 second
- Package Type: TO-92, SOIC, or DIP
Pin Configuration and Descriptions
The following table describes the pinout for a typical 3-pin temperature sensor like the LM35:
| Pin Number | Pin Name | Description |
|---|---|---|
| 1 | VCC | Power supply input (4V to 30V DC) |
| 2 | OUT | Analog voltage output proportional to temperature |
| 3 | GND | Ground connection |
Usage Instructions
How to Use the Component in a Circuit
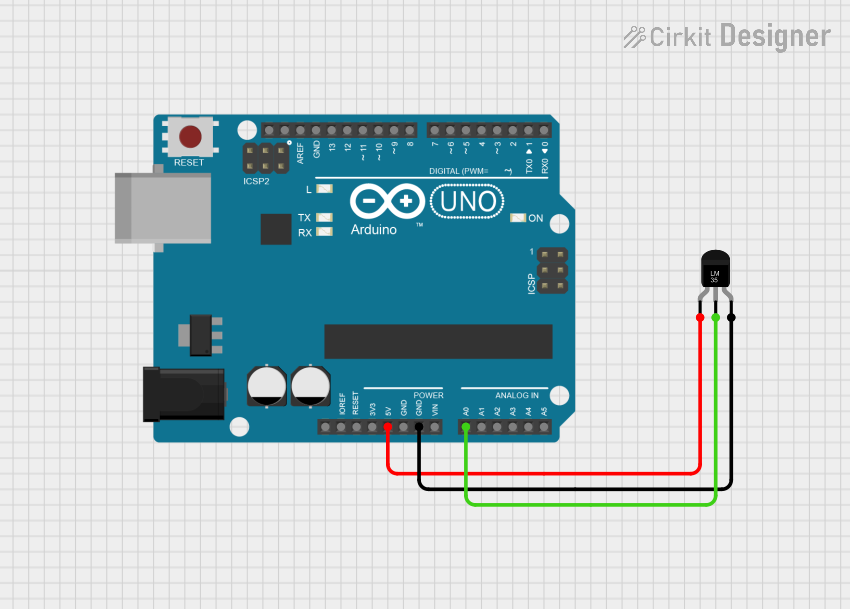
- Power the Sensor: Connect the VCC pin to a DC power supply (4V to 30V) and the GND pin to the ground of the circuit.
- Read the Output: The OUT pin provides an analog voltage proportional to the temperature. For example, at 25°C, the output voltage will be 250mV (10mV/°C).
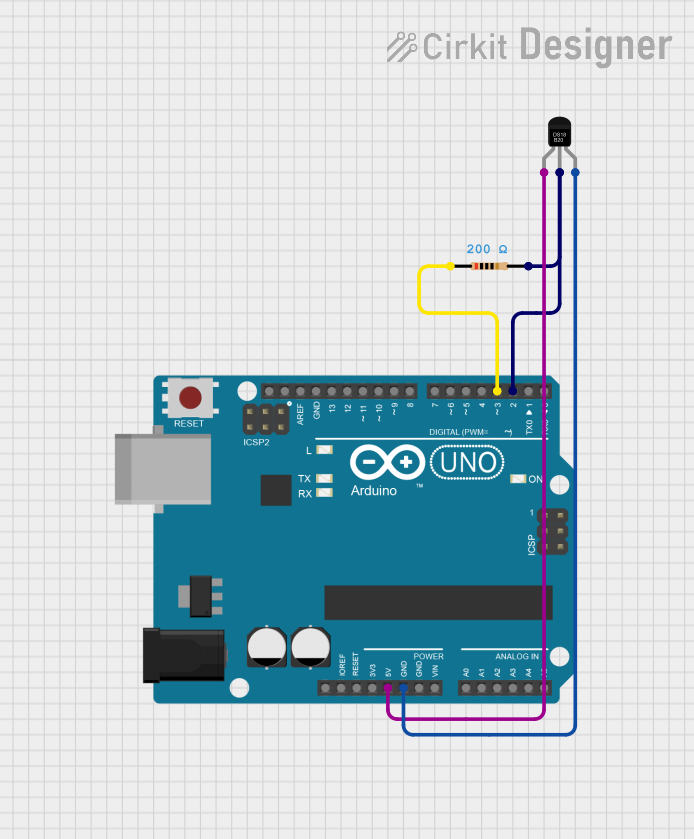
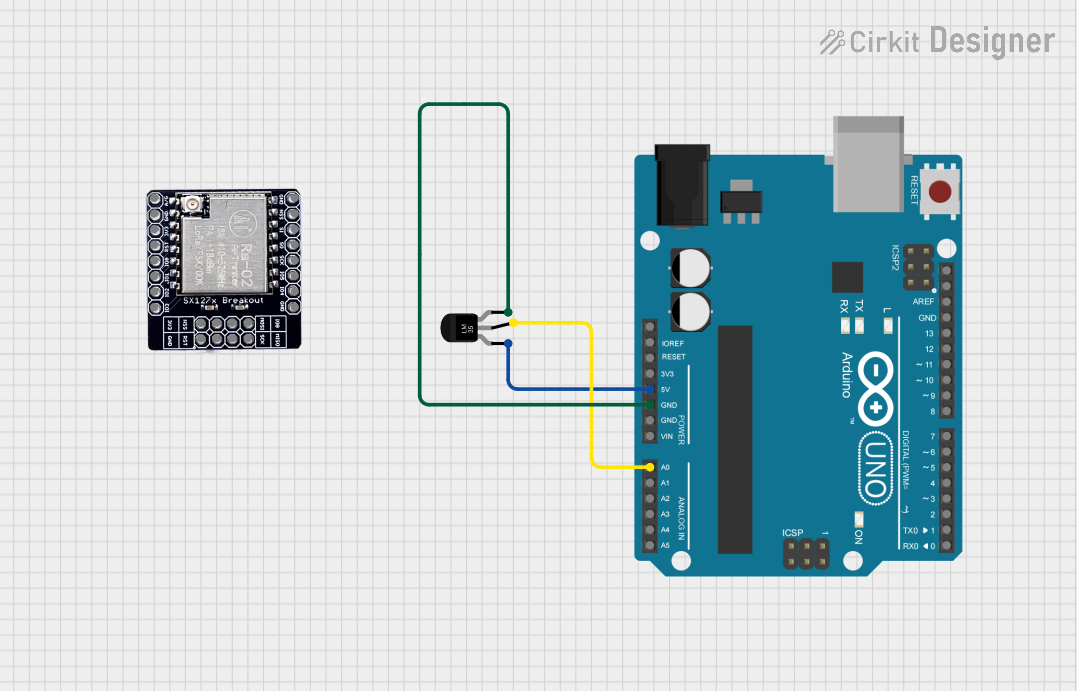
- Connect to a Microcontroller: If using a microcontroller like an Arduino UNO, connect the OUT pin to an analog input pin (e.g., A0) to read the voltage and calculate the temperature.
Important Considerations and Best Practices
- Power Supply Stability: Ensure a stable power supply to avoid fluctuations in the output signal.
- Calibration: For critical applications, calibrate the sensor to improve accuracy.
- Placement: Place the sensor away from heat sources or airflow that could affect readings.
- Decoupling Capacitor: Add a small decoupling capacitor (e.g., 0.1µF) between VCC and GND to reduce noise.
Example Code for Arduino UNO
Below is an example code to read temperature data from an LM35 sensor using an Arduino UNO:
// Define the analog pin connected to the sensor's OUT pin
const int sensorPin = A0;

// Variable to store the sensor reading
int sensorValue = 0;

// Conversion factor: 10mV per degree Celsius
const float voltageToTemp = 0.01;

void setup() {
  // Initialize serial communication for debugging
  Serial.begin(9600);
}

void loop() {
  // Read the analog value from the sensor
  sensorValue = analogRead(sensorPin);

  // Convert the analog value to voltage (assuming 5V reference)
  float voltage = sensorValue * (5.0 / 1023.0);

  // Convert the voltage to temperature in Celsius
  float temperature = voltage / voltageToTemp;

  // Print the temperature to the Serial Monitor
  Serial.print("Temperature: ");
  Serial.print(temperature);
  Serial.println(" °C");

  // Wait for 1 second before the next reading
  delay(1000);
}
Troubleshooting and FAQs
Common Issues Users Might Face
Inaccurate Readings:
- Cause: Electrical noise or unstable power supply.
- Solution: Use a decoupling capacitor and ensure a stable power source.
No Output Signal:
- Cause: Incorrect wiring or damaged sensor.
- Solution: Double-check the connections and replace the sensor if necessary.
Slow Response Time:
- Cause: Poor thermal contact or incorrect placement.
- Solution: Ensure the sensor is in good thermal contact with the environment being measured.
Output Voltage Exceeds Expected Range:
- Cause: Exceeding the sensor's operating temperature range.
- Solution: Ensure the temperature is within the specified range (-55°C to +150°C).
Solutions and Tips for Troubleshooting
- Verify the sensor's orientation and pin connections.
- Use a multimeter to measure the output voltage directly for debugging.
- If using a microcontroller, confirm that the analog reference voltage matches the expected value (e.g., 5V or 3.3V).
By following this documentation, users can effectively integrate and troubleshoot a temperature sensor in their projects.