How to Use 5V Solar Panel: Examples, Pinouts, and Specs
Introduction
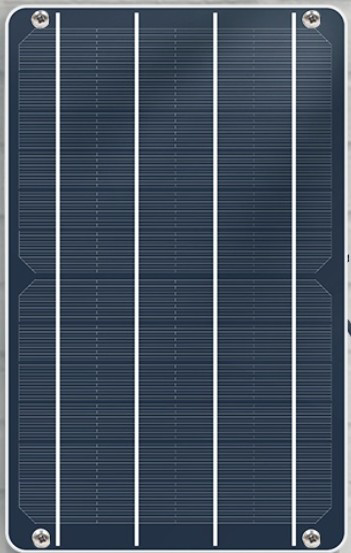
The 5V Solar Panel is a device that converts sunlight into electrical energy, providing a stable 5V output. It is commonly used in renewable energy projects, portable electronics, and IoT applications. This solar panel is ideal for charging batteries, powering small electronic devices, or serving as a power source for microcontroller-based systems like Arduino.
Explore Projects Built with 5V Solar Panel
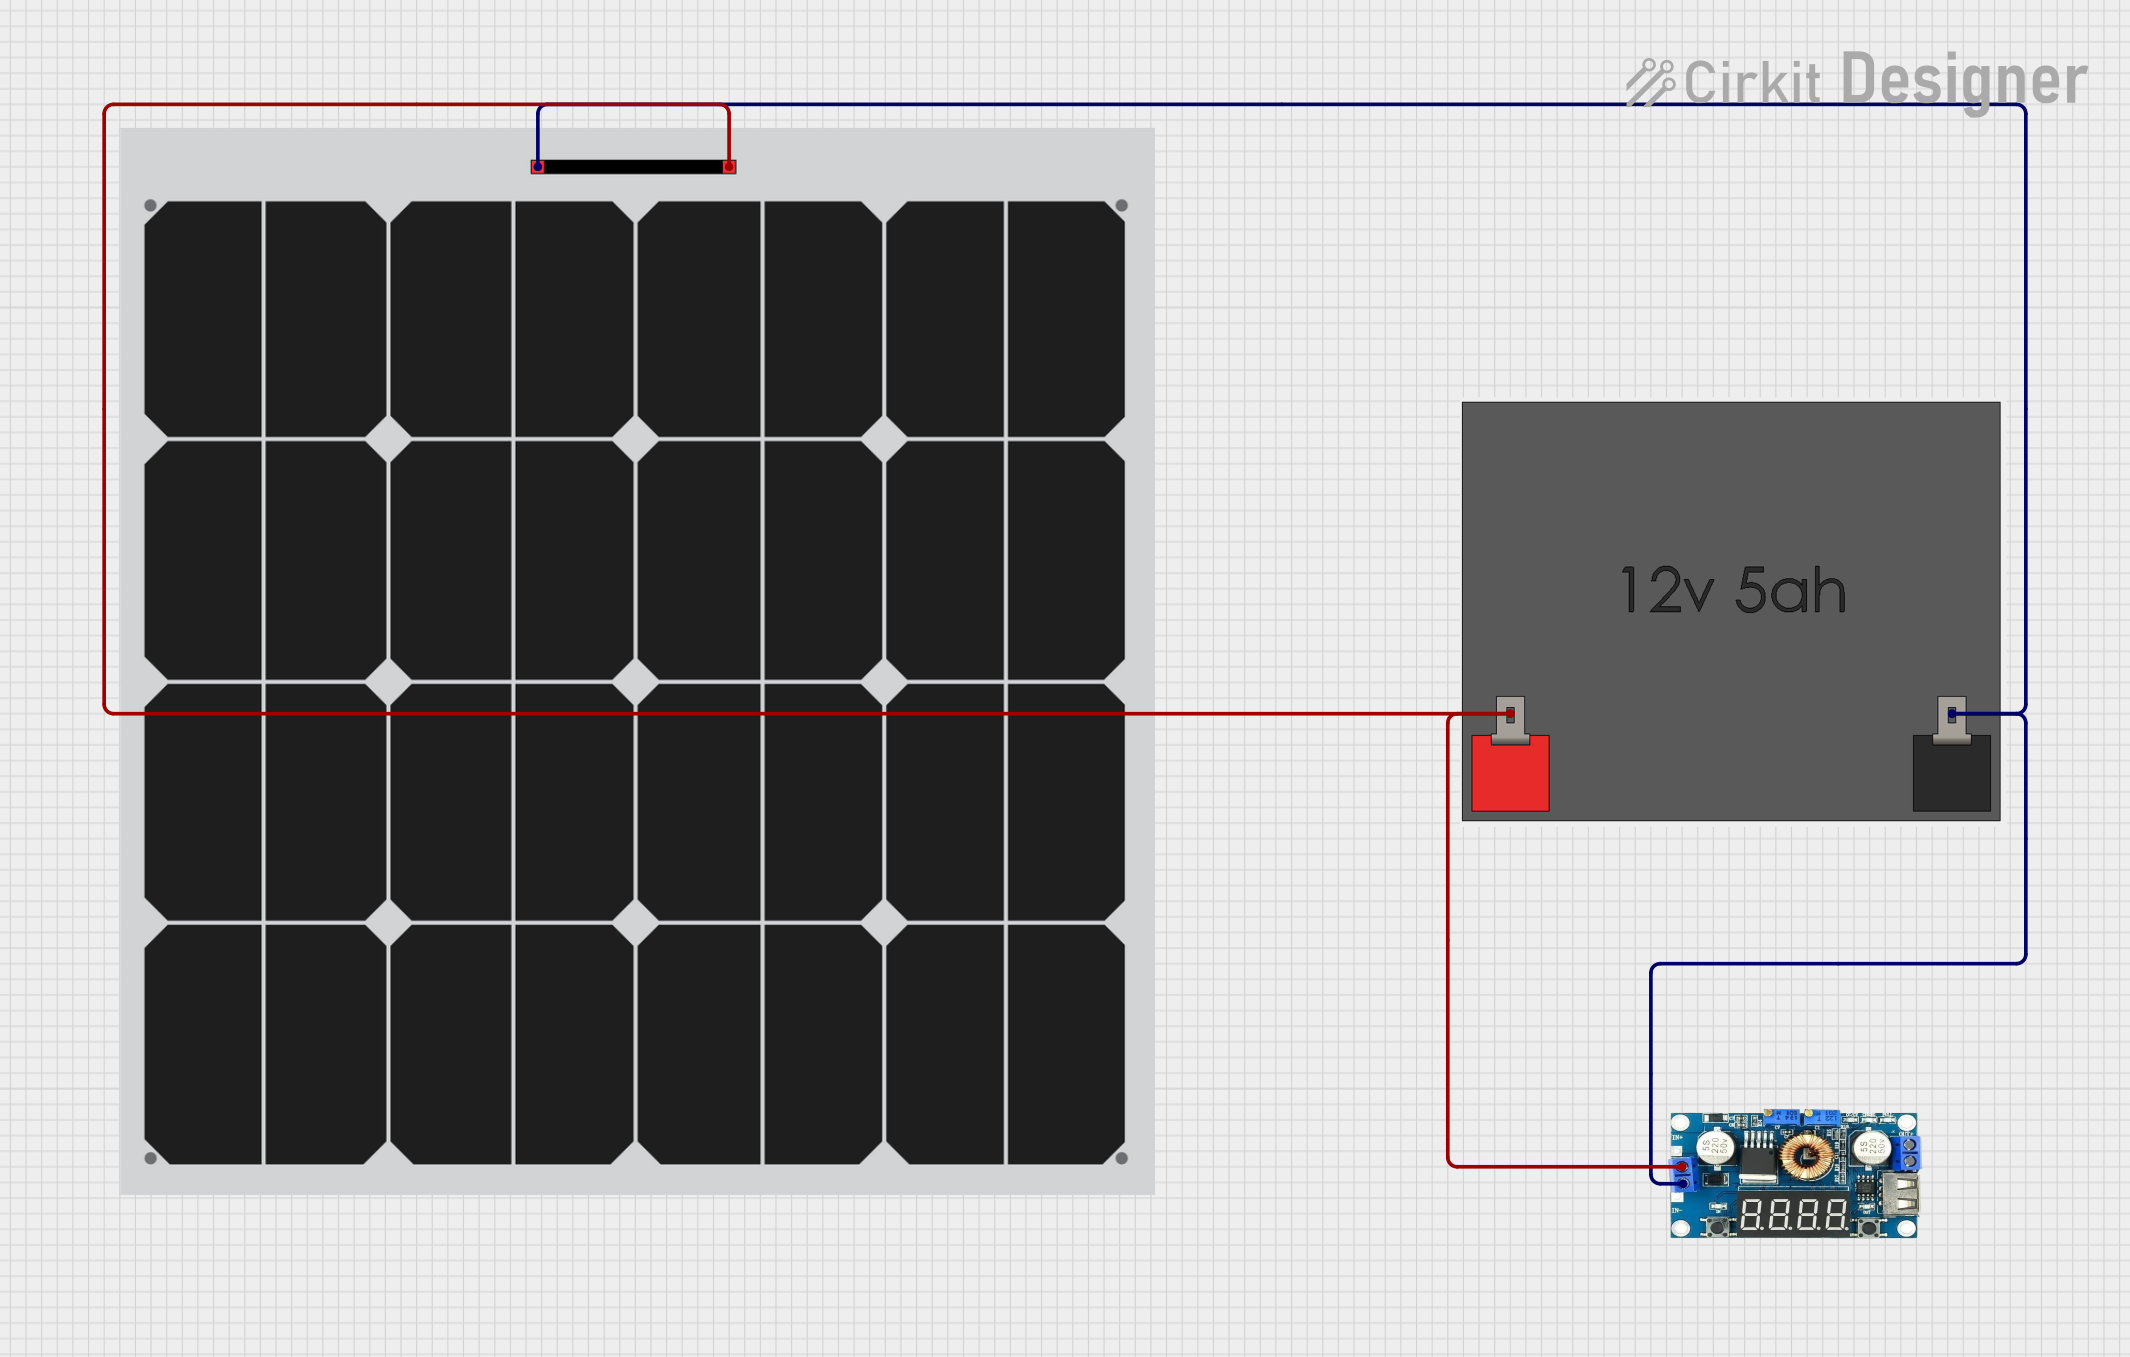
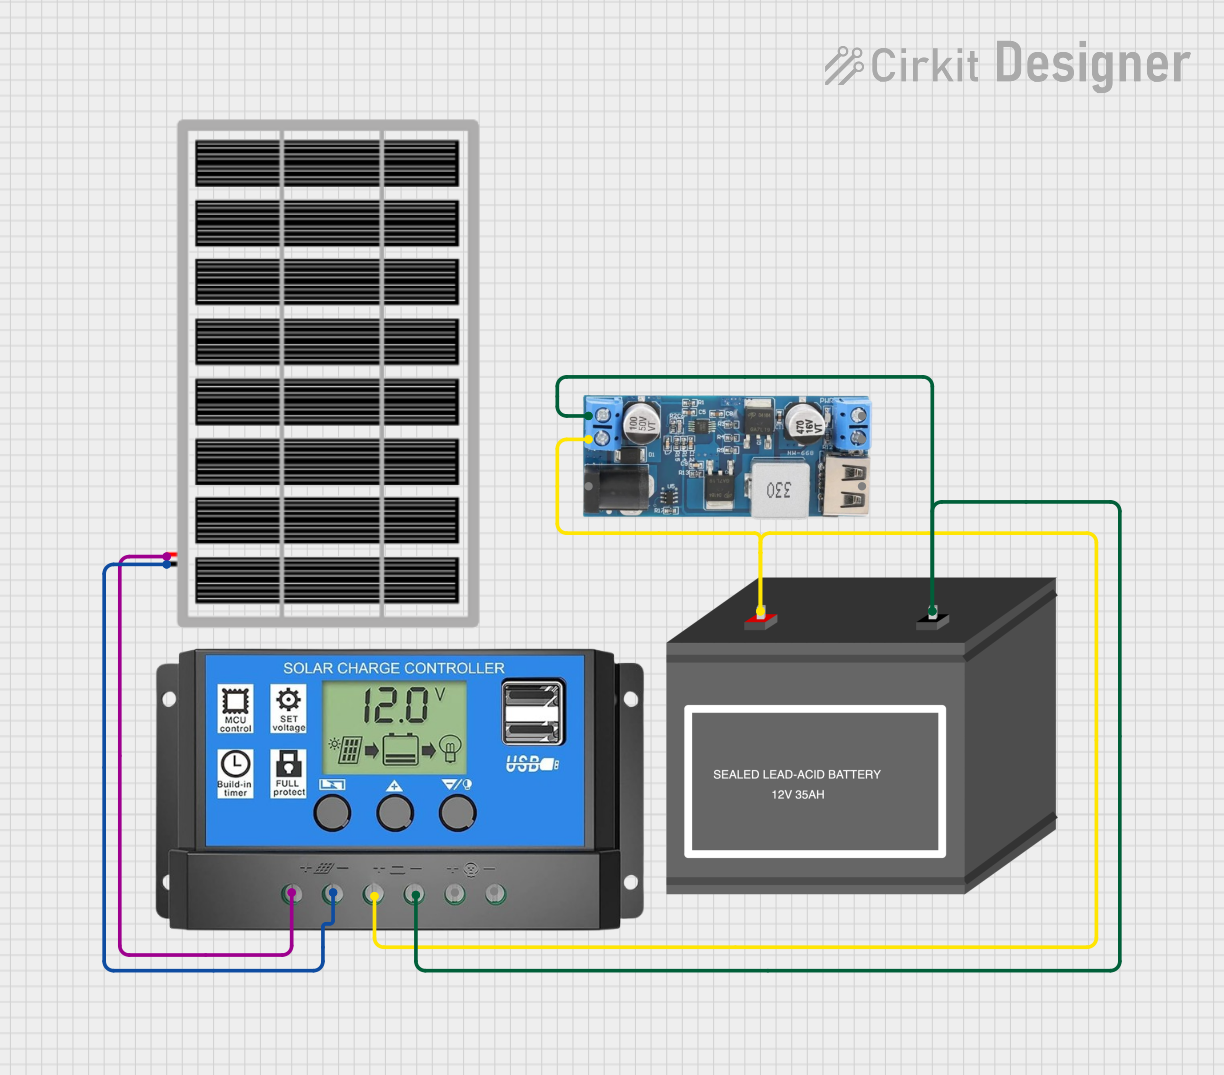
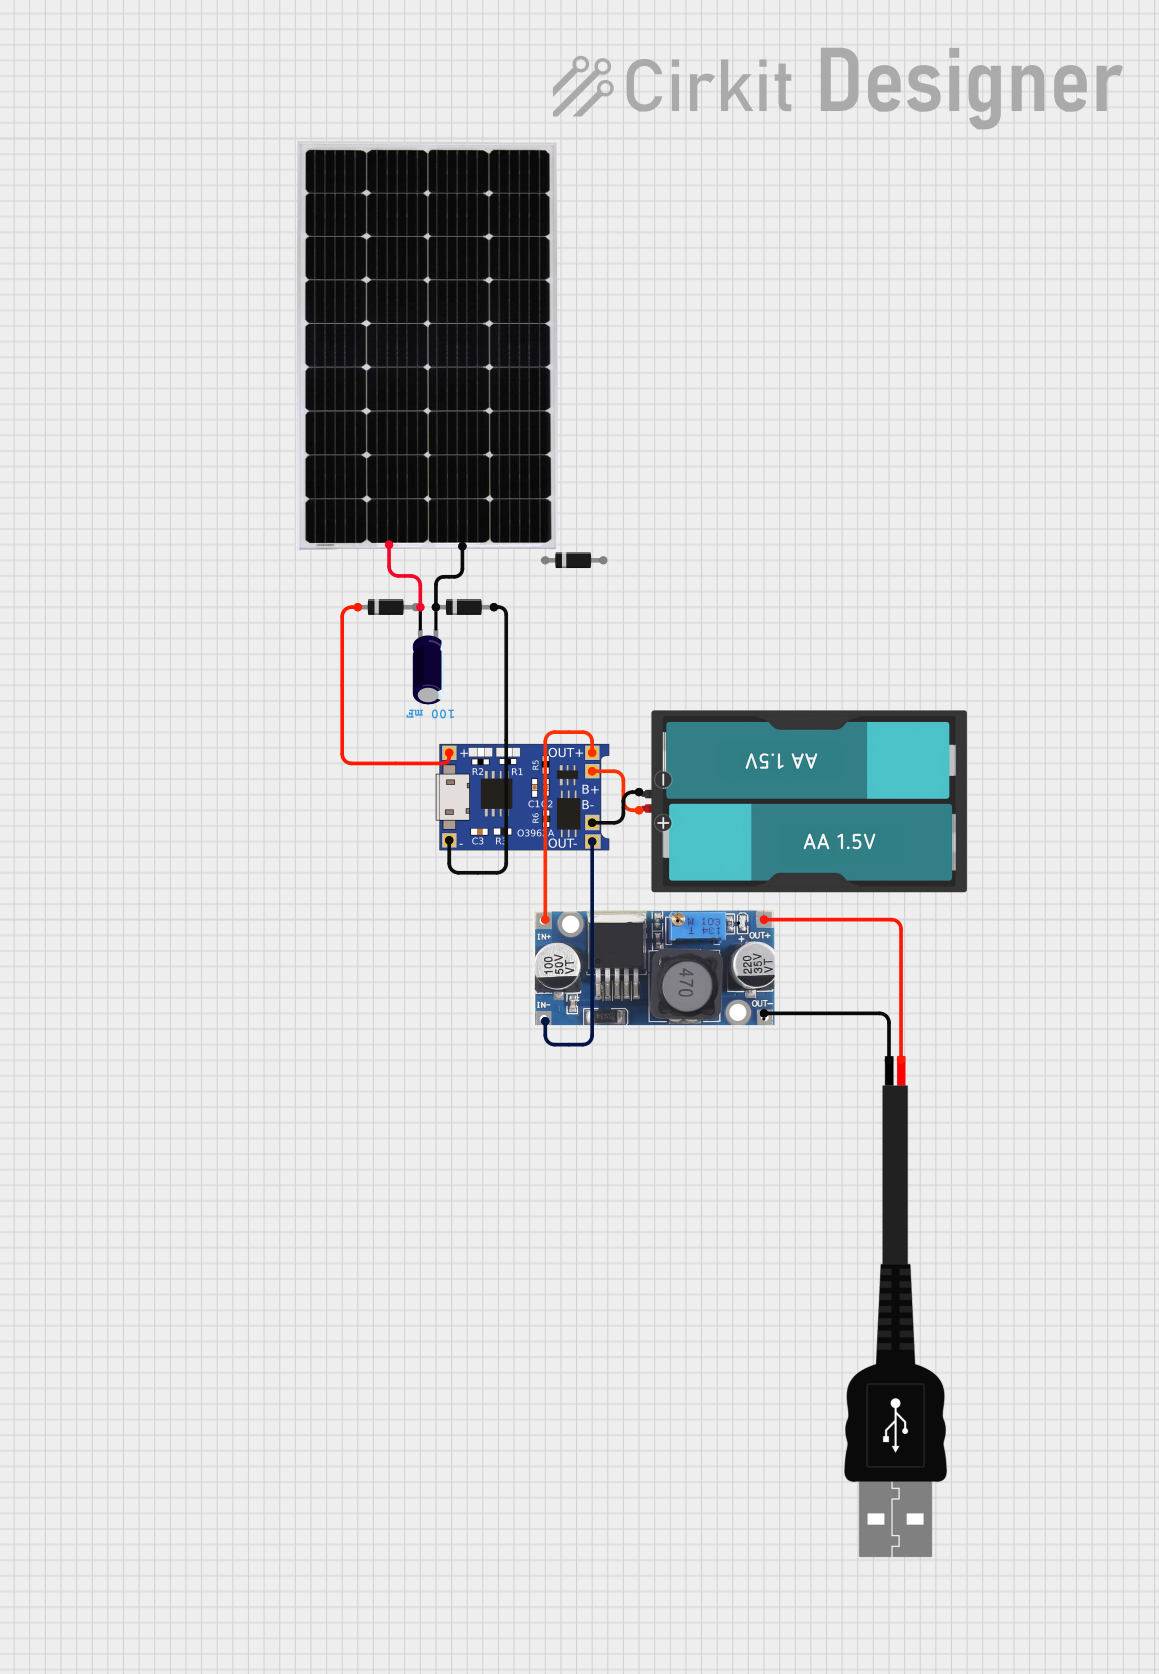

Explore Projects Built with 5V Solar Panel
Common Applications:
- Charging lithium-ion or NiMH batteries
- Powering small IoT devices and sensors
- Renewable energy projects
- Outdoor or portable electronics
- Educational projects involving solar energy
Technical Specifications
Below are the key technical details of the 5V Solar Panel:
| Parameter | Value |
|---|---|
| Output Voltage | 5V (nominal) |
| Output Current | 100mA to 500mA (depending on sunlight) |
| Power Rating | 2.5W |
| Dimensions | 110mm x 69mm x 3mm |
| Material | Monocrystalline or Polycrystalline |
| Operating Temperature | -20°C to 60°C |
| Connector Type | 2-pin JST or solder pads |
Pin Configuration:
| Pin | Label | Description |
|---|---|---|
| 1 | + (Positive) | Positive terminal for output voltage |
| 2 | - (Negative) | Negative terminal (ground) |
Usage Instructions
How to Use the 5V Solar Panel in a Circuit:
- Positioning the Panel: Place the solar panel in direct sunlight for optimal performance. Ensure there are no obstructions like shadows or dirt on the panel surface.
- Connecting the Panel:
- Connect the positive terminal (
+) of the panel to the positive input of your circuit or battery. - Connect the negative terminal (
-) to the ground of your circuit or battery.
- Connect the positive terminal (
- Voltage Regulation: If your circuit requires a stable voltage, consider using a voltage regulator or a charge controller to prevent fluctuations.
- Energy Storage: For continuous power, connect the solar panel to a rechargeable battery through a charge controller. This ensures energy is stored for use during low sunlight conditions.
Important Considerations:
- Sunlight Intensity: The output current depends on the intensity of sunlight. Ensure the panel is exposed to direct sunlight for maximum efficiency.
- Overloading: Do not connect devices that draw more current than the panel can provide (e.g., >500mA).
- Weatherproofing: If used outdoors, ensure the panel is weatherproof or protected from rain and moisture.
- Reverse Current Protection: Use a diode to prevent reverse current flow from the battery to the panel during low light conditions.
Example: Using the 5V Solar Panel with an Arduino UNO
The 5V Solar Panel can power an Arduino UNO through its 5V pin or via a rechargeable battery. Below is an example of connecting the panel to an Arduino UNO with a battery and charge controller.
Circuit Setup:
- Connect the solar panel to the input of a charge controller.
- Connect the charge controller's output to a 3.7V lithium-ion battery.
- Use a DC-DC boost converter to step up the battery voltage to 5V.
- Connect the 5V output to the Arduino UNO's 5V pin and GND.
Sample Code:
// Example code to read a sensor powered by a 5V Solar Panel
// connected to an Arduino UNO. The solar panel charges a battery
// that powers the Arduino and sensor.

const int sensorPin = A0; // Analog pin connected to the sensor
int sensorValue = 0;      // Variable to store sensor reading

void setup() {
  Serial.begin(9600); // Initialize serial communication
  pinMode(sensorPin, INPUT); // Set sensor pin as input
}

void loop() {
  sensorValue = analogRead(sensorPin); // Read sensor value
  Serial.print("Sensor Value: ");
  Serial.println(sensorValue); // Print sensor value to Serial Monitor
  delay(1000); // Wait for 1 second before next reading
}
Troubleshooting and FAQs
Common Issues:
Low Output Voltage:
- Cause: Insufficient sunlight or shading on the panel.
- Solution: Ensure the panel is in direct sunlight and clean the surface.
No Output Current:
- Cause: Loose or incorrect connections.
- Solution: Check all connections and ensure polarity is correct.
Overheating:
- Cause: Prolonged exposure to high temperatures.
- Solution: Use the panel within its operating temperature range (-20°C to 60°C).
Fluctuating Voltage:
- Cause: Variations in sunlight intensity.
- Solution: Use a voltage regulator or capacitor to stabilize the output.
FAQs:
Q: Can I use the 5V Solar Panel indoors?
- A: The panel requires direct sunlight for optimal performance. Indoor lighting may not provide sufficient energy.
Q: Can I connect the panel directly to a USB device?
- A: It is not recommended unless the panel provides a stable 5V output under all conditions. Use a voltage regulator for safety.
Q: How do I clean the solar panel?
- A: Use a soft cloth and water to remove dirt or debris. Avoid abrasive materials that may scratch the surface.
By following these guidelines, you can effectively use the 5V Solar Panel in your projects and ensure reliable performance.