
How to Use Adafruit CH334F Mini 4-Port USB Hub Breakout: Examples, Pinouts, and Specs
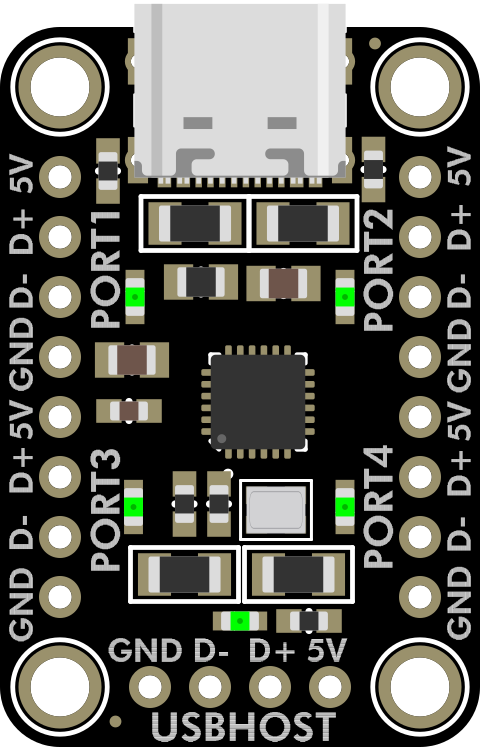
 Design with Adafruit CH334F Mini 4-Port USB Hub Breakout in Cirkit Designer
Introduction
The Adafruit CH334F Mini 4-Port USB Hub Breakout (Part ID: 5997) is a compact and versatile USB hub designed to expand a single USB port into four fully functional USB ports. Powered by the CH334F USB controller, this breakout board ensures reliable data transfer and efficient power management. Its small form factor makes it ideal for embedded systems, DIY electronics projects, and portable applications.
Explore Projects Built with Adafruit CH334F Mini 4-Port USB Hub Breakout
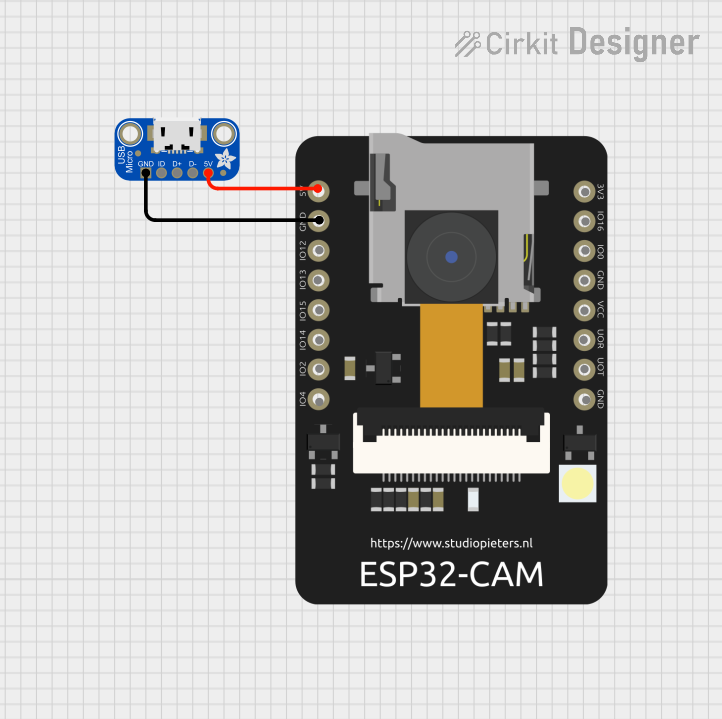 Open Project in Cirkit Designer
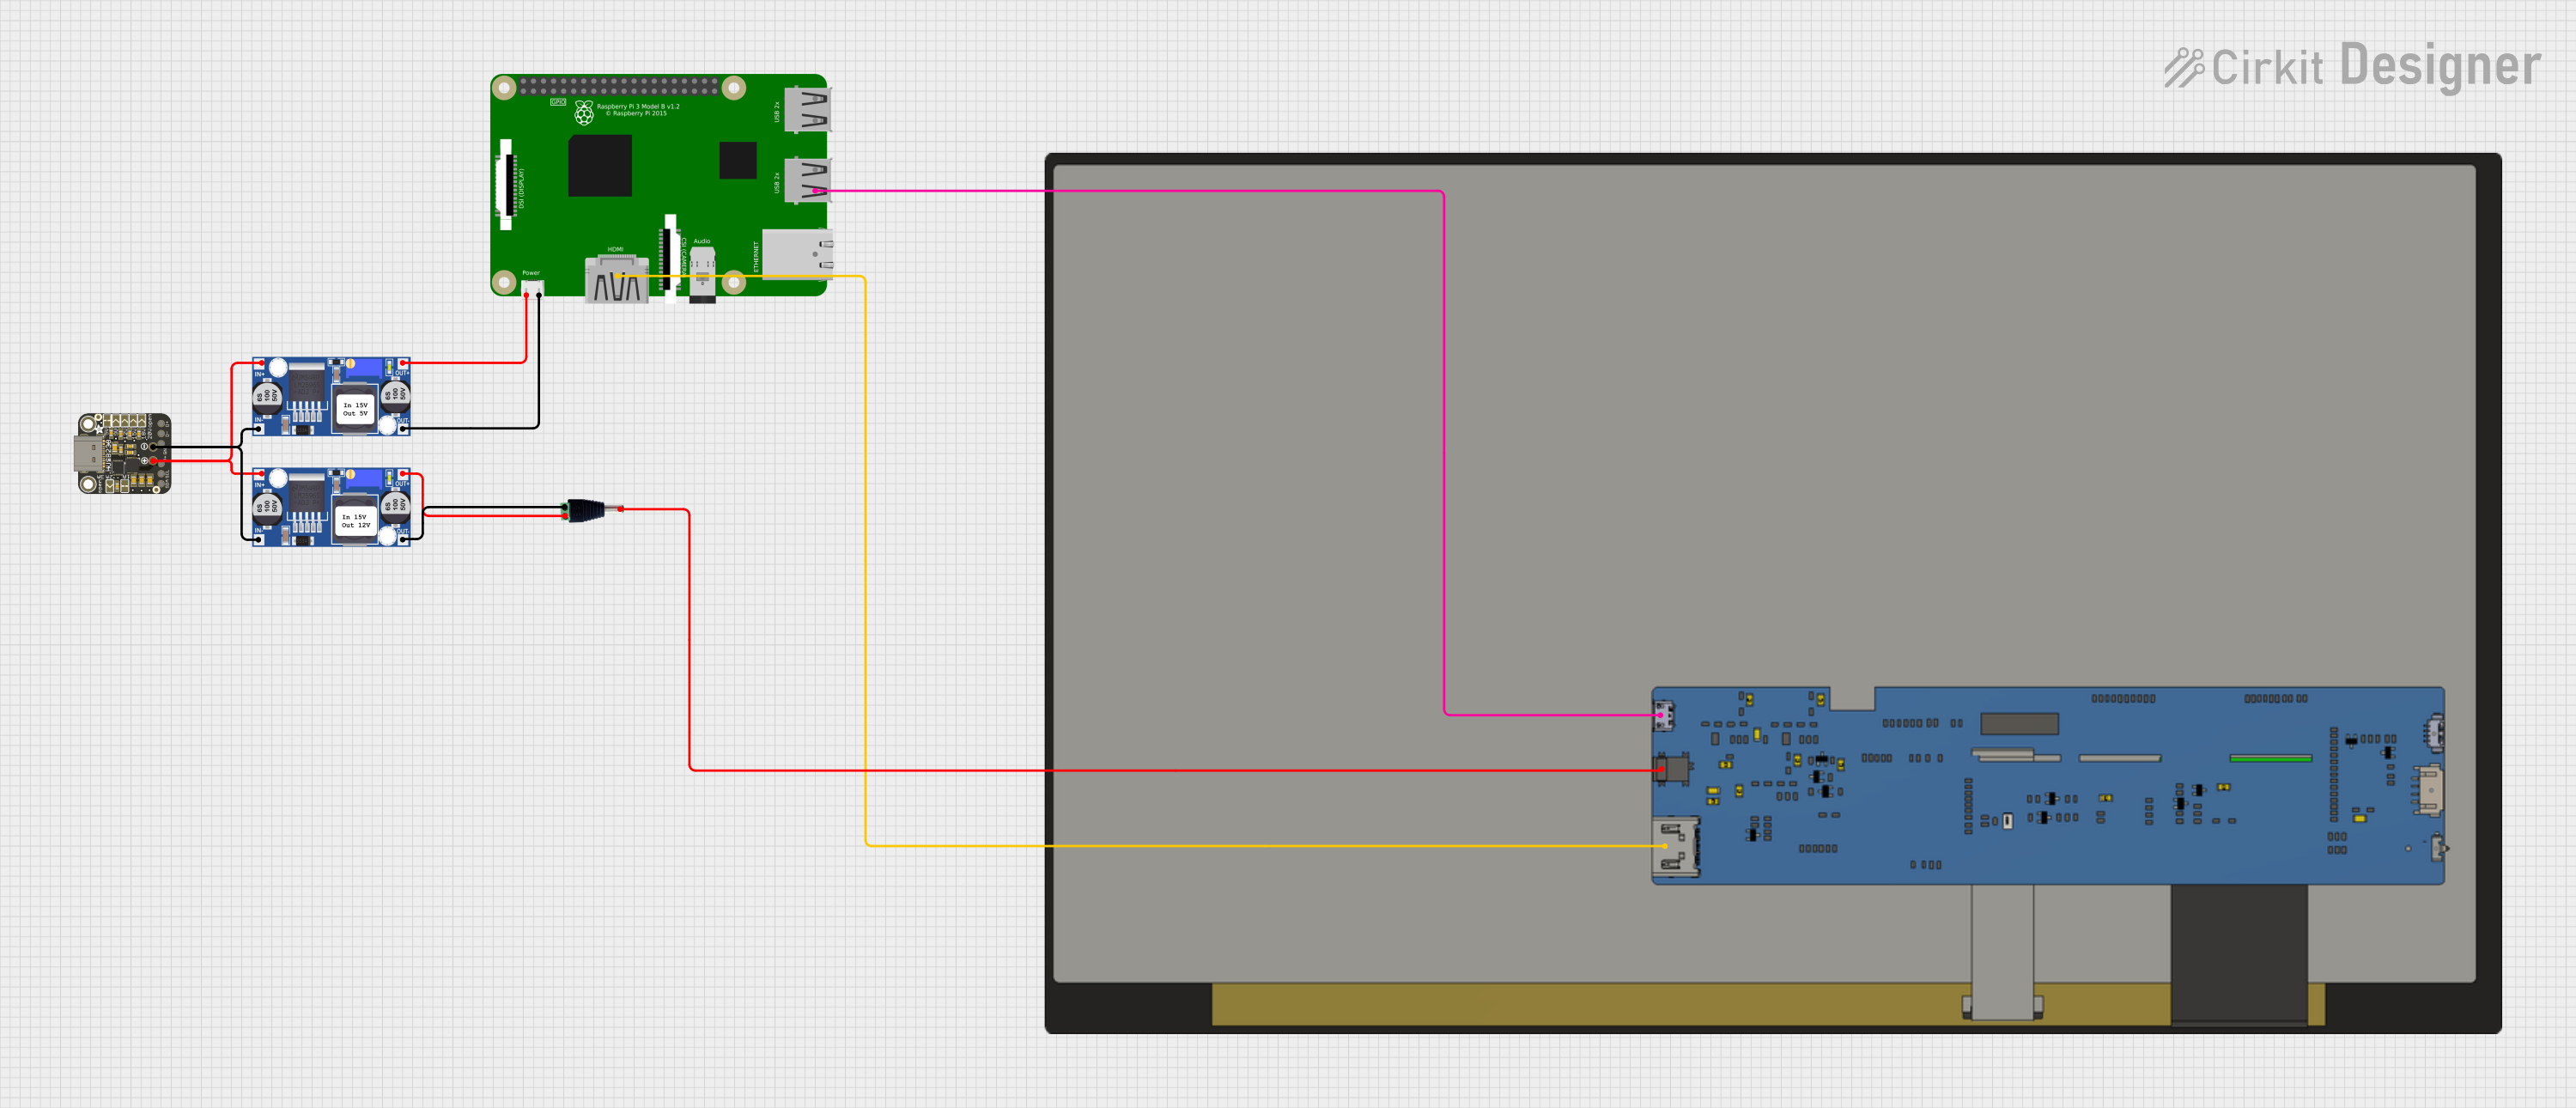 Open Project in Cirkit Designer
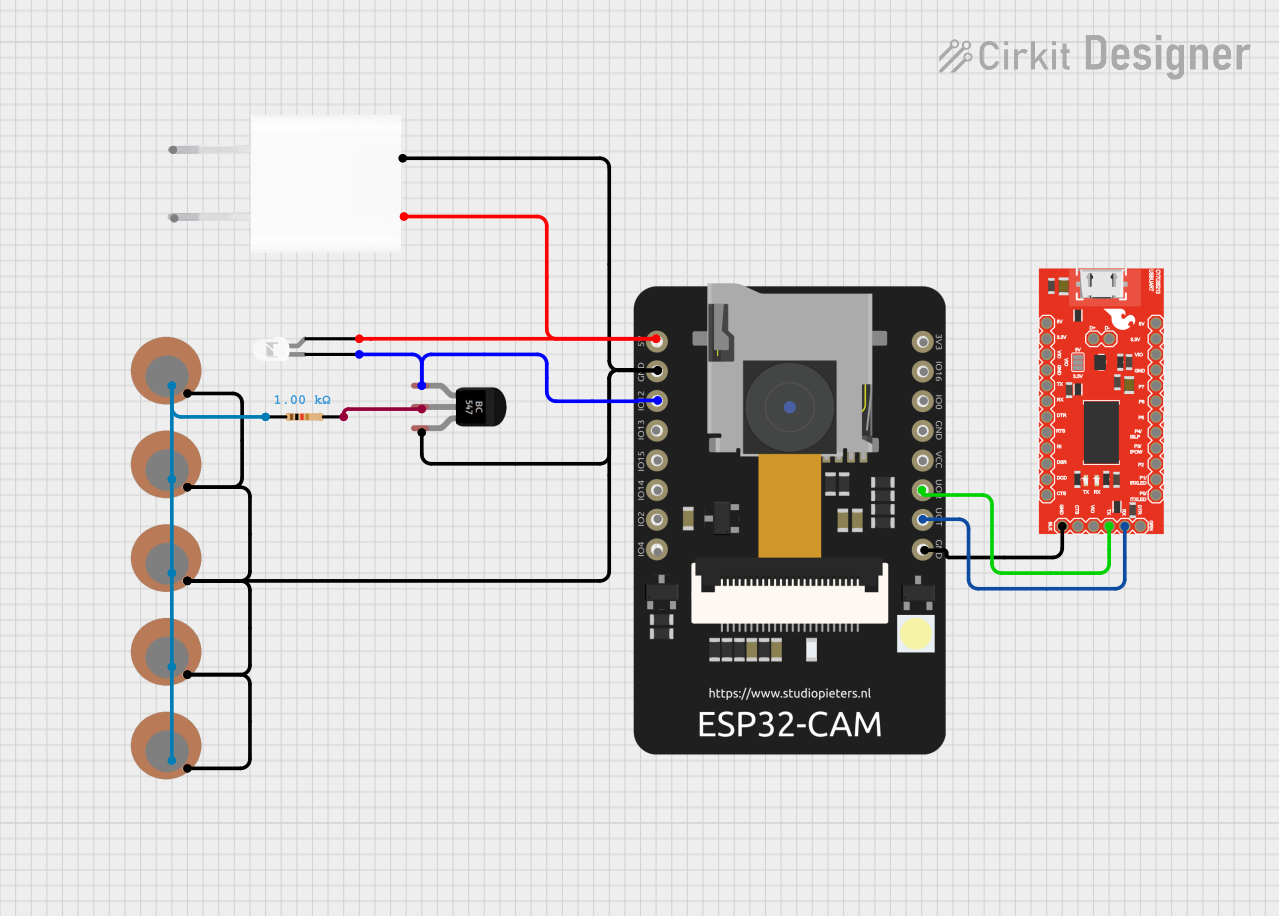 Open Project in Cirkit Designer
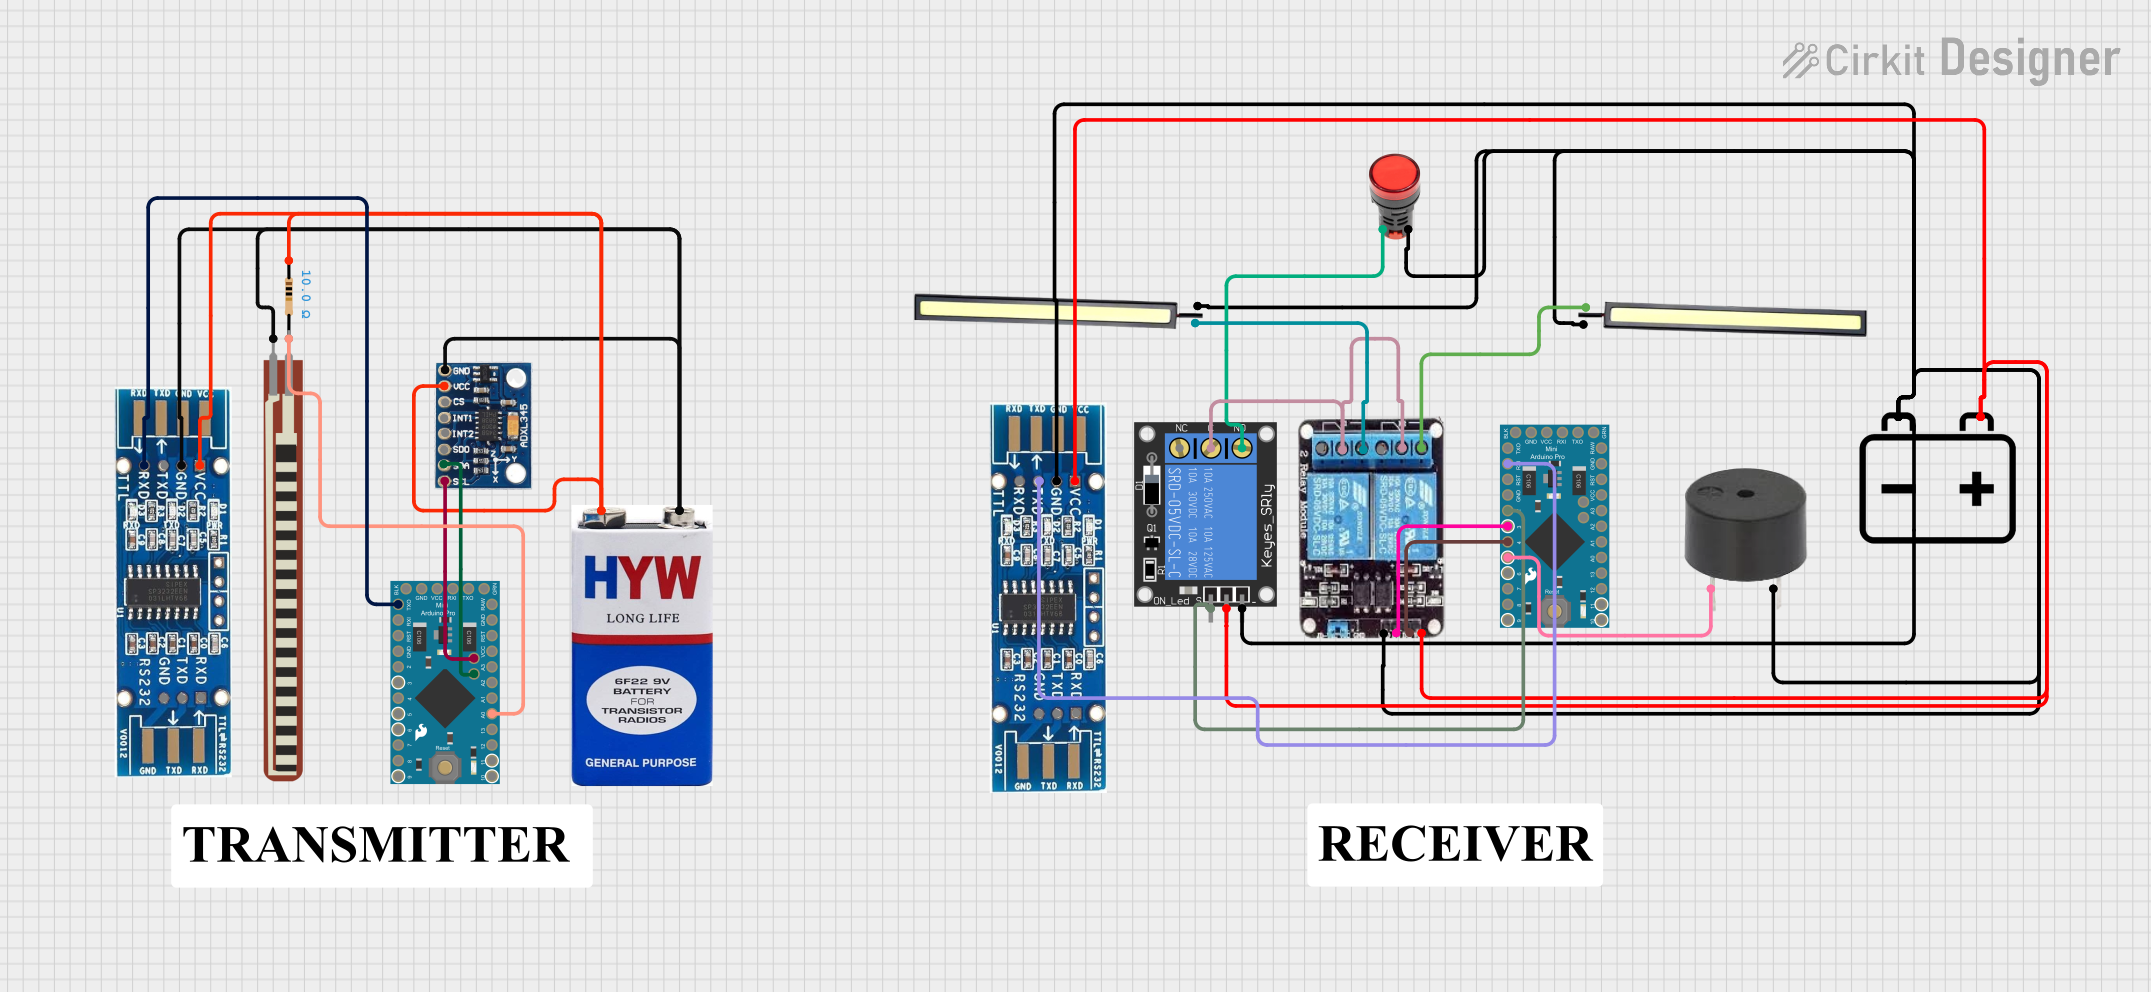 Open Project in Cirkit Designer
Explore Projects Built with Adafruit CH334F Mini 4-Port USB Hub Breakout
Open Project in Cirkit DesignerOpen Project in Cirkit DesignerOpen Project in Cirkit DesignerOpen Project in Cirkit DesignerCommon Applications and Use Cases
- Expanding USB connectivity for microcontrollers, single-board computers (e.g., Raspberry Pi, Arduino, etc.)
- Prototyping USB-based devices
- Adding USB ports to custom enclosures or embedded systems
- Portable USB hubs for laptops or compact workstations
Technical Specifications
The Adafruit CH334F Mini 4-Port USB Hub Breakout is designed to meet the needs of both hobbyists and professionals. Below are the key technical details:
Key Technical Details
- USB Controller: CH334F
- Input Voltage: 5V DC (via USB input)
- Output Voltage: 5V DC (shared across all USB ports)
- Maximum Current: 500mA per port (depending on the power source)
- USB Standard: USB 2.0 (480 Mbps data transfer rate)
- Dimensions: 50mm x 30mm x 10mm
- Operating Temperature: -40°C to 85°C
- Connector Type: USB Type-A (4 output ports) and USB Type-B (input)
Pin Configuration and Descriptions
The CH334F Mini 4-Port USB Hub Breakout features a simple pinout for easy integration into your projects. Below is the pin configuration:
| Pin Name | Description |
|---|---|
| VBUS | 5V power input from the USB host (powers the hub and connected devices). |
| GND | Ground connection. |
| D+ | USB data line (positive) for communication with the USB host. |
| D- | USB data line (negative) for communication with the USB host. |
| USB1-USB4 | Four USB Type-A ports for connecting USB devices. |
| LED | Status LED pin (indicates power and activity). |
Usage Instructions
The Adafruit CH334F Mini 4-Port USB Hub Breakout is straightforward to use. Follow the steps below to integrate it into your project:
How to Use the Component in a Circuit
- Power the Hub: Connect the USB Type-B input port to a USB host (e.g., computer, Raspberry Pi, or USB power adapter) using a USB cable. This provides both power and data connectivity.
- Connect USB Devices: Plug up to four USB devices into the USB Type-A output ports. Ensure the total current draw does not exceed the power source's capacity.
- Monitor Status: The onboard LED will light up to indicate that the hub is powered and operational.
Important Considerations and Best Practices
- Power Supply: If connecting high-power USB devices (e.g., external hard drives), ensure the USB host can supply sufficient current. Alternatively, use a powered USB hub or external power supply.
- Data Transfer: The CH334F supports USB 2.0 speeds (up to 480 Mbps). For faster data rates, consider using USB 3.0 hubs.
- Heat Management: While the CH334F operates efficiently, ensure adequate ventilation if the hub is used in a confined space or under heavy load.
- Arduino Integration: While the CH334F is not directly programmable, it can be used to expand USB connectivity for Arduino-based projects. For example, you can connect USB peripherals like keyboards, mice, or USB-to-serial adapters to an Arduino via this hub.
Example Code for Arduino UNO
If you are using the USB hub to connect a USB-to-serial adapter to an Arduino UNO, you can use the following code to read data from the serial device:
// Example code to read data from a USB-to-serial adapter connected via the hub
// Ensure the USB-to-serial adapter is connected to the hub and the hub is powered.

void setup() {
  Serial.begin(9600); // Initialize the Arduino's serial communication
  while (!Serial) {
    ; // Wait for the serial port to connect (for Leonardo/Micro boards)
  }
  Serial.println("USB Hub Test: Ready to receive data.");
}

void loop() {
  if (Serial.available() > 0) {
    // Read incoming data from the USB-to-serial adapter
    char receivedData = Serial.read();
    Serial.print("Received: ");
    Serial.println(receivedData);
  }
}
Note: The USB hub itself does not require programming. The code above demonstrates how to use a USB device connected via the hub.
Troubleshooting and FAQs
Common Issues Users Might Face
USB Devices Not Detected:
- Ensure the USB hub is properly powered by connecting it to a reliable USB host or power source.
- Verify that the connected USB devices are functional and compatible with USB 2.0.
Power Overload:
- If the hub shuts down or devices disconnect, check if the total current draw exceeds the power source's capacity. Use a powered USB hub if necessary.
Slow Data Transfer:
- The CH334F supports USB 2.0 speeds. If higher speeds are required, consider upgrading to a USB 3.0 hub.
LED Not Lighting Up:
- Check the power connection to the USB hub. Ensure the USB cable and host port are functional.
Solutions and Tips for Troubleshooting
- Use a multimeter to verify the voltage at the VBUS pin if the hub is not powering up.
- Test the hub with different USB devices to isolate potential compatibility issues.
- If using the hub with a microcontroller, ensure the microcontroller's USB port supports host mode (if required).
By following this documentation, you can effectively integrate the Adafruit CH334F Mini 4-Port USB Hub Breakout into your projects and troubleshoot common issues with ease.