
How to Use Soil PH Sensor: Examples, Pinouts, and Specs
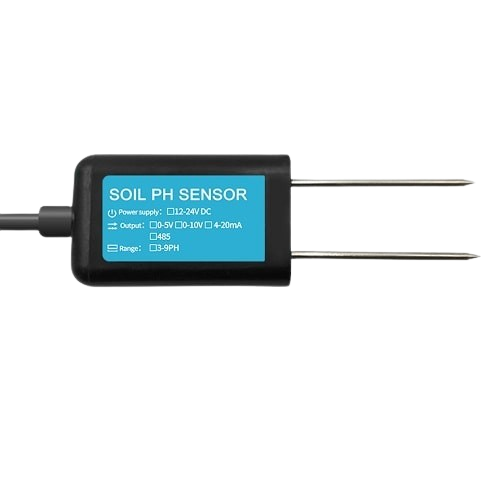
 Design with Soil PH Sensor in Cirkit Designer
Introduction
A Soil pH Sensor is a device used to measure the acidity or alkalinity of soil. It provides essential data for agricultural, gardening, and environmental monitoring applications. By determining the soil's pH level, users can optimize plant growth, ensure proper nutrient absorption, and maintain soil health. This sensor is particularly useful for farmers, gardeners, and researchers who need accurate and real-time soil pH measurements.
Common applications include:
- Precision agriculture to optimize crop yield.
- Gardening to ensure plants are grown in the correct pH environment.
- Environmental monitoring to assess soil health and quality.
- Research and educational projects involving soil chemistry.
Explore Projects Built with Soil PH Sensor
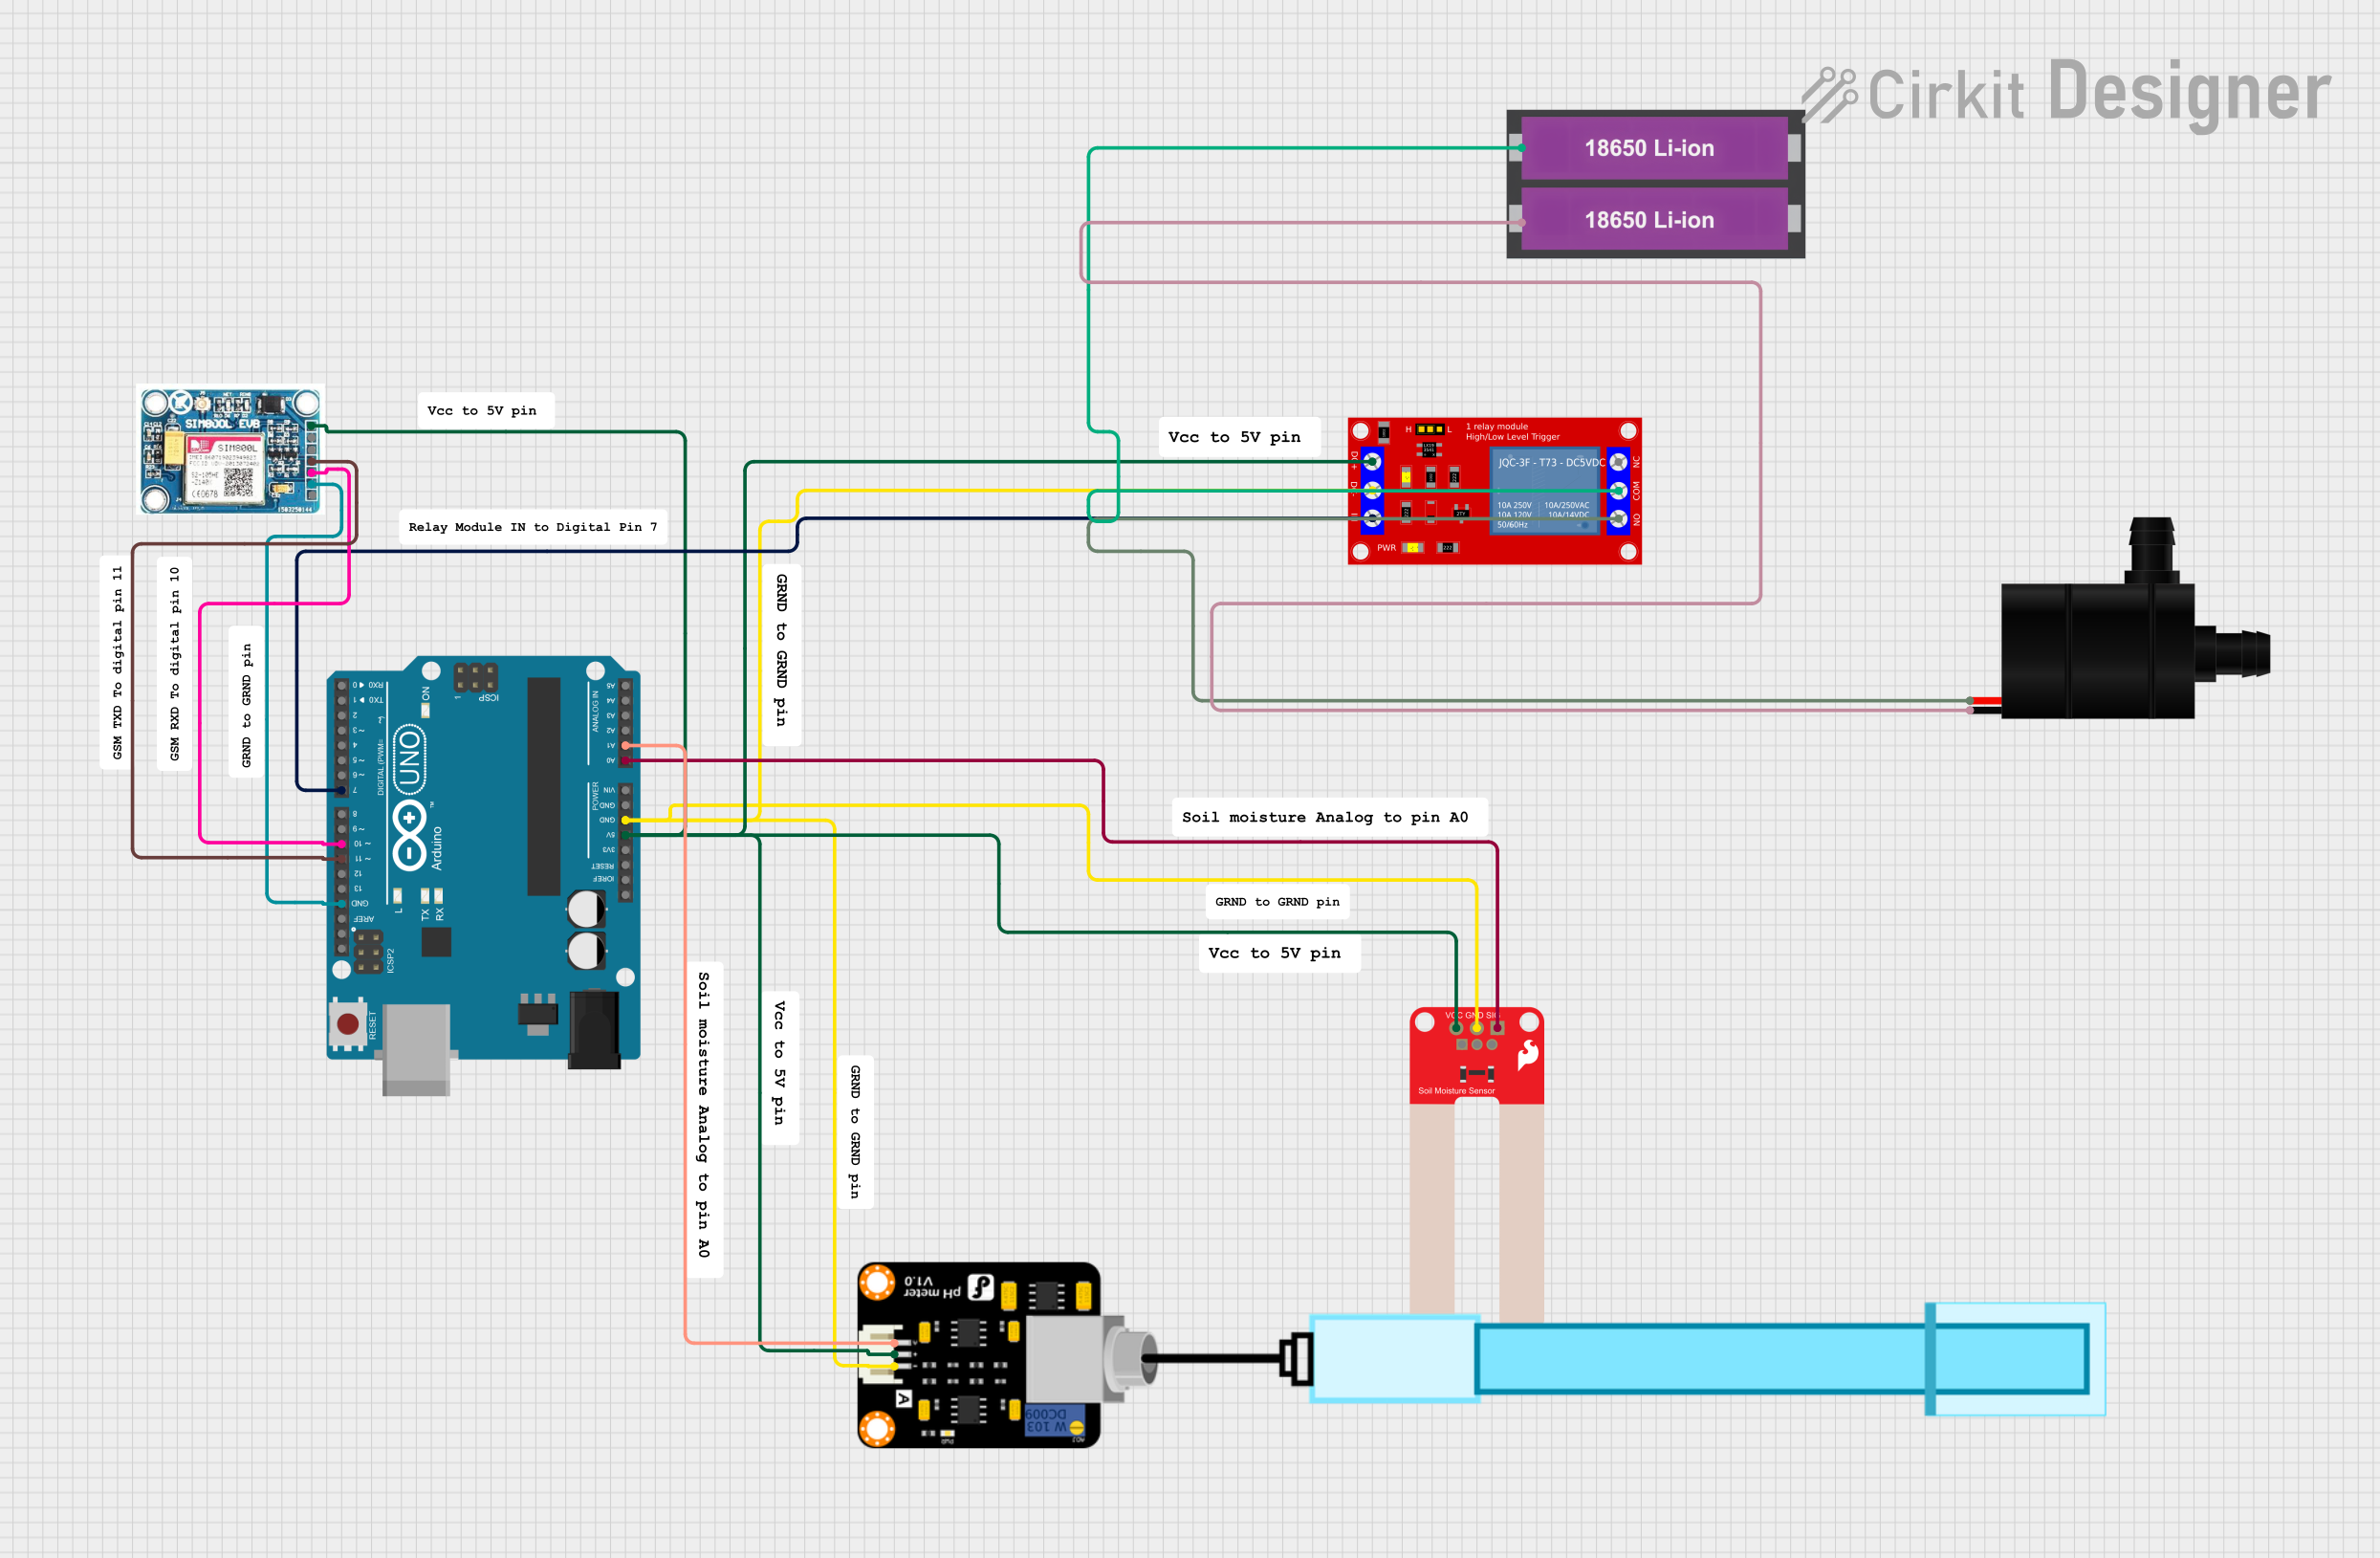 Open Project in Cirkit Designer
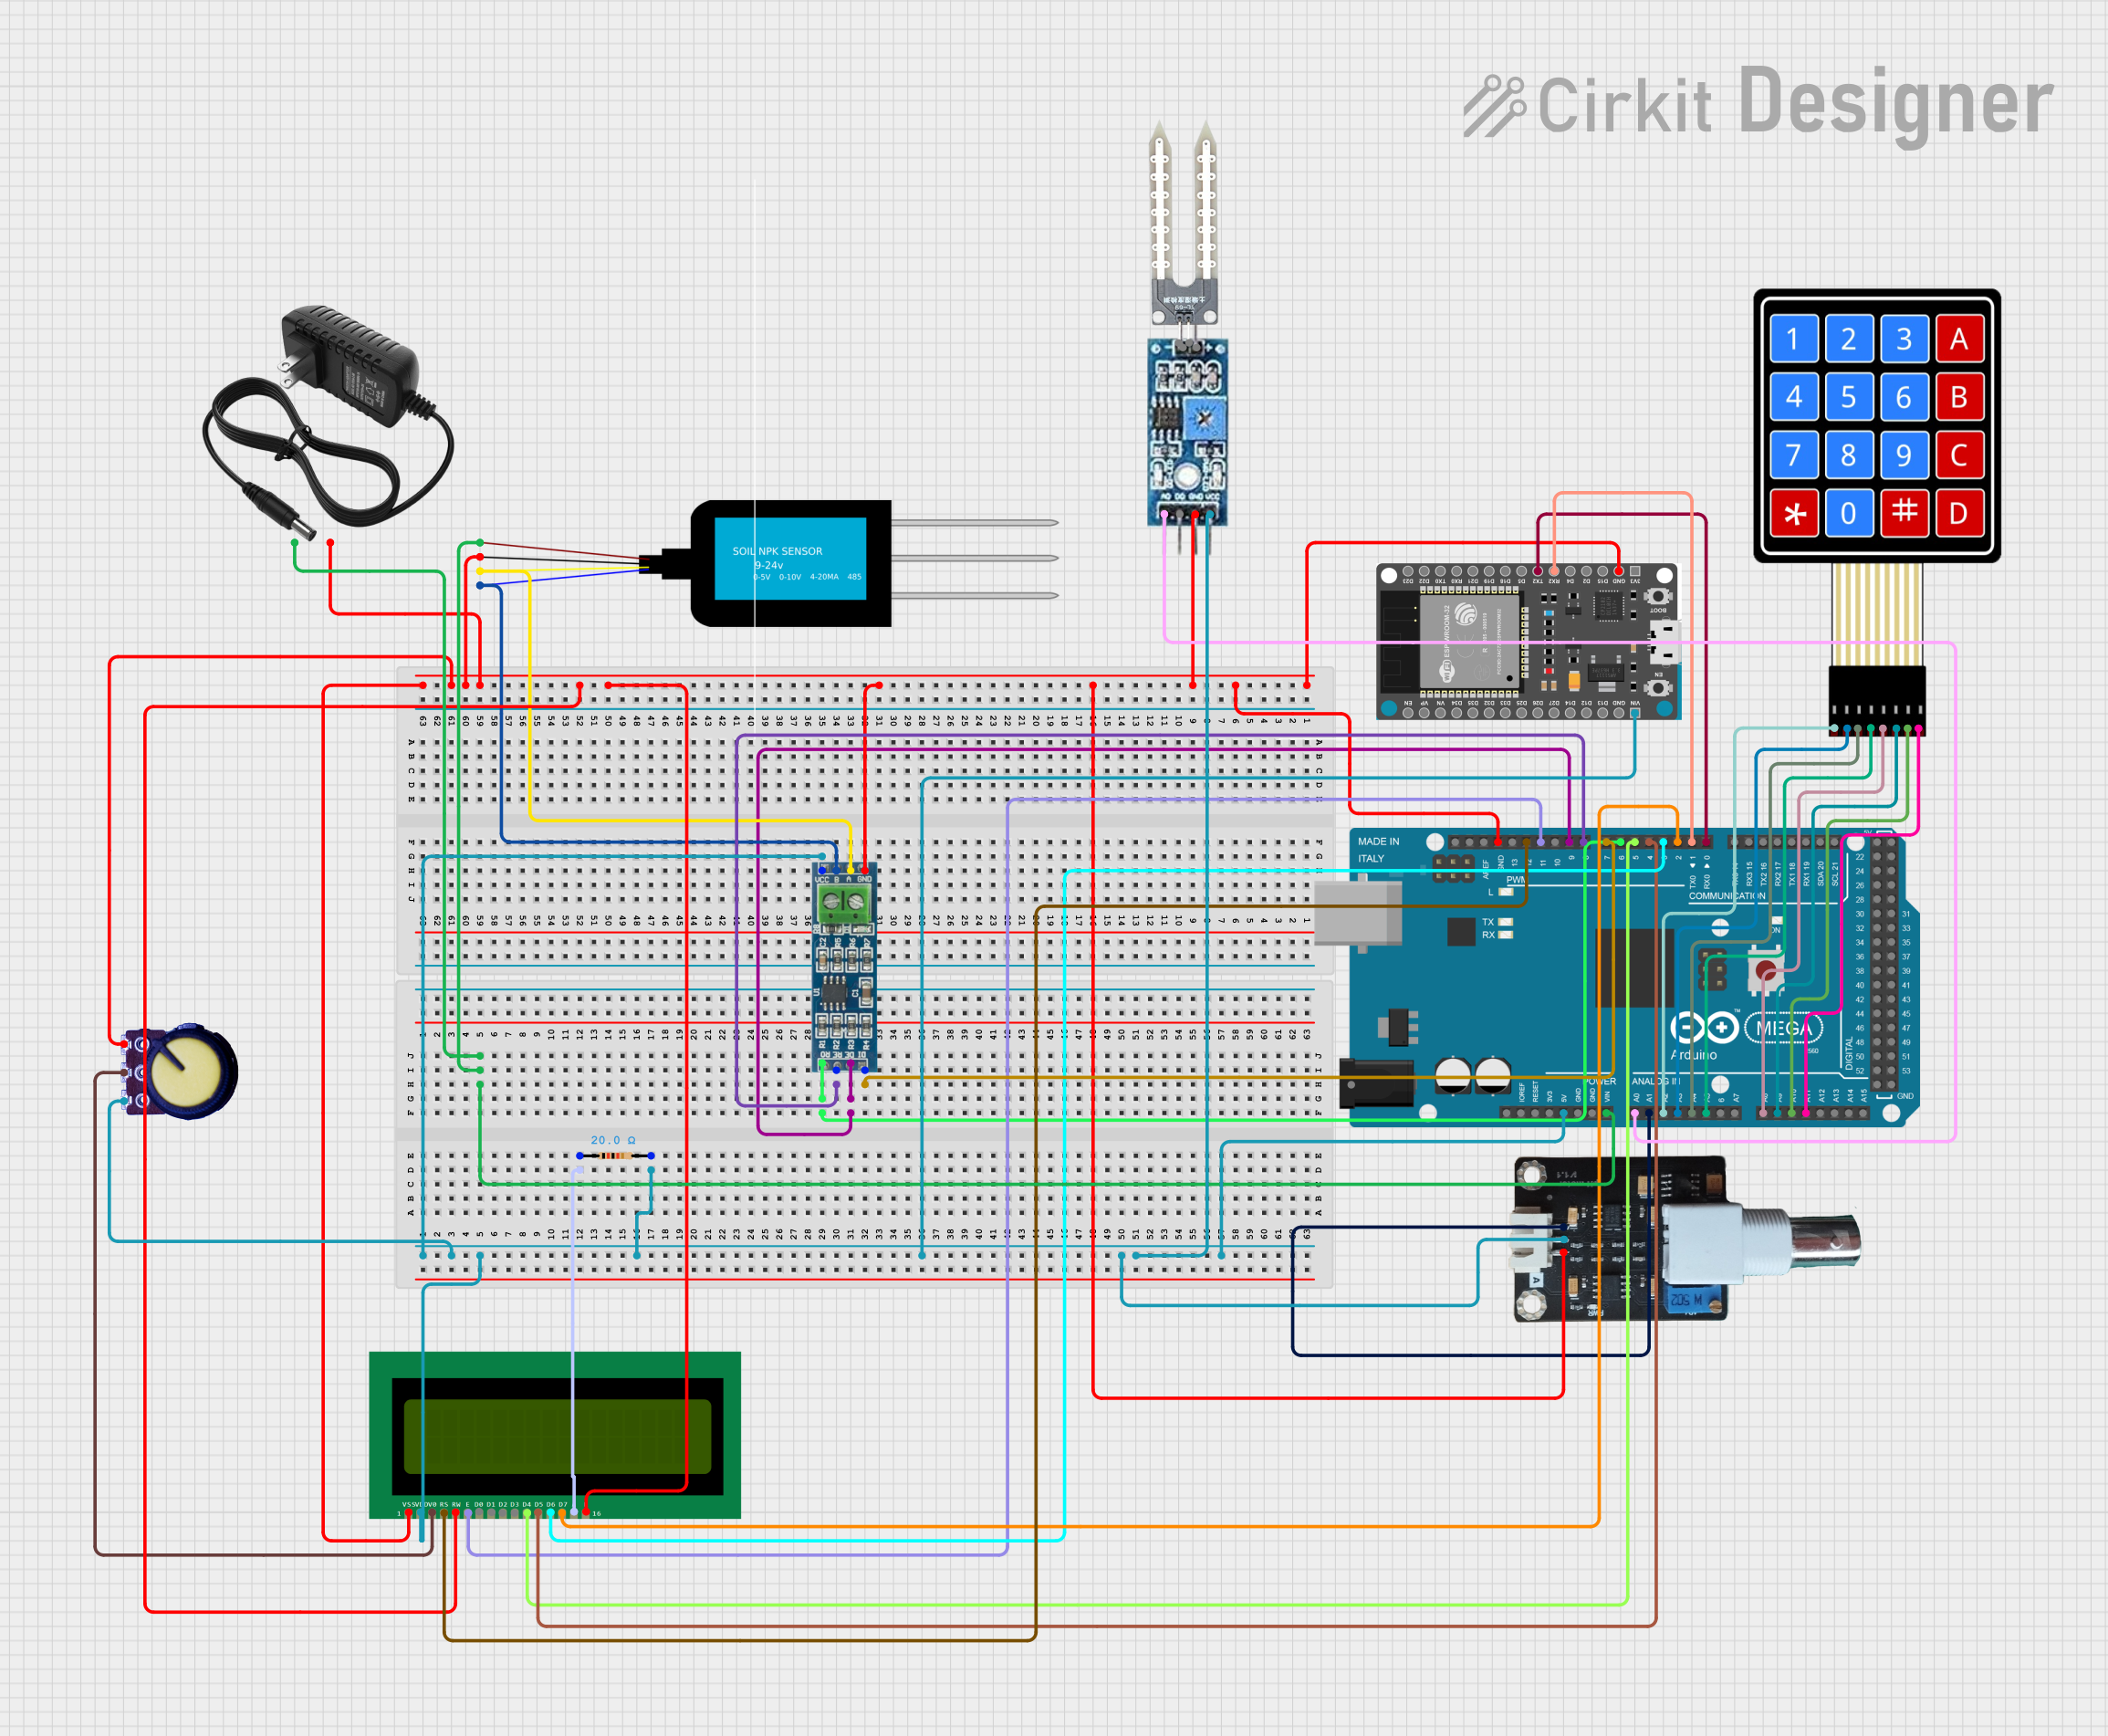 Open Project in Cirkit Designer
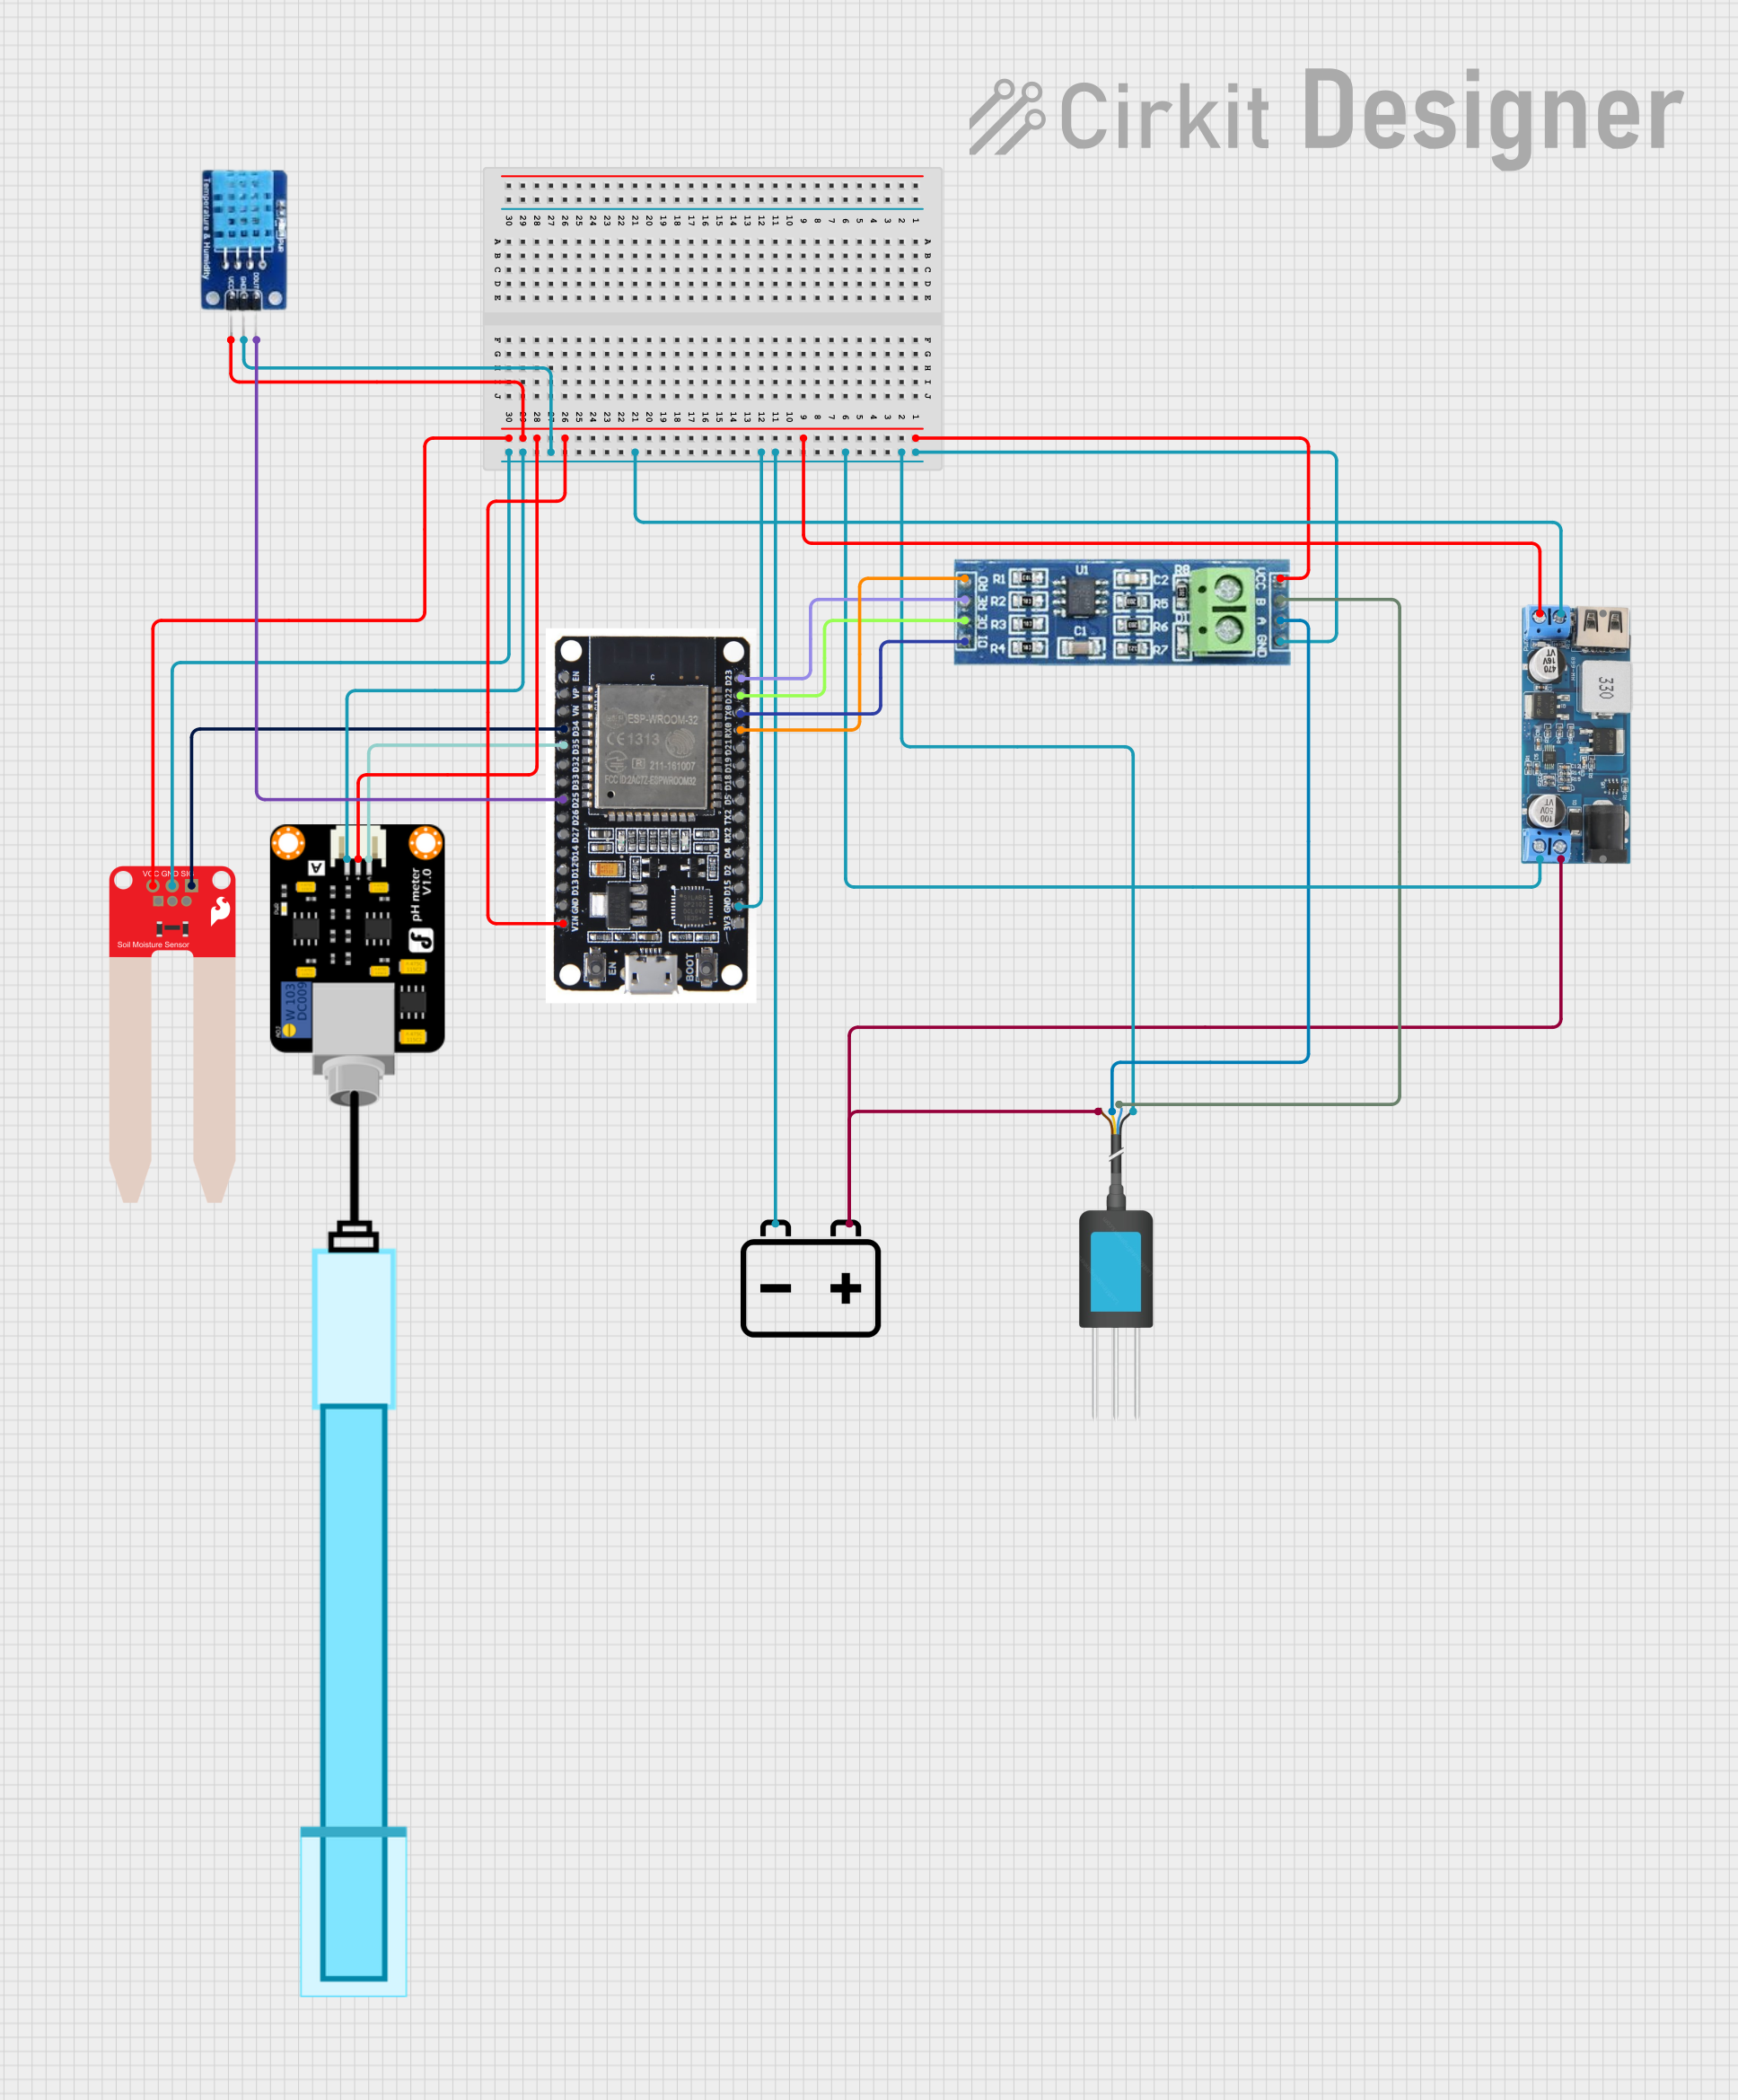 Open Project in Cirkit Designer
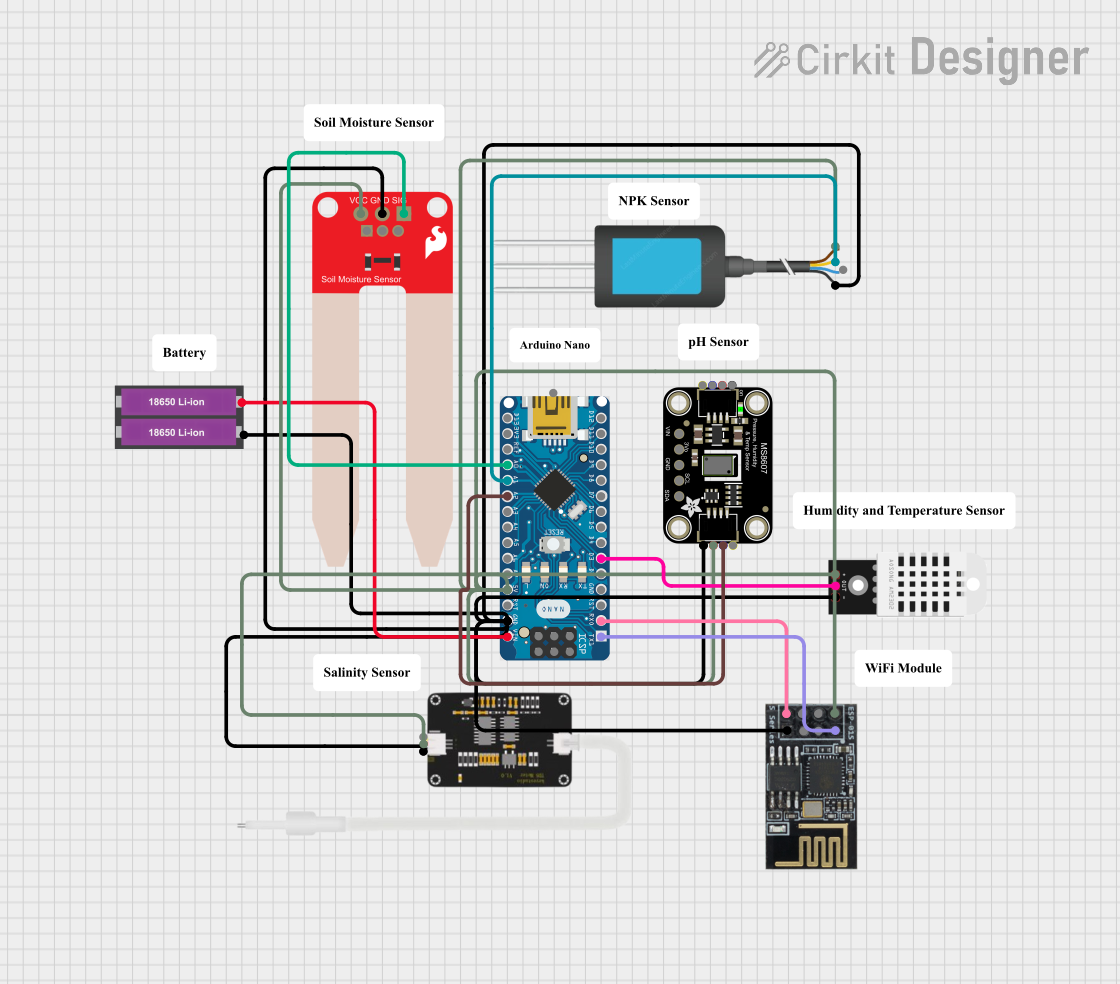 Open Project in Cirkit Designer
Explore Projects Built with Soil PH Sensor
Open Project in Cirkit DesignerOpen Project in Cirkit DesignerOpen Project in Cirkit DesignerOpen Project in Cirkit DesignerTechnical Specifications
- Operating Voltage: 3.3V to 5V DC
- Output Signal: Analog voltage (typically 0-3V)
- Measurement Range: pH 3.0 to pH 9.0
- Accuracy: ±0.1 pH (at 25°C)
- Response Time: ≤1 second
- Operating Temperature: 5°C to 50°C
- Cable Length: Typically 1 meter (varies by model)
- Calibration: Requires periodic calibration using standard pH buffer solutions.
Pin Configuration and Descriptions
| Pin Name | Description |
|---|---|
| VCC | Power supply input (3.3V to 5V DC). |
| GND | Ground connection. |
| AOUT | Analog output signal. |
Usage Instructions
How to Use the Soil pH Sensor in a Circuit
Connect the Sensor:
- Connect the
VCCpin to the 5V pin of your microcontroller (e.g., Arduino UNO). - Connect the
GNDpin to the ground (GND) of your microcontroller. - Connect the
AOUTpin to an analog input pin (e.g., A0) on your microcontroller.
- Connect the
Calibrate the Sensor:
- Use standard pH buffer solutions (e.g., pH 4.0, pH 7.0) to calibrate the sensor.
- Follow the manufacturer's instructions for calibration, which typically involves adjusting a potentiometer on the sensor module.
Read the pH Value:
- The sensor outputs an analog voltage proportional to the pH value.
- Use an analog-to-digital converter (ADC) on your microcontroller to read the voltage and map it to the corresponding pH value.
Important Considerations and Best Practices
- Calibration: Regularly calibrate the sensor to maintain accuracy, especially if used frequently or in varying conditions.
- Temperature Compensation: The sensor's accuracy may vary with temperature. Use a temperature sensor for compensation if precise measurements are required.
- Sensor Maintenance: Clean the sensor probe with distilled water after each use to prevent contamination and ensure longevity.
- Avoid Prolonged Immersion: Do not leave the sensor in soil or water for extended periods, as this may degrade the probe.
Example Code for Arduino UNO
// Soil pH Sensor Example Code for Arduino UNO
// This code reads the analog output from the sensor and converts it to a pH value.

const int sensorPin = A0; // Analog pin connected to the sensor's AOUT pin
float voltage;            // Variable to store the sensor's output voltage
float pHValue;            // Variable to store the calculated pH value

void setup() {
  Serial.begin(9600); // Initialize serial communication at 9600 baud
  pinMode(sensorPin, INPUT); // Set the sensor pin as input
}

void loop() {
  // Read the analog value from the sensor
  int sensorValue = analogRead(sensorPin);

  // Convert the analog value to voltage (assuming 5V reference voltage)
  voltage = sensorValue * (5.0 / 1023.0);

  // Convert the voltage to pH value (calibration may be required)
  // Example formula: pH = 3.5 * voltage (adjust based on your sensor's datasheet)
  pHValue = 3.5 * voltage;

  // Print the pH value to the Serial Monitor
  Serial.print("pH Value: ");
  Serial.println(pHValue);

  delay(1000); // Wait for 1 second before the next reading
}
Troubleshooting and FAQs
Common Issues and Solutions
Inaccurate Readings:
- Cause: Sensor not calibrated.
- Solution: Calibrate the sensor using standard pH buffer solutions.
No Output or Fluctuating Values:
- Cause: Loose or incorrect wiring.
- Solution: Check all connections and ensure the sensor is properly connected to the microcontroller.
Sensor Probe Degradation:
- Cause: Prolonged exposure to soil or water.
- Solution: Clean the probe after each use and avoid leaving it immersed for long periods.
Temperature-Dependent Variations:
- Cause: Sensor not compensated for temperature changes.
- Solution: Use a temperature sensor for compensation or perform measurements at a consistent temperature.
FAQs
Q: How often should I calibrate the sensor?
A: It is recommended to calibrate the sensor before each use or at least once a week for frequent use.Q: Can the sensor measure pH in liquids?
A: Yes, but ensure the sensor is designed for liquid use and clean it thoroughly after immersion.Q: What is the lifespan of the sensor probe?
A: The lifespan varies depending on usage and maintenance but typically ranges from 6 months to 1 year.Q: Can I use this sensor with a 3.3V microcontroller?
A: Yes, the sensor operates within a voltage range of 3.3V to 5V. Ensure proper calibration for accurate readings.