How to Use uMFPU: Examples, Pinouts, and Specs

 Design with uMFPU in Cirkit Designer
Introduction
The uMFPU (microcontroller Floating-Point Unit) is an integrated hardware component designed to enhance the computational capabilities of microcontrollers by performing floating-point arithmetic operations with high precision. This component is particularly useful in applications that require complex mathematical calculations such as digital signal processing, scientific computations, and control systems.
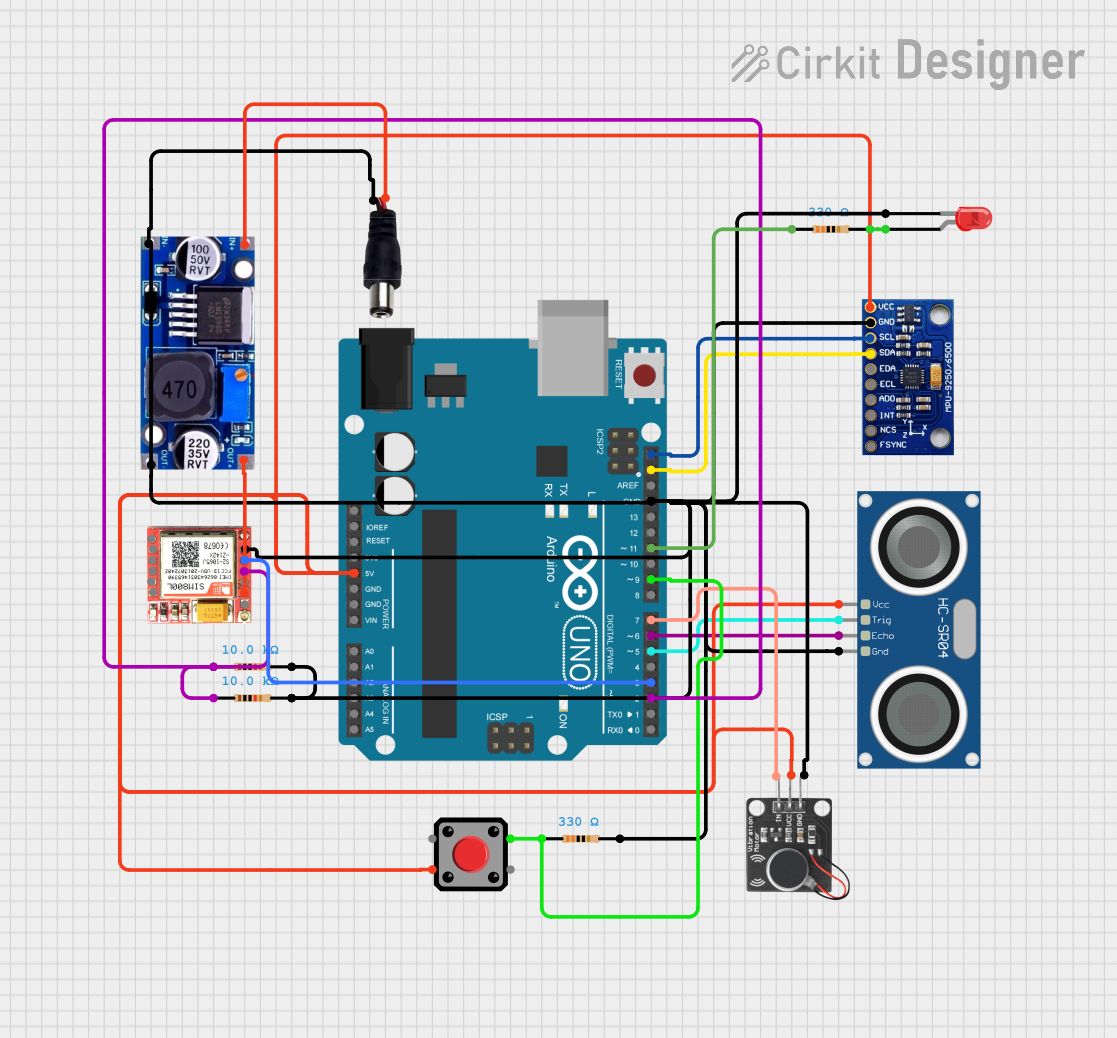
Explore Projects Built with uMFPU

 Open Project in Cirkit Designer
 Open Project in Cirkit Designer
 Open Project in Cirkit Designer
 Open Project in Cirkit Designer
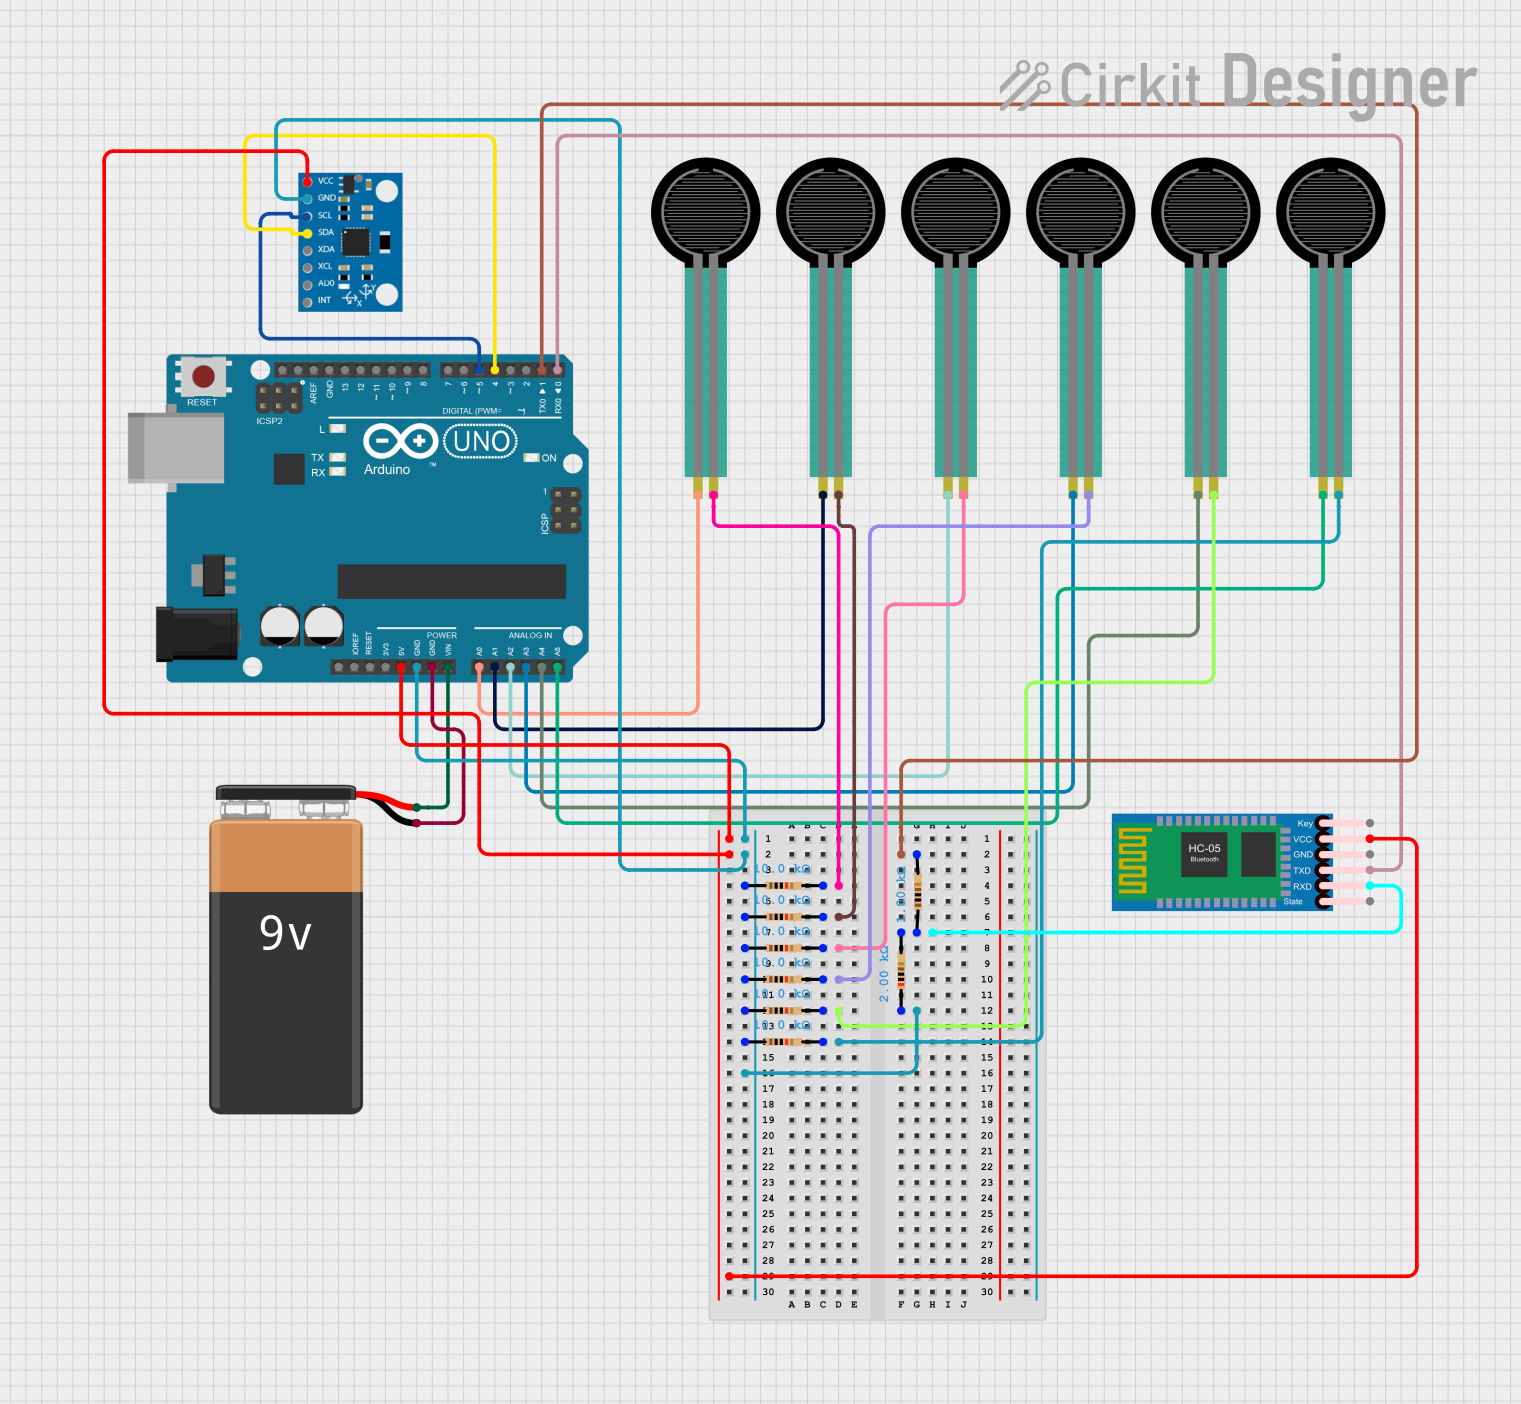
Explore Projects Built with uMFPU

 Open Project in Cirkit Designer
 Open Project in Cirkit Designer
 Open Project in Cirkit Designer
 Open Project in Cirkit Designer
Common Applications and Use Cases
- Robotics: for precise motor control and kinematics calculations.
- Scientific instrumentation: for data analysis and complex calculations.
- Aerospace: for navigation and control systems requiring high precision.
- Audio processing: for effects and signal manipulation.
Technical Specifications
Key Technical Details
- Voltage Ratings: 3.3V to 5V operation
- Current Consumption: Typically 5mA (depends on operation frequency)
- Precision: Supports single-precision floating-point format
- Performance: Capable of executing a floating-point operation in microseconds range
Pin Configuration and Descriptions
| Pin Number | Name | Description |
|---|---|---|
| 1 | VDD | Power supply voltage (3.3V - 5V) |
| 2 | GND | Ground connection |
| 3 | RXD | Serial receive data input |
| 4 | TXD | Serial transmit data output |
| 5 | CLK | External clock input (optional) |
| 6 | RST | Reset input (active low) |
Usage Instructions
How to Use the uMFPU in a Circuit
- Power Supply: Connect the VDD pin to a 3.3V or 5V power source and the GND pin to the ground.
- Serial Communication: Connect the RXD and TXD pins to the microcontroller's TX and RX pins, respectively, for serial communication.
- Clock (Optional): If an external clock source is used, connect it to the CLK pin. Otherwise, the uMFPU can use its internal oscillator.
- Reset: Connect the RST pin to a digital output on your microcontroller to control the reset function programmatically.
Important Considerations and Best Practices
- Ensure that the power supply voltage is within the specified range to prevent damage.
- Use decoupling capacitors close to the VDD and GND pins to filter out noise.
- When using serial communication, ensure that the baud rate of the microcontroller matches that of the uMFPU.
- Implement proper error handling in your code to manage any communication errors with the uMFPU.
Example Code for Arduino UNO
#include <SoftwareSerial.h>

// Define the RX and TX pins connected to the uMFPU
#define uMFPU_RX 10
#define uMFPU_TX 11

// Initialize the software serial port
SoftwareSerial uMFPU_Serial(uMFPU_RX, uMFPU_TX);

void setup() {
  // Start the serial communication with the uMFPU at 9600 baud
  uMFPU_Serial.begin(9600);
  // Start the hardware serial port for debugging
  Serial.begin(9600);
}

void loop() {
  // Example: Send a command to the uMFPU to perform a calculation
  uMFPU_Serial.println("ADD 3.14, 2.72"); // Add two floating-point numbers

  // Wait for the response from the uMFPU
  if (uMFPU_Serial.available()) {
    String result = uMFPU_Serial.readStringUntil('\n');
    // Print the result to the hardware serial port
    Serial.println("Result: " + result);
  }

  // Add a delay between calculations
  delay(1000);
}
Troubleshooting and FAQs
Common Issues Users Might Face
- Incorrect Results: Ensure that the commands sent to the uMFPU are correctly formatted and that the serial communication parameters match.
- No Response: Check the wiring, especially the RX and TX connections. Verify that the uMFPU is powered correctly and that the reset pin is not being held low.
- Unexpected Resets: Make sure that the RST pin is not being inadvertently triggered by noise or incorrect signals from the microcontroller.
Solutions and Tips for Troubleshooting
- Use a logic analyzer or oscilloscope to monitor the serial communication and verify that the data is being transmitted and received correctly.
- Implement a timeout mechanism in your code to handle cases where the uMFPU does not respond within a reasonable time frame.
- Check for proper grounding and power supply stability to ensure reliable operation of the uMFPU.
FAQs
Q: Can the uMFPU be used with any microcontroller? A: Yes, as long as the microcontroller supports serial communication and operates within the voltage range of the uMFPU.
Q: Does the uMFPU support double-precision floating-point operations? A: No, the uMFPU is designed to support single-precision floating-point operations for efficiency and speed.
Q: How can I reset the uMFPU? A: You can reset the uMFPU by pulling the RST pin low. This can be done programmatically from a digital output pin on your microcontroller.
Q: What is the maximum baud rate for serial communication with the uMFPU? A: The maximum baud rate depends on the specific model of the uMFPU and the accuracy of the internal oscillator. Refer to the datasheet for the maximum supported baud rate.