
How to Use 1:10 spl: Examples, Pinouts, and Specs
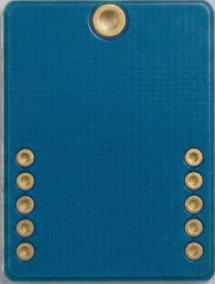
 Design with 1:10 spl in Cirkit Designer
Introduction
- The 1:10 SPL (Sound Pressure Level) is a measurement tool used in audio engineering to evaluate the ratio of sound pressure levels. It is commonly expressed in decibels (dB) and is used to determine the loudness of sound relative to a reference level.
- This component is widely used in applications such as audio system calibration, noise level monitoring, and acoustic analysis. It is essential for professionals working in sound design, recording studios, and environmental noise assessment.
Explore Projects Built with 1:10 spl
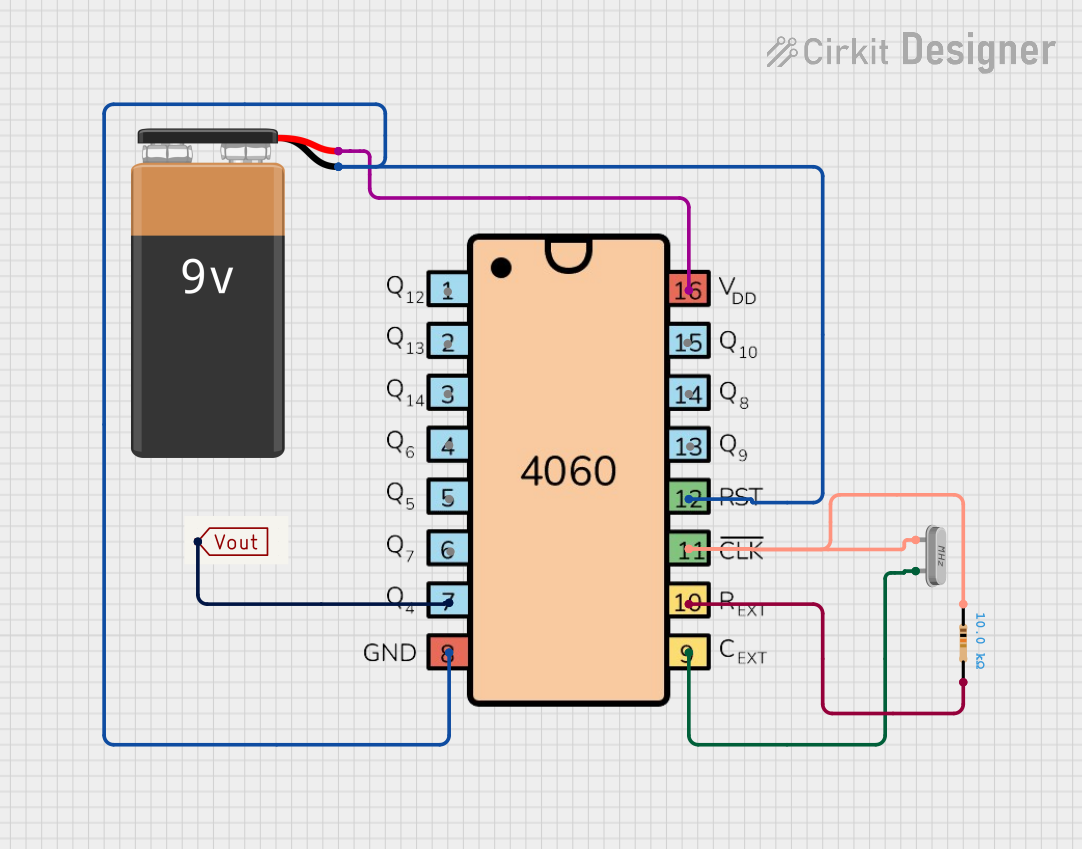 Open Project in Cirkit Designer
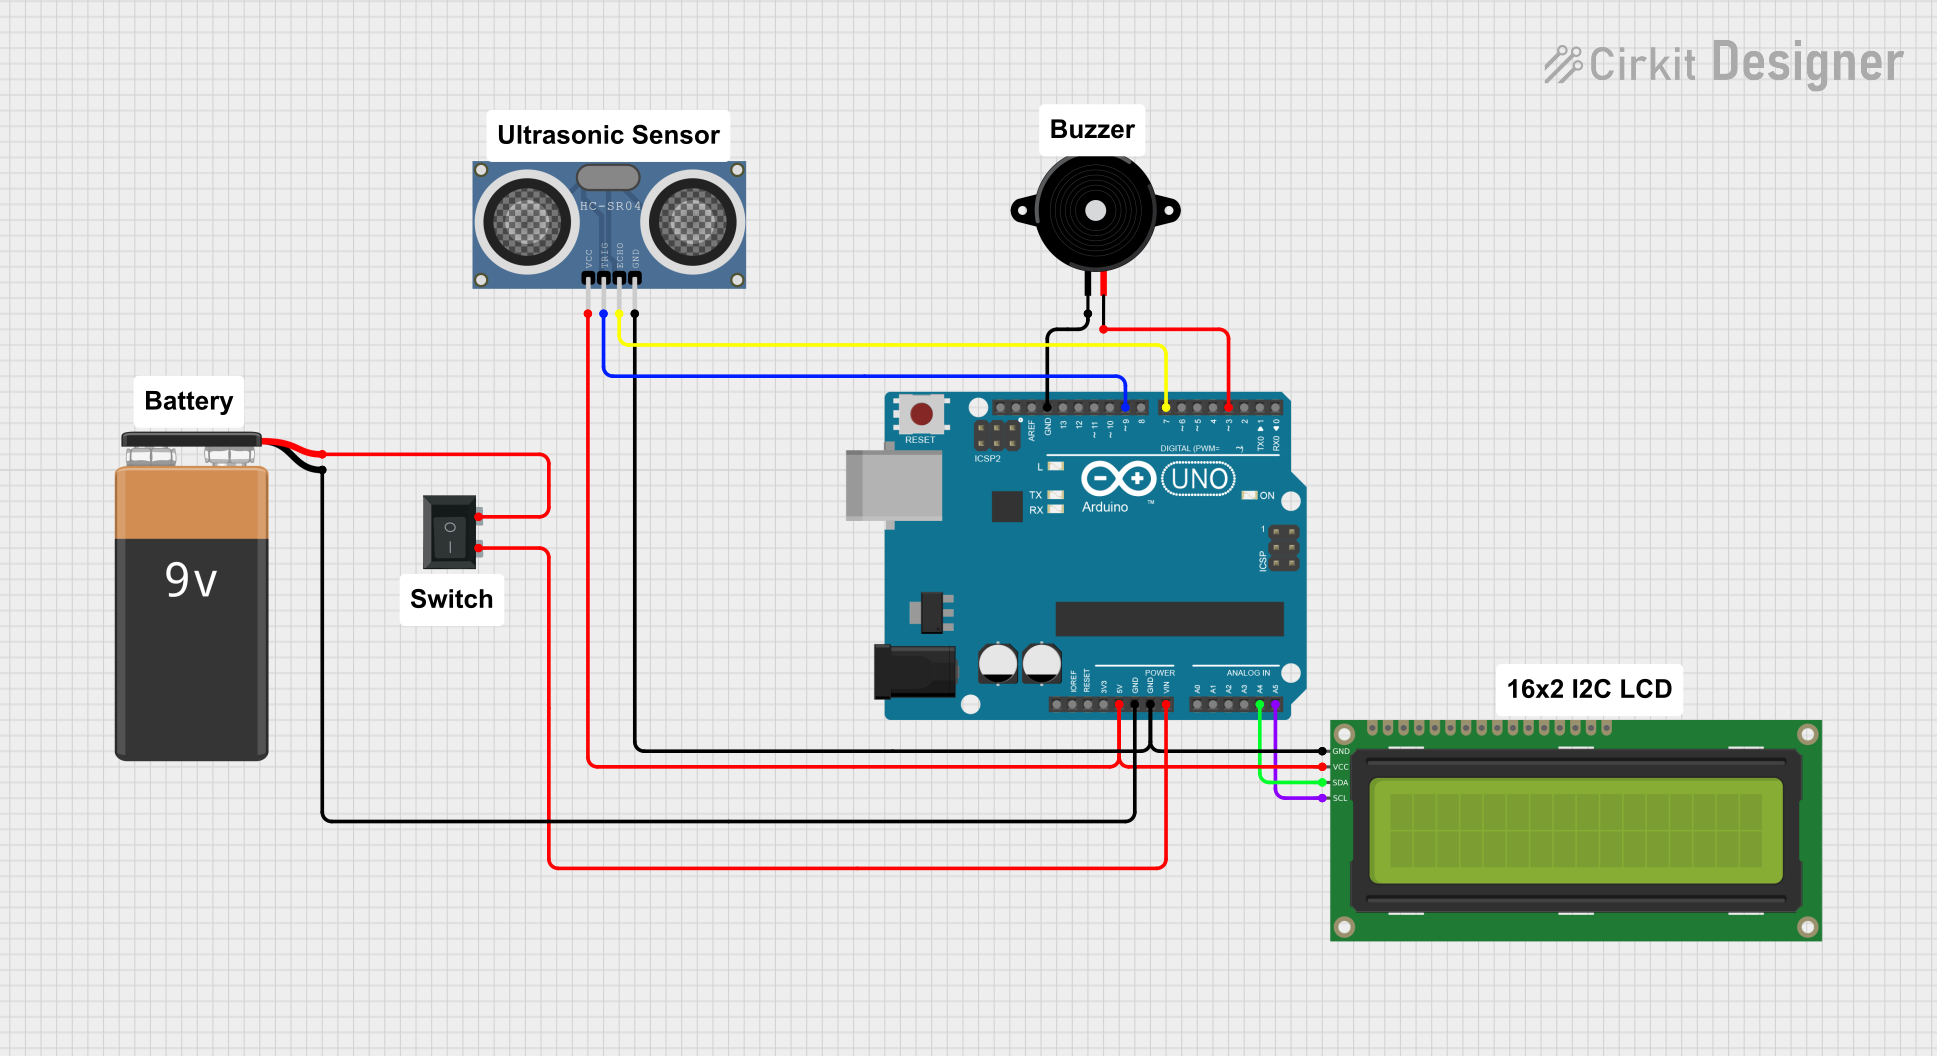 Open Project in Cirkit Designer
 Open Project in Cirkit Designer
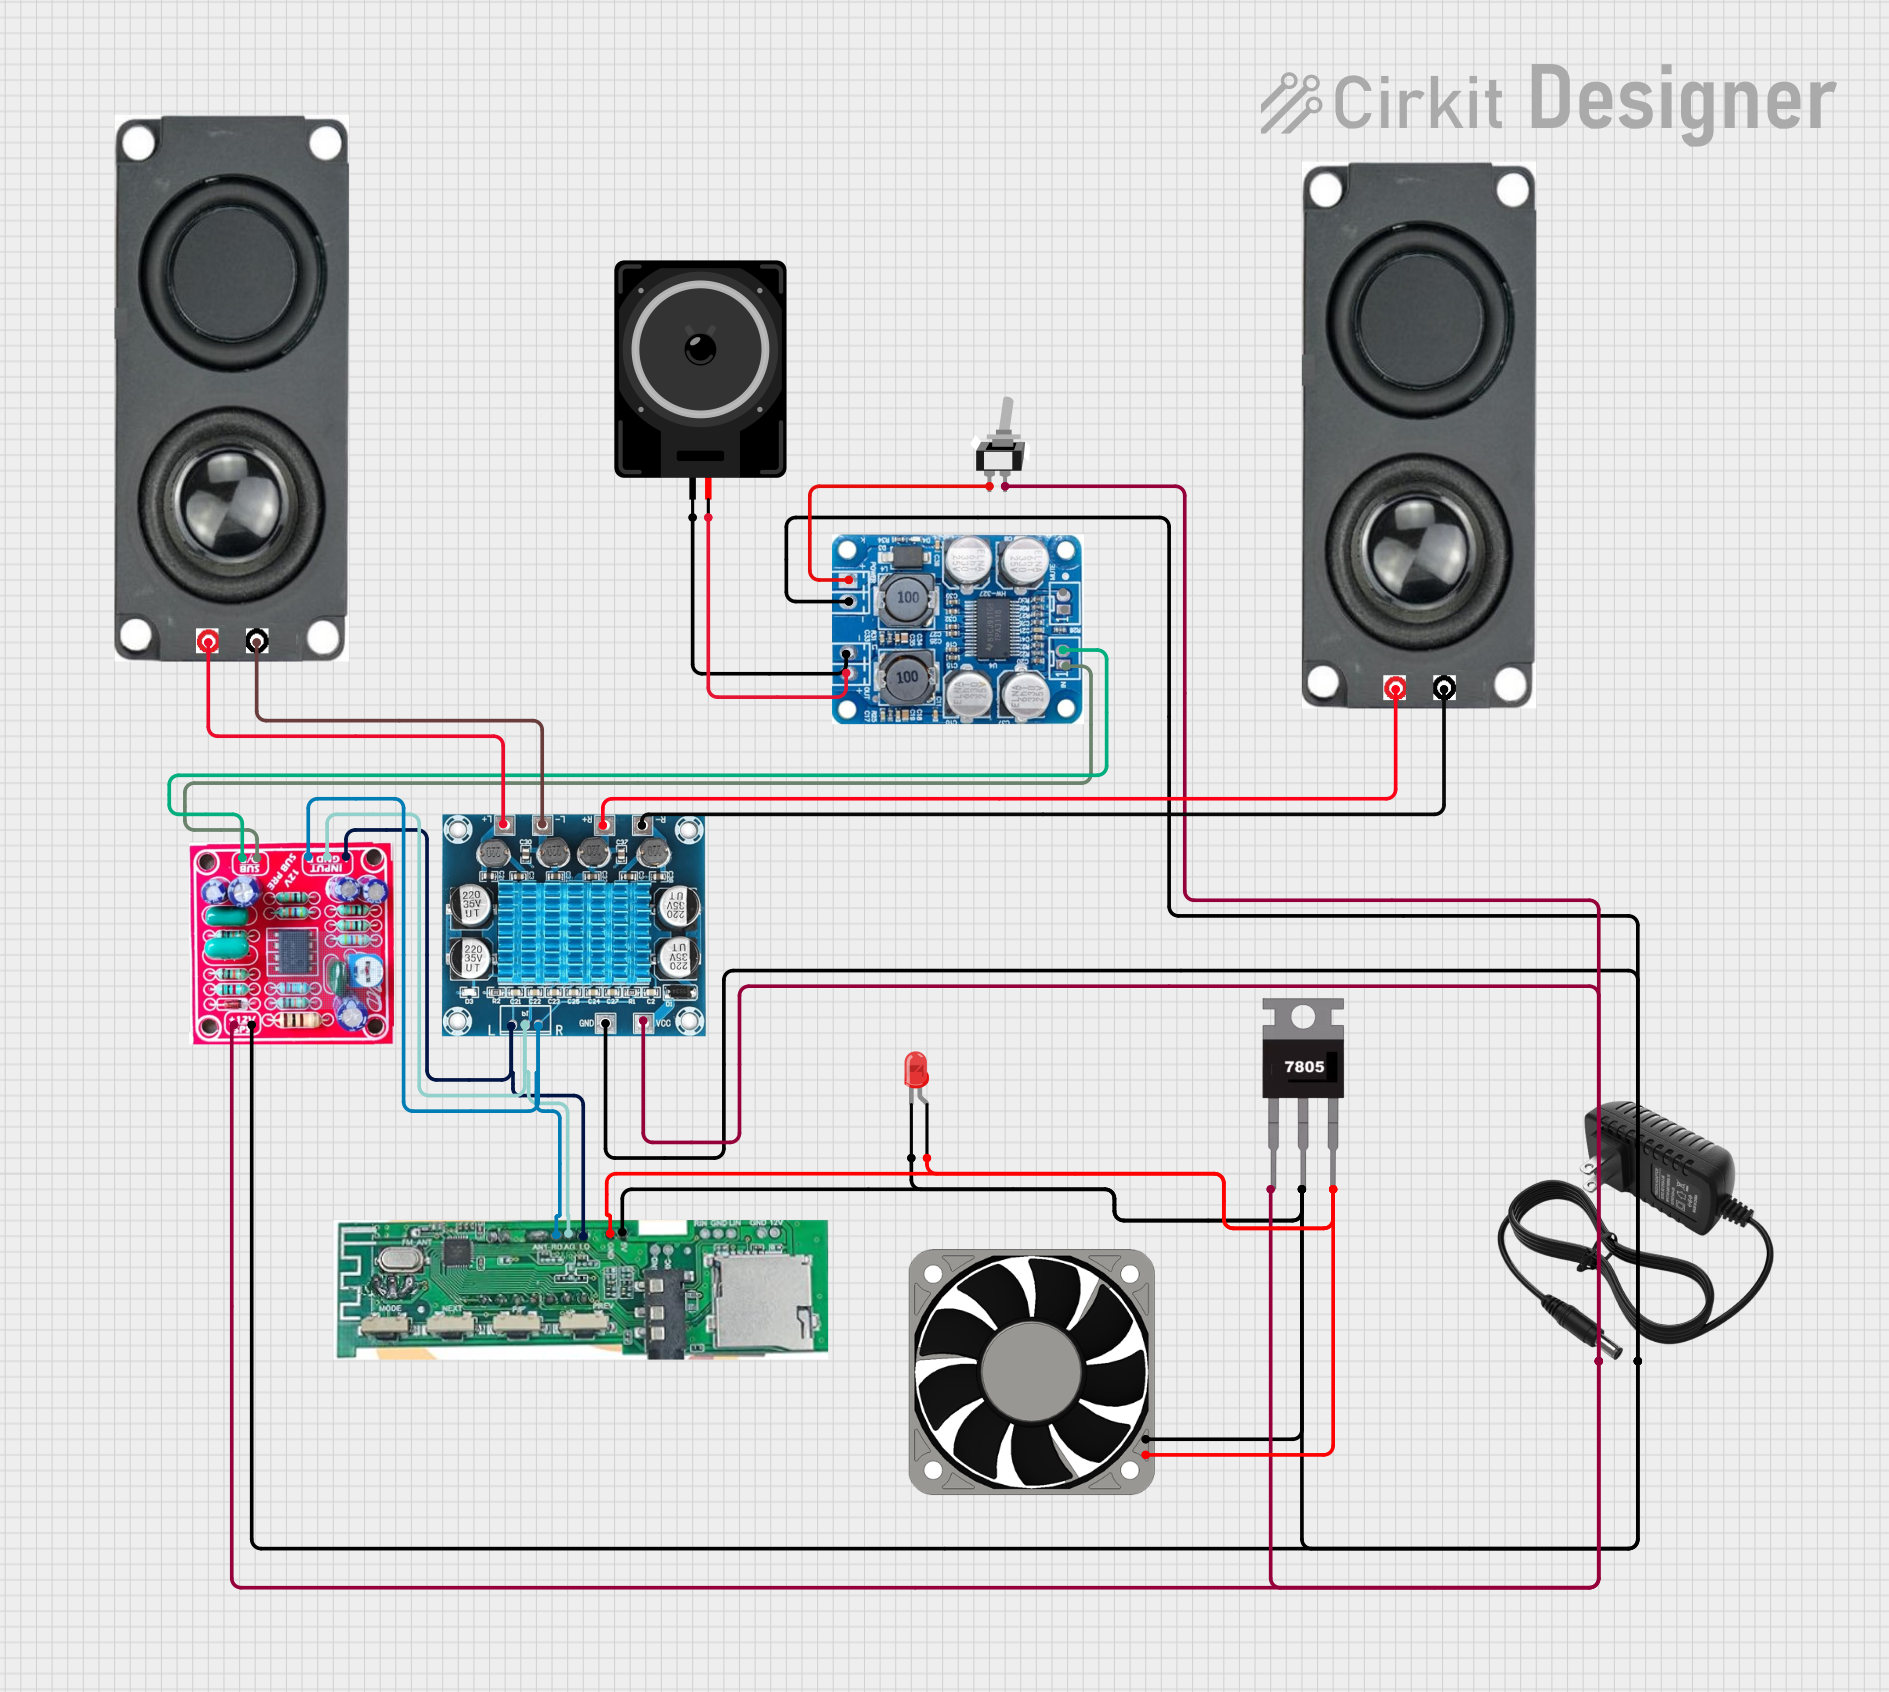 Open Project in Cirkit Designer
Explore Projects Built with 1:10 spl
Open Project in Cirkit DesignerOpen Project in Cirkit DesignerOpen Project in Cirkit DesignerOpen Project in Cirkit DesignerTechnical Specifications
- Measurement Ratio: 1:10 (indicating a tenfold increase in sound pressure level)
- Reference Level: Typically 20 µPa (micro Pascals), which is the standard threshold of human hearing.
- Output Format: Decibels (dB)
- Frequency Range: 20 Hz to 20 kHz (human audible range)
- Accuracy: ±1 dB
- Power Supply: 3.3V to 5V (if used with electronic circuits)
- Operating Temperature: -10°C to 50°C
Pin Configuration and Descriptions
If the 1:10 SPL is integrated into an electronic module, the pin configuration may look like this:
| Pin Name | Description |
|---|---|
| VCC | Power supply input (3.3V to 5V) |
| GND | Ground connection |
| OUT | Analog output signal (proportional to SPL) |
| NC | Not connected (if applicable) |
Usage Instructions
Using the 1:10 SPL in a Circuit:
- Connect the VCC pin to a 3.3V or 5V power source.
- Connect the GND pin to the ground of your circuit.
- The OUT pin provides an analog signal proportional to the measured SPL. Connect this pin to an analog input on a microcontroller (e.g., Arduino UNO) or an oscilloscope for monitoring.
Important Considerations:
- Ensure the component is placed in an environment free from excessive vibrations or interference to maintain accurate readings.
- Avoid exposing the component to extreme temperatures or humidity, as this may affect its performance.
- Calibrate the SPL measurement system periodically to ensure accuracy.
Arduino UNO Example Code: Below is an example of how to read the SPL value using an Arduino UNO:
// Define the analog pin connected to the SPL module const int SPLPin = A0; void setup() { Serial.begin(9600); // Initialize serial communication at 9600 baud pinMode(SPLPin, INPUT); // Set the SPL pin as input } void loop() { int analogValue = analogRead(SPLPin); // Read the analog value from the SPL module float voltage = analogValue * (5.0 / 1023.0); // Convert the analog value to voltage float SPL_dB = 20 * log10(voltage / 0.00002); // Calculate SPL in decibels (dB) using the reference level of 20 µPa Serial.print("SPL (dB): "); Serial.println(SPL_dB); // Print the SPL value to the serial monitor delay(500); // Wait for 500 milliseconds before the next reading }Note: The formula used in the code assumes a direct relationship between the voltage and sound pressure level. Adjust the formula based on the specific characteristics of your SPL module.
Troubleshooting and FAQs
Issue: The SPL readings are inconsistent or fluctuate significantly.
- Solution: Ensure the module is not exposed to vibrations or electrical noise. Use proper shielding and grounding techniques.
Issue: The SPL module outputs no signal.
- Solution: Verify the power supply connections and ensure the module is receiving the correct voltage. Check for loose or damaged wires.
Issue: The SPL readings are too low or too high.
- Solution: Calibrate the system using a known sound source and adjust the calculation formula in the code if necessary.
FAQ: Can the 1:10 SPL module measure ultrasonic frequencies?
- Answer: No, the module is designed to measure sound within the human audible range (20 Hz to 20 kHz).
FAQ: How do I calibrate the SPL module?
- Answer: Use a reference sound source with a known SPL value and adjust the system's gain or calculation formula to match the expected output.
By following this documentation, users can effectively integrate and utilize the 1:10 SPL component in their audio measurement and analysis projects.