Cirkit Designer Logo
Cirkit Designer
Your all-in-one circuit design IDE
Home / 
Component Documentation

How to Use Capacitive Sensor: Examples, Pinouts, and Specs

Image of Capacitive Sensor
Cirkit Designer LogoDesign with Capacitive Sensor in Cirkit Designer

Introduction

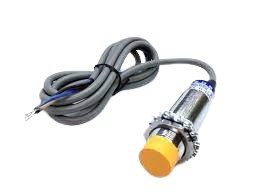
A capacitive sensor is an electronic device designed to detect the presence or proximity of objects through changes in capacitance. These sensors are widely used in various applications such as touch screens, level sensing, material handling, and proximity detection. They are favored for their non-contact detection capability, which allows for the sensing of different types of materials including metals, liquids, and human tissue.

Explore Projects Built with Capacitive Sensor

Use Cirkit Designer to design, explore, and prototype these projects online. Some projects support real-time simulation. Click "Open Project" to start designing instantly!
Arduino UNO Capacitive Touch Sensor Interface
Image of P7Ej2: A project utilizing Capacitive Sensor in a practical application
This circuit consists of an Arduino UNO microcontroller connected to a capacitive touch sensor. The sensor's VCC and GND pins are powered by the Arduino's 5V and GND pins, respectively, and the sensor's output is connected to the Arduino's digital pin D10. The Arduino can read touch inputs from the sensor to perform various actions based on the provided code.
Cirkit Designer LogoOpen Project in Cirkit Designer
Capacitive Touch and Ultrasonic Sensor Interface with Adafruit Feather nRF52840 Sense
Image of Senior Design Project: A project utilizing Capacitive Sensor in a practical application
This circuit features an Adafruit Feather nRF52840 Sense microcontroller connected to an ultrasonic sensor for distance measurement and an Adafruit AT42QT1010 capacitive touch sensor for touch input. The ultrasonic sensor's Trigger and Echo pins are interfaced with the microcontroller's digital pins D6 and D9, respectively, to send and receive ultrasonic signals. Additionally, a pressure-sensitive conductive sheet (Velostat) is connected in series with a 10k Ohm resistor to the microcontroller's analog pin A0, likely forming a pressure sensor.
Cirkit Designer LogoOpen Project in Cirkit Designer
Arduino UNO Touch Sensor Interface
Image of P7Ej3: A project utilizing Capacitive Sensor in a practical application
This circuit consists of an Arduino UNO microcontroller connected to a capacitive touch sensor. The sensor's VCC and GND pins are connected to the 5V and GND pins of the Arduino, respectively, while the sensor's output pin is connected to digital pin D10 on the Arduino. The setup is designed to detect touch inputs via the sensor and process them using the Arduino.
Cirkit Designer LogoOpen Project in Cirkit Designer
Arduino UNO Capacitive Proximity Sensor Object Detection System
Image of TestingNi: A project utilizing Capacitive Sensor in a practical application
This circuit uses an Arduino UNO to read signals from a capacitive proximity sensor, powered by a 2.1mm barrel jack. The sensor's signal is processed by the Arduino, which determines if an object is detected and outputs the result to the Serial Monitor.
Cirkit Designer LogoOpen Project in Cirkit Designer

Explore Projects Built with Capacitive Sensor

Use Cirkit Designer to design, explore, and prototype these projects online. Some projects support real-time simulation. Click "Open Project" to start designing instantly!
Image of P7Ej2: A project utilizing Capacitive Sensor in a practical application
Arduino UNO Capacitive Touch Sensor Interface
This circuit consists of an Arduino UNO microcontroller connected to a capacitive touch sensor. The sensor's VCC and GND pins are powered by the Arduino's 5V and GND pins, respectively, and the sensor's output is connected to the Arduino's digital pin D10. The Arduino can read touch inputs from the sensor to perform various actions based on the provided code.
Cirkit Designer LogoOpen Project in Cirkit Designer
Image of Senior Design Project: A project utilizing Capacitive Sensor in a practical application
Capacitive Touch and Ultrasonic Sensor Interface with Adafruit Feather nRF52840 Sense
This circuit features an Adafruit Feather nRF52840 Sense microcontroller connected to an ultrasonic sensor for distance measurement and an Adafruit AT42QT1010 capacitive touch sensor for touch input. The ultrasonic sensor's Trigger and Echo pins are interfaced with the microcontroller's digital pins D6 and D9, respectively, to send and receive ultrasonic signals. Additionally, a pressure-sensitive conductive sheet (Velostat) is connected in series with a 10k Ohm resistor to the microcontroller's analog pin A0, likely forming a pressure sensor.
Cirkit Designer LogoOpen Project in Cirkit Designer
Image of P7Ej3: A project utilizing Capacitive Sensor in a practical application
Arduino UNO Touch Sensor Interface
This circuit consists of an Arduino UNO microcontroller connected to a capacitive touch sensor. The sensor's VCC and GND pins are connected to the 5V and GND pins of the Arduino, respectively, while the sensor's output pin is connected to digital pin D10 on the Arduino. The setup is designed to detect touch inputs via the sensor and process them using the Arduino.
Cirkit Designer LogoOpen Project in Cirkit Designer
Image of TestingNi: A project utilizing Capacitive Sensor in a practical application
Arduino UNO Capacitive Proximity Sensor Object Detection System
This circuit uses an Arduino UNO to read signals from a capacitive proximity sensor, powered by a 2.1mm barrel jack. The sensor's signal is processed by the Arduino, which determines if an object is detected and outputs the result to the Serial Monitor.
Cirkit Designer LogoOpen Project in Cirkit Designer

Technical Specifications

Key Technical Details

  • Operating Voltage: Typically 2.0V to 5.5V
  • Sensing Distance: Varies with sensor size and design, often up to several centimeters
  • Output Type: Digital (high/low) or analog (varying voltage)
  • Response Time: Ranges from microseconds to milliseconds
  • Temperature Range: Usually -40°C to +85°C for industrial-grade sensors

Pin Configuration and Descriptions

Pin Number Name Description
1 Vcc Power supply input, typically between 2.0V and 5.5V
2 OUT Output signal, can be digital or analog depending on the sensor
3 GND Ground connection

Usage Instructions

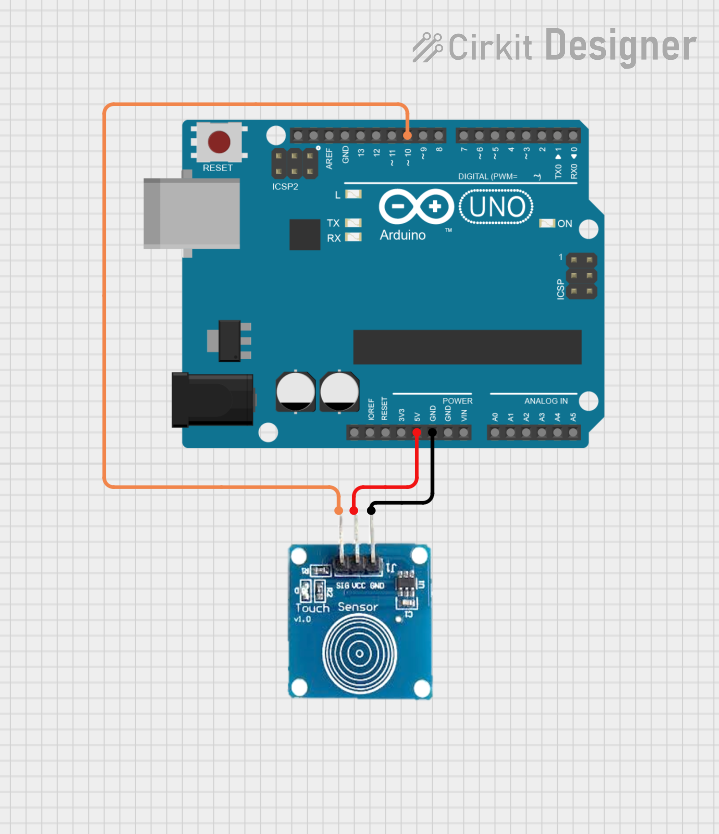
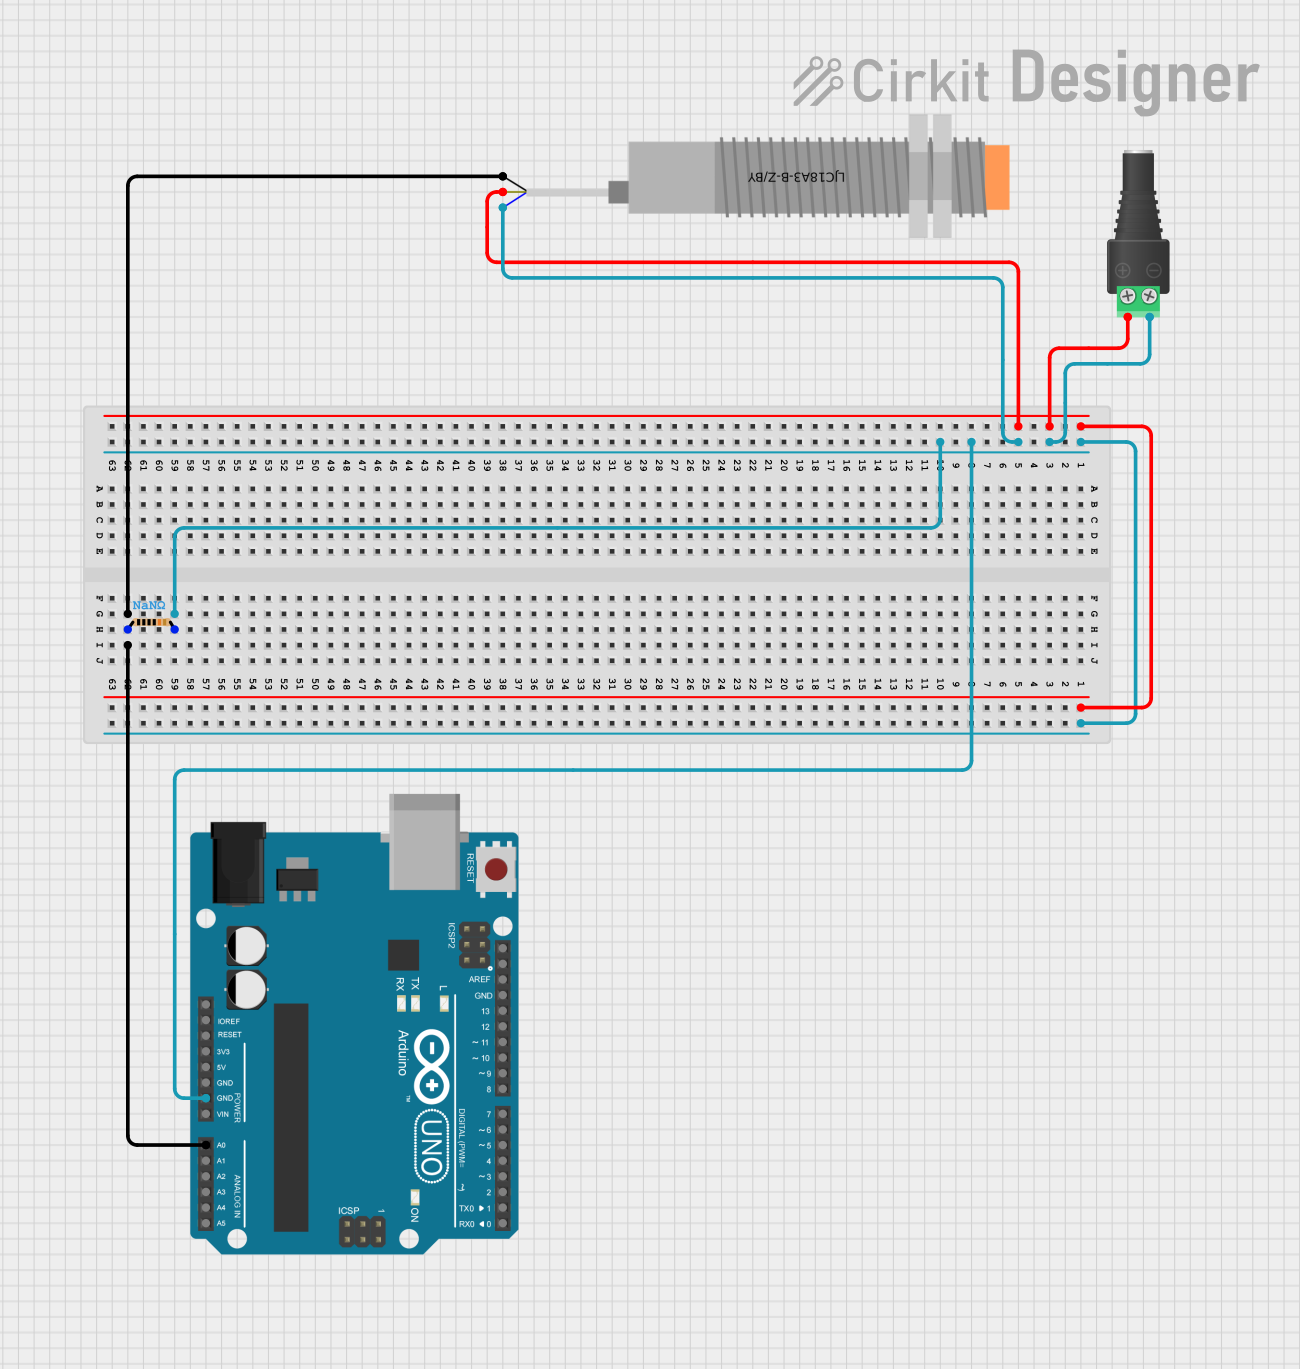
How to Use the Capacitive Sensor in a Circuit

  1. Power Supply: Connect the Vcc pin to a power source within the sensor's operating voltage range.
  2. Ground: Connect the GND pin to the ground of the circuit.
  3. Output Signal: Connect the OUT pin to the input pin of a microcontroller or to the base of a transistor for switching applications.

Important Considerations and Best Practices

  • Calibration: Some capacitive sensors require calibration to set the initial capacitance level as a baseline for detection.
  • Environment: Avoid placing the sensor near objects that may cause interference, such as metals or electronic devices.
  • Mounting: Ensure the sensor is securely mounted and that the sensitive area is not obstructed.
  • Shielding: Use appropriate shielding to minimize the effects of electromagnetic interference (EMI).

Example Connection with Arduino UNO

// Include the CapacitiveSensor library
#include <CapacitiveSensor.h>

// Create a capacitive sensor instance
// First pin is the send pin, second pin is the sensor pin
CapacitiveSensor capSensor = CapacitiveSensor(4, 2);

void setup() {
  // Initialize serial communication
  Serial.begin(9600);
}

void loop() {
  // Use the capacitive sensor to sense for proximity
  long sensorValue = capSensor.capacitiveSensor(30);

  // Print the sensor value to the serial monitor
  Serial.println(sensorValue);

  // Add a delay between readings
  delay(100);
}

Troubleshooting and FAQs

Common Issues

  • Inconsistent Readings: Ensure that the sensor is not affected by environmental factors or interference from nearby electronic devices.
  • No Response: Check the power supply and connections to ensure the sensor is properly powered and connected.
  • False Triggering: Adjust the sensor's sensitivity or recalibrate if necessary to avoid false detections.

Solutions and Tips for Troubleshooting

  • Calibration: Follow the manufacturer's instructions for calibrating the sensor.
  • Wiring: Double-check all connections and ensure there are no loose wires or cold solder joints.
  • Code: Verify that the code uploaded to the microcontroller is correct and that there are no syntax errors.

FAQs

Q: Can a capacitive sensor detect non-conductive materials? A: Yes, capacitive sensors can detect both conductive and non-conductive materials, including liquids and human tissue.

Q: What is the maximum sensing distance for a capacitive sensor? A: The sensing distance varies depending on the sensor's size and design but can range up to several centimeters.

Q: How can I increase the sensitivity of my capacitive sensor? A: Sensitivity can often be increased by adjusting the sensor's calibration settings or by changing the sensor's design to have a larger sensing area.

Q: Can capacitive sensors work through materials? A: Yes, capacitive sensors can detect objects through non-conductive materials, such as plastic or glass, depending on the thickness and dielectric constant of the material.

This documentation provides a comprehensive overview of capacitive sensors, their technical specifications, usage instructions, and troubleshooting tips. For further assistance, consult the manufacturer's datasheet or contact technical support.