How to Use Adafruit PN532 NFC RFID Controller Shield: Examples, Pinouts, and Specs
Introduction
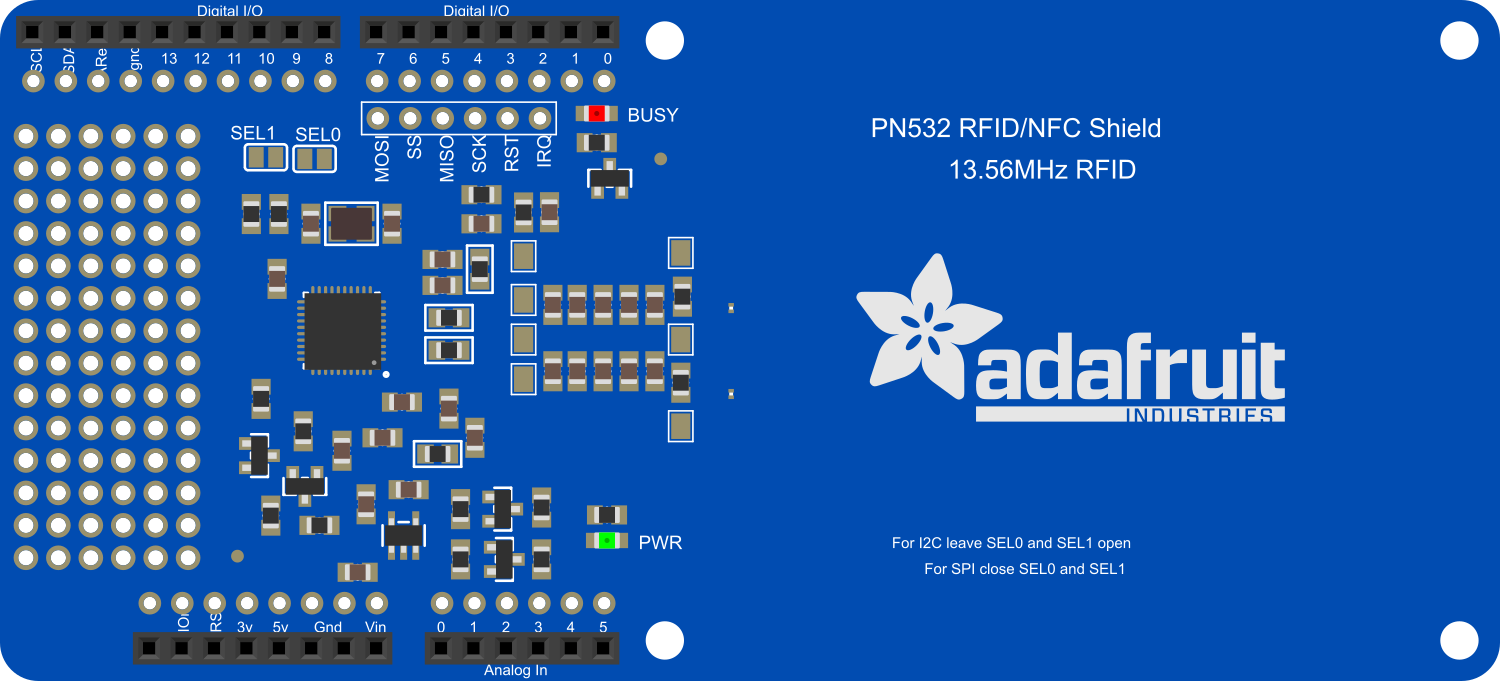
The Adafruit PN532 NFC RFID Controller Shield is a highly integrated board designed for near-field communication (NFC) and radio-frequency identification (RFID) applications. It is based on the popular NXP PN532 chip and can be used to read and write NFC and RFID tags. This shield supports several protocols, including ISO/IEC 14443 A and B, FeliCa, and ISO/IEC 15693, making it suitable for a wide range of applications such as contactless payment systems, access control, and personal identification.
Explore Projects Built with Adafruit PN532 NFC RFID Controller Shield

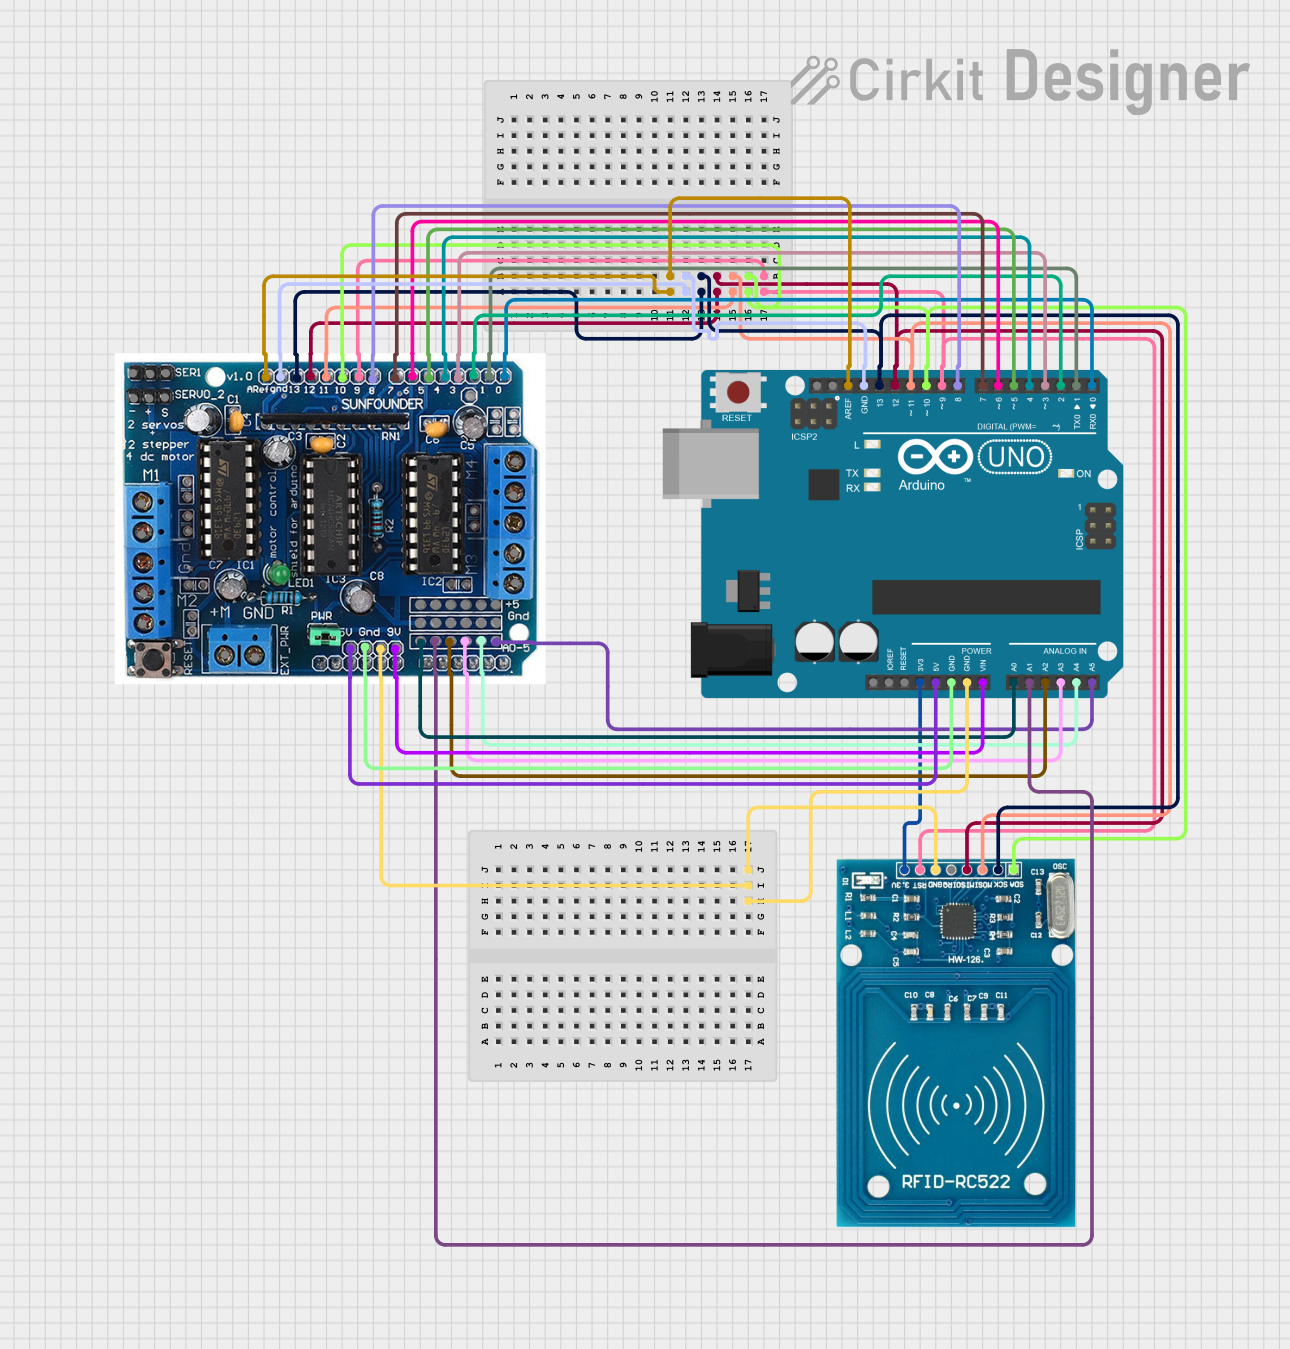

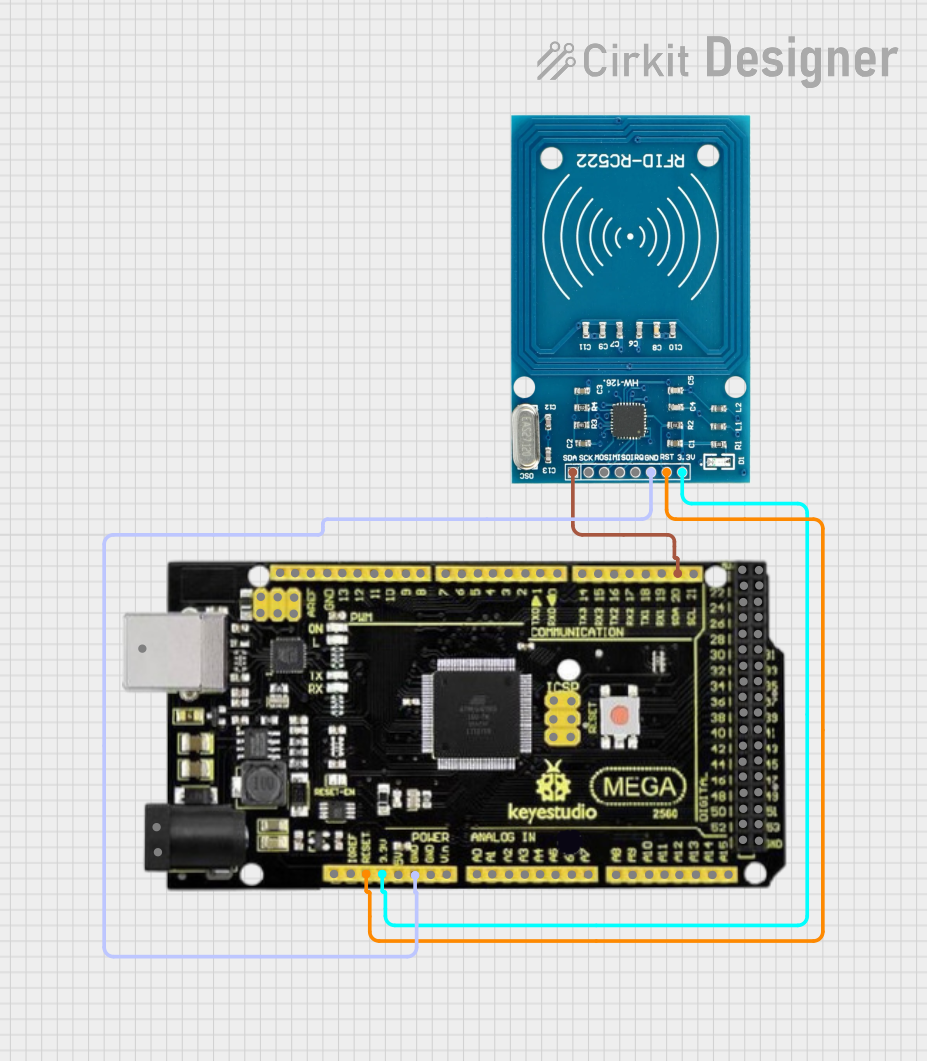
Explore Projects Built with Adafruit PN532 NFC RFID Controller Shield
Common Applications and Use Cases
- Contactless payment systems
- Access control and security systems
- NFC-enabled device pairing
- RFID tag reading and writing for inventory management
- Personal identification and smart cards
Technical Specifications
Key Technical Details
- Operating Voltage: 3.3V to 5V
- Frequency: 13.56MHz
- Interfaces: I2C, SPI, and HSU (High-Speed UART)
- Max Operating Distance: Up to 7cm (for ISO/IEC 14443 A / MIFARE cards)
- Integrated Antenna: Onboard antenna for easy integration
Pin Configuration and Descriptions
| Pin Number | Name | Description |
|---|---|---|
| 1 | SDA | Serial Data for I2C communication |
| 2 | SCL | Serial Clock for I2C communication |
| 3 | MOSI | Master Out Slave In for SPI communication |
| 4 | MISO | Master In Slave Out for SPI communication |
| 5 | SCK | Serial Clock for SPI communication |
| 6 | IRQ | Interrupt Request, active LOW |
| 7 | RSTO | Reset Output from PN532 to external MCU, active LOW |
| 8 | GND | Ground |
| 9 | 5V | 5V Power Supply |
| 10 | 3V | 3.3V Power Supply |
Usage Instructions
How to Use the Component in a Circuit
- Powering the Shield: Connect the 5V and GND pins to the corresponding power and ground pins on the Arduino UNO.
- Communication Interface: Choose between I2C, SPI, or HSU for communication and connect the respective pins to the Arduino UNO.
- Library Installation: Install the Adafruit PN532 library via the Arduino Library Manager.
- Initialization: Initialize the shield in your code using the appropriate interface method provided by the library.
Important Considerations and Best Practices
- Ensure that the power supply is stable and within the specified voltage range.
- When using SPI or I2C, remember to use pull-up resistors if required.
- Place the shield away from metal surfaces to avoid interference with the antenna.
- For optimal performance, ensure that the tags are within the maximum operating distance.
Example Code for Arduino UNO
#include <Wire.h>
#include <Adafruit_PN532.h>

// If using the I2C interface, use the following line:
Adafruit_PN532 nfc(PN532_SDA, PN532_SCL);

void setup(void) {
  Serial.begin(115200);
  Serial.println("Hello! Scan a NFC tag!");
  nfc.begin();

  uint32_t versiondata = nfc.getFirmwareVersion();
  if (!versiondata) {
    Serial.print("Didn't find PN53x board");
    while (1); // halt
  }

  // Configure board to read RFID tags
  nfc.SAMConfig();
}

void loop(void) {
  uint8_t success;
  uint8_t uid[] = { 0, 0, 0, 0, 0, 0, 0 }; // Buffer to store the returned UID
  uint8_t uidLength; // Length of the UID (4 or 7 bytes depending on ISO14443A card type)

  // Wait for an ISO14443A type card (Mifare, etc.). When one is found, 'uid' will be populated
  success = nfc.readPassiveTargetID(PN532_MIFARE_ISO14443A, uid, &uidLength);

  if (success) {
    // Display some basic information about the card
    Serial.println("Found an ISO14443A card");
    Serial.print("UID Length: ");Serial.print(uidLength, DEC);Serial.println(" bytes");
    Serial.print("UID Value: ");
    for (uint8_t i=0; i < uidLength; i++) {
      Serial.print(" 0x");Serial.print(uid[i], HEX);
    }
    Serial.println("");
    // Wait 1 second before continuing
    delay(1000);
  }
}
Troubleshooting and FAQs
Common Issues Users Might Face
- Unresponsive Shield: Ensure that the power connections are correct and the Arduino UNO is supplying power to the shield.
- Communication Errors: Check the wiring for the selected communication interface and ensure that the correct pins are used.
- Reading Distance Issues: If the reading distance is less than expected, make sure there are no obstructions or interference near the antenna.
Solutions and Tips for Troubleshooting
- Power Cycle: If the shield becomes unresponsive, try power cycling the Arduino UNO and the shield.
- Check Solder Joints: Inspect the solder joints on the shield for cold solder or bridges that might cause shorts.
- Library Updates: Ensure that you have the latest version of the Adafruit PN532 library installed.
FAQs
Q: Can the shield read all types of RFID tags? A: The shield can read tags that operate at 13.56MHz and support ISO/IEC 14443 A and B, FeliCa, and ISO/IEC 15693.
Q: How can I increase the reading distance? A: The reading distance is primarily determined by the antenna design and cannot be significantly increased. Ensure optimal positioning and avoid interference for the best results.
Q: Is the shield compatible with other microcontrollers besides Arduino UNO? A: Yes, the shield can be used with other microcontrollers that support I2C, SPI, or HSU interfaces, provided that the voltage levels are compatible.