How to Use sensor: Examples, Pinouts, and Specs

Introduction
A sensor is a device that detects and responds to physical stimuli such as light, heat, motion, or pressure. It converts these inputs into electrical signals that can be read by an observer or an instrument. Sensors are integral to modern electronics, enabling devices to interact with their environment and perform automated tasks.
Explore Projects Built with sensor
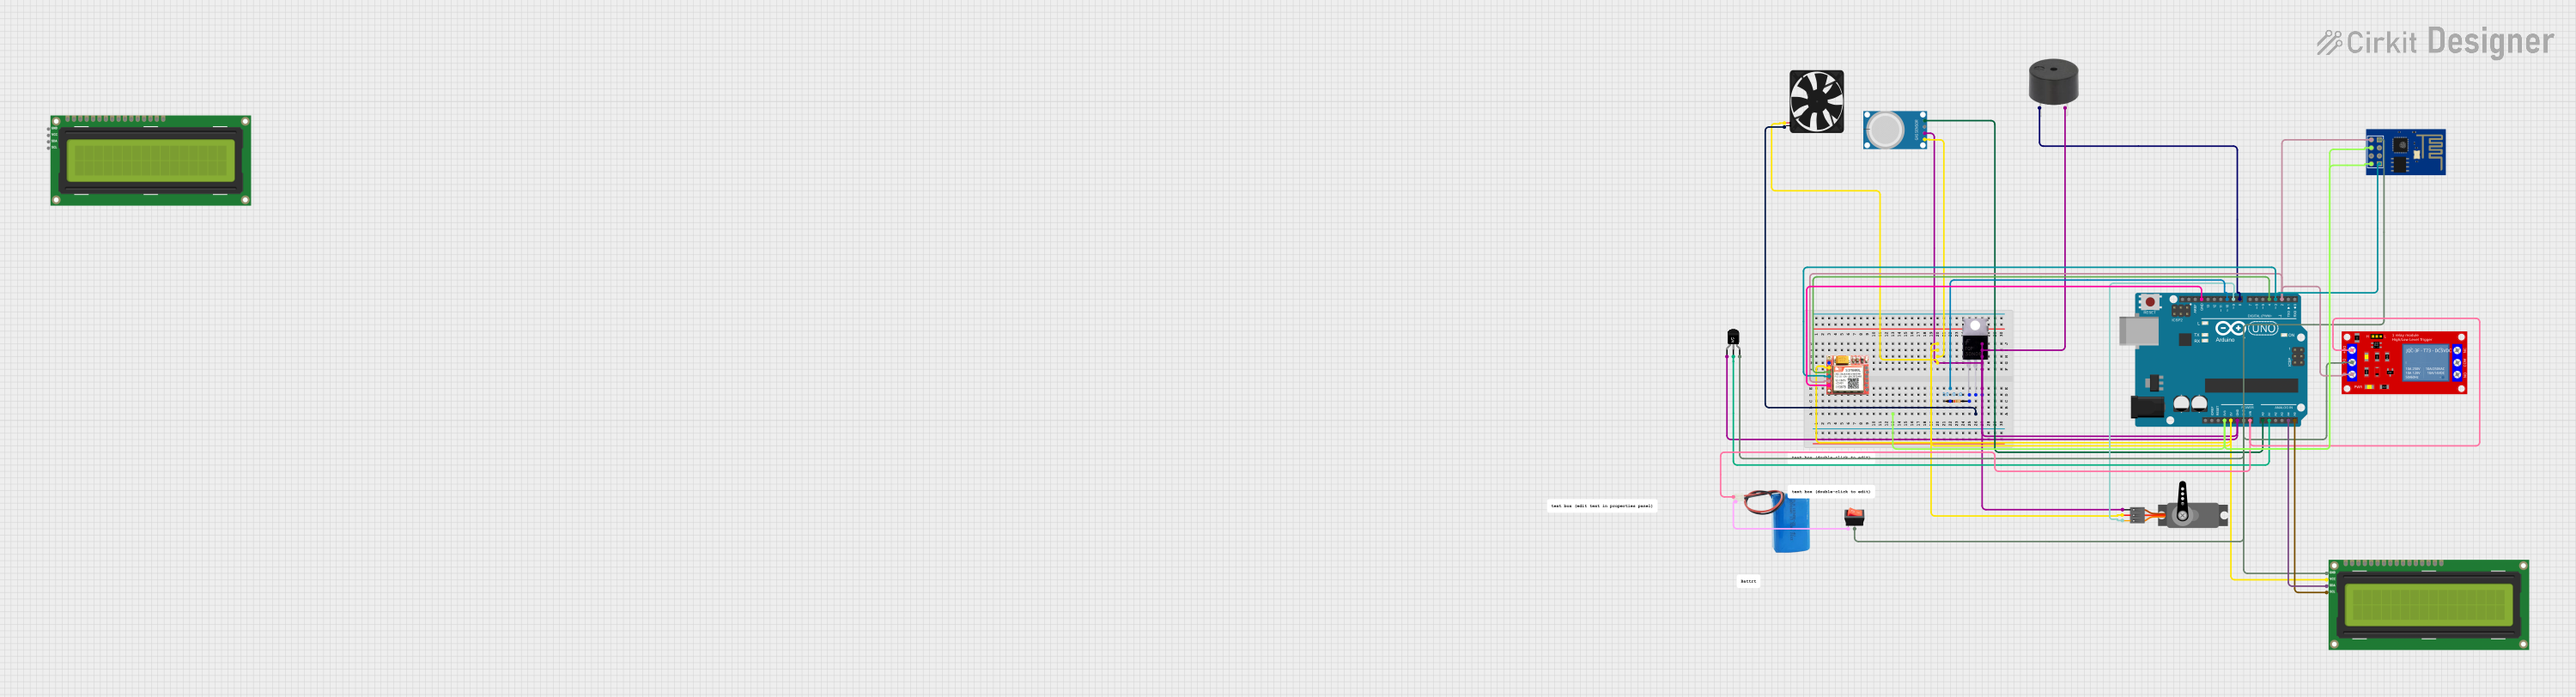
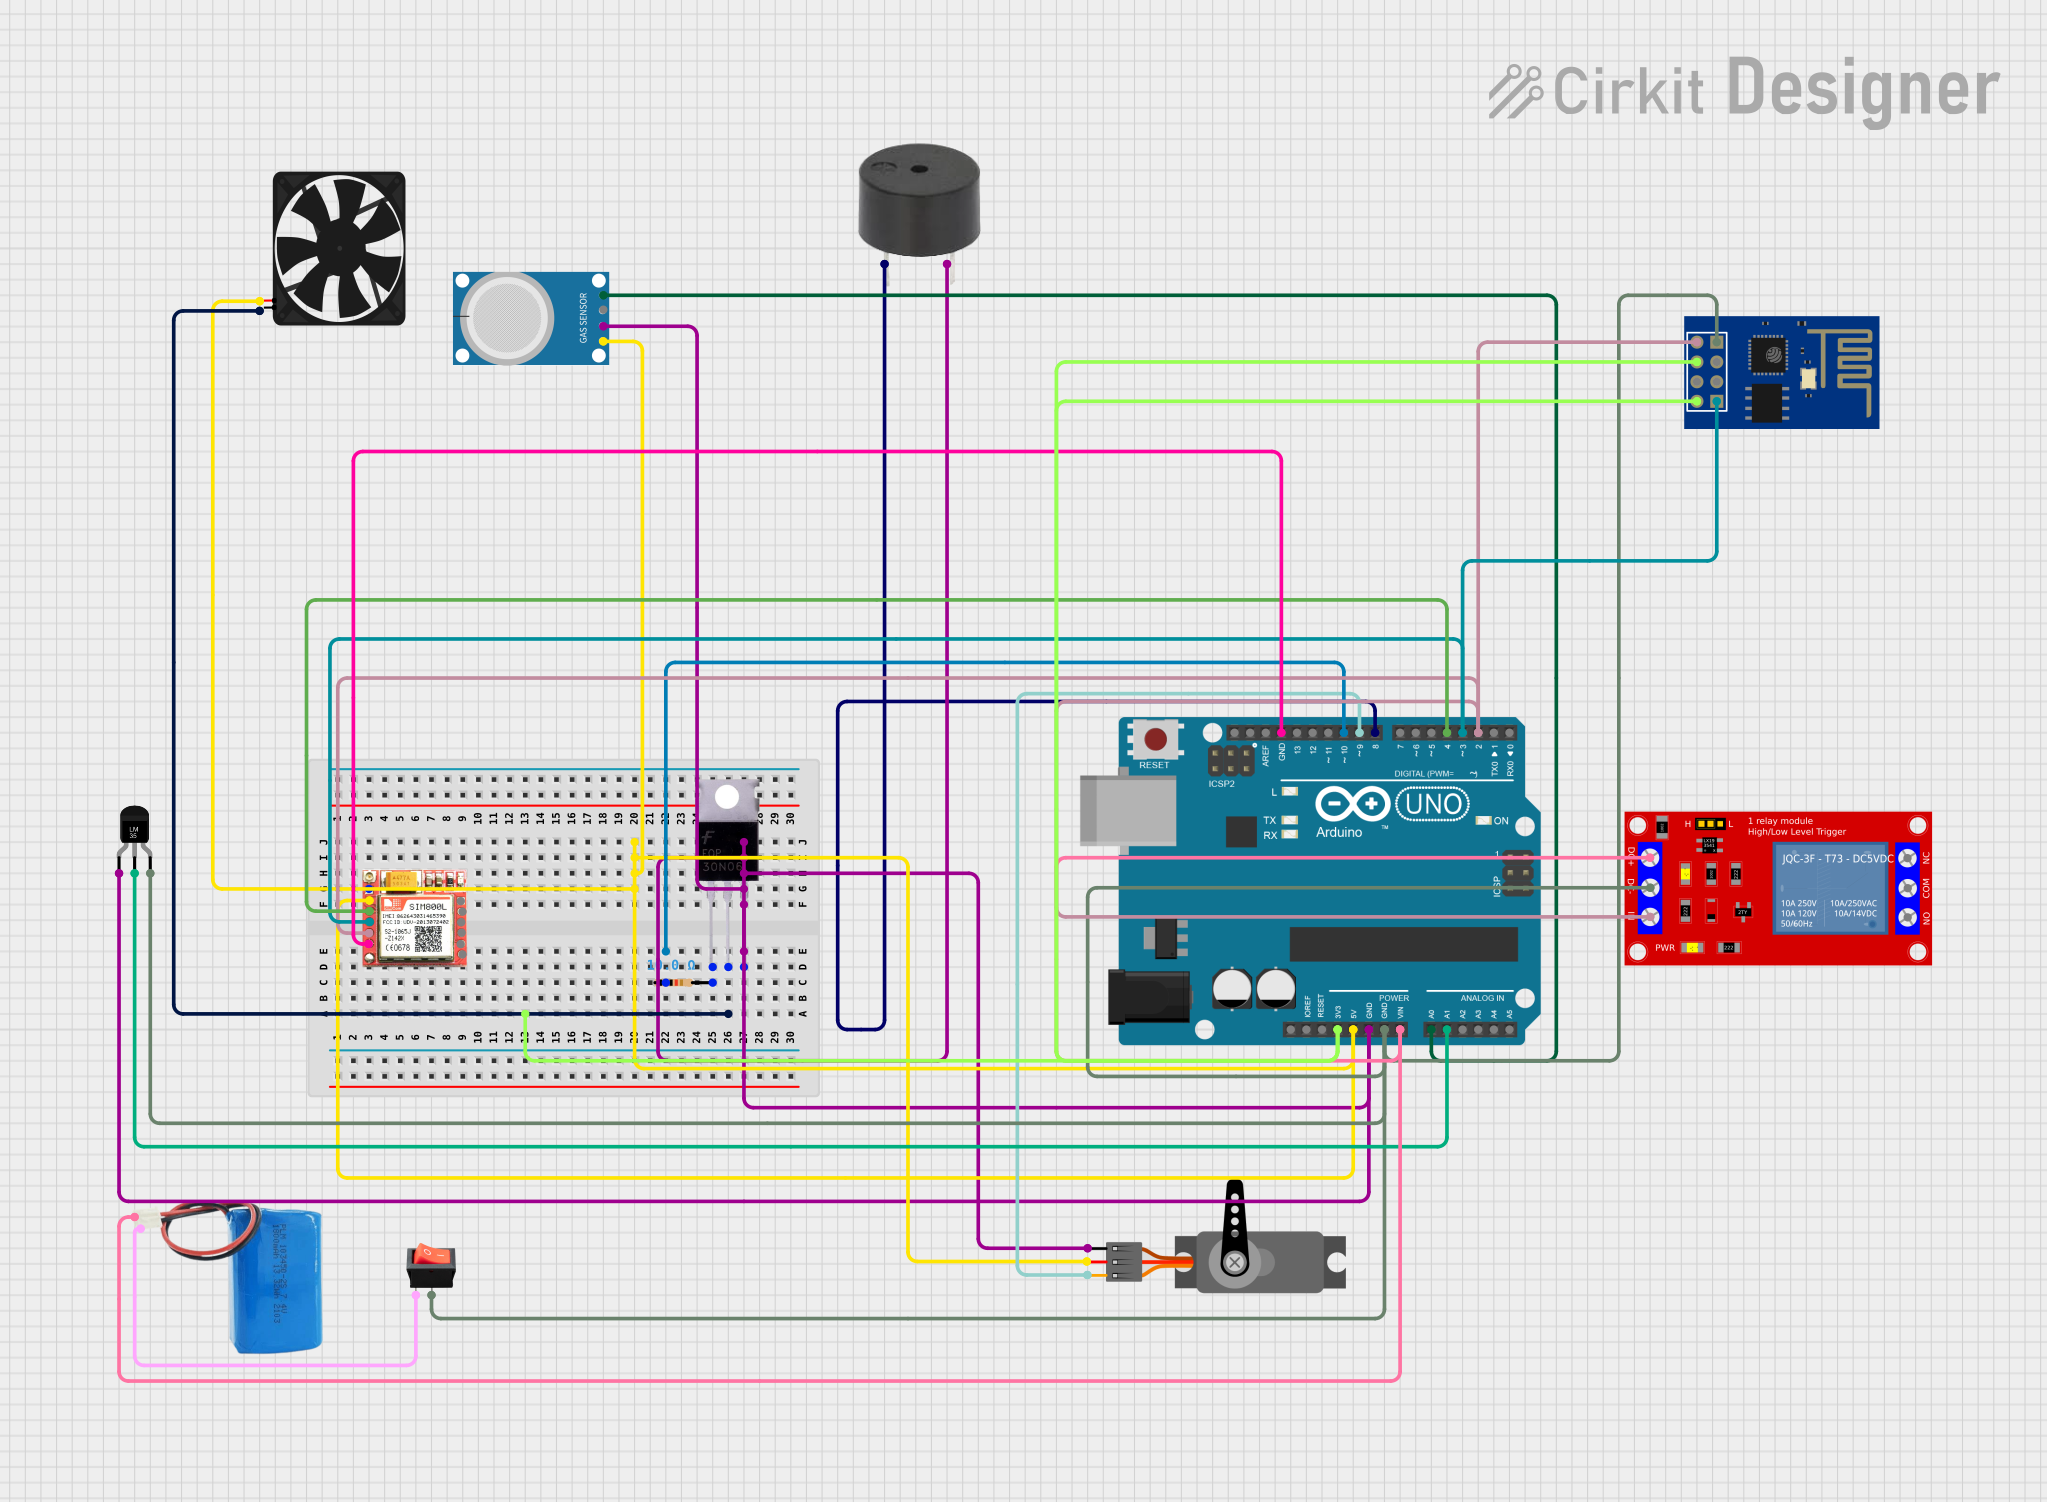
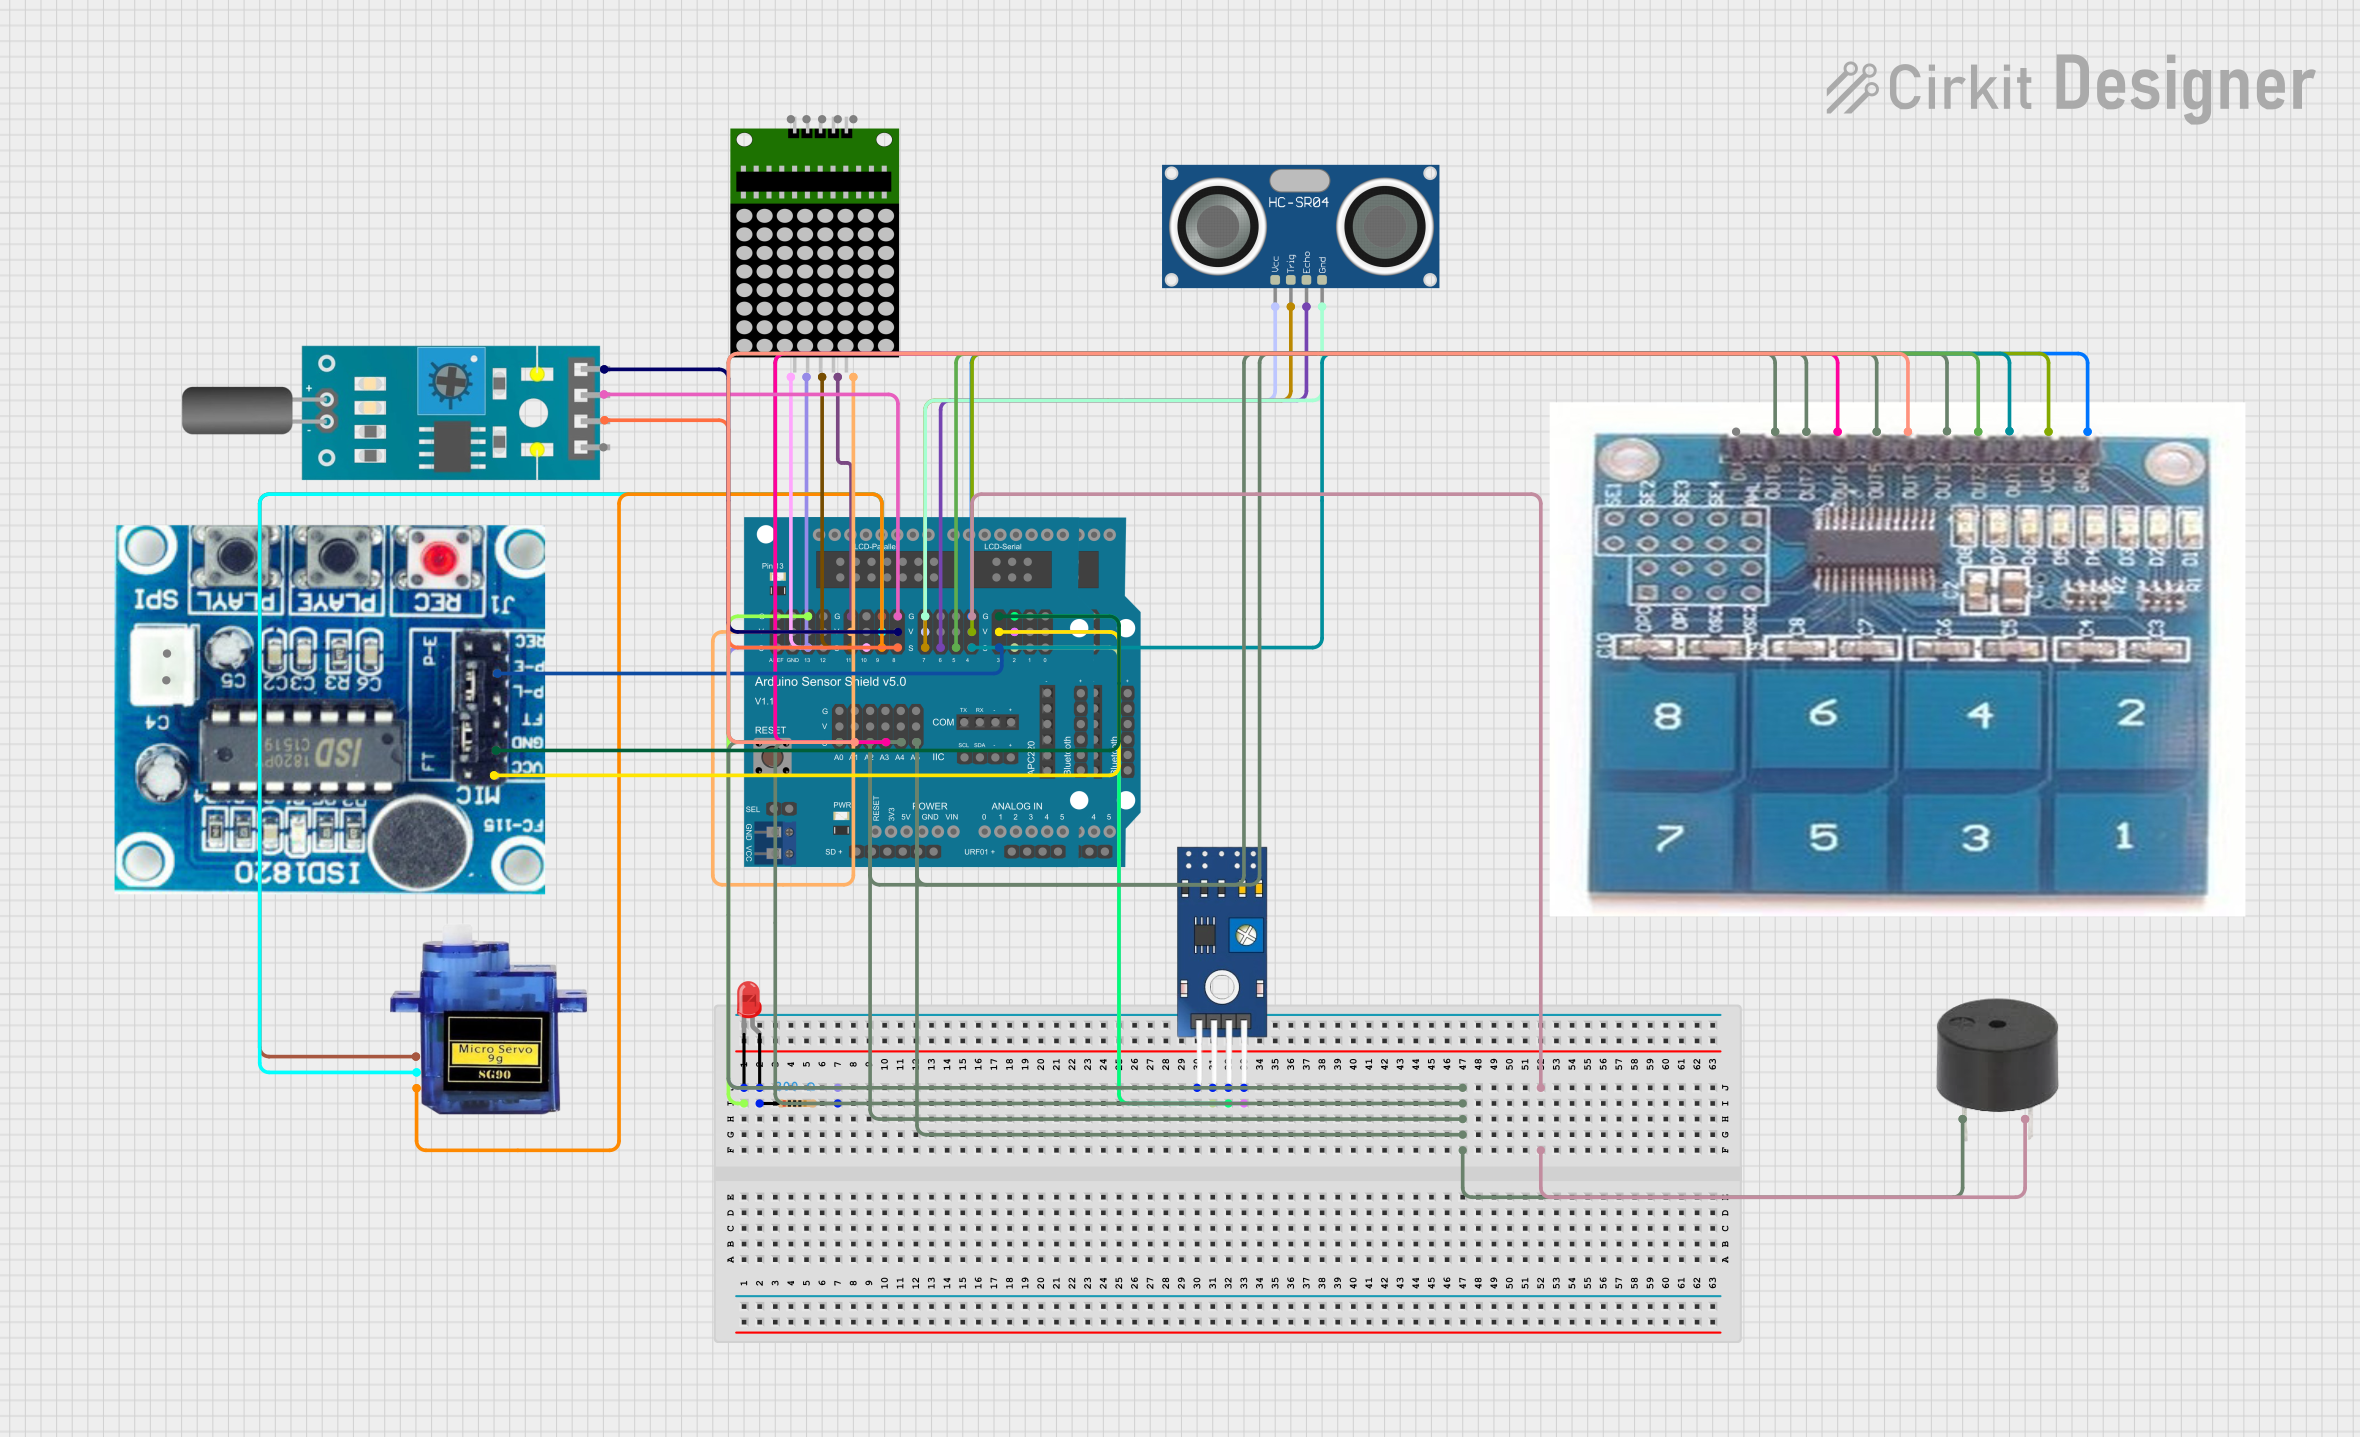
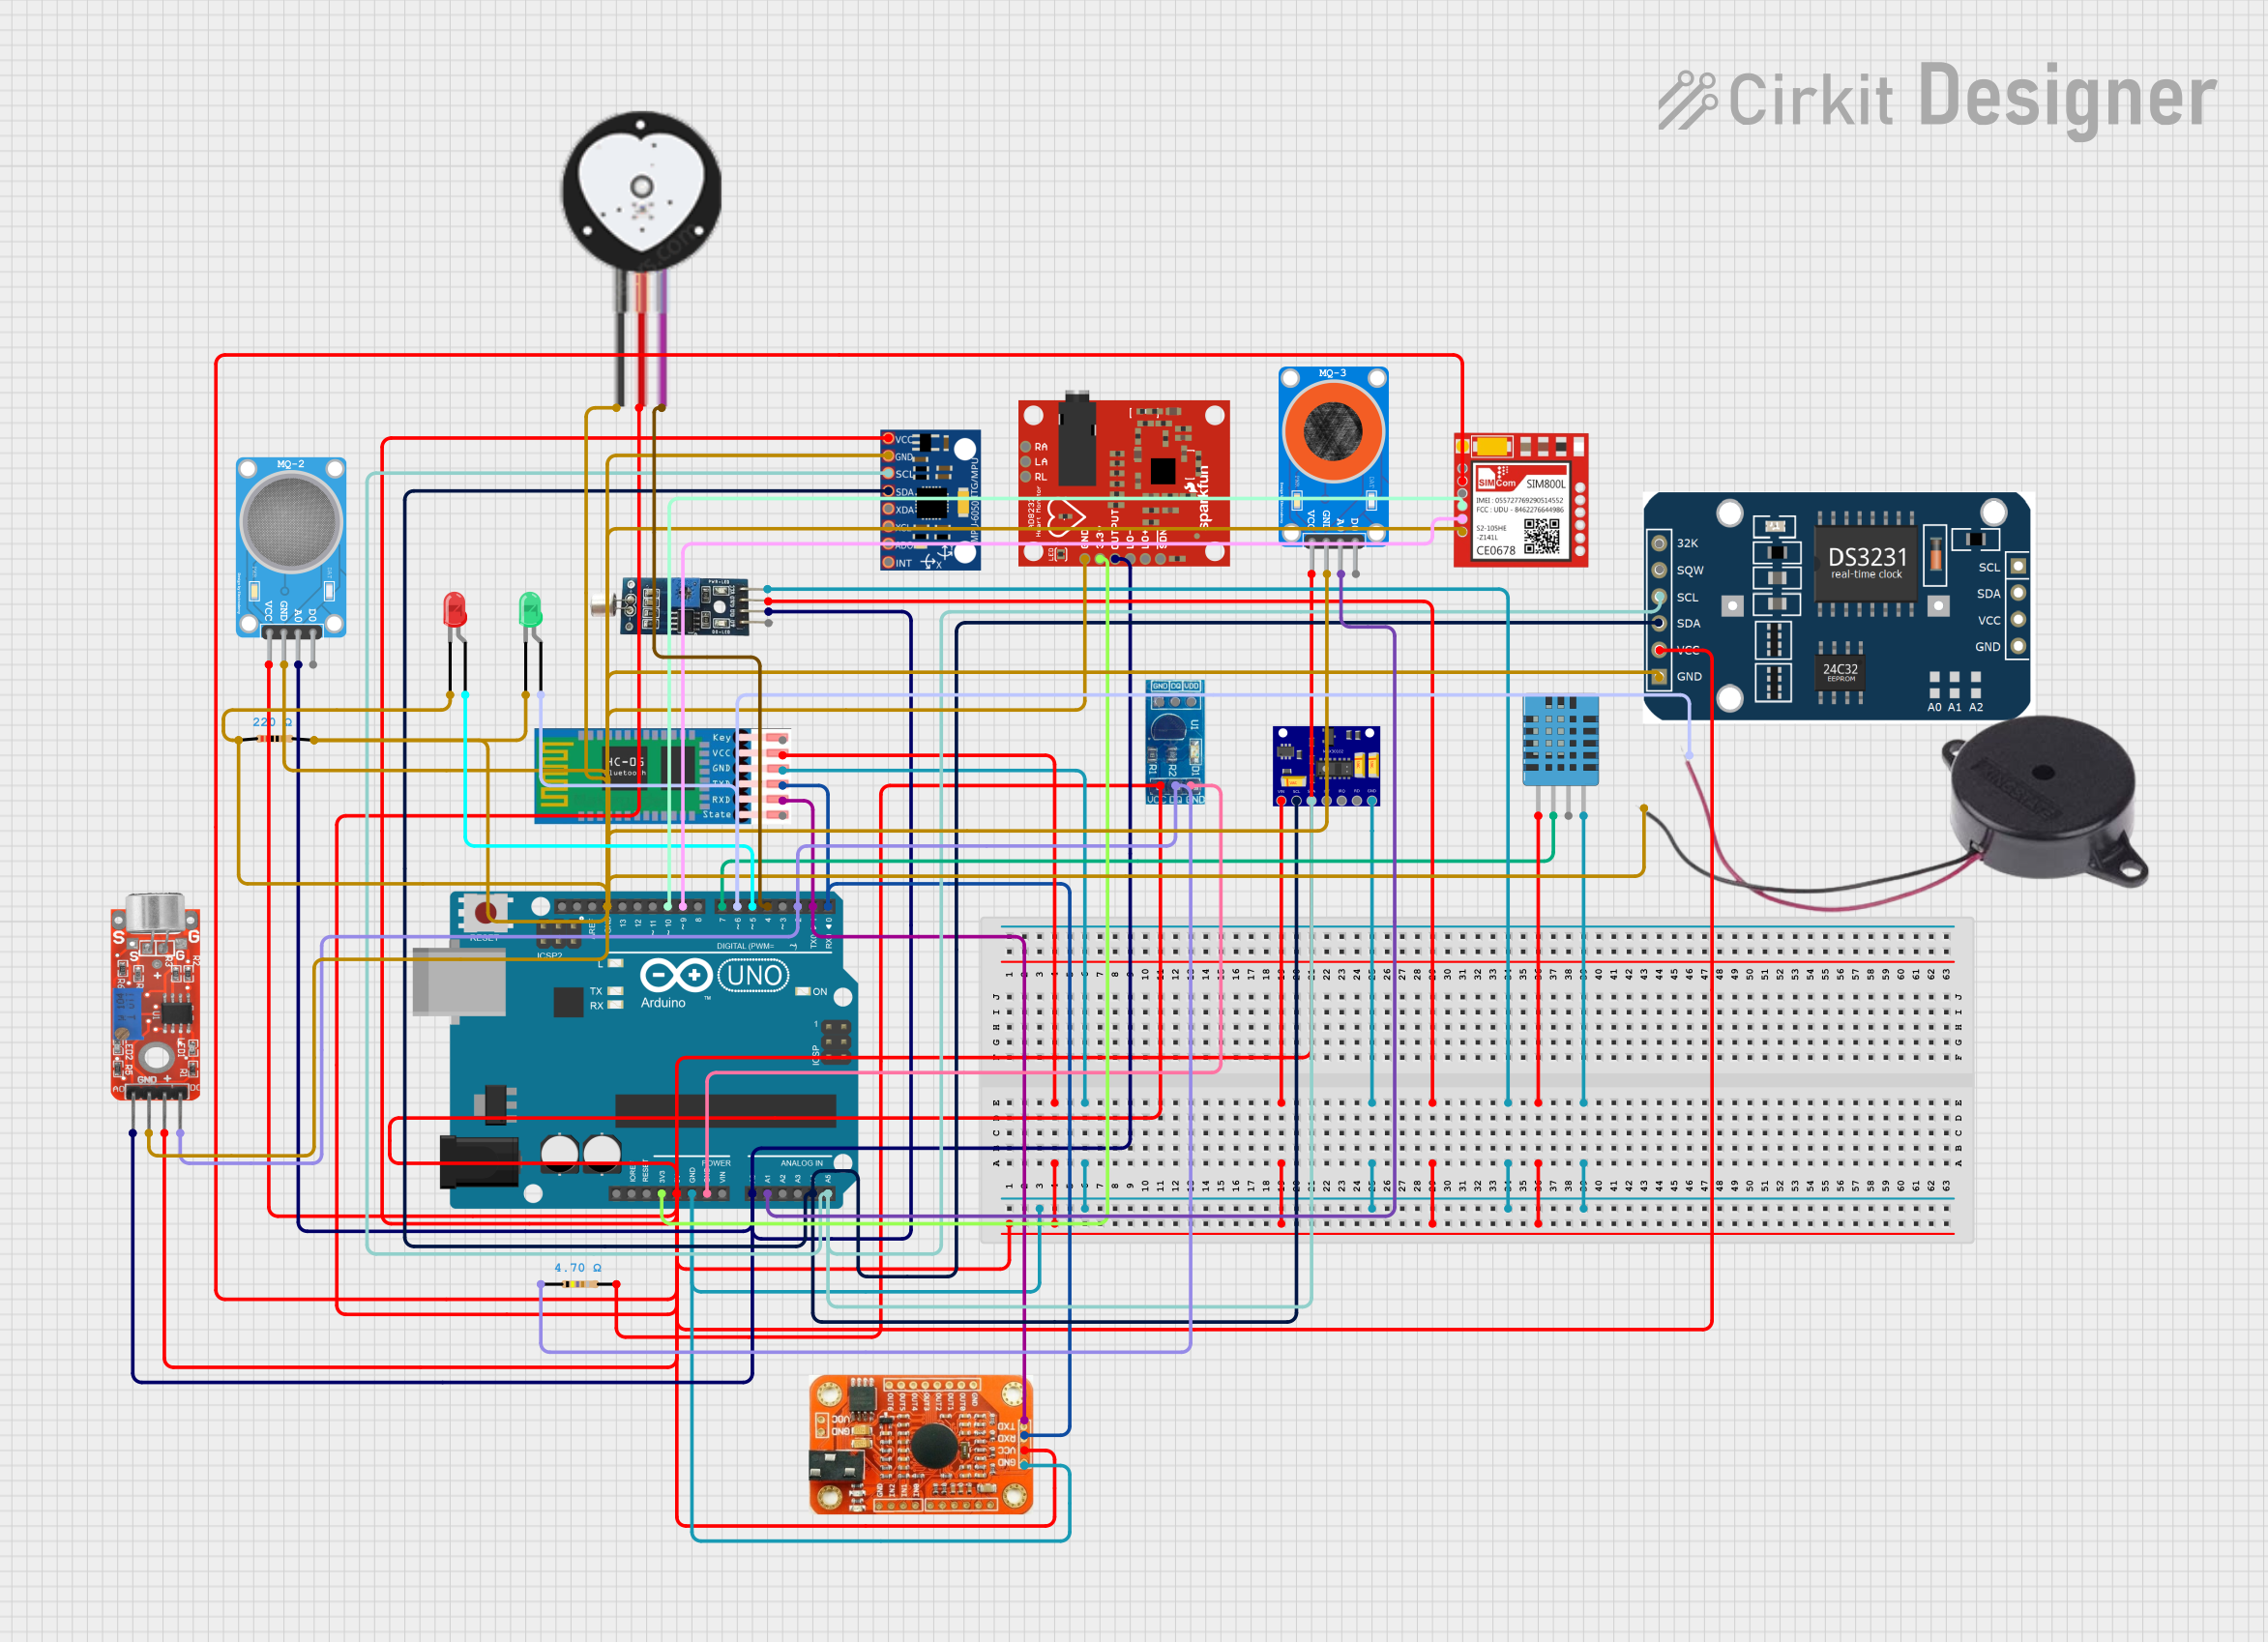
Explore Projects Built with sensor
Common Applications and Use Cases
- Temperature Monitoring: Used in HVAC systems, weather stations, and industrial processes.
- Motion Detection: Found in security systems, automatic doors, and robotics.
- Light Sensing: Used in cameras, smart lighting systems, and solar trackers.
- Pressure Measurement: Common in automotive systems, medical devices, and industrial machinery.
- Proximity Sensing: Utilized in touchless interfaces, smartphones, and manufacturing automation.
Technical Specifications
The technical specifications of a sensor vary depending on its type and application. Below is a general overview of key parameters and a sample pin configuration for a basic sensor module.
Key Technical Details
| Parameter | Description |
|---|---|
| Operating Voltage | Typically 3.3V or 5V |
| Operating Current | Varies by sensor type, typically 10mA to 50mA |
| Output Signal Type | Analog or Digital |
| Sensitivity Range | Depends on the sensor type (e.g., 0-100°C for a temperature sensor, 0-10,000 lux for a light sensor) |
| Response Time | Milliseconds to seconds, depending on the sensor |
| Operating Temperature | -40°C to +85°C (varies by sensor) |
Pin Configuration and Descriptions
Below is an example pinout for a generic 3-pin sensor module:
| Pin Number | Pin Name | Description |
|---|---|---|
| 1 | VCC | Power supply input (3.3V or 5V) |
| 2 | GND | Ground connection |
| 3 | OUT | Output signal (analog or digital, depending on the sensor) |
Usage Instructions
How to Use the Sensor in a Circuit
- Power the Sensor: Connect the VCC pin to a 3.3V or 5V power source, depending on the sensor's requirements.
- Ground the Sensor: Connect the GND pin to the ground of your circuit.
- Read the Output: Connect the OUT pin to an analog or digital input pin on your microcontroller or other processing unit.
- Process the Signal: Use appropriate software or hardware to interpret the sensor's output signal.
Important Considerations and Best Practices
- Power Supply: Ensure the sensor is powered with the correct voltage to avoid damage.
- Signal Noise: Use decoupling capacitors or shielding to minimize noise in the output signal.
- Calibration: Some sensors require calibration for accurate readings.
- Environmental Factors: Protect the sensor from extreme conditions (e.g., moisture, dust) that could affect its performance.
- Connection Length: Keep the wiring between the sensor and the microcontroller as short as possible to reduce signal degradation.
Example: Connecting a Sensor to an Arduino UNO
Below is an example of how to connect and read data from a generic analog sensor using an Arduino UNO.
Circuit Diagram
- Connect the sensor's VCC pin to the Arduino's 5V pin.
- Connect the sensor's GND pin to the Arduino's GND pin.
- Connect the sensor's OUT pin to the Arduino's A0 pin.
Arduino Code
// Define the analog pin connected to the sensor
const int sensorPin = A0;

// Variable to store the sensor reading
int sensorValue = 0;

void setup() {
  // Initialize serial communication for debugging
  Serial.begin(9600);
}

void loop() {
  // Read the analog value from the sensor
  sensorValue = analogRead(sensorPin);

  // Print the sensor value to the Serial Monitor
  Serial.print("Sensor Value: ");
  Serial.println(sensorValue);

  // Add a small delay to avoid overwhelming the Serial Monitor
  delay(500);
}
Troubleshooting and FAQs
Common Issues Users Might Face
No Output Signal:
- Cause: Incorrect wiring or insufficient power supply.
- Solution: Double-check the connections and ensure the sensor is powered correctly.
Inconsistent Readings:
- Cause: Electrical noise or environmental interference.
- Solution: Use decoupling capacitors and ensure the sensor is properly shielded.
Sensor Not Responding:
- Cause: Sensor damage or incorrect configuration.
- Solution: Test the sensor with a multimeter or replace it if necessary.
Output Signal Saturation:
- Cause: Sensor operating outside its specified range.
- Solution: Ensure the sensor is used within its sensitivity range.
FAQs
Q: Can I use a 3.3V sensor with a 5V microcontroller?
A: Yes, but you may need a voltage level shifter to prevent damage to the sensor.
Q: How do I know if my sensor is analog or digital?
A: Check the sensor's datasheet. Analog sensors output a continuous voltage, while digital sensors output discrete signals (e.g., HIGH or LOW).
Q: Do I need to calibrate my sensor?
A: Some sensors require calibration for accurate readings. Refer to the sensor's datasheet for calibration instructions.
Q: Can I connect multiple sensors to a single microcontroller?
A: Yes, as long as the microcontroller has enough input pins and processing capacity to handle multiple sensors.