How to Use SENSOR: Examples, Pinouts, and Specs
Introduction
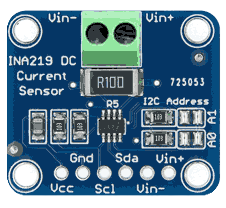
The SENSOR (Manufacturer: C, Part ID: NI219) is a versatile electronic component designed to detect and respond to various physical stimuli, such as light, heat, motion, or pressure. It converts these inputs into electrical signals that can be processed by electronic systems, making it an essential component in a wide range of applications.
Explore Projects Built with SENSOR
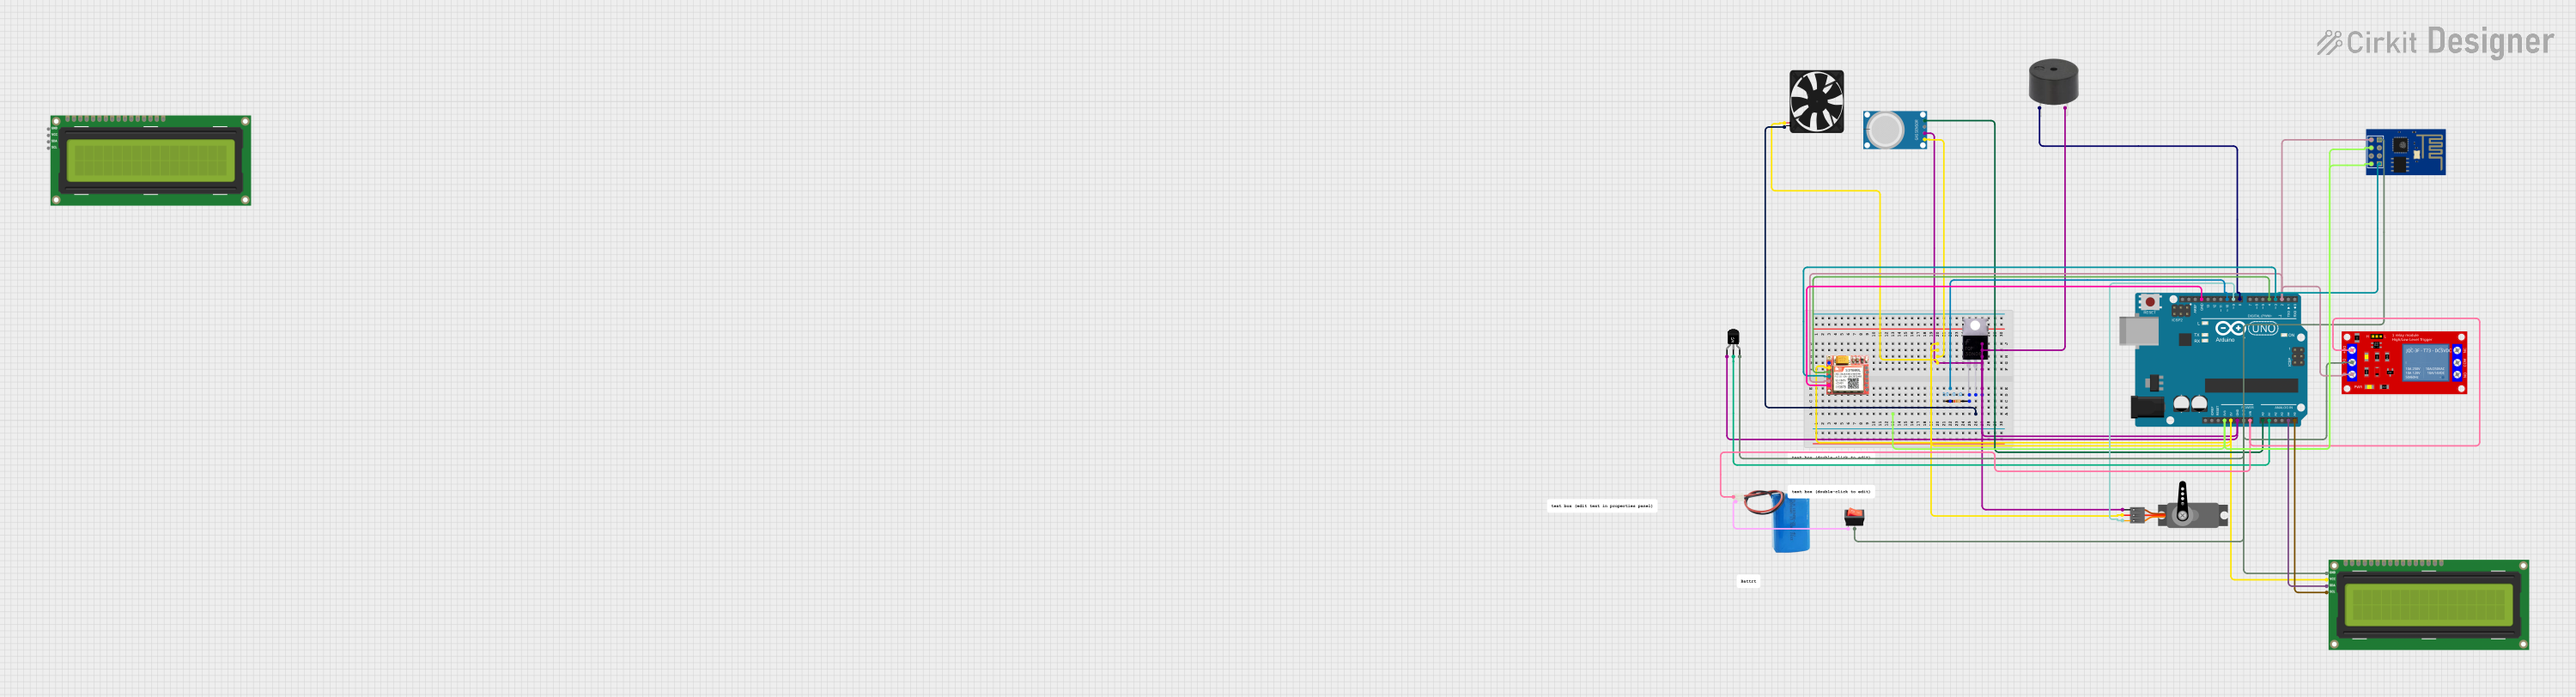
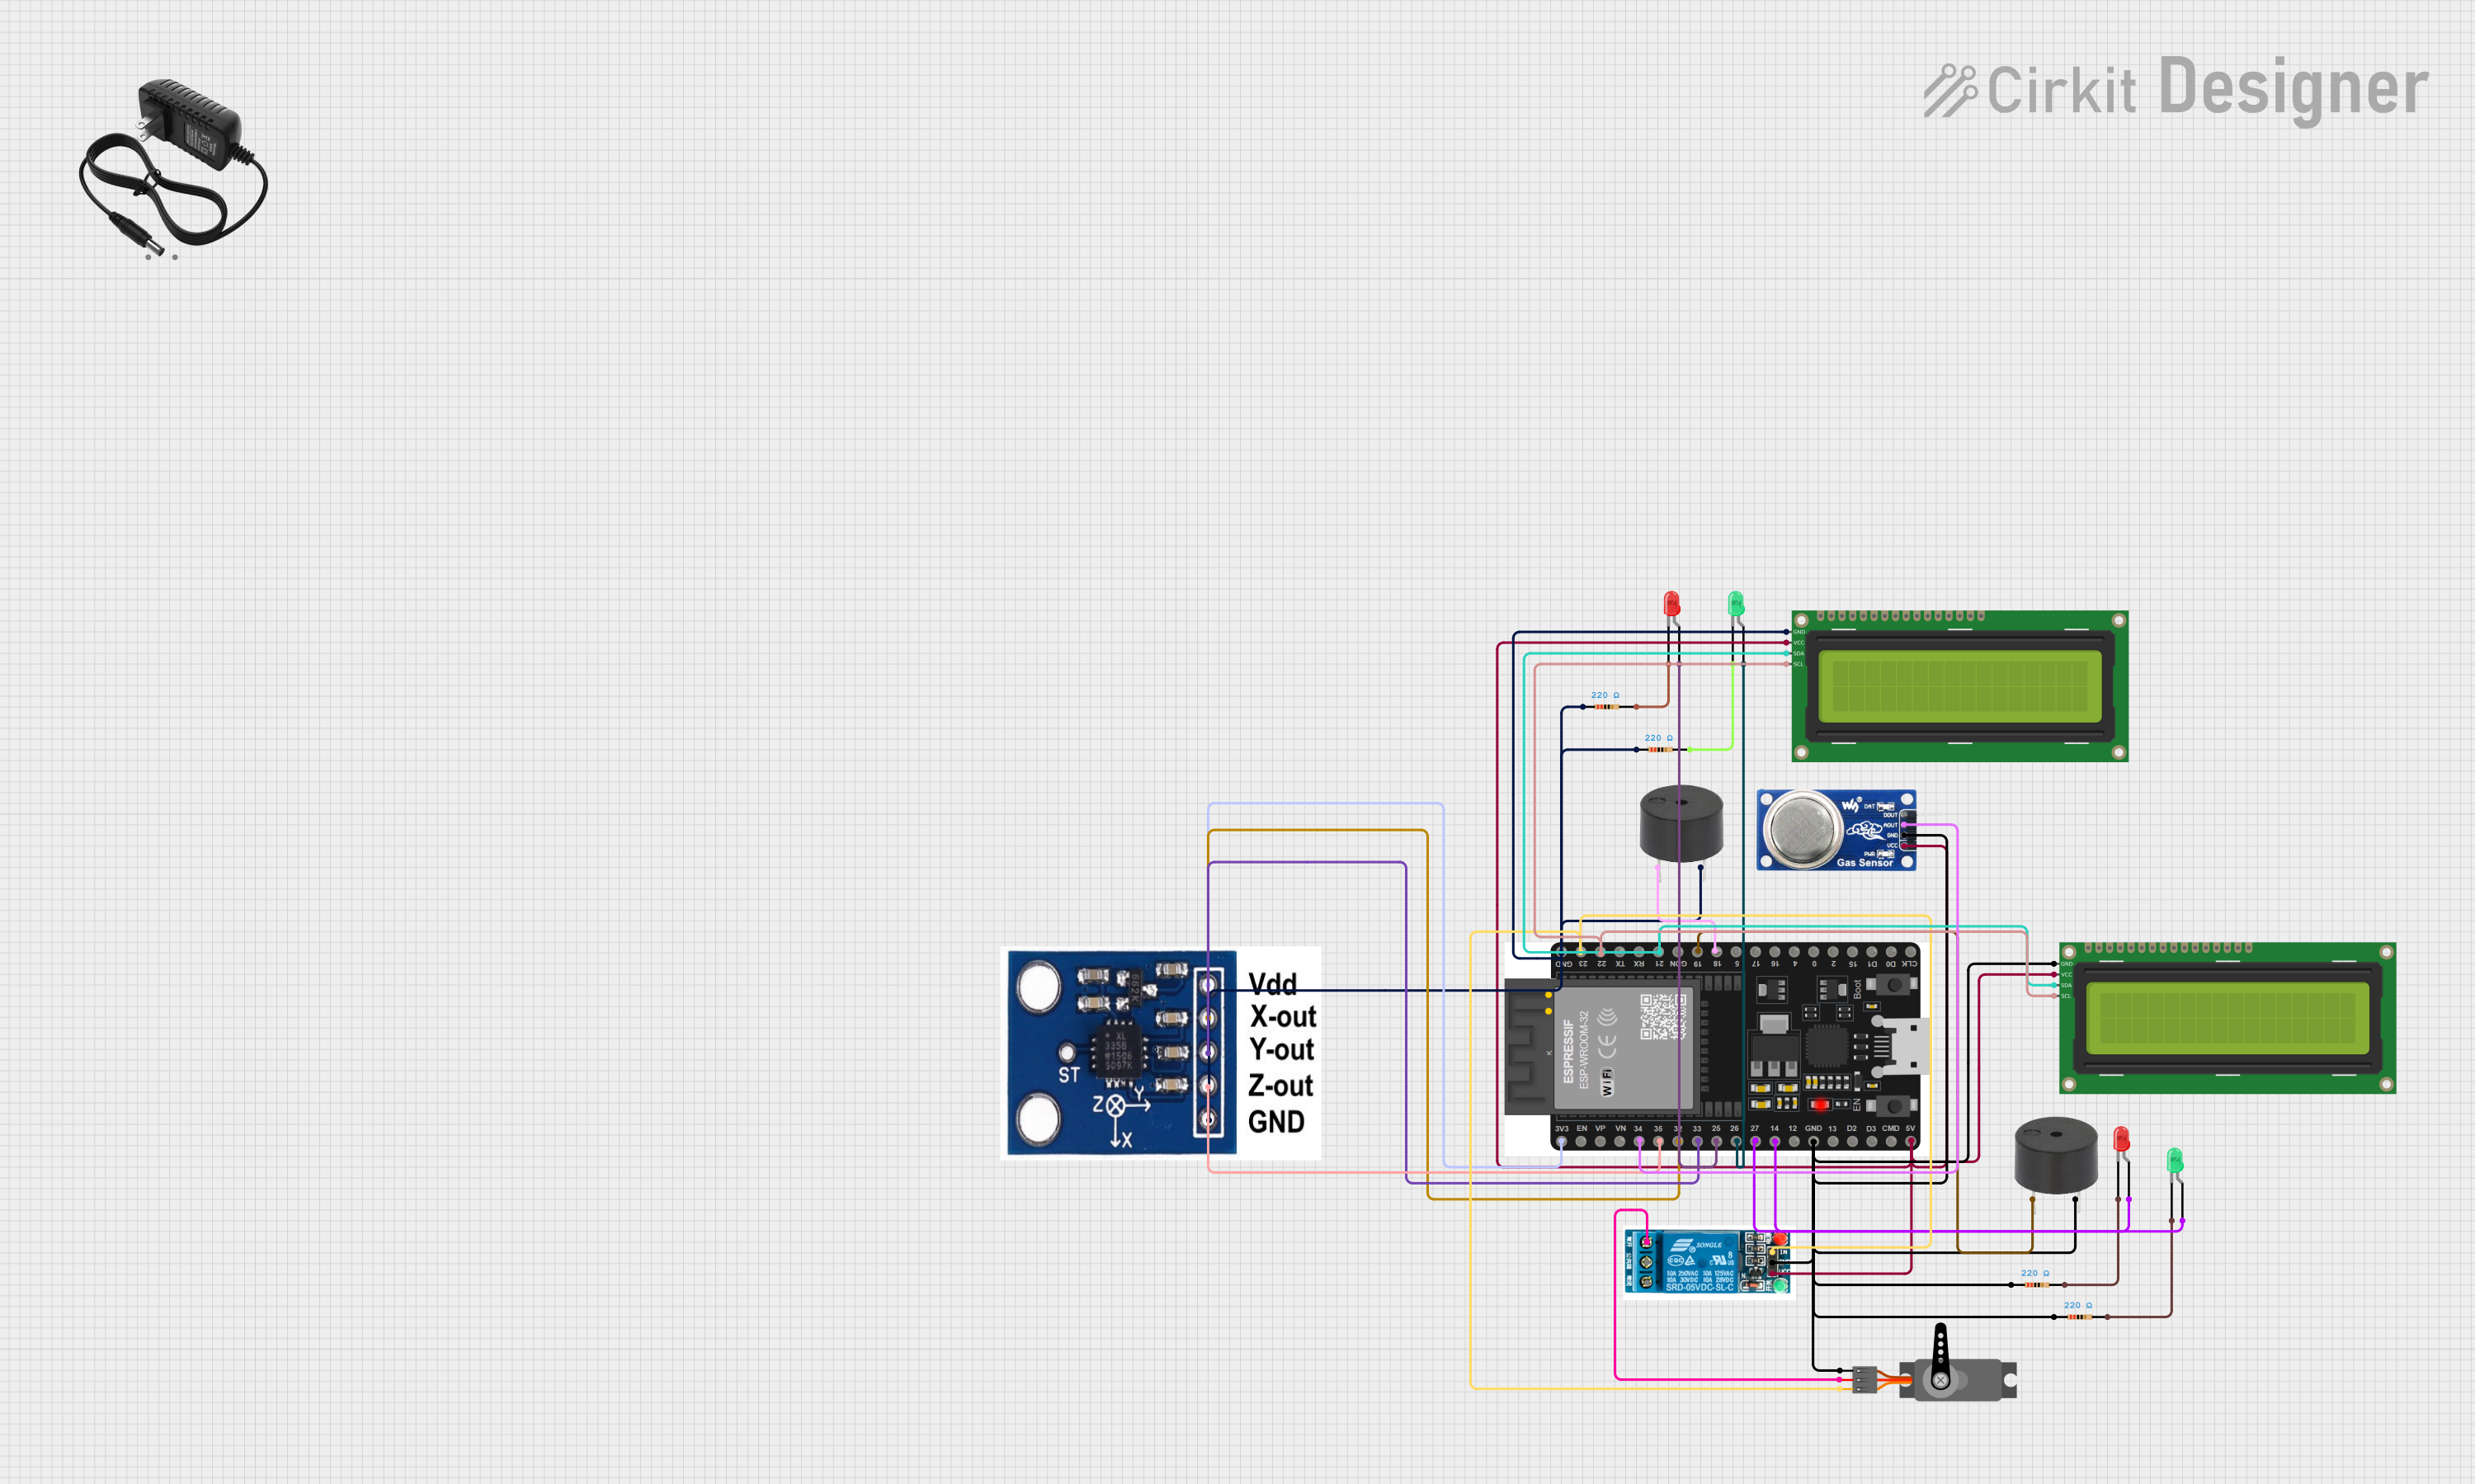
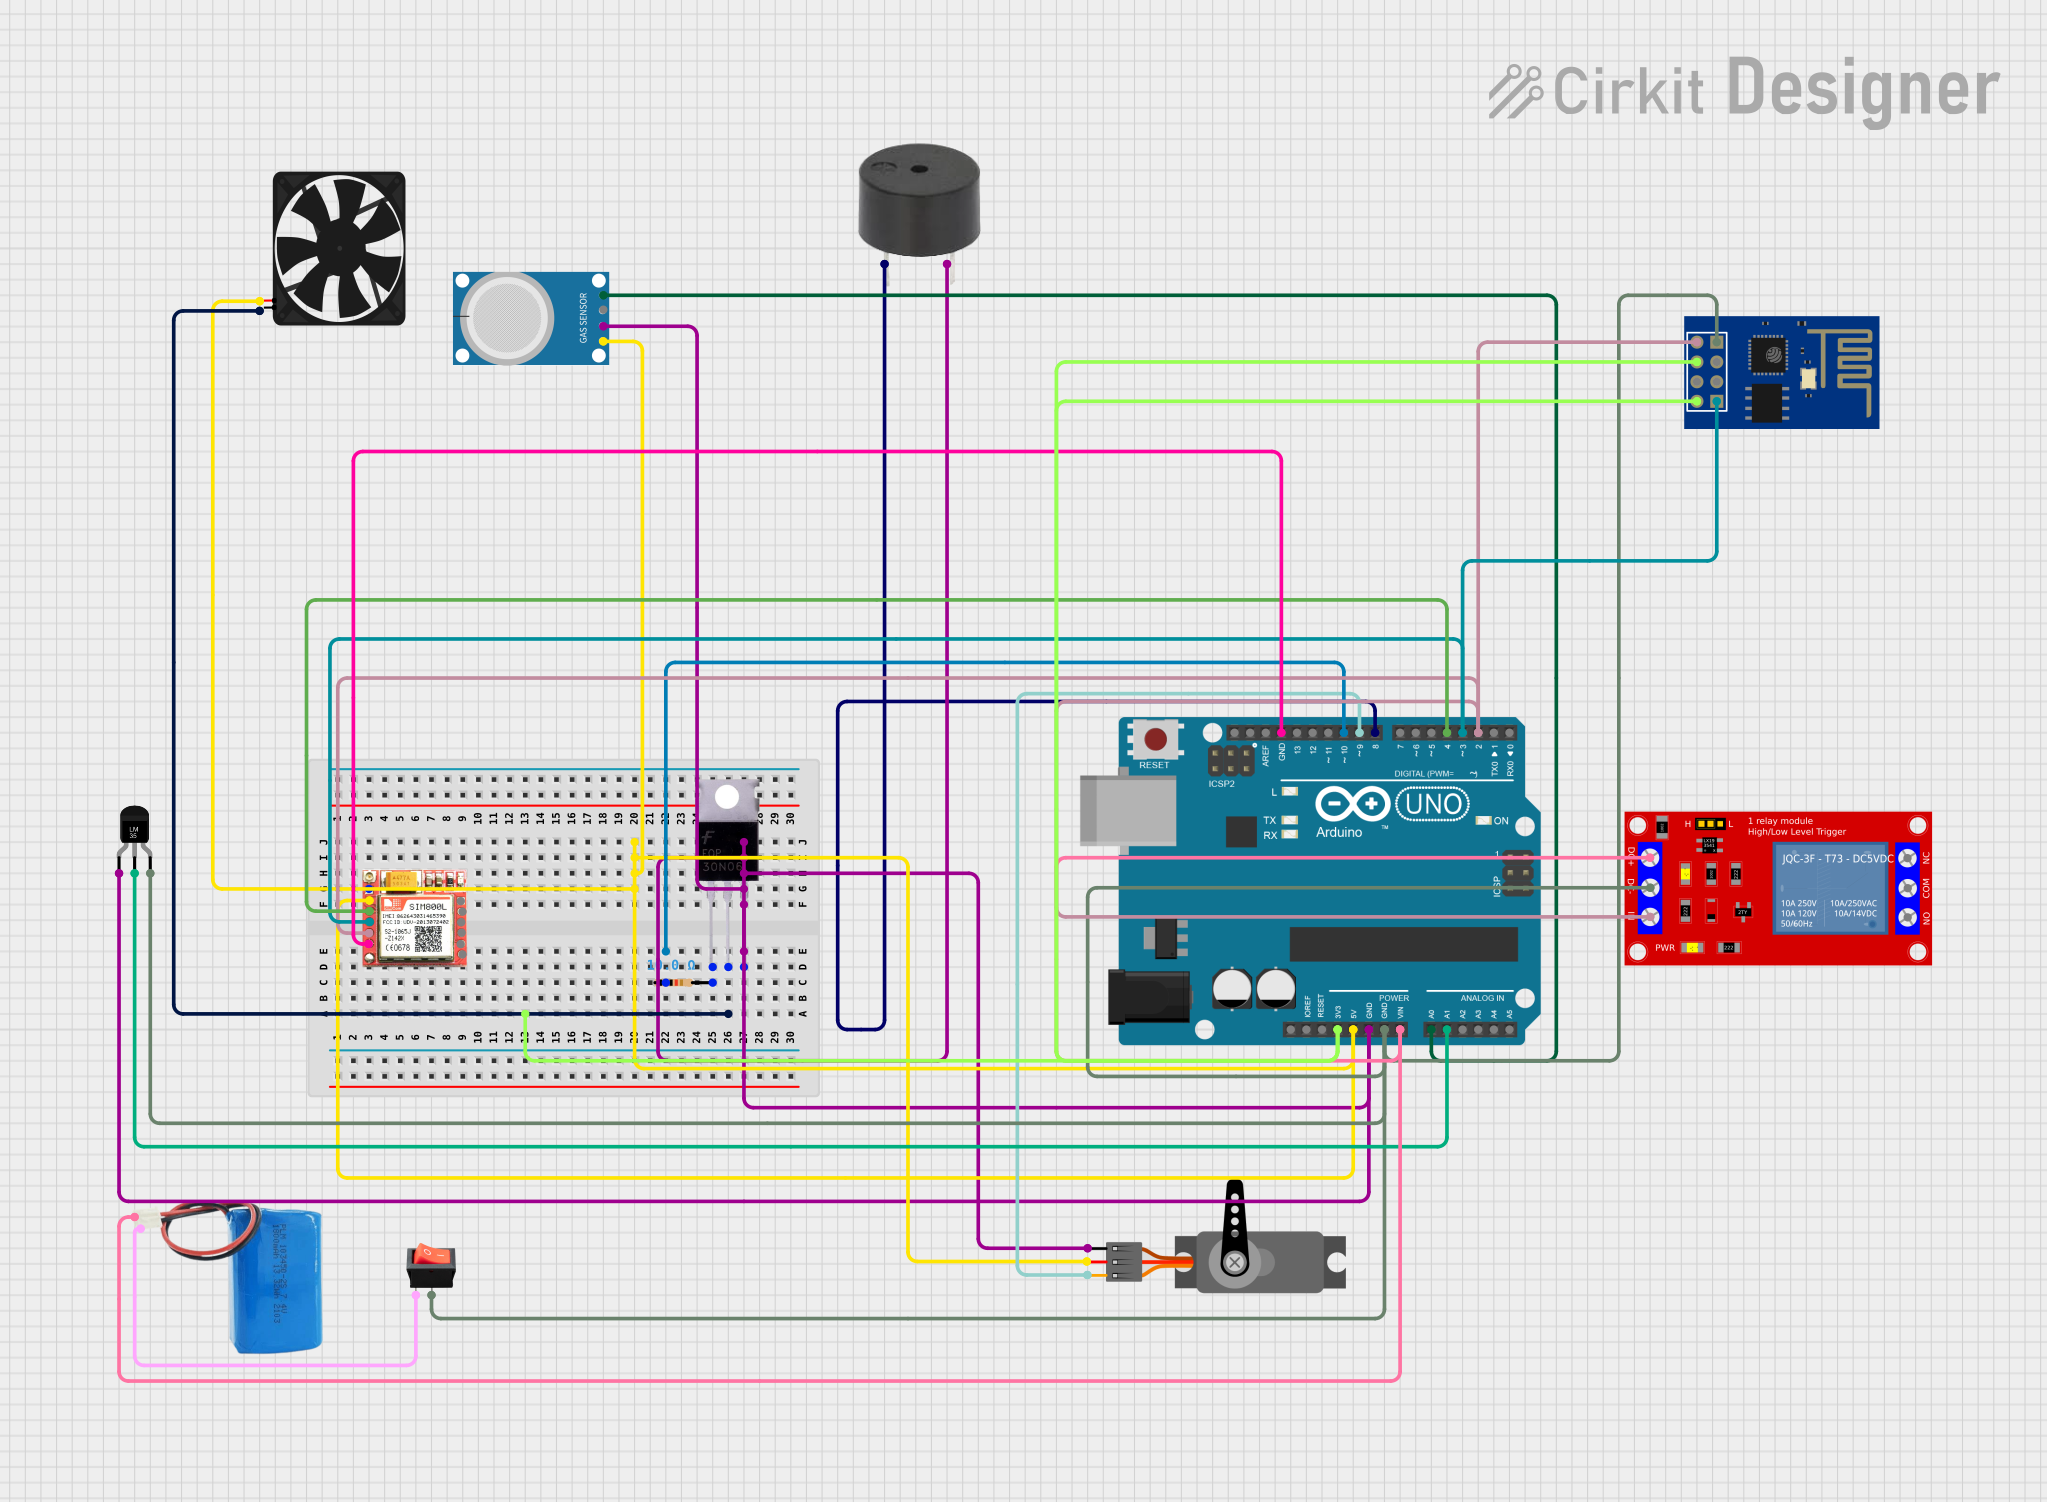
Explore Projects Built with SENSOR
Common Applications and Use Cases
- Environmental Monitoring: Detecting temperature, humidity, or light levels.
- Industrial Automation: Monitoring motion, pressure, or proximity in machinery.
- Consumer Electronics: Used in devices like smartphones, smart home systems, and wearables.
- Robotics: Enabling robots to sense their environment for navigation and interaction.
- Automotive Systems: Detecting obstacles, temperature, or pressure in vehicles.
Technical Specifications
The SENSOR NI219 is designed to operate efficiently in a variety of environments. Below are its key technical details:
General Specifications
| Parameter | Value |
|---|---|
| Operating Voltage | 3.3V to 5V |
| Operating Current | 10mA (typical) |
| Output Signal Type | Analog or Digital (depending on configuration) |
| Response Time | < 10ms |
| Operating Temperature | -20°C to 85°C |
| Sensitivity Range | Configurable (varies by stimulus type) |
Pin Configuration and Descriptions
| Pin Number | Pin Name | Description |
|---|---|---|
| 1 | VCC | Power supply input (3.3V to 5V) |
| 2 | GND | Ground connection |
| 3 | OUT | Output signal (analog or digital) |
| 4 | CONFIG | Configuration pin for sensitivity or mode setup |
Usage Instructions
The SENSOR NI219 is straightforward to integrate into electronic circuits. Follow the steps below to use it effectively:
Basic Circuit Connection
- Power Supply: Connect the
VCCpin to a 3.3V or 5V power source and theGNDpin to the ground of your circuit. - Output Signal: Connect the
OUTpin to the input pin of a microcontroller or an analog-to-digital converter (ADC) to read the sensor's output. - Configuration: Use the
CONFIGpin to adjust the sensitivity or mode of operation. Refer to the manufacturer's datasheet for specific configuration options.
Important Considerations
- Power Supply: Ensure a stable power supply to avoid noise in the output signal.
- Signal Processing: If the output is analog, use an ADC to convert it into a digital signal for microcontroller processing.
- Environmental Factors: Protect the sensor from extreme conditions (e.g., moisture, dust) to maintain accuracy and longevity.
Example: Connecting SENSOR NI219 to an Arduino UNO
Below is an example of how to connect and read data from the SENSOR NI219 using an Arduino UNO:
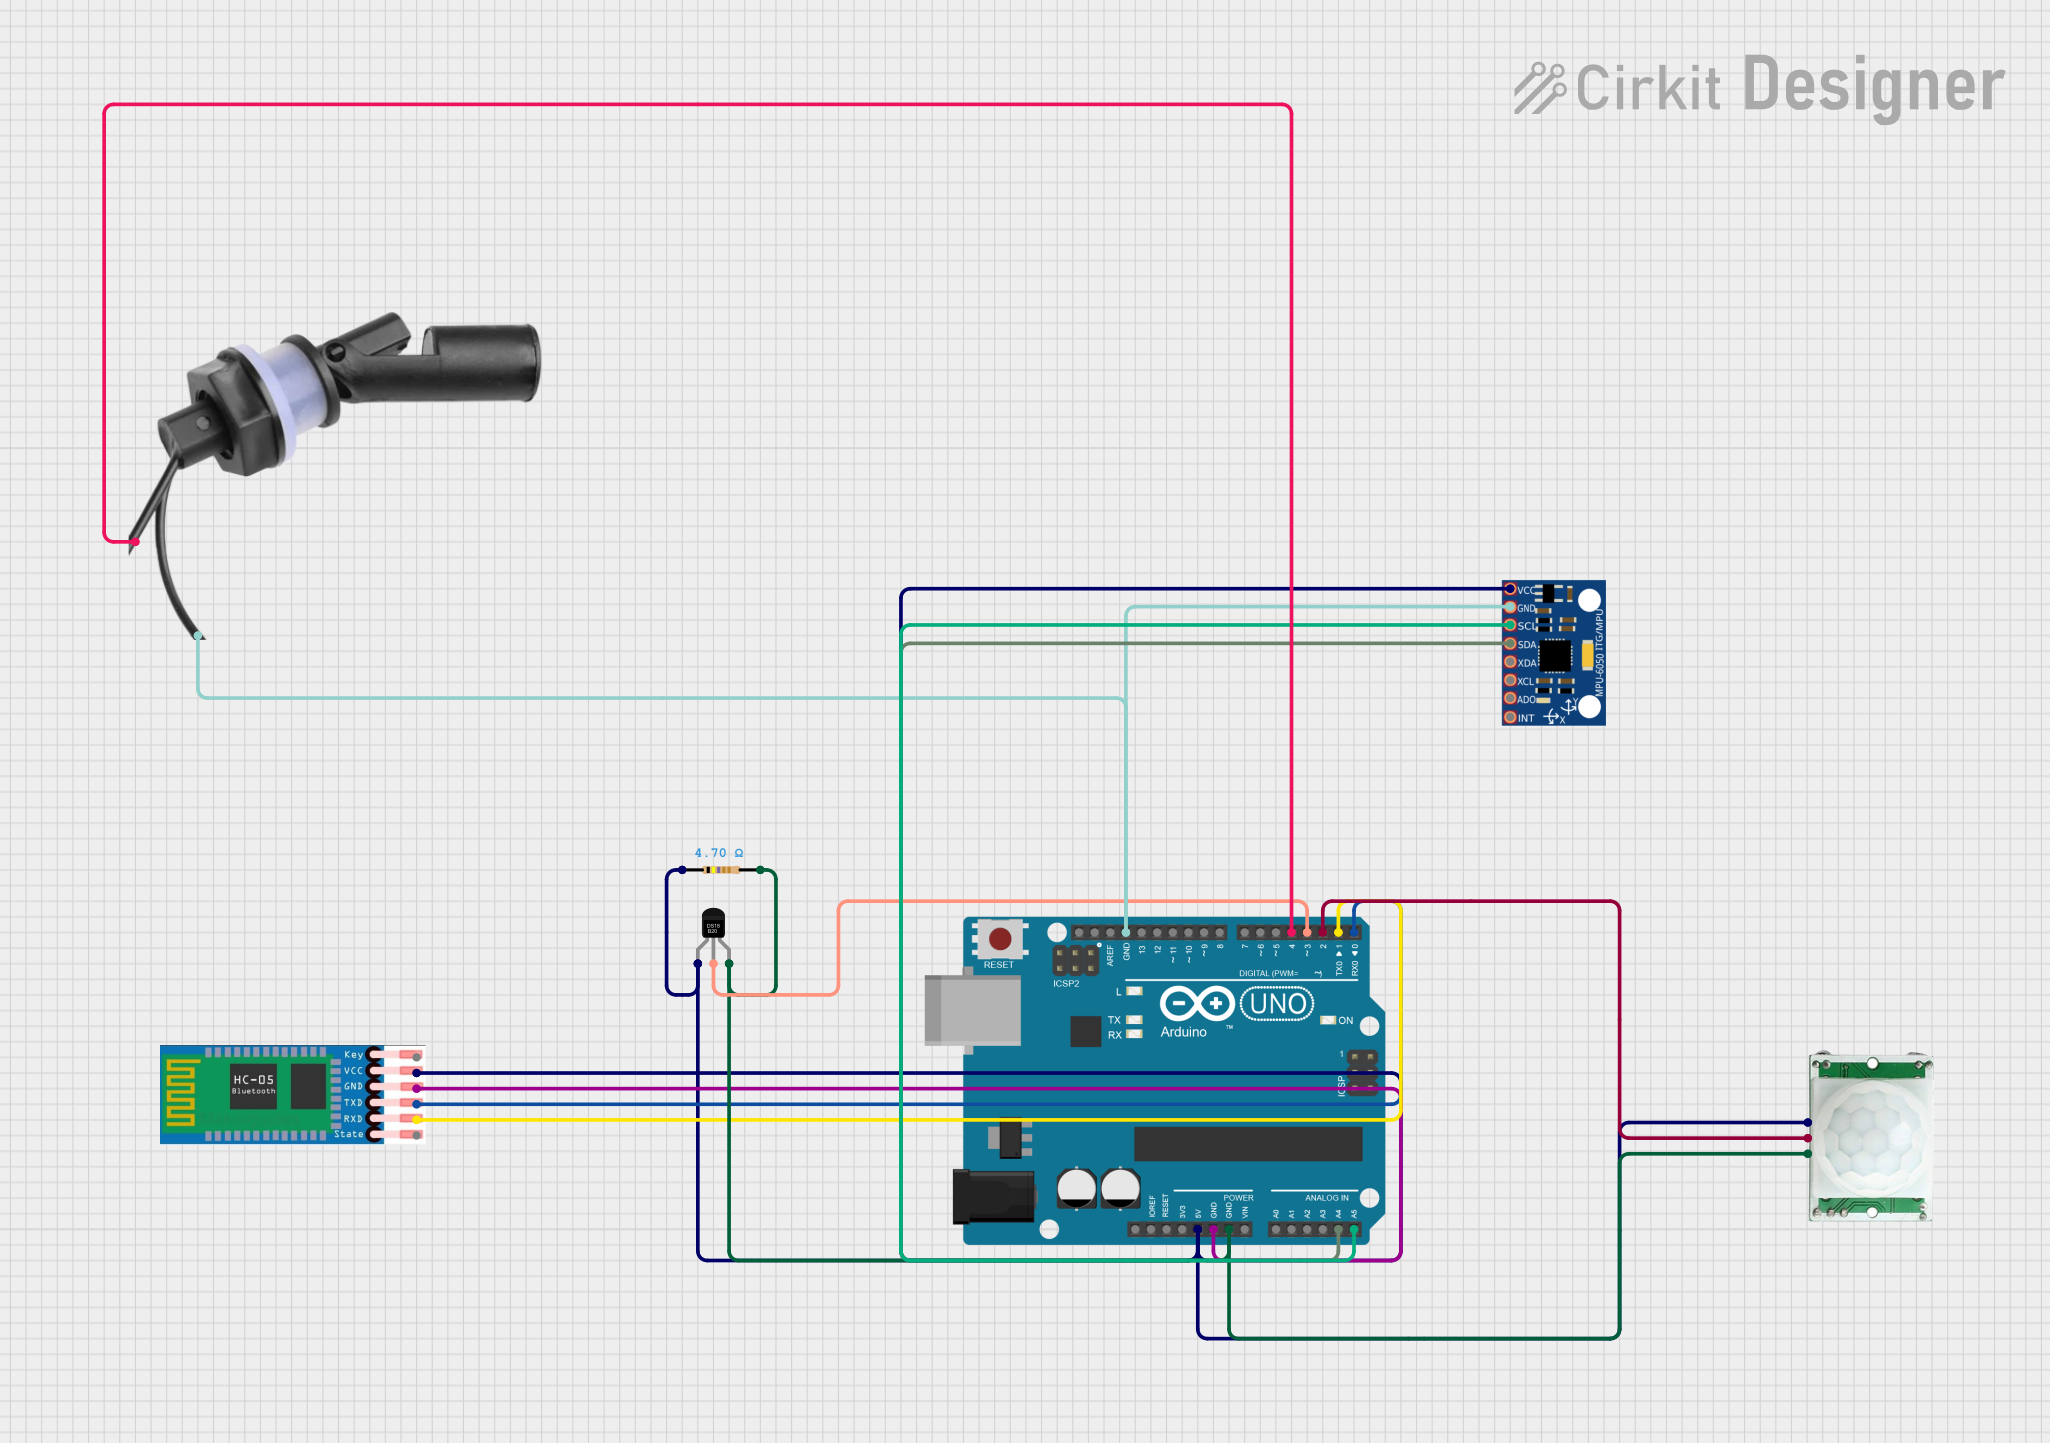
Circuit Diagram
- Connect
VCCto the Arduino's5Vpin. - Connect
GNDto the Arduino'sGNDpin. - Connect
OUTto an analog input pin (e.g.,A0) on the Arduino.
Arduino Code
// SENSOR NI219 Example Code
// This code reads the analog output of the SENSOR NI219 and prints the value
// to the Serial Monitor. Ensure the sensor is connected to pin A0.

const int sensorPin = A0; // Define the pin connected to the sensor's OUT pin

void setup() {
  Serial.begin(9600); // Initialize serial communication at 9600 baud
  pinMode(sensorPin, INPUT); // Set the sensor pin as an input
}

void loop() {
  int sensorValue = analogRead(sensorPin); // Read the analog value from the sensor
  Serial.print("Sensor Value: ");
  Serial.println(sensorValue); // Print the sensor value to the Serial Monitor
  delay(500); // Wait for 500ms before reading again
}
Best Practices
- Use decoupling capacitors near the
VCCpin to reduce power supply noise. - If using the sensor in a noisy environment, consider shielding the signal lines.
- Regularly calibrate the sensor for consistent performance.
Troubleshooting and FAQs
Common Issues and Solutions
No Output Signal:
- Verify the power supply connections to
VCCandGND. - Check if the
CONFIGpin is set correctly for the desired mode.
- Verify the power supply connections to
Inconsistent Readings:
- Ensure the sensor is not exposed to extreme environmental conditions.
- Add filtering capacitors to smooth out noise in the output signal.
Output Signal Too Weak:
- Adjust the sensitivity using the
CONFIGpin. - Verify that the microcontroller's ADC resolution is sufficient for the application.
- Adjust the sensitivity using the
FAQs
Q: Can the SENSOR NI219 detect multiple stimuli simultaneously?
A: No, the SENSOR NI219 is designed to detect a single type of stimulus at a time. Ensure the correct configuration for the desired stimulus.
Q: Is the SENSOR NI219 compatible with 3.3V systems?
A: Yes, the SENSOR NI219 operates within a voltage range of 3.3V to 5V, making it compatible with both 3.3V and 5V systems.
Q: How do I configure the sensitivity of the SENSOR NI219?
A: Use the CONFIG pin to adjust the sensitivity. Refer to the manufacturer's datasheet for detailed instructions on configuration.
Q: Can I use the SENSOR NI219 outdoors?
A: While the SENSOR NI219 can operate in a wide temperature range, it should be protected from moisture, dust, and direct exposure to harsh environmental conditions.
By following this documentation, users can effectively integrate and utilize the SENSOR NI219 in their projects. For further details, consult the manufacturer's datasheet or contact technical support.