
How to Use Adafruit MicroLipo Charger USB Type C: Examples, Pinouts, and Specs
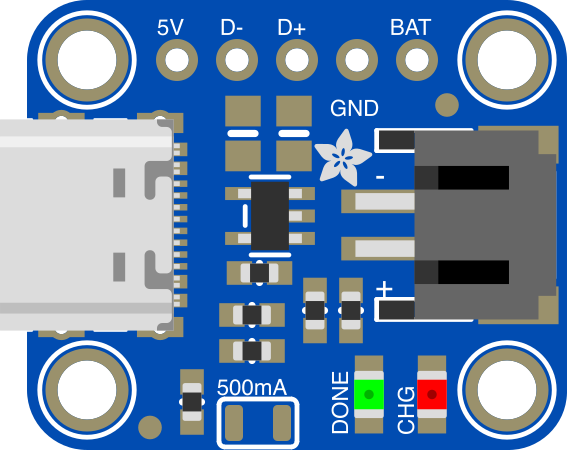
 Design with Adafruit MicroLipo Charger USB Type C in Cirkit Designer
Introduction
The Adafruit MicroLipo Charger USB Type C (Manufacturer Part ID: 4410) is a compact and efficient lithium polymer (LiPo) battery charger designed for small LiPo batteries. It connects via a USB Type C port, making it convenient for modern devices and power sources. This charger is ideal for applications requiring portable power solutions, such as wearable electronics, IoT devices, and small robotics.
Explore Projects Built with Adafruit MicroLipo Charger USB Type C
 Open Project in Cirkit Designer
 Open Project in Cirkit Designer
 Open Project in Cirkit Designer
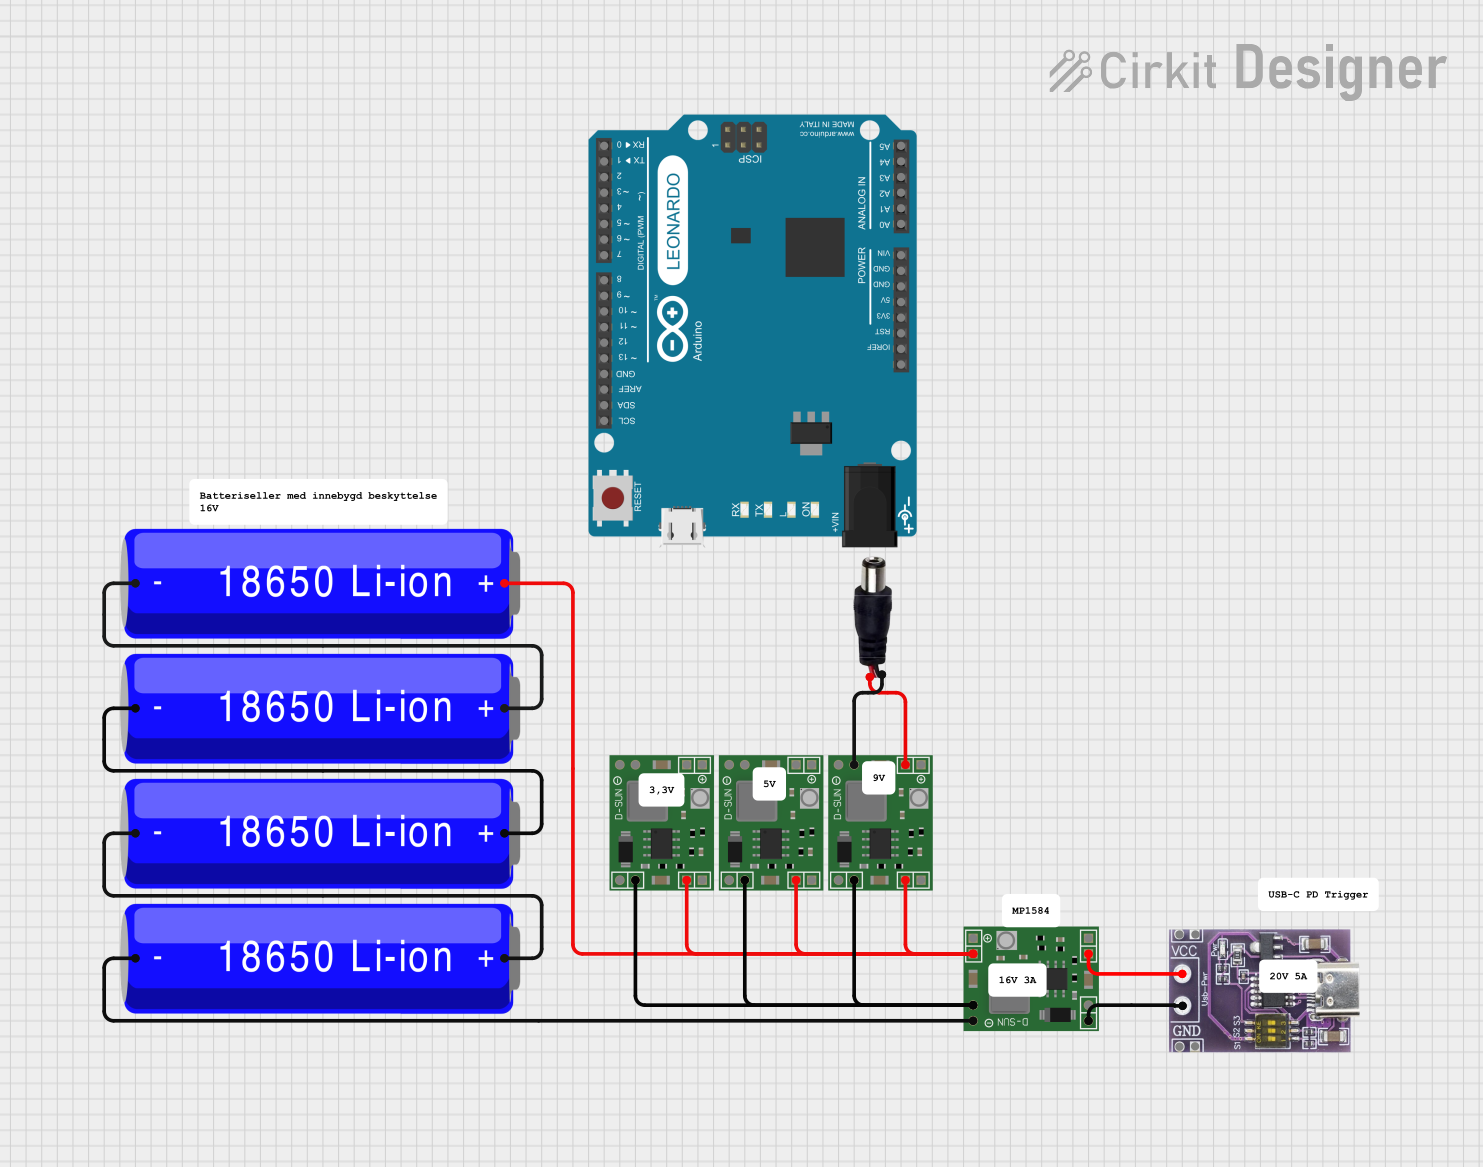 Open Project in Cirkit Designer
Explore Projects Built with Adafruit MicroLipo Charger USB Type C
Open Project in Cirkit DesignerOpen Project in Cirkit DesignerOpen Project in Cirkit DesignerOpen Project in Cirkit DesignerCommon Applications
- Charging single-cell LiPo batteries for portable electronics
- Powering small IoT devices and sensors
- Wearable technology projects
- Prototyping and development of battery-powered systems
Technical Specifications
The Adafruit MicroLipo Charger USB Type C is designed to provide safe and efficient charging for single-cell LiPo batteries. Below are its key technical details:
Key Specifications
| Parameter | Value |
|---|---|
| Input Voltage | 5V (via USB Type C) |
| Charging Current | 100mA (default) or 500mA (selectable) |
| Battery Compatibility | Single-cell LiPo (3.7V nominal) |
| Charge Termination Voltage | 4.2V ± 1% |
| Dimensions | 25mm x 12mm x 4mm |
| Weight | 1.5g |
Pin Configuration and Descriptions
The Adafruit MicroLipo Charger USB Type C has the following pins and connectors:
| Pin/Connector | Description |
|---|---|
| USB Type C | Input power source for charging (5V). |
| BAT+ | Positive terminal for connecting the LiPo battery. |
| GND | Ground terminal for connecting the LiPo battery. |
| CHRG LED | Status LED that lights up during charging and turns off when charging is complete. |
| PROG | Solder jumper to select charging current (100mA or 500mA). |
Usage Instructions
How to Use the Component in a Circuit
- Connect the Battery: Attach the LiPo battery to the BAT+ and GND terminals. Ensure correct polarity to avoid damage.
- Power the Charger: Plug a USB Type C cable into the charger and connect it to a 5V USB power source (e.g., a computer or USB wall adapter).
- Monitor Charging: The CHRG LED will light up to indicate charging is in progress. Once the battery is fully charged, the LED will turn off.
- Select Charging Current (Optional): By default, the charger is set to 100mA. To increase the charging current to 500mA, solder the PROG jumper on the back of the board.
Important Considerations and Best Practices
- Battery Compatibility: Only use this charger with single-cell LiPo batteries rated at 3.7V nominal (4.2V fully charged).
- Charging Current: Ensure the selected charging current (100mA or 500mA) is appropriate for your battery's capacity. A general rule is to set the charging current to 0.5C (half the battery's capacity in mAh).
- Heat Management: The charger may become warm during operation. Ensure adequate ventilation to prevent overheating.
- Polarity: Always double-check the battery's polarity before connecting it to the charger to avoid damage.
Example: Using with an Arduino UNO
The Adafruit MicroLipo Charger USB Type C can be used to charge a LiPo battery that powers an Arduino UNO. Below is an example of how to monitor the battery voltage using the Arduino:
// Example code to monitor LiPo battery voltage using Arduino UNO
// Connect the battery's positive terminal to an analog pin (e.g., A0)
// Use a voltage divider if the battery voltage exceeds 5V

const int batteryPin = A0; // Analog pin connected to battery
float batteryVoltage = 0.0;

void setup() {
  Serial.begin(9600); // Initialize serial communication
}

void loop() {
  int sensorValue = analogRead(batteryPin); // Read analog value
  // Convert the analog reading to voltage (assuming 5V reference)
  batteryVoltage = sensorValue * (5.0 / 1023.0);

  Serial.print("Battery Voltage: ");
  Serial.print(batteryVoltage);
  Serial.println(" V");

  delay(1000); // Wait 1 second before next reading
}
Note: If the battery voltage exceeds 5V, use a voltage divider to scale it down before connecting to the Arduino's analog pin.
Troubleshooting and FAQs
Common Issues and Solutions
| Issue | Possible Cause | Solution |
|---|---|---|
| CHRG LED does not light up | USB power source not connected or faulty | Check the USB cable and power source. |
| Battery not charging | Incorrect battery polarity | Verify and correct the battery connection. |
| Charger gets too hot | High charging current or poor ventilation | Reduce charging current or improve airflow. |
| CHRG LED stays on indefinitely | Faulty battery or over-discharged battery | Replace the battery or pre-charge it manually. |
FAQs
Can I use this charger with a 2-cell LiPo battery?
No, this charger is designed for single-cell (3.7V nominal) LiPo batteries only.How do I change the charging current?
To change the charging current from 100mA to 500mA, solder the PROG jumper on the back of the board.What happens if I connect the battery with reversed polarity?
Connecting the battery with reversed polarity can damage the charger and the battery. Always double-check the connections before powering the charger.Can I use this charger while the battery is powering a circuit?
Yes, but ensure the circuit's current draw does not exceed the charger's input current capacity.
By following this documentation, you can safely and effectively use the Adafruit MicroLipo Charger USB Type C in your projects.