How to Use Connector 2 In 2 Out: Examples, Pinouts, and Specs

Introduction
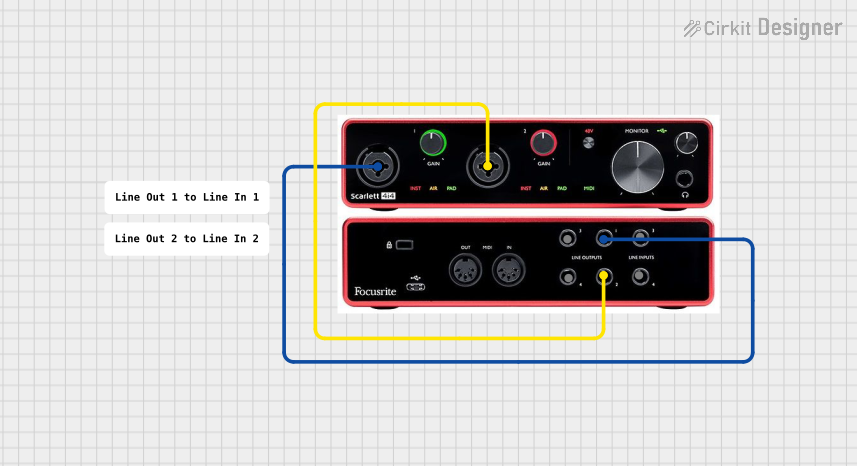
The Connector 2 In 2 Out is a versatile electronic component designed to route two input signals to two separate output paths. This component is commonly used in signal distribution, allowing for efficient splitting or routing of signals in various electronic circuits. Its compact design and straightforward functionality make it an essential component in audio systems, signal processing circuits, and prototyping setups.
Explore Projects Built with Connector 2 In 2 Out


Explore Projects Built with Connector 2 In 2 Out
Common Applications and Use Cases
- Audio Systems: Distributing stereo audio signals to multiple outputs.
- Signal Processing: Routing signals to different processing units or devices.
- Prototyping: Simplifying connections in breadboard or PCB-based projects.
- Testing and Debugging: Splitting signals for simultaneous monitoring and analysis.
Technical Specifications
The Connector 2 In 2 Out is a passive component with no active circuitry, making it simple to integrate into a wide range of applications. Below are its key specifications:
General Specifications
| Parameter | Value |
|---|---|
| Number of Inputs | 2 |
| Number of Outputs | 2 |
| Maximum Voltage Rating | 30V DC |
| Maximum Current Rating | 2A |
| Connector Type | Screw terminal or pin header |
| Material | Plastic housing, metal contacts |
Pin Configuration and Descriptions
The Connector 2 In 2 Out typically features four terminals or pins, as described below:
| Pin Number | Label | Description |
|---|---|---|
| 1 | Input 1 (+) | Positive terminal for the first input signal |
| 2 | Input 2 (+) | Positive terminal for the second input signal |
| 3 | Output 1 (+) | Positive terminal for the first output signal |
| 4 | Output 2 (+) | Positive terminal for the second output signal |
Note: Ground connections are not included in this component. Ensure proper grounding in your circuit design.
Usage Instructions
How to Use the Component in a Circuit
- Identify the Terminals: Locate the input and output terminals on the connector. Refer to the pin configuration table above.
- Connect Input Signals: Attach the two input signals to the respective input terminals (Input 1 and Input 2).
- Connect Output Paths: Connect the output terminals (Output 1 and Output 2) to the desired output devices or circuits.
- Secure Connections: If using a screw terminal version, tighten the screws to secure the wires. For pin headers, ensure proper soldering or insertion into a breadboard.
Important Considerations and Best Practices
- Voltage and Current Limits: Do not exceed the maximum voltage (30V DC) or current (2A) ratings to avoid damage.
- Signal Integrity: For high-frequency signals, ensure short and shielded connections to minimize noise and signal degradation.
- Grounding: Proper grounding is essential for stable operation. Use a common ground for all connected devices.
- Polarity: Ensure correct polarity when connecting input and output signals to prevent circuit malfunction.
Example: Using with an Arduino UNO
The Connector 2 In 2 Out can be used to route signals from an Arduino UNO to multiple devices. Below is an example of how to use it to distribute a PWM signal:
Circuit Setup
- Connect the Arduino's PWM output pin (e.g., Pin 9) to Input 1 of the connector.
- Connect Output 1 to Device A and Output 2 to Device B.
- Ensure all devices share a common ground.
Arduino Code
// Example code to generate a PWM signal on Pin 9
// This signal can be routed to two devices using the Connector 2 In 2 Out

void setup() {
  pinMode(9, OUTPUT); // Set Pin 9 as an output
}

void loop() {
  analogWrite(9, 128); // Generate a 50% duty cycle PWM signal
  delay(1000);         // Wait for 1 second
  analogWrite(9, 255); // Generate a 100% duty cycle PWM signal
  delay(1000);         // Wait for 1 second
}
Note: The connector does not amplify or modify the signal. Ensure the connected devices are compatible with the Arduino's output voltage and current.
Troubleshooting and FAQs
Common Issues and Solutions
| Issue | Possible Cause | Solution |
|---|---|---|
| No signal at the output terminals | Loose or incorrect connections | Verify and secure all connections. |
| Signal distortion or noise | Long or unshielded wires | Use shorter, shielded wires. |
| Overheating of the connector | Exceeding voltage or current ratings | Ensure the input signals are within specs. |
FAQs
Q1: Can this connector be used for AC signals?
A1: Yes, the Connector 2 In 2 Out can handle AC signals as long as the voltage and current ratings are not exceeded.
Q2: Does this component provide electrical isolation?
A2: No, the connector does not provide isolation. For isolation, consider using optocouplers or transformers.
Q3: Can I use this connector for splitting power supply lines?
A3: Yes, it can be used for low-power DC distribution, but ensure the current does not exceed 2A.
Q4: Is this connector suitable for high-frequency signals?
A4: It can be used for high-frequency signals, but proper shielding and short connections are recommended to maintain signal integrity.