
How to Use switch_off: Examples, Pinouts, and Specs

 Design with switch_off in Cirkit Designer
Introduction
A switch is an essential electronic component used to control the flow of current in a circuit. The "off" state of a switch interrupts the current, effectively disconnecting the circuit and turning off the connected device or system. Switches are widely used in various applications, including household appliances, industrial machinery, and electronic projects.
Common applications of switches include:
- Power control for electronic devices
- Circuit selection in multi-path systems
- User input in control panels and interfaces
- Safety mechanisms to disconnect power in emergencies
Explore Projects Built with switch_off
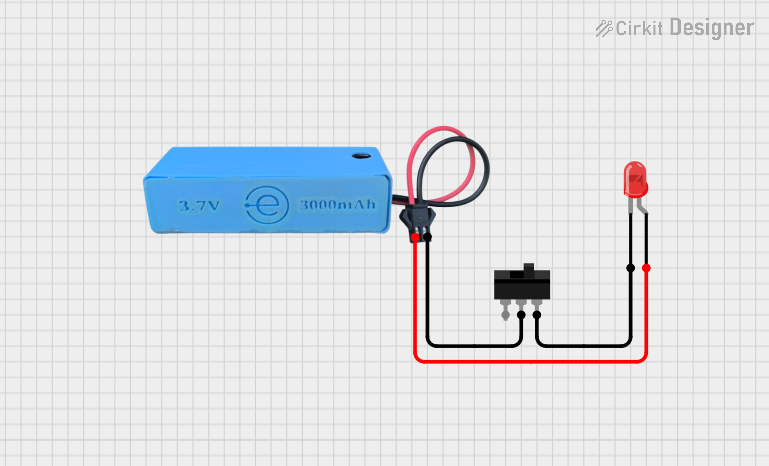 Open Project in Cirkit Designer
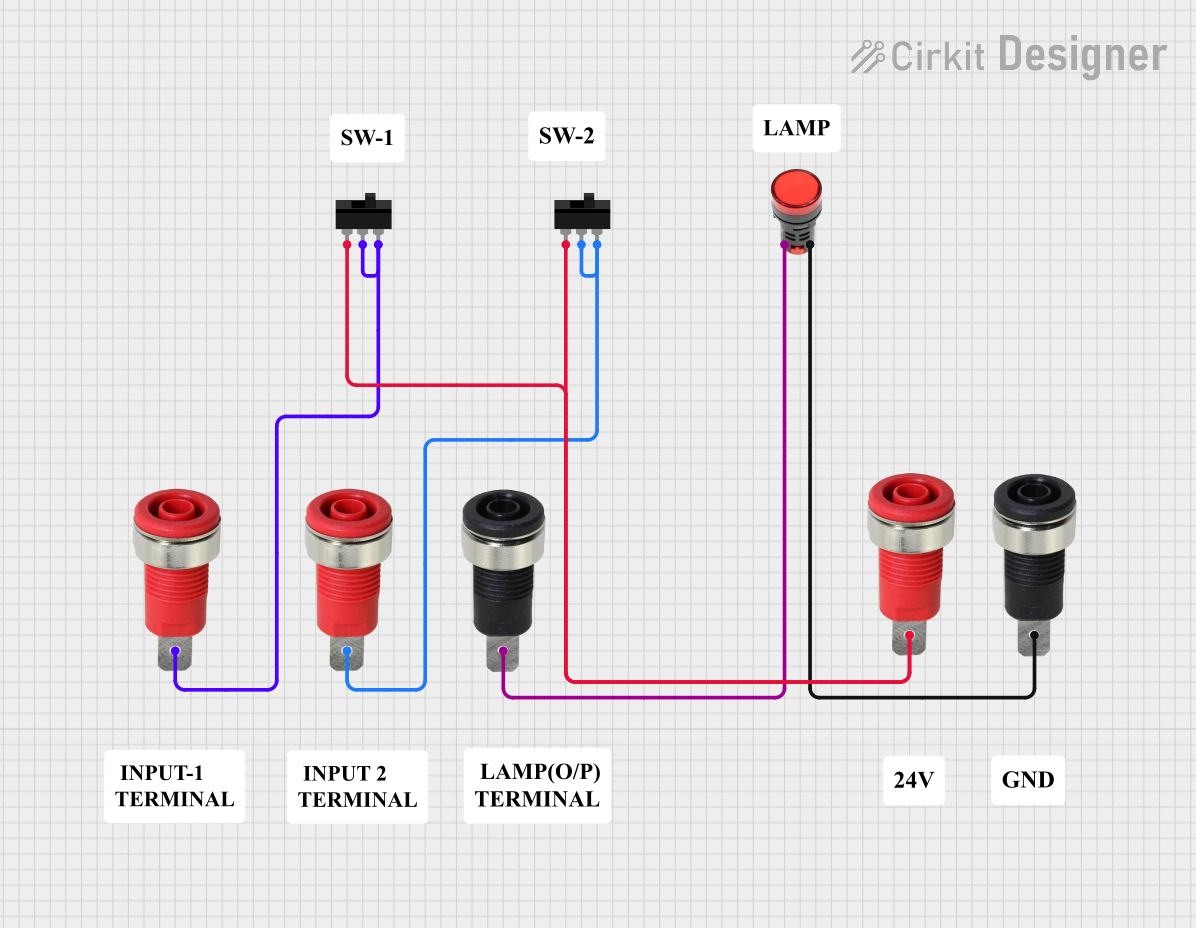 Open Project in Cirkit Designer
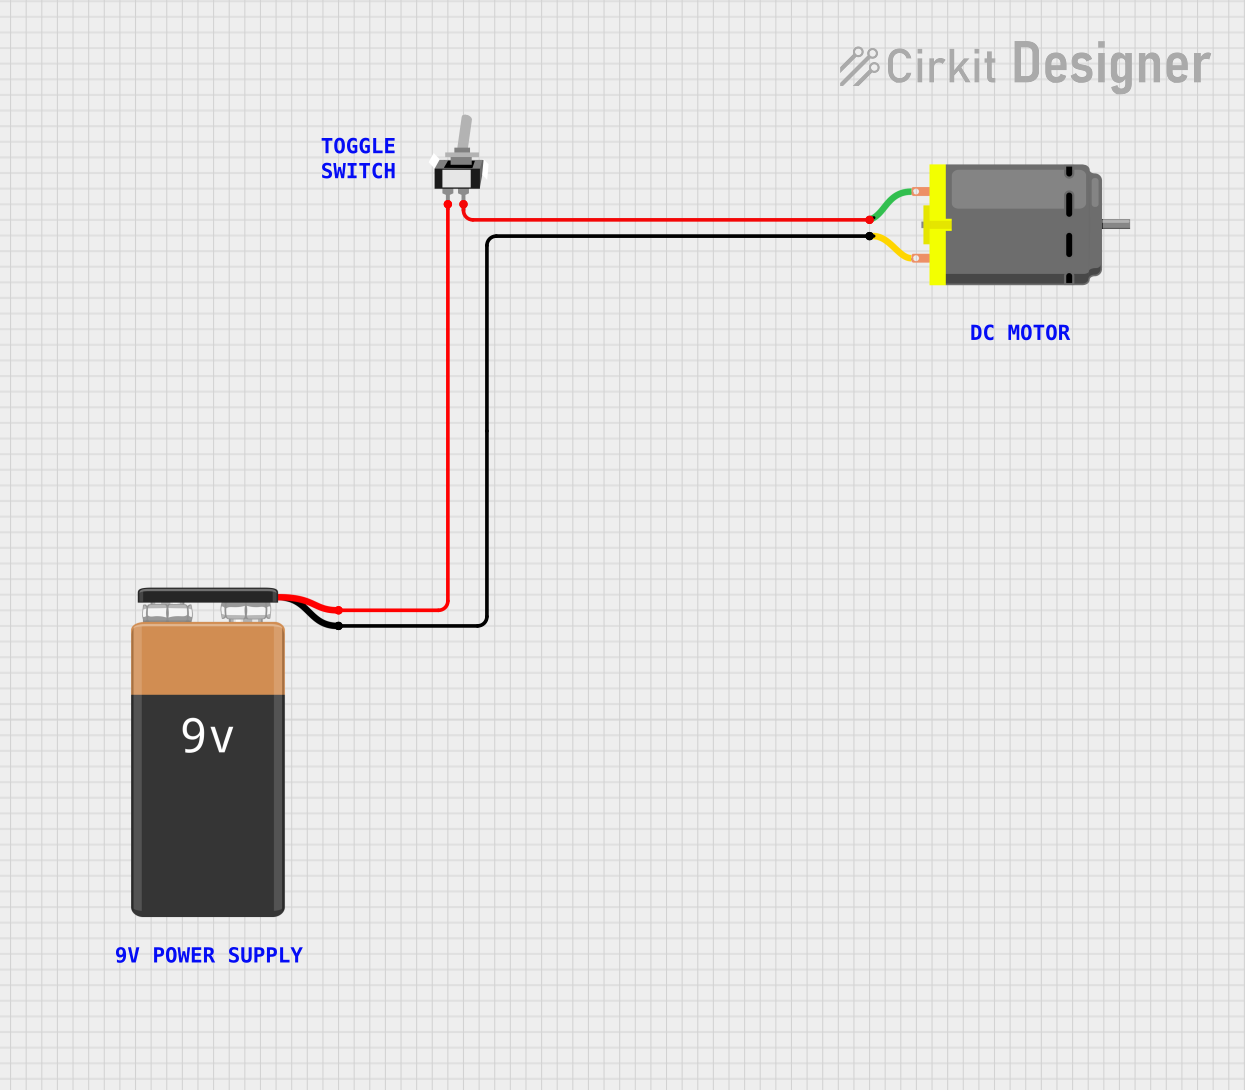 Open Project in Cirkit Designer
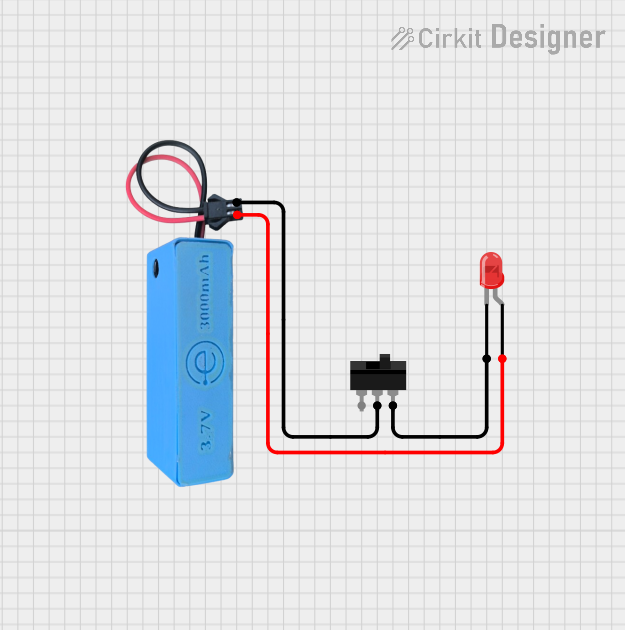 Open Project in Cirkit Designer
Explore Projects Built with switch_off
Open Project in Cirkit DesignerOpen Project in Cirkit DesignerOpen Project in Cirkit DesignerOpen Project in Cirkit DesignerTechnical Specifications
Switches come in various types and configurations, but the following are general specifications for a basic single-pole single-throw (SPST) switch in its "off" state:
- Voltage Rating: Typically 12V to 250V (varies by model)
- Current Rating: 0.5A to 15A (varies by model)
- Contact Resistance: < 50 mΩ
- Insulation Resistance: > 100 MΩ
- Mechanical Durability: 10,000 to 1,000,000 cycles
- Operating Temperature: -20°C to 85°C
Pin Configuration and Descriptions
The pin configuration of a basic SPST switch is straightforward, as it typically has two terminals:
| Pin Name | Description |
|---|---|
| Pin 1 | Input terminal for the current flow |
| Pin 2 | Output terminal for the current flow |
When the switch is in the "off" position, the connection between Pin 1 and Pin 2 is open, preventing current from flowing through the circuit.
Usage Instructions
How to Use the Switch in a Circuit
- Identify the Terminals: Locate the two terminals of the switch (Pin 1 and Pin 2).
- Connect the Circuit:
- Connect Pin 1 to the power source or signal input.
- Connect Pin 2 to the load or the next component in the circuit.
- Test the Switch: Toggle the switch to ensure it interrupts the current flow when in the "off" position.
Important Considerations and Best Practices
- Voltage and Current Ratings: Ensure the switch's voltage and current ratings match or exceed the requirements of your circuit to avoid damage or failure.
- Debouncing: When using a switch in digital circuits, consider implementing debouncing techniques to eliminate noise caused by mechanical contacts.
- Safety: Always disconnect power before wiring or modifying the switch in a circuit.
- Mounting: Secure the switch properly to prevent accidental toggling or damage.
Example: Using a Switch with an Arduino UNO
Below is an example of how to use a switch to control an LED with an Arduino UNO. The switch is connected to a digital input pin, and the LED is connected to a digital output pin.
// Define pin numbers
const int switchPin = 2;  // Pin connected to the switch
const int ledPin = 13;    // Pin connected to the LED

void setup() {
  pinMode(switchPin, INPUT_PULLUP); // Set switch pin as input with pull-up resistor
  pinMode(ledPin, OUTPUT);          // Set LED pin as output
}

void loop() {
  int switchState = digitalRead(switchPin); // Read the state of the switch

  if (switchState == LOW) {
    // If the switch is pressed (LOW), turn off the LED
    digitalWrite(ledPin, LOW);
  } else {
    // If the switch is not pressed (HIGH), turn on the LED
    digitalWrite(ledPin, HIGH);
  }
}
Notes:
- The
INPUT_PULLUPmode is used to simplify the circuit by enabling the internal pull-up resistor of the Arduino. - When the switch is in the "off" position, the circuit is open, and the LED will turn on.
Troubleshooting and FAQs
Common Issues
Switch Does Not Interrupt Current:
- Cause: The switch may be damaged or improperly wired.
- Solution: Check the wiring and ensure the switch is functioning correctly using a multimeter.
Switch Generates Noise in Digital Circuits:
- Cause: Mechanical switches can produce bouncing signals.
- Solution: Implement software or hardware debouncing techniques.
Switch Overheats:
- Cause: The current exceeds the switch's rated capacity.
- Solution: Use a switch with a higher current rating.
LED Does Not Respond in Arduino Circuit:
- Cause: Incorrect wiring or pin configuration.
- Solution: Verify the connections and ensure the correct pins are defined in the code.
FAQs
Q: Can I use a switch rated for 250V in a 12V circuit?
A: Yes, as long as the current rating of the switch is not exceeded, a higher voltage-rated switch can be used in a lower voltage circuit.
Q: What is the difference between SPST and DPDT switches?
A: An SPST (Single Pole Single Throw) switch controls a single circuit with one input and one output. A DPDT (Double Pole Double Throw) switch can control two independent circuits and has two inputs and two outputs.
Q: How do I test if a switch is working?
A: Use a multimeter in continuity mode. When the switch is "on," the multimeter should beep, indicating a closed circuit. When the switch is "off," there should be no continuity.
This documentation provides a comprehensive guide to understanding and using a switch in its "off" state.