
How to Use RCA: Examples, Pinouts, and Specs
 Design with RCA in Cirkit Designer
Introduction
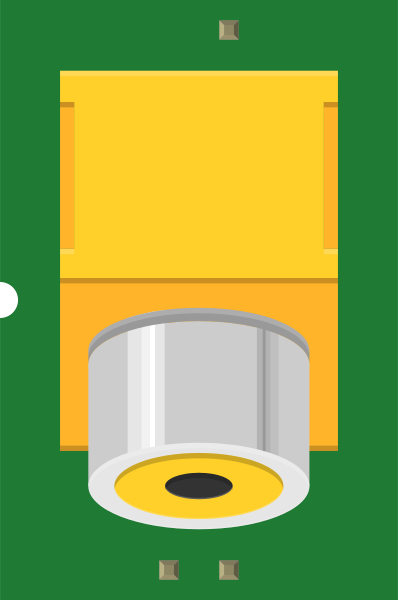
The RCA connector, manufactured by SparkFun with part ID RCA_LOCK, is a widely used component for transmitting analog audio and video signals. Originally developed by the Radio Corporation of America, this connector is a staple in consumer electronics due to its simplicity, reliability, and ease of use. RCA connectors are color-coded for quick identification: red and white for stereo audio (right and left channels, respectively) and yellow for composite video.
Explore Projects Built with RCA
 Open Project in Cirkit Designer
 Open Project in Cirkit Designer
 Open Project in Cirkit Designer
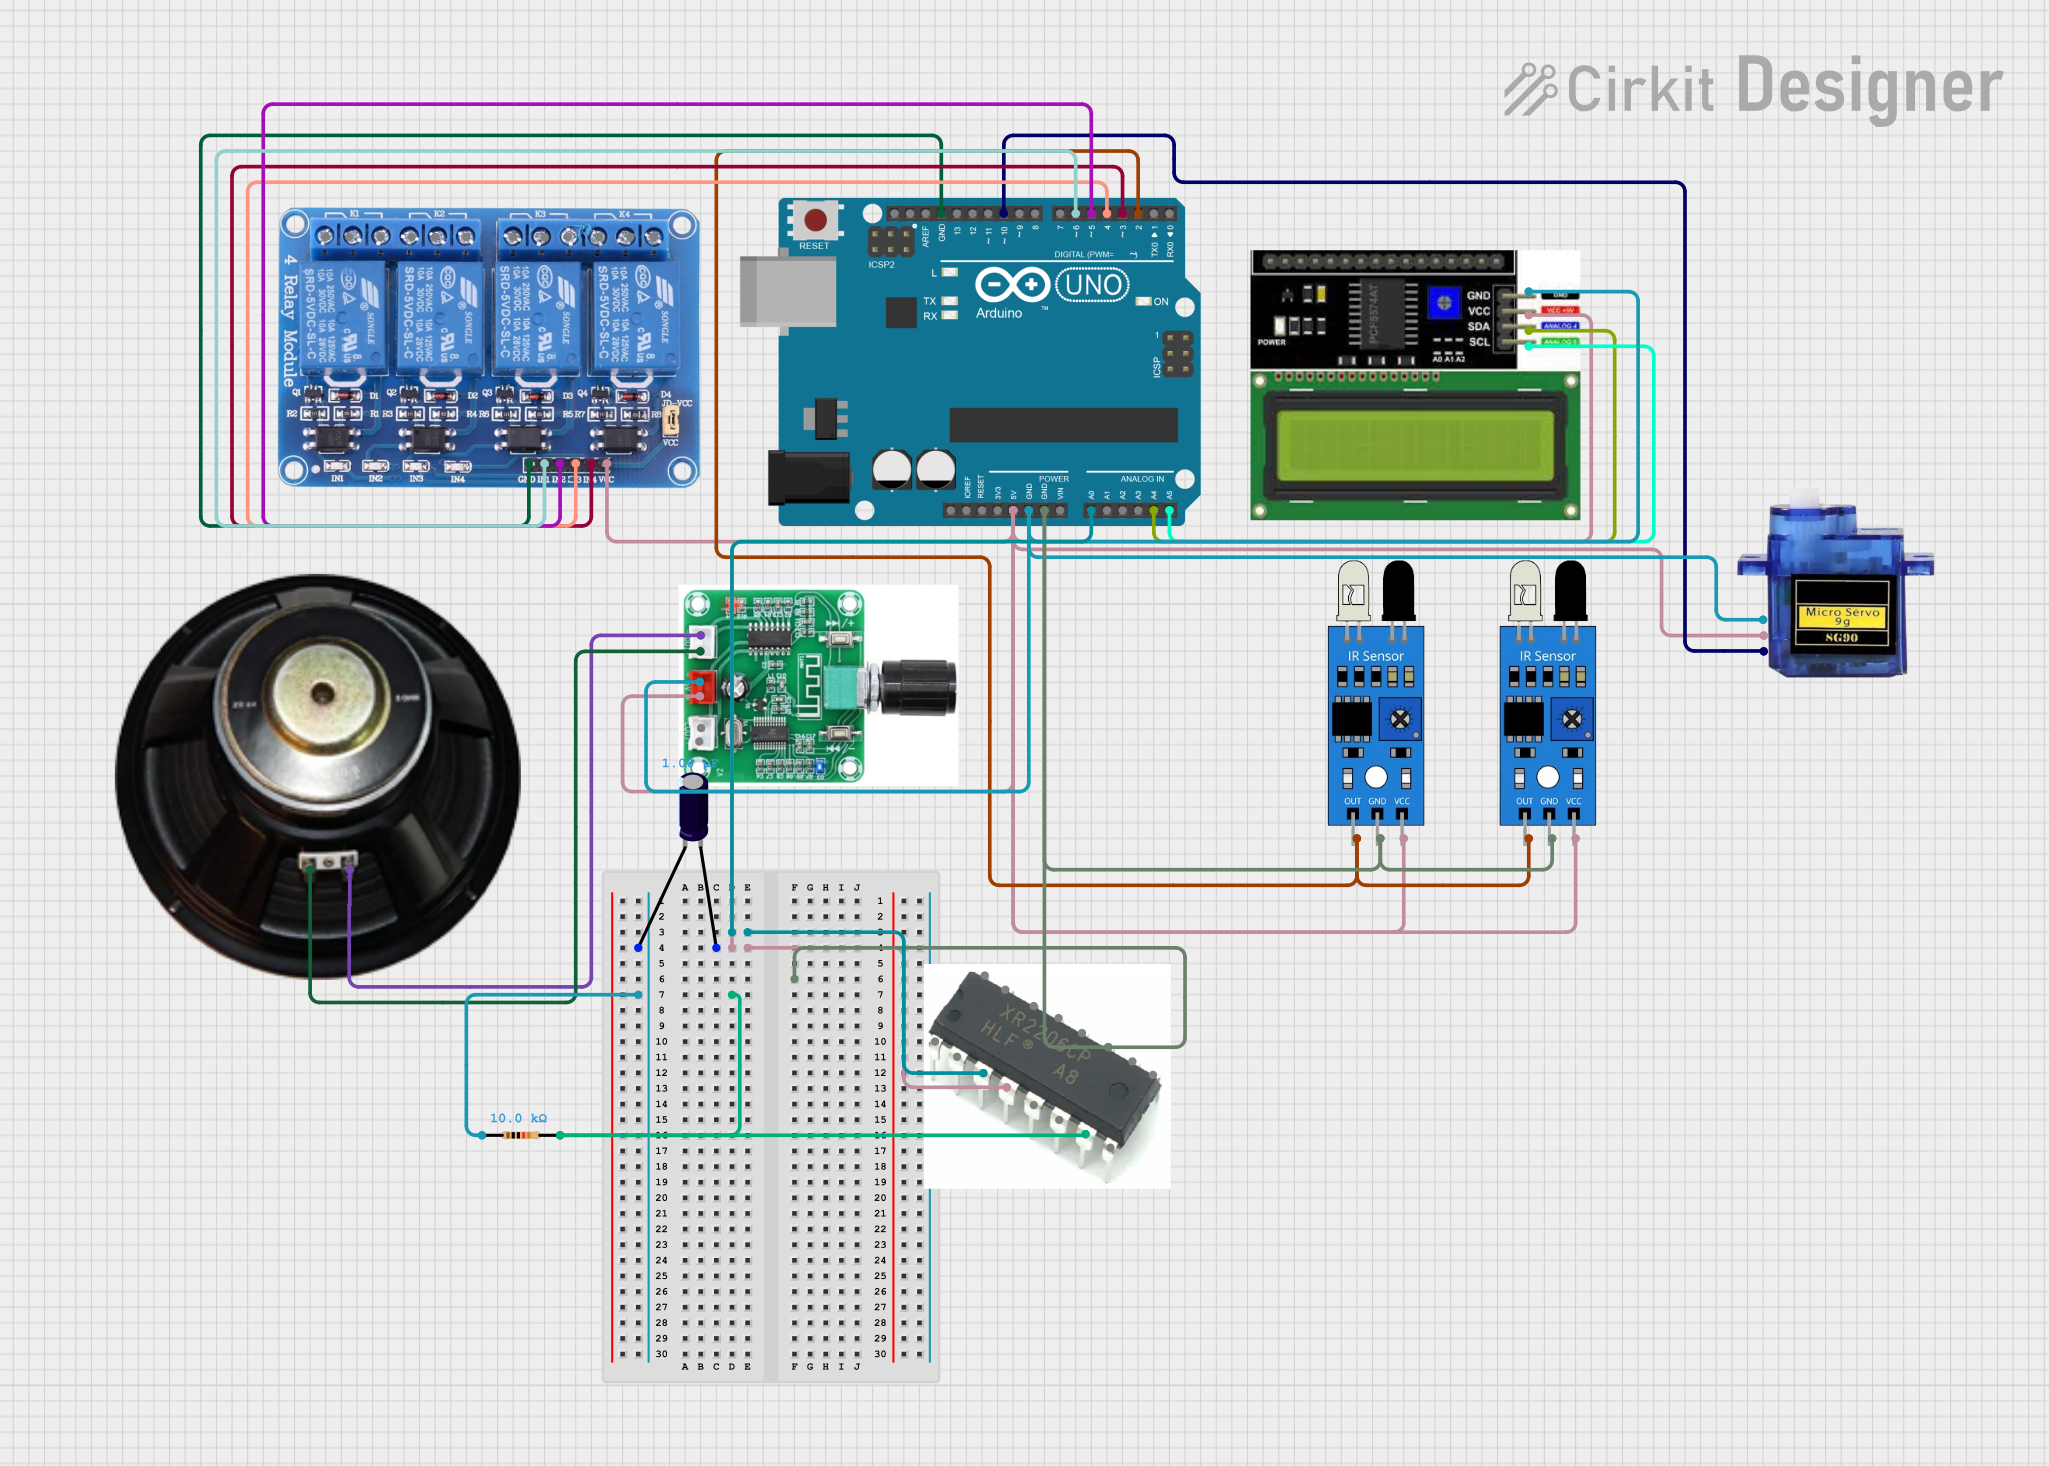 Open Project in Cirkit Designer
Explore Projects Built with RCA
Open Project in Cirkit DesignerOpen Project in Cirkit DesignerOpen Project in Cirkit DesignerOpen Project in Cirkit DesignerCommon Applications
- Home audio and video systems
- DVD players, TVs, and gaming consoles
- Audio amplifiers and mixers
- Analog signal transmission in DIY electronics projects
Technical Specifications
The RCA_LOCK connector is designed for robust and secure connections in audio and video systems. Below are its key technical details:
General Specifications
| Parameter | Value |
|---|---|
| Manufacturer | SparkFun |
| Part ID | RCA_LOCK |
| Connector Type | RCA (Phono) |
| Signal Type | Analog audio/video |
| Number of Channels | Single-channel per connector |
| Mounting Style | Panel mount |
| Material | Nickel-plated brass contacts |
| Insulation Resistance | ≥ 100 MΩ |
| Operating Temperature | -25°C to +85°C |
Electrical Specifications
| Parameter | Value |
|---|---|
| Rated Voltage | 34V AC/DC |
| Rated Current | 1A |
| Contact Resistance | ≤ 30 mΩ |
| Dielectric Strength | 500V AC for 1 minute |
Pin Configuration and Descriptions
The RCA_LOCK connector has two primary contact points: the center pin and the outer shell. These are detailed below:
| Pin Name | Description |
|---|---|
| Center Pin | Carries the signal (audio or video) |
| Outer Shell | Acts as the ground connection |
Usage Instructions
How to Use the RCA_LOCK in a Circuit
Mounting the Connector:
Secure the RCA_LOCK connector to a panel or enclosure using the locking mechanism. Ensure the connector is firmly attached to prevent signal loss or disconnection.Wiring the Connector:
- Solder the signal wire to the center pin of the connector.
- Solder the ground wire to the outer shell.
- Use heat shrink tubing or insulation to protect the solder joints and prevent short circuits.
Connecting to Devices:
- Match the color-coded RCA plugs (red, white, yellow) to the corresponding jacks on your devices.
- Ensure a snug fit to maintain a reliable connection.
Important Considerations
- Signal Quality: Use high-quality cables to minimize signal degradation, especially for video signals.
- Grounding: Proper grounding is essential to avoid noise or interference in audio and video signals.
- Voltage and Current Limits: Do not exceed the rated voltage (34V) or current (1A) to prevent damage to the connector.
Example: Connecting to an Arduino UNO
While RCA connectors are not directly compatible with Arduino UNO pins, they can be used to transmit analog signals to or from the Arduino. Below is an example of reading an audio signal from an RCA connector:
// Example: Reading an audio signal from an RCA connector
// Connect the center pin of the RCA connector to Arduino analog pin A0
// Connect the outer shell (ground) to Arduino GND

const int rcaPin = A0;  // Analog pin connected to the RCA center pin
int signalValue = 0;    // Variable to store the analog signal value

void setup() {
  Serial.begin(9600);  // Initialize serial communication
}

void loop() {
  signalValue = analogRead(rcaPin);  // Read the analog signal
  Serial.print("Signal Value: ");    // Print the signal value to the Serial Monitor
  Serial.println(signalValue);
  delay(100);  // Delay for readability
}
Troubleshooting and FAQs
Common Issues
Loose Connections:
- Problem: The RCA plug feels loose or disconnects easily.
- Solution: Ensure the connector is securely mounted and the plug is fully inserted. Check for wear or damage to the connector.
Signal Noise or Interference:
- Problem: Audio or video signals are noisy or distorted.
- Solution: Verify proper grounding and use shielded cables. Avoid running RCA cables near power lines or other sources of electromagnetic interference.
No Signal Transmission:
- Problem: No audio or video signal is transmitted.
- Solution: Check the solder joints on the connector for continuity. Ensure the cables and devices are functioning correctly.
FAQs
Q1: Can the RCA_LOCK connector be used for digital signals?
A1: No, the RCA_LOCK is designed for analog signals. For digital signals, consider using connectors like HDMI or SPDIF.
Q2: Is the RCA_LOCK connector waterproof?
A2: No, the RCA_LOCK is not waterproof. Use it in dry environments or enclosures to protect it from moisture.
Q3: Can I use the RCA_LOCK for high-frequency signals?
A3: RCA connectors are not ideal for high-frequency signals due to potential signal loss. For such applications, consider using BNC or coaxial connectors.
By following this documentation, you can effectively integrate the SparkFun RCA_LOCK connector into your audio and video projects.