
How to Use WeIO: Examples, Pinouts, and Specs
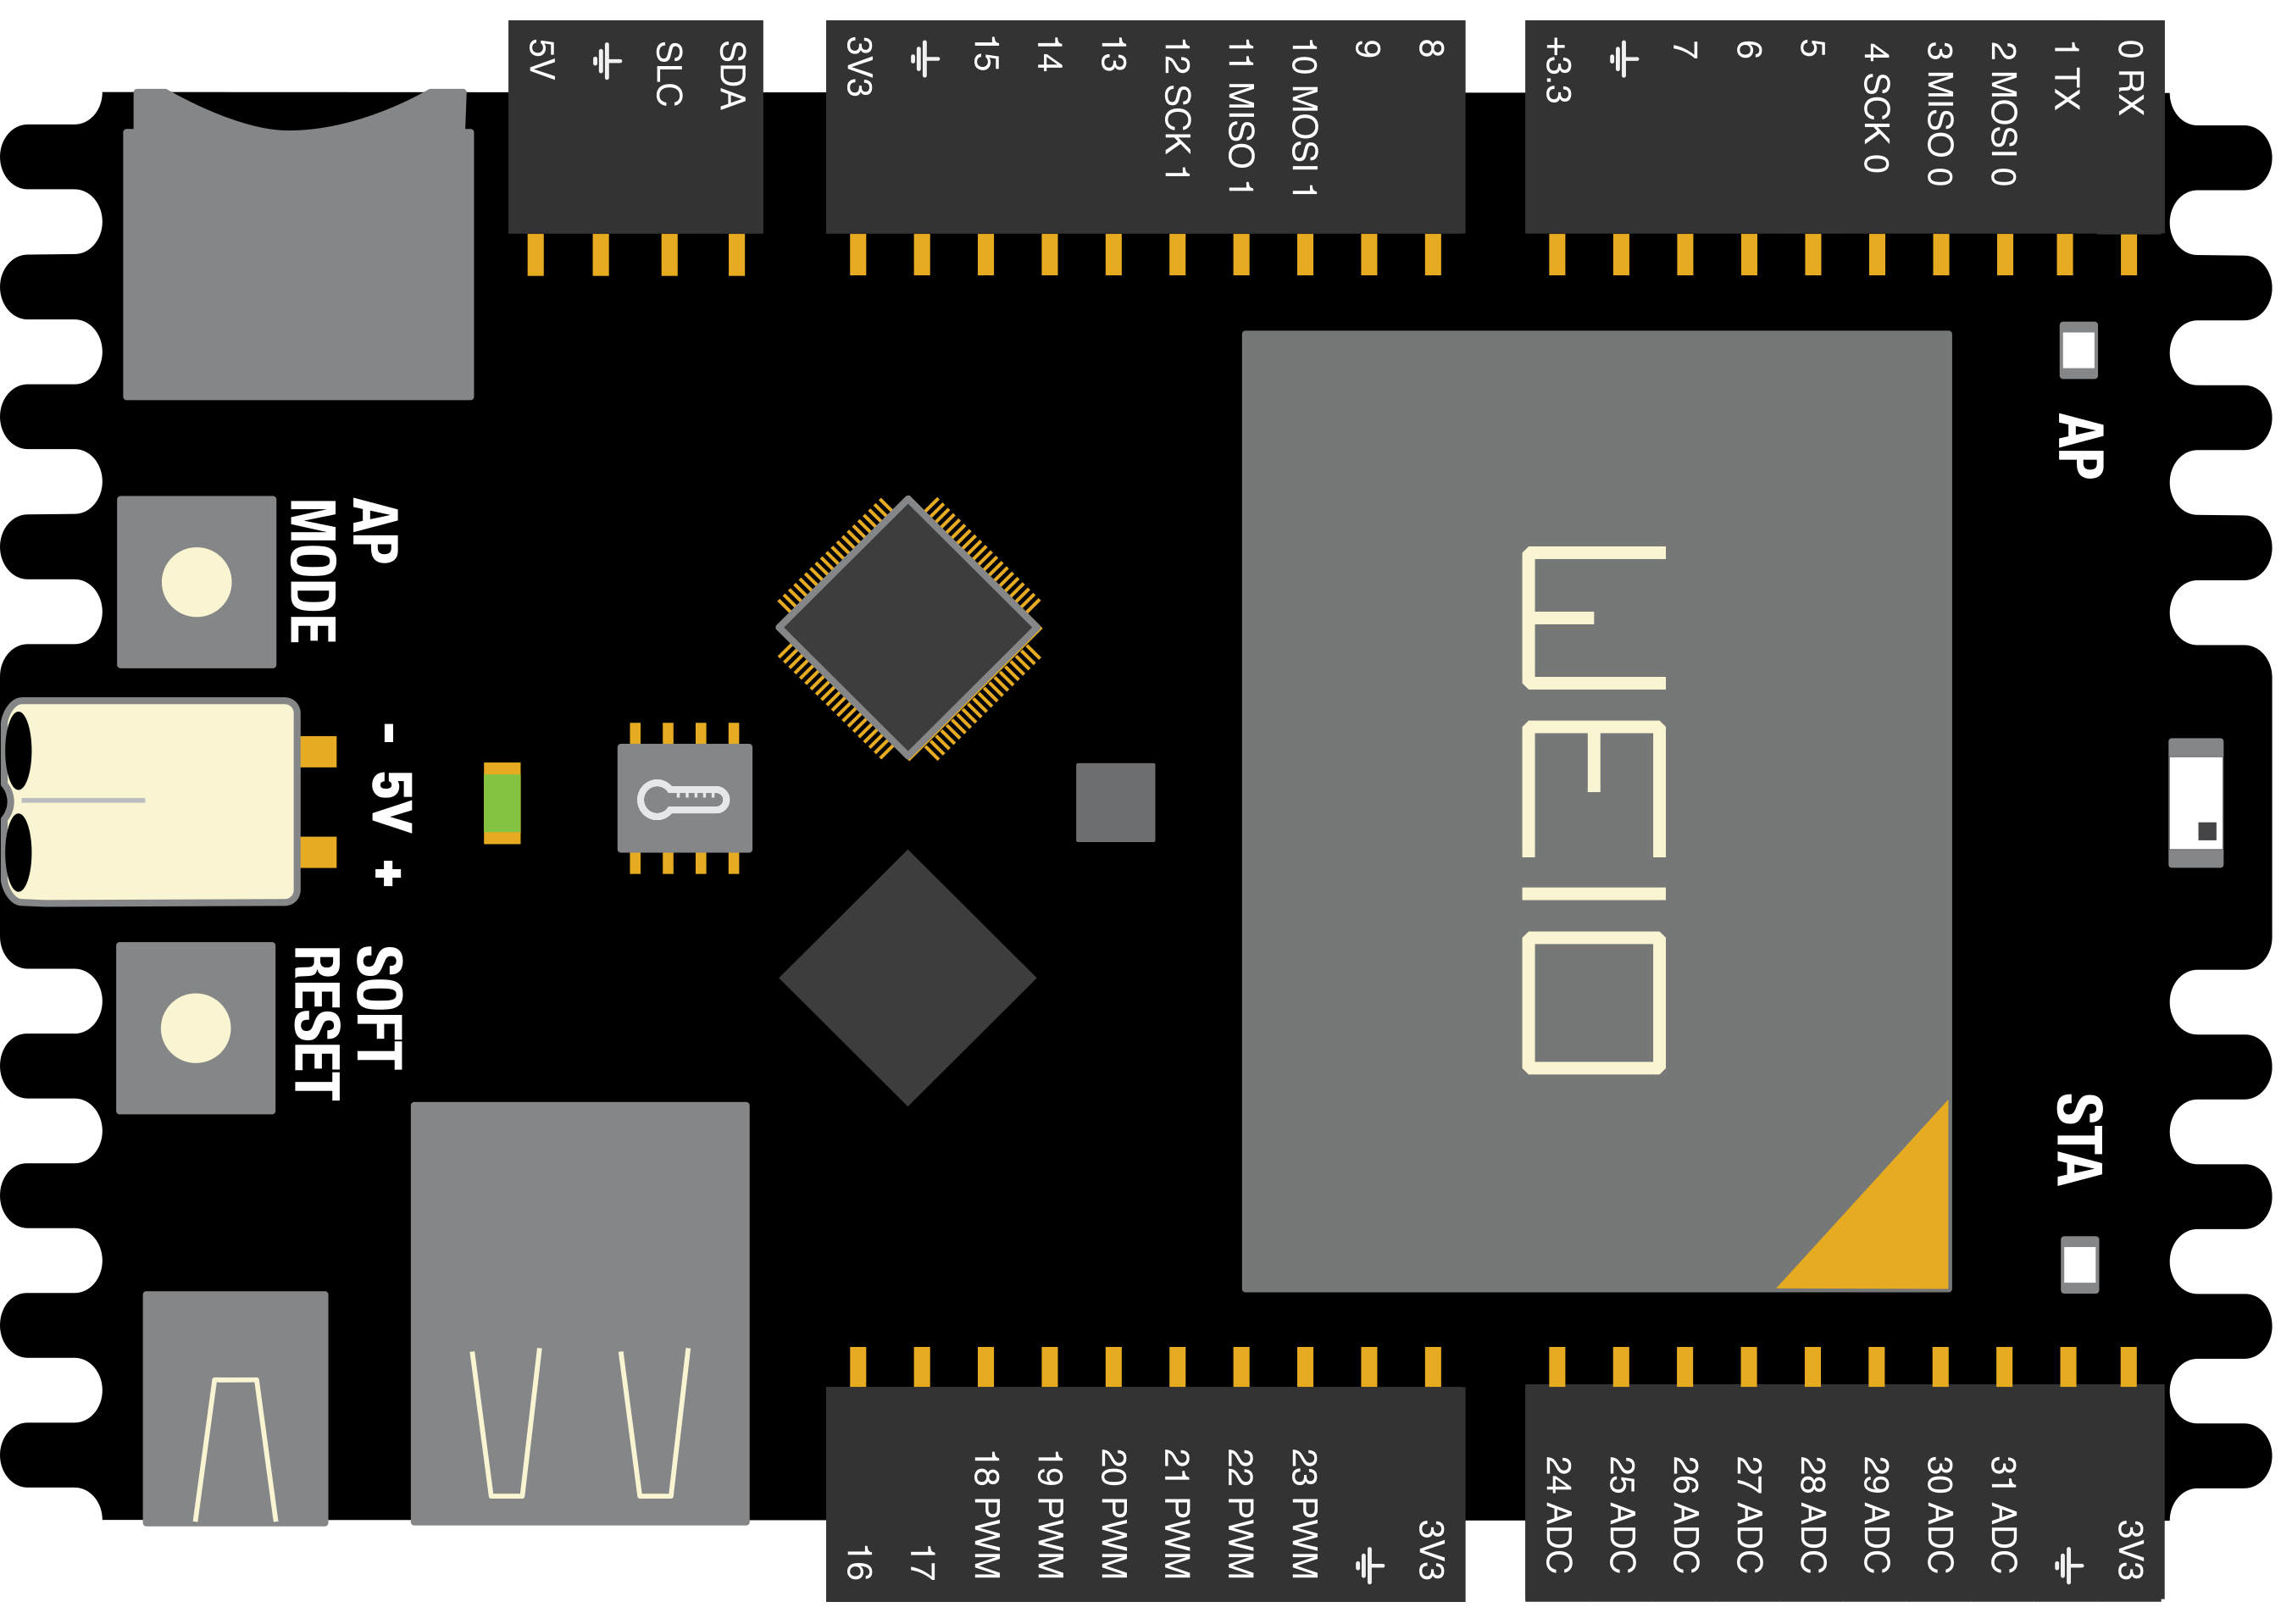
 Design with WeIO in Cirkit Designer
Introduction
WeIO is a versatile IoT (Internet of Things) development platform designed to simplify the creation and management of connected devices. It features a user-friendly web-based interface, supports multiple programming languages (such as Python and JavaScript), and offers built-in Wi-Fi connectivity for seamless integration into IoT ecosystems. With its focus on rapid prototyping and deployment, WeIO is an excellent choice for developers, hobbyists, and engineers looking to build smart devices and IoT applications.
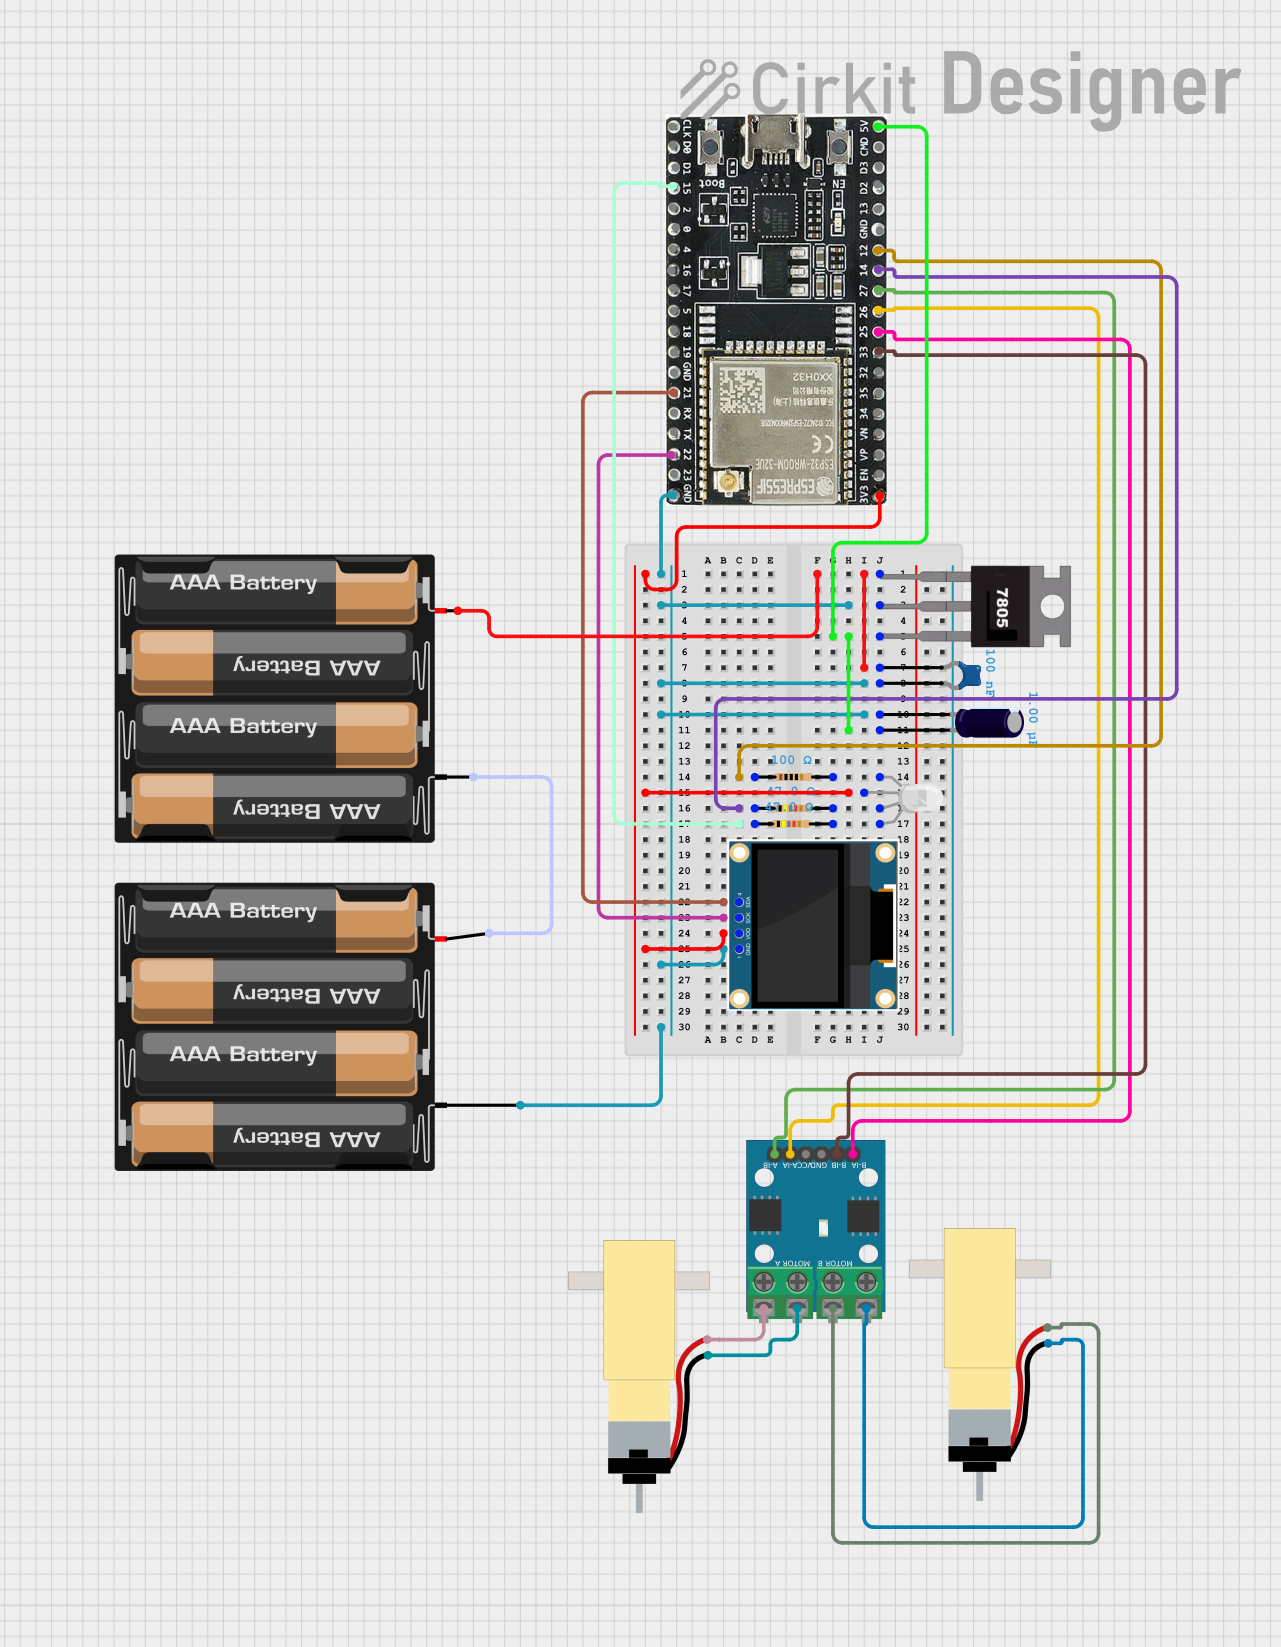
Explore Projects Built with WeIO
 Open Project in Cirkit Designer
 Open Project in Cirkit Designer
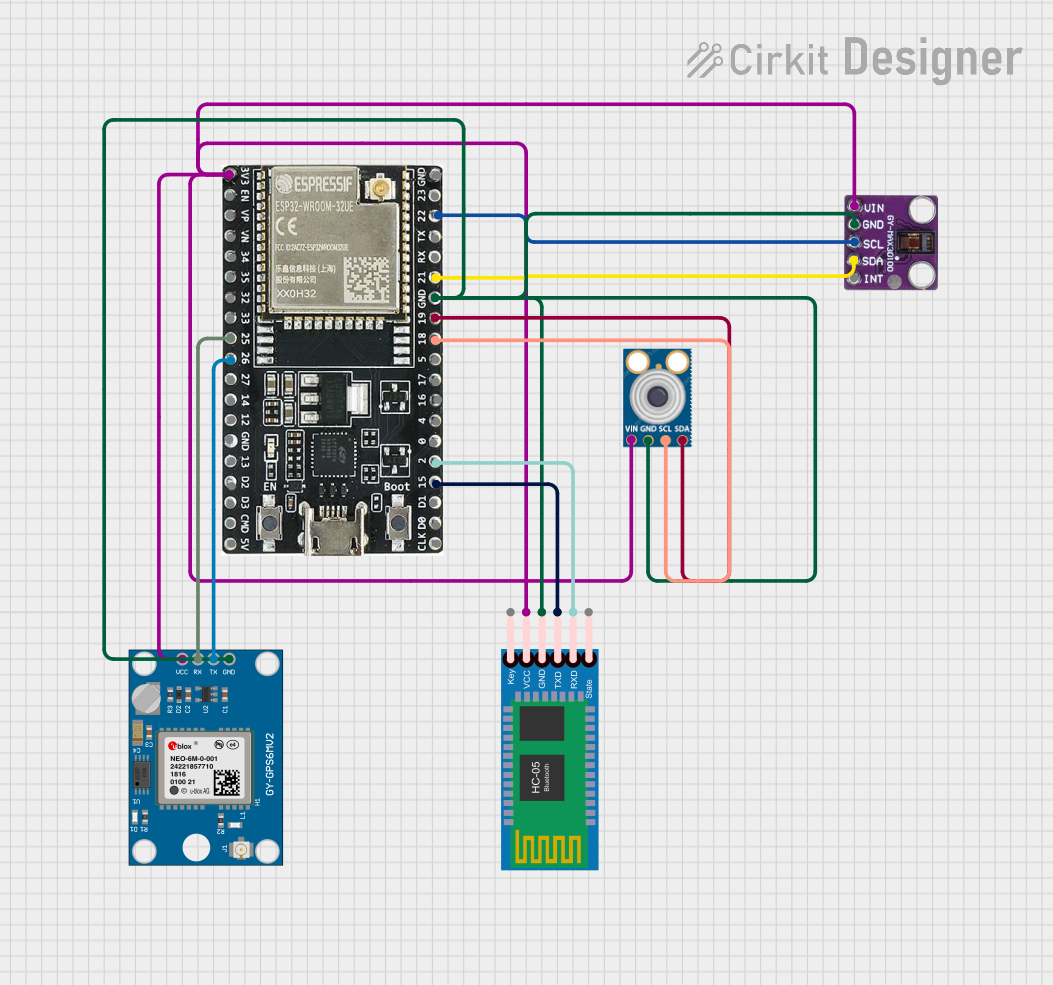 Open Project in Cirkit Designer
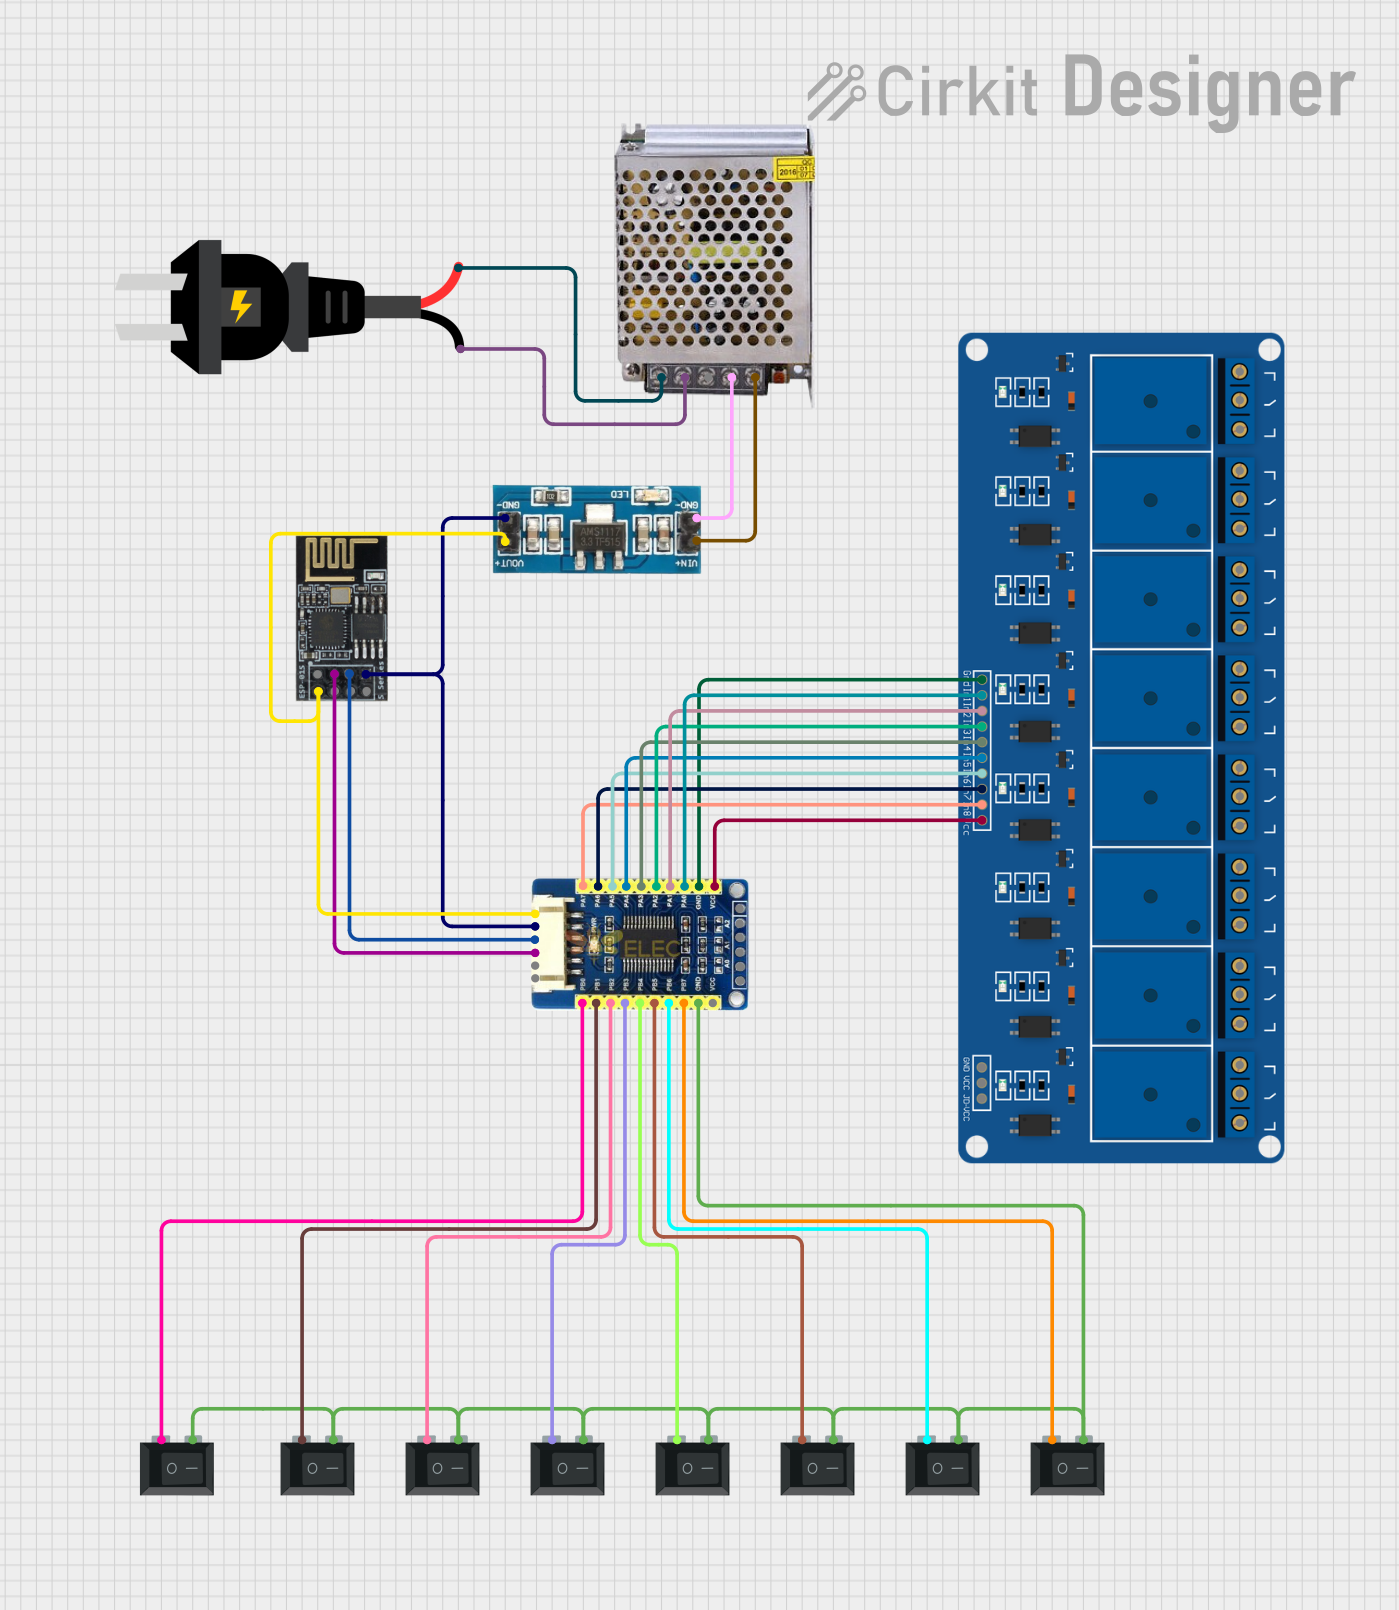 Open Project in Cirkit Designer
Explore Projects Built with WeIO
Open Project in Cirkit DesignerOpen Project in Cirkit DesignerOpen Project in Cirkit DesignerOpen Project in Cirkit DesignerCommon Applications and Use Cases
- Smart home automation systems
- Environmental monitoring and data logging
- Wearable devices and health monitoring
- Industrial IoT applications
- Prototyping connected consumer electronics
- Educational projects and IoT learning platforms
Technical Specifications
Key Technical Details
| Specification | Value |
|---|---|
| Microcontroller | Atmel SAM4S Cortex-M4 (120 MHz) |
| Connectivity | Built-in Wi-Fi (802.11 b/g/n) |
| Operating Voltage | 3.3V |
| Input Voltage (via USB) | 5V |
| Flash Memory | 8 MB |
| RAM | 64 KB |
| GPIO Pins | 20 (Digital and Analog) |
| Communication Protocols | UART, SPI, I2C |
| Programming Languages | Python, JavaScript, HTML5, CSS3 |
| Power Consumption | ~200 mA (typical) |
| Dimensions | 60 mm x 40 mm |
Pin Configuration and Descriptions
| Pin Number | Pin Name | Description |
|---|---|---|
| 1 | GND | Ground |
| 2 | 3.3V | 3.3V Power Output |
| 3 | GPIO1 | General Purpose I/O Pin |
| 4 | GPIO2 | General Purpose I/O Pin |
| 5 | GPIO3 | General Purpose I/O Pin |
| 6 | GPIO4 | General Purpose I/O Pin |
| 7 | TX | UART Transmit Pin |
| 8 | RX | UART Receive Pin |
| 9 | SDA | I2C Data Line |
| 10 | SCL | I2C Clock Line |
| 11 | SPI_MOSI | SPI Master Out Slave In |
| 12 | SPI_MISO | SPI Master In Slave Out |
| 13 | SPI_SCK | SPI Clock |
| 14 | SPI_CS | SPI Chip Select |
| 15 | A0 | Analog Input 0 |
| 16 | A1 | Analog Input 1 |
| 17 | A2 | Analog Input 2 |
| 18 | A3 | Analog Input 3 |
| 19 | PWM1 | PWM Output 1 |
| 20 | PWM2 | PWM Output 2 |
Usage Instructions
How to Use the Component in a Circuit
Powering the WeIO Board:
- Connect the board to a 5V USB power source or a compatible 3.3V power supply.
- Ensure the power source provides sufficient current (~200 mA) for stable operation.
Connecting to Wi-Fi:
- Access the WeIO web interface by connecting to the board's default Wi-Fi network.
- Open a web browser and navigate to the default IP address (e.g.,
192.168.1.1). - Configure the board to connect to your local Wi-Fi network.
Programming the Board:
- Use the web-based IDE provided by WeIO to write and upload code.
- Alternatively, you can use Python or JavaScript to program the board via the IDE.
Interfacing with Sensors and Actuators:
- Use the GPIO pins to connect sensors (e.g., temperature, humidity) or actuators (e.g., motors, LEDs).
- Refer to the pin configuration table to identify the appropriate pins for your application.
Deploying IoT Applications:
- Use the built-in libraries and APIs to send data to cloud platforms or control devices remotely.
- Leverage the board's support for HTTP, MQTT, or WebSocket protocols for communication.
Important Considerations and Best Practices
- Voltage Levels: Ensure all connected peripherals operate at 3.3V logic levels to avoid damaging the board.
- Wi-Fi Signal Strength: Place the board in an area with a strong Wi-Fi signal for reliable connectivity.
- Heat Management: Avoid placing the board in enclosed spaces without ventilation, as it may generate heat during operation.
- Firmware Updates: Regularly check for firmware updates to ensure compatibility with the latest features and bug fixes.
Example Code for Arduino UNO Integration
Although WeIO is a standalone platform, it can communicate with an Arduino UNO via UART or I2C. Below is an example of using UART communication:
Arduino UNO Code
void setup() {
  Serial.begin(9600); // Initialize UART communication at 9600 baud
}

void loop() {
  Serial.println("Hello from Arduino!"); // Send a message to WeIO
  delay(1000); // Wait for 1 second
}
WeIO Python Code
import serial
import time
Initialize UART communication with Arduino
arduino = serial.Serial('/dev/ttyUSB0', 9600, timeout=1) time.sleep(2) # Allow time for the connection to initialize
while True: # Read data from Arduino data = arduino.readline().decode('utf-8').strip() if data: print(f"Received from Arduino: {data}") # Print received message time.sleep(1) # Wait for 1 second
Troubleshooting and FAQs
Common Issues and Solutions
The board does not power on:
- Ensure the USB cable or power supply is functioning correctly.
- Verify that the power source provides sufficient current (at least 200 mA).
Unable to connect to the WeIO Wi-Fi network:
- Check if the board is powered on and broadcasting its Wi-Fi SSID.
- Reset the board to factory settings if the default Wi-Fi network is not visible.
Code does not execute as expected:
- Verify that the correct pins are used for connecting peripherals.
- Check for syntax errors or incorrect logic in the code.
Wi-Fi connection drops frequently:
- Ensure the board is within range of the Wi-Fi router.
- Reduce interference from other wireless devices operating on the same frequency.
FAQs
Can I use external libraries with WeIO?
Yes, WeIO supports external Python and JavaScript libraries. You can upload them via the web-based IDE.What is the maximum range of the built-in Wi-Fi?
The range depends on environmental factors but typically extends up to 30 meters indoors.Can I power the board using batteries?
Yes, you can use a 3.3V battery pack or a 5V USB power bank to power the board.Is WeIO compatible with cloud platforms?
Yes, WeIO supports integration with popular cloud platforms using HTTP, MQTT, or WebSocket protocols.