How to Use 12v WS2814 84 LEDs: Examples, Pinouts, and Specs

Introduction
The 12V WS2814 84 LEDs is a flexible LED strip manufactured by SEZO, featuring 84 individually addressable RGB LEDs. Each LED is driven by the WS2814 controller, which allows precise control over color and brightness. Operating at 12 volts, this LED strip is ideal for decorative lighting, signage, and dynamic displays. Its high brightness and addressable nature make it suitable for both professional and hobbyist applications.
Explore Projects Built with 12v WS2814 84 LEDs

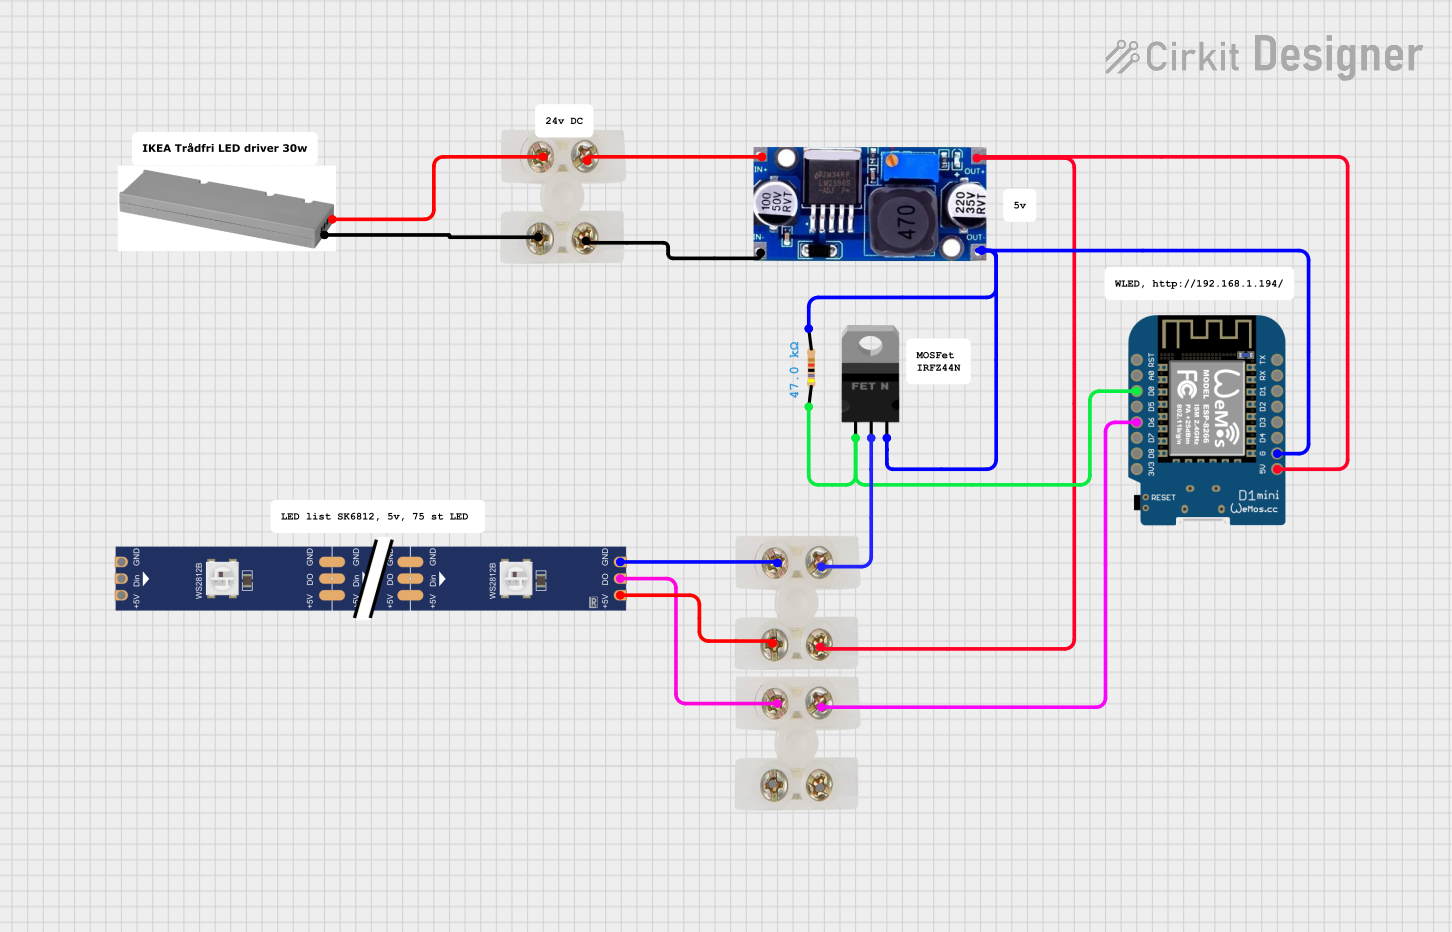

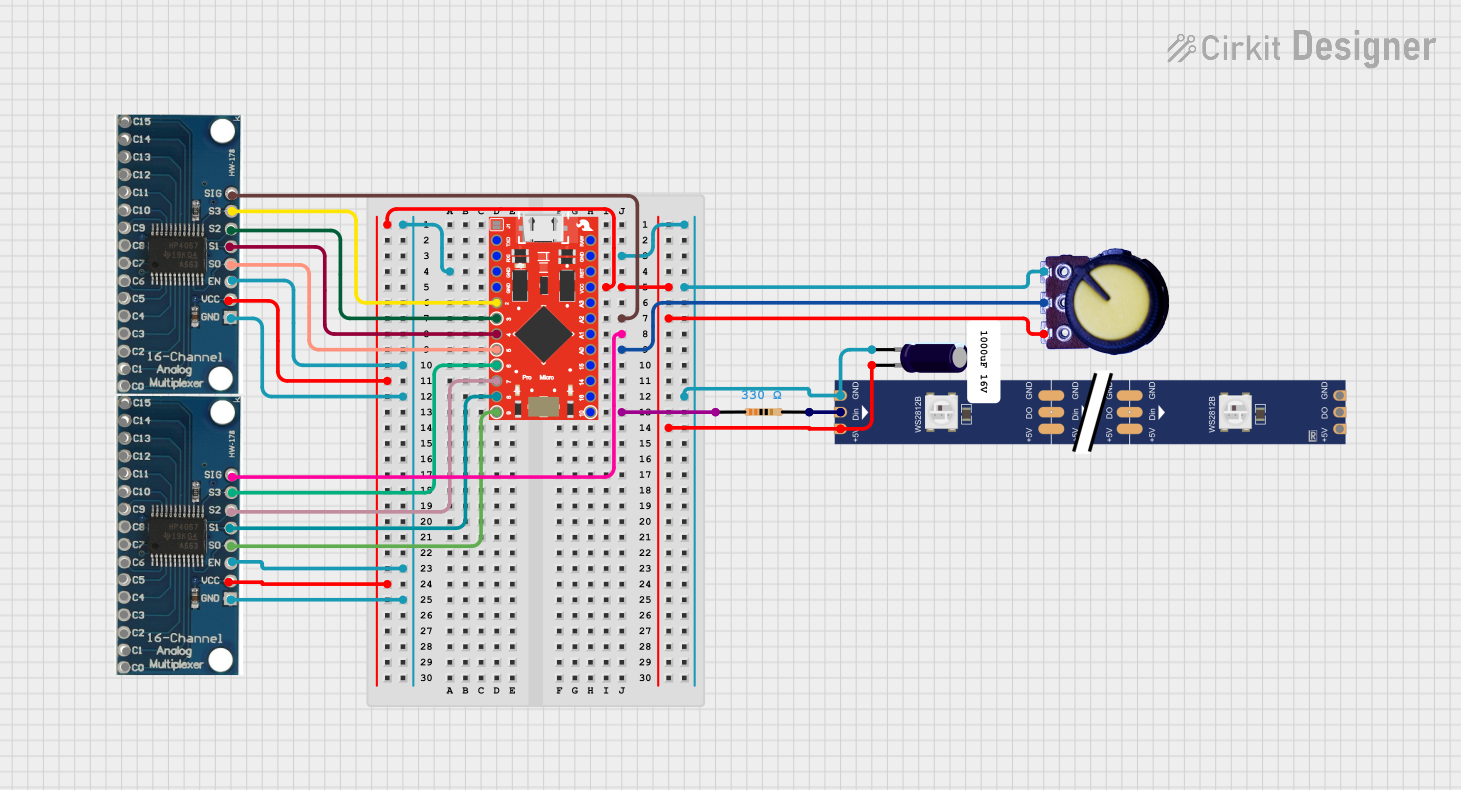
Explore Projects Built with 12v WS2814 84 LEDs
Common Applications
- Decorative lighting for homes, events, and parties
- Dynamic displays and signage
- Ambient lighting for gaming setups or workspaces
- Architectural lighting and accent designs
- DIY projects and Arduino-based animations
Technical Specifications
Key Technical Details
| Parameter | Specification |
|---|---|
| Manufacturer | SEZO |
| Part ID | WS2814-RGBW |
| Operating Voltage | 12V DC |
| Power Consumption | ~0.3W per LED (25.2W for 84 LEDs) |
| LED Count | 84 LEDs per strip |
| LED Type | RGB (Red, Green, Blue) + White |
| Driver IC | WS2814 |
| Communication Protocol | Dual-signal (redundant data line) |
| Data Input Voltage | 5V (logic level) |
| Brightness Levels | 256 levels per color channel |
| Operating Temperature | -20°C to 50°C |
| Strip Dimensions | ~1 meter (length) x 10mm (width) |
| Waterproof Rating | Optional (IP65 or IP67 variants) |
Pin Configuration and Descriptions
The WS2814 LED strip has four main connections, typically exposed as solder pads or wires:
| Pin Name | Description |
|---|---|
| +12V | Power supply input (12V DC). Connect to a stable 12V power source. |
| GND | Ground connection. Connect to the ground of the power supply and controller. |
| DI | Data input. Receives the control signal from the microcontroller. |
| BI | Backup data input. Used for redundancy in case of signal failure. |
Usage Instructions
How to Use the Component in a Circuit
- Power Supply: Connect the
+12Vpin to a 12V DC power source and theGNDpin to the ground of the power source. - Data Signal: Use a microcontroller (e.g., Arduino UNO) to send data signals to the
DIpin. Ensure the microcontroller's logic level is 5V. - Backup Signal: Optionally, connect the
BIpin to a secondary data line for redundancy. If unused, leave it unconnected. - Termination: If using multiple strips, connect the
DO(data out) pin of the first strip to theDIpin of the next strip.
Important Considerations and Best Practices
- Power Supply: Ensure the power supply can handle the total current draw. For 84 LEDs, the maximum current is approximately 2.1A (25.2W / 12V).
- Signal Integrity: Use a resistor (330-470Ω) in series with the
DIpin to reduce noise and protect the first LED. - Capacitor: Place a 1000µF capacitor across the
+12VandGNDpins to stabilize the power supply. - Data Line Length: Keep the data line between the microcontroller and the strip as short as possible to avoid signal degradation. For longer distances, use a level shifter to boost the signal.
- Heat Management: If running the LEDs at full brightness for extended periods, ensure proper ventilation to prevent overheating.
Example Code for Arduino UNO
Below is an example of how to control the WS2814 LED strip using the FastLED library:
#include <FastLED.h>

// Define the number of LEDs in the strip
#define NUM_LEDS 84

// Define the data pin connected to the DI pin of the strip
#define DATA_PIN 6

// Create an array to hold the LED data
CRGB leds[NUM_LEDS];

void setup() {
  // Initialize the LED strip
  FastLED.addLeds<WS2812B, DATA_PIN, GRB>(leds, NUM_LEDS);
  // Set initial brightness
  FastLED.setBrightness(128);
}

void loop() {
  // Example: Fill the strip with red color
  fill_solid(leds, NUM_LEDS, CRGB::Red);
  FastLED.show(); // Update the LEDs
  delay(1000);    // Wait for 1 second

  // Example: Fill the strip with green color
  fill_solid(leds, NUM_LEDS, CRGB::Green);
  FastLED.show(); // Update the LEDs
  delay(1000);    // Wait for 1 second

  // Example: Fill the strip with blue color
  fill_solid(leds, NUM_LEDS, CRGB::Blue);
  FastLED.show(); // Update the LEDs
  delay(1000);    // Wait for 1 second
}
Troubleshooting and FAQs
Common Issues and Solutions
LEDs Not Lighting Up
- Cause: Incorrect power supply connection.
- Solution: Verify the
+12VandGNDconnections. Ensure the power supply is functional and provides 12V DC.
Flickering or Unstable Colors
- Cause: Insufficient power supply or noisy data signal.
- Solution: Add a 1000µF capacitor across the power lines and a resistor (330-470Ω) in series with the data line.
Only the First LED Works
- Cause: Data signal not reaching subsequent LEDs.
- Solution: Check the
DIconnection and ensure the microcontroller is outputting a valid signal.
Dim LEDs
- Cause: Voltage drop along the strip.
- Solution: Inject power at multiple points along the strip to maintain consistent voltage.
Backup Signal Not Working
- Cause:
BIpin not connected or misconfigured. - Solution: Ensure the
BIpin is connected to a valid backup data line or leave it unconnected if not used.
- Cause:
FAQs
Q: Can I cut the LED strip to a shorter length?
A: Yes, the strip can be cut at marked intervals (usually every 3 LEDs). Ensure proper reconnection of the +12V, GND, and DI lines.
Q: Can I control multiple strips with one microcontroller?
A: Yes, connect the DO pin of one strip to the DI pin of the next. Ensure the microcontroller can handle the total number of LEDs.
Q: Is the strip compatible with 3.3V logic microcontrollers?
A: Not directly. Use a level shifter to convert the 3.3V signal to 5V for reliable operation.
Q: How do I waterproof the strip after cutting?
A: Use heat-shrink tubing or silicone sealant to protect the exposed connections.
This concludes the documentation for the 12V WS2814 84 LEDs. For further assistance, refer to the SEZO datasheet or contact technical support.