How to Use servo motor MG90S: Examples, Pinouts, and Specs

Introduction
The MG90S is a small, high-torque servo motor widely used in robotics, RC vehicles, and various DIY projects. It features metal gears for enhanced durability and can rotate approximately 180 degrees. The rotation is controlled by Pulse Width Modulation (PWM) signals, making it an ideal choice for precise control applications.
Explore Projects Built with servo motor MG90S

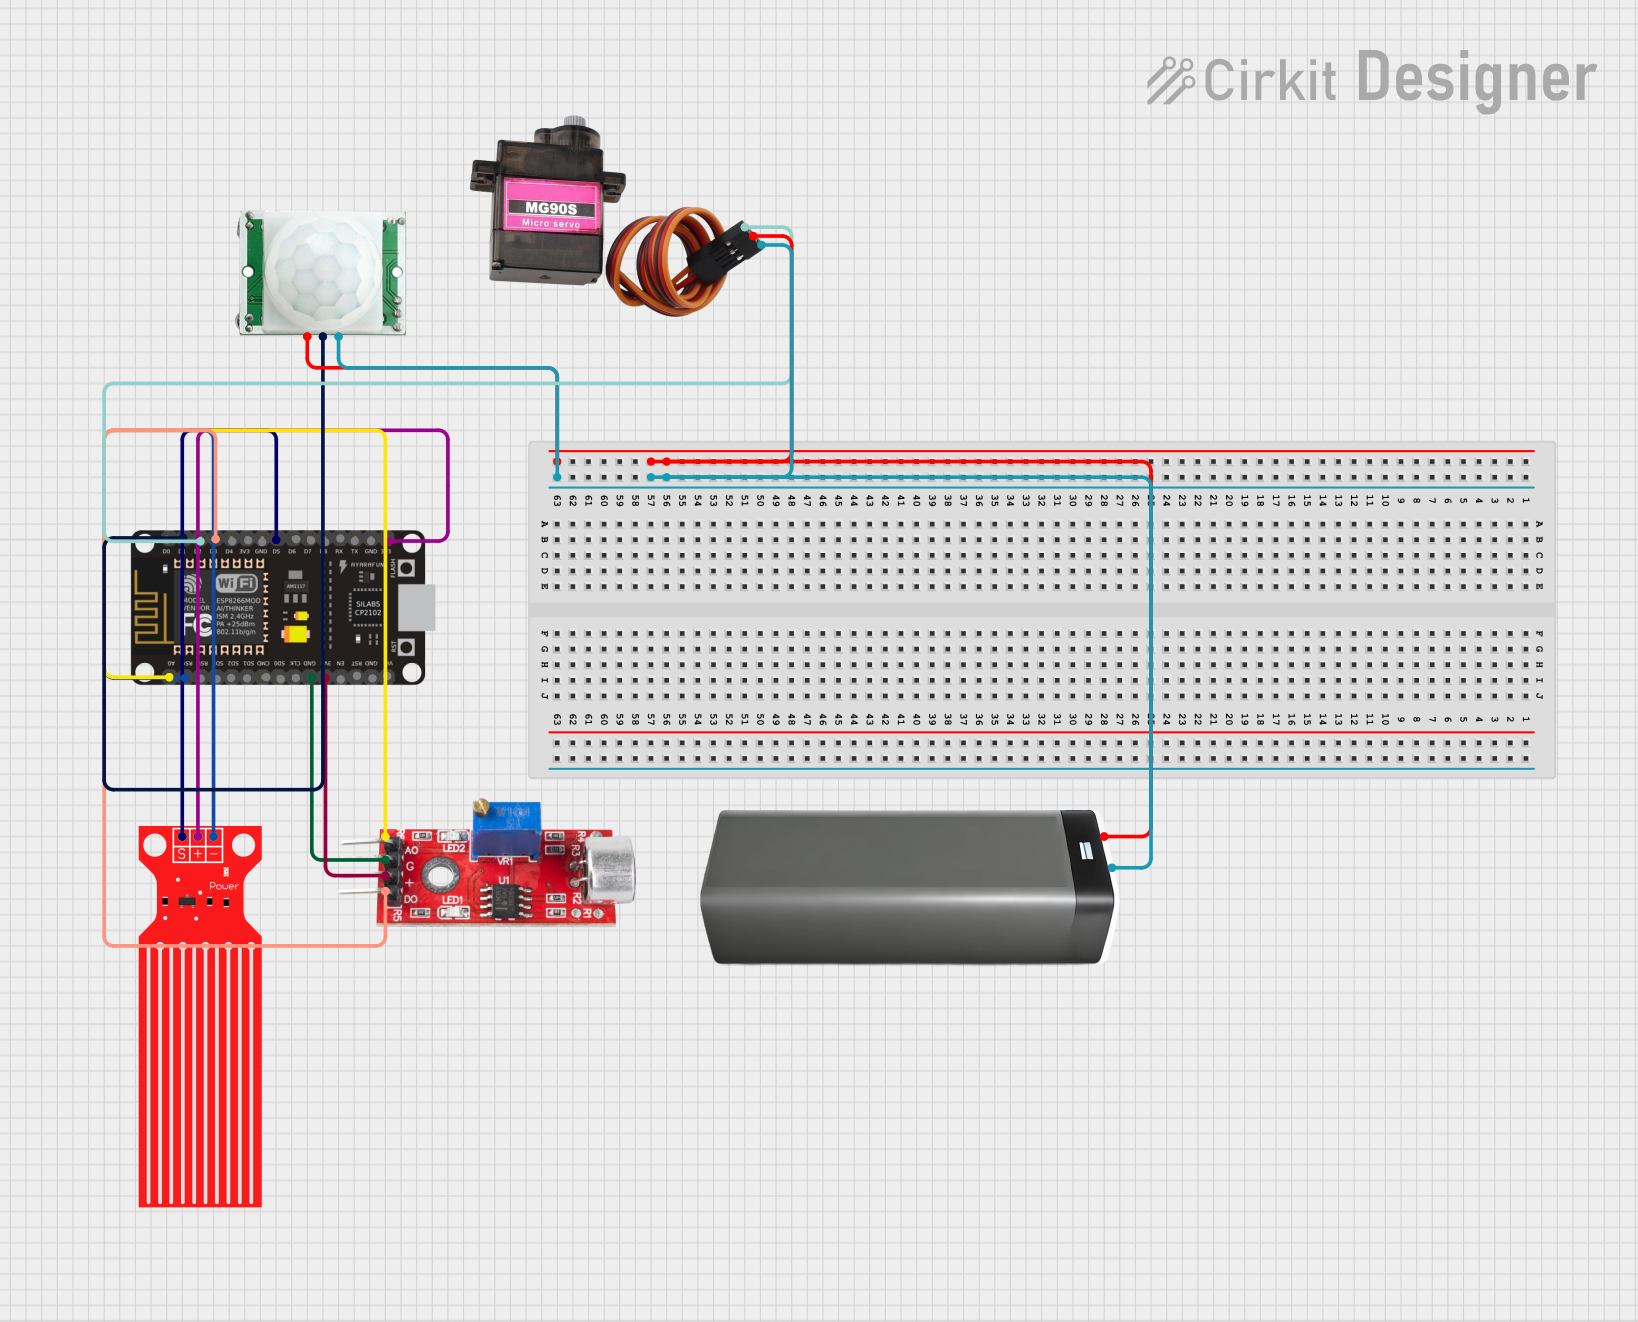
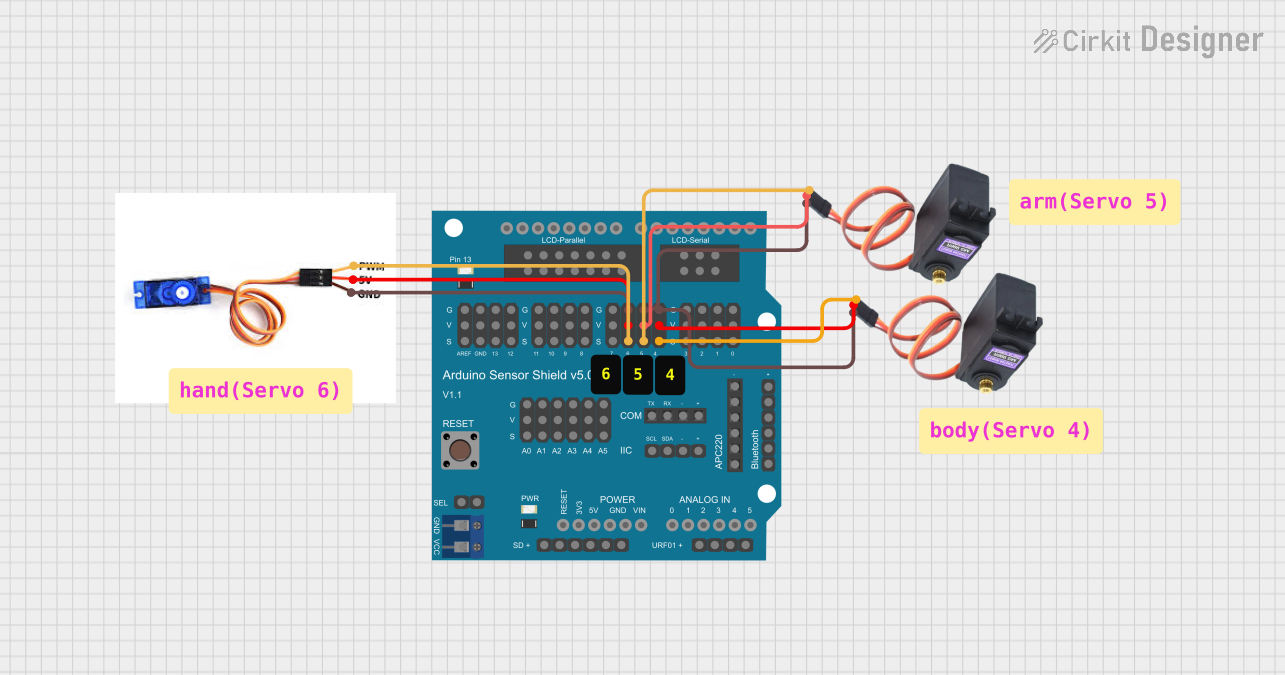
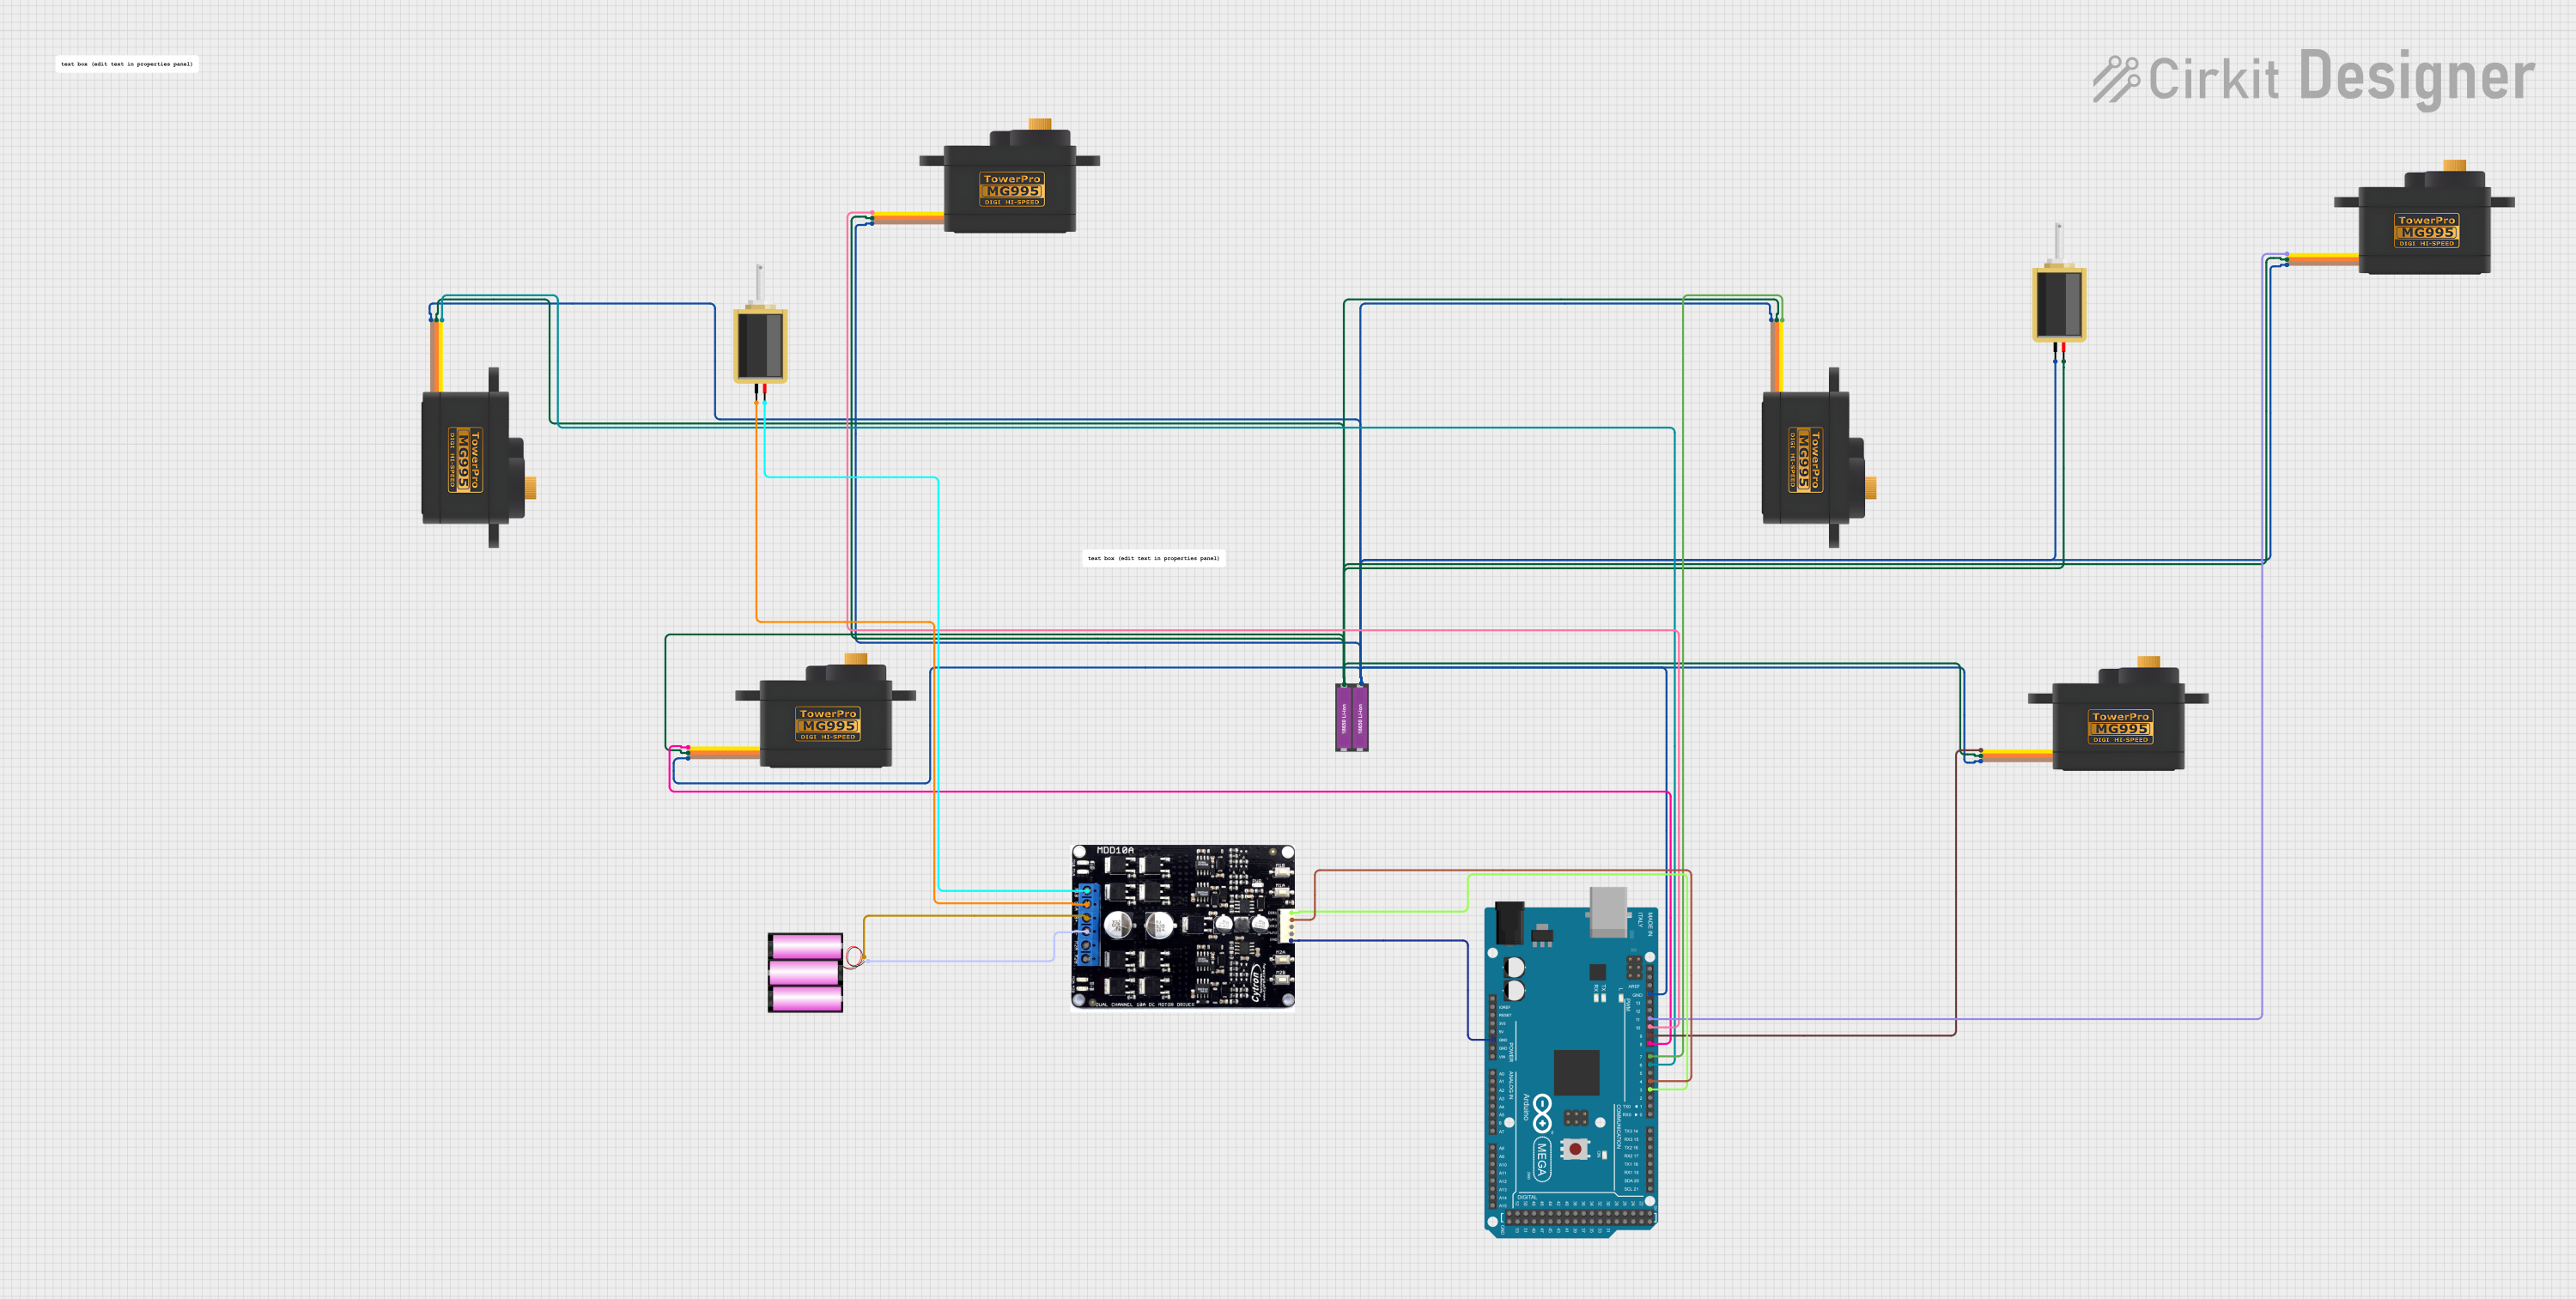
Explore Projects Built with servo motor MG90S
Common Applications
- Robotics
- Remote-controlled vehicles
- Automated systems
- DIY electronics projects
- Model aircraft and boats
Technical Specifications
Key Technical Details
| Parameter | Value |
|---|---|
| Operating Voltage | 4.8V - 6.0V |
| Stall Torque | 2.2 kg·cm (4.8V), 2.5 kg·cm (6.0V) |
| Operating Speed | 0.11 sec/60° (4.8V), 0.10 sec/60° (6.0V) |
| Rotation Range | 180 degrees |
| Gear Type | Metal |
| Weight | 13.4g |
| Dimensions | 22.8 x 12.2 x 28.5 mm |
Pin Configuration and Descriptions
| Pin Number | Pin Name | Description |
|---|---|---|
| 1 | GND | Ground |
| 2 | VCC | Power Supply (4.8V - 6.0V) |
| 3 | Signal | PWM Signal Input (Control Signal) |
Usage Instructions
How to Use the MG90S in a Circuit
- Power Supply: Connect the VCC pin to a 5V power supply and the GND pin to the ground of your circuit.
- Control Signal: Connect the Signal pin to a PWM-capable output pin of your microcontroller (e.g., Arduino UNO).
Important Considerations and Best Practices
- Power Supply: Ensure that the power supply can provide sufficient current. The MG90S can draw significant current, especially under load.
- PWM Signal: Use a PWM signal with a frequency of 50Hz. The pulse width typically ranges from 1ms to 2ms, corresponding to 0 to 180 degrees of rotation.
- Avoid Overloading: Do not force the servo beyond its mechanical limits to prevent damage to the gears.
Example: Connecting MG90S to Arduino UNO
Circuit Diagram
Arduino UNO          MG90S
-----------          -----
GND  --------------> GND
5V   --------------> VCC
D9   --------------> Signal
Arduino Code
#include <Servo.h>

Servo myServo;  // Create a Servo object

void setup() {
  myServo.attach(9);  // Attach the servo to pin 9
}

void loop() {
  myServo.write(0);   // Move to 0 degrees
  delay(1000);        // Wait for 1 second
  myServo.write(90);  // Move to 90 degrees
  delay(1000);        // Wait for 1 second
  myServo.write(180); // Move to 180 degrees
  delay(1000);        // Wait for 1 second
}
Troubleshooting and FAQs
Common Issues and Solutions
Servo Not Moving
- Check Connections: Ensure all connections are secure and correct.
- Power Supply: Verify that the power supply is adequate and stable.
- PWM Signal: Ensure the PWM signal is correctly generated and within the required frequency range.
Servo Jittering
- Interference: Check for electrical noise or interference in the signal line.
- Power Supply: Ensure the power supply is not fluctuating.
Limited Rotation
- Mechanical Obstruction: Ensure there are no physical obstructions preventing full rotation.
- PWM Range: Verify that the PWM signal is within the correct pulse width range (1ms to 2ms).
FAQs
Q: Can I use the MG90S with a 3.3V microcontroller? A: The MG90S requires a minimum of 4.8V for operation. You can use a level shifter or a separate 5V power supply for the servo.
Q: How do I increase the torque of the MG90S? A: The torque is determined by the servo's design and operating voltage. Ensure you are using the recommended voltage (up to 6.0V) for maximum torque.
Q: Can the MG90S rotate more than 180 degrees? A: No, the MG90S is designed for a rotation range of approximately 180 degrees. For applications requiring continuous rotation, consider using a continuous rotation servo.
This documentation provides a comprehensive guide to understanding, using, and troubleshooting the MG90S servo motor. Whether you are a beginner or an experienced user, this guide aims to help you get the most out of your MG90S servo motor.