How to Use Pololu Big MOSFET Pushbutton Electronic Power Switch MP, 8A 4.5 to 40V: Examples, Pinouts, and Specs
Introduction
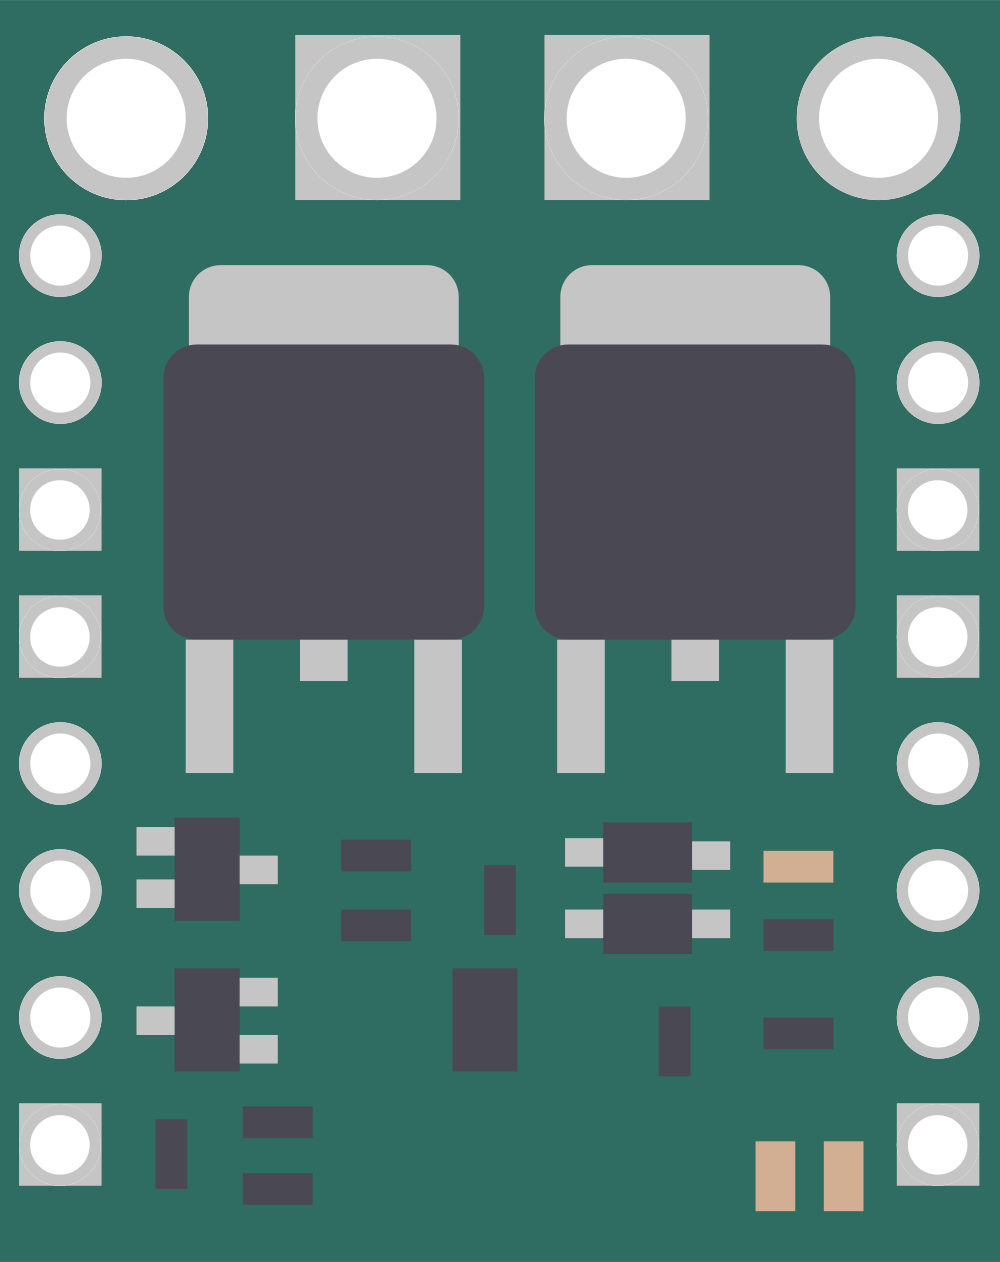
The Pololu Big MOSFET Pushbutton Electronic Power Switch MP (Manufacturer Part ID: PololuBigMOSFET) is a high-power electronic switch designed for efficient and reliable control of electrical circuits. It utilizes a MOSFET to manage the flow of electricity, enabling easy on/off operation through a pushbutton interface. This switch is capable of handling currents up to 8A and operates within a wide voltage range of 4.5V to 40V, making it suitable for a variety of applications.
Explore Projects Built with Pololu Big MOSFET Pushbutton Electronic Power Switch MP, 8A 4.5 to 40V


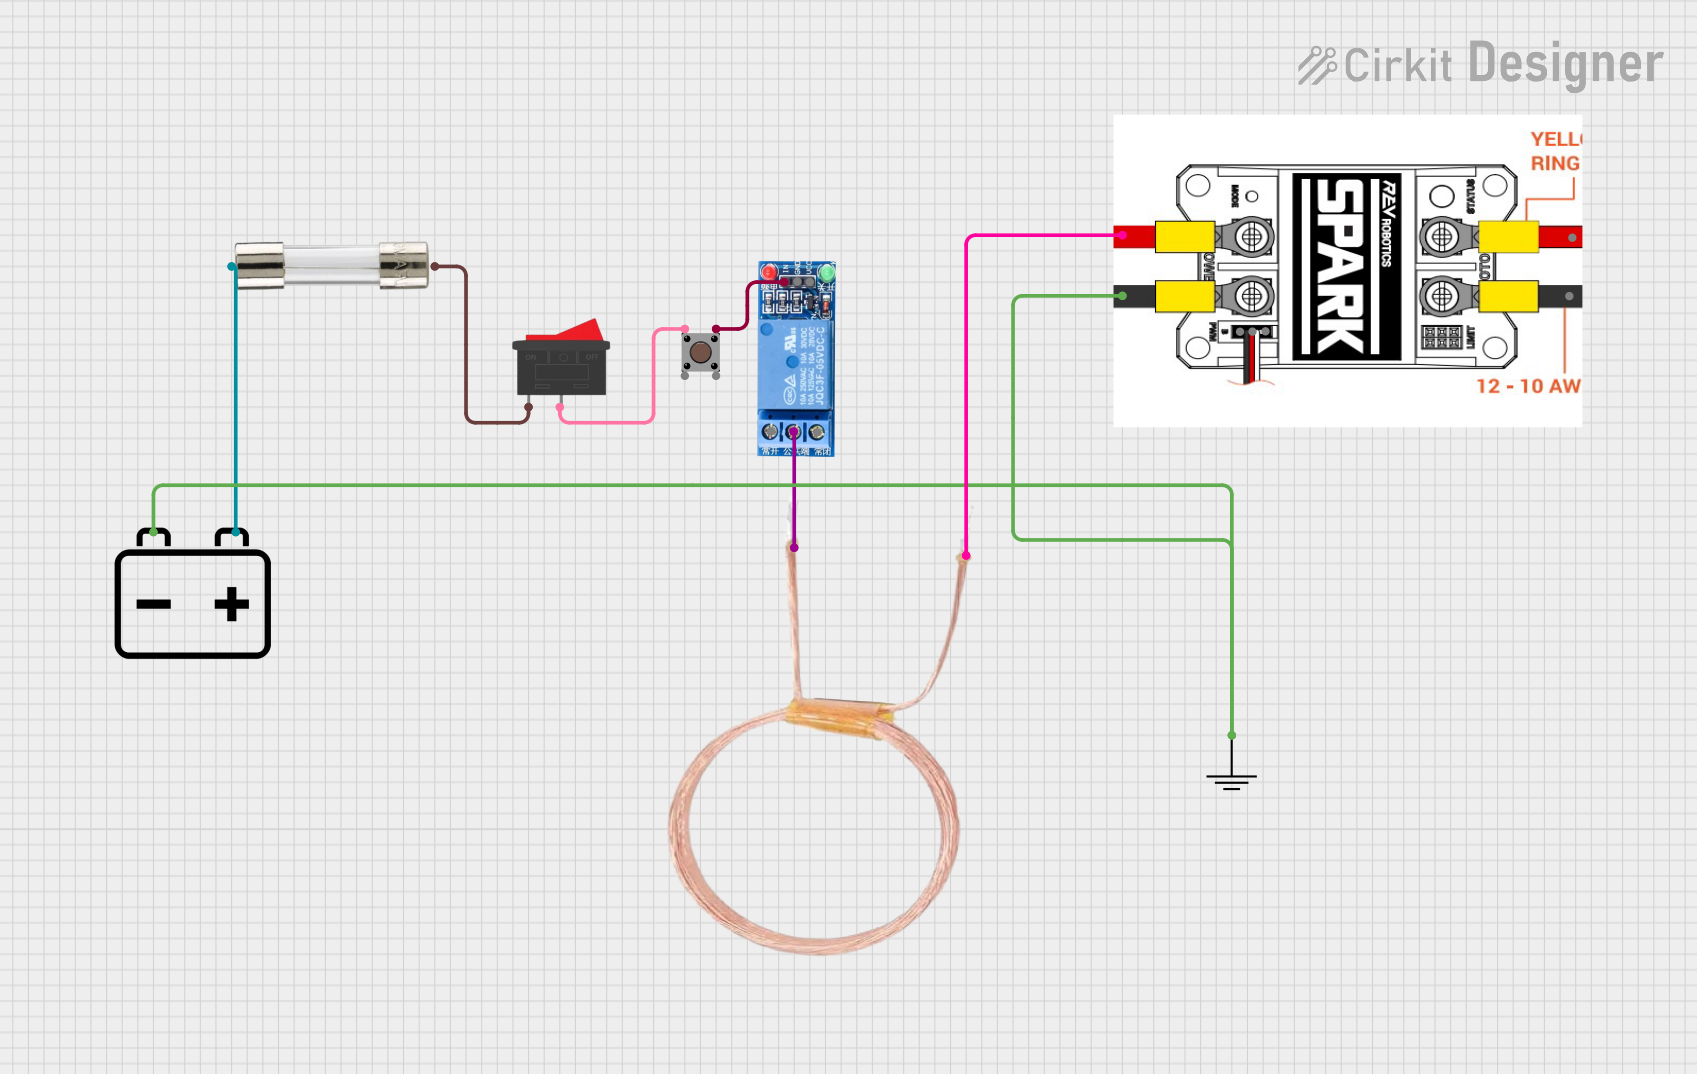
Explore Projects Built with Pololu Big MOSFET Pushbutton Electronic Power Switch MP, 8A 4.5 to 40V
Common Applications and Use Cases
- Power control for high-current devices such as motors, LEDs, and heaters.
- Battery-powered systems requiring low standby current.
- Robotics and automation projects.
- DIY electronics and prototyping.
- Replacing mechanical switches for improved durability and reliability.
Technical Specifications
Below are the key technical details of the Pololu Big MOSFET Pushbutton Electronic Power Switch MP:
| Parameter | Value |
|---|---|
| Operating Voltage Range | 4.5V to 40V |
| Maximum Continuous Current | 8A |
| Standby Current | < 0.01 mA (typical) |
| Control Interface | Pushbutton (momentary) |
| Output Type | High-side switch |
| Dimensions | 0.7" × 1.4" × 0.3" (18 × 36 × 8 mm) |
| Weight | 1.5 g |
Pin Configuration and Descriptions
The Pololu Big MOSFET Pushbutton Switch has the following pinout:
| Pin Name | Description |
|---|---|
| VIN | Input voltage (4.5V to 40V). Connect to the positive terminal of the power source. |
| VOUT | Output voltage. Connect to the positive terminal of the load. |
| GND | Ground. Connect to the negative terminal of the power source and load. |
| ON | Optional control pin to turn the switch on. Pull high to activate. |
| OFF | Optional control pin to turn the switch off. Pull high to deactivate. |
| A | Auxiliary pin for advanced control (refer to the Pololu documentation for details). |
Usage Instructions
How to Use the Component in a Circuit
Power Connections:
- Connect the VIN pin to the positive terminal of your power source (e.g., battery or power supply).
- Connect the GND pin to the negative terminal of your power source.
- Connect the VOUT pin to the positive terminal of your load (e.g., motor, LED strip, etc.).
- Ensure the load's current and voltage requirements are within the switch's specifications.
Pushbutton Operation:
- Use a momentary pushbutton to toggle the switch on or off. The switch will remain in its current state until toggled again.
Optional Control Pins:
- To turn the switch on programmatically, pull the ON pin high (e.g., using a microcontroller).
- To turn the switch off programmatically, pull the OFF pin high.
Mounting:
- The compact size of the switch allows for easy integration into your project. Use soldering or a breadboard for connections.
Important Considerations and Best Practices
- Heat Dissipation: At high currents, the MOSFET may generate heat. Ensure adequate ventilation or use a heatsink if necessary.
- Voltage Spikes: For inductive loads (e.g., motors), use a flyback diode across the load to protect the switch from voltage spikes.
- Current Limits: Do not exceed the maximum continuous current rating of 8A to avoid damaging the switch.
- Standby Current: The switch consumes minimal standby current (< 0.01 mA), making it ideal for battery-powered applications.
Example: Using with an Arduino UNO
The Pololu Big MOSFET Pushbutton Switch can be controlled using an Arduino UNO. Below is an example code to toggle the switch using the ON and OFF pins.
// Define the control pins connected to the Pololu switch
const int onPin = 7;  // Arduino pin connected to the ON pin of the switch
const int offPin = 8; // Arduino pin connected to the OFF pin of the switch

void setup() {
  // Set the control pins as outputs
  pinMode(onPin, OUTPUT);
  pinMode(offPin, OUTPUT);

  // Ensure the switch is off at startup
  digitalWrite(onPin, LOW);
  digitalWrite(offPin, LOW);
}

void loop() {
  // Turn the switch on
  digitalWrite(onPin, HIGH);
  delay(1000); // Keep the switch on for 1 second
  digitalWrite(onPin, LOW);

  // Turn the switch off
  digitalWrite(offPin, HIGH);
  delay(1000); // Keep the switch off for 1 second
  digitalWrite(offPin, LOW);
}
Troubleshooting and FAQs
Common Issues and Solutions
Switch Does Not Turn On:
- Verify that the input voltage is within the specified range (4.5V to 40V).
- Check the pushbutton or control pin connections for proper operation.
- Ensure the load is connected correctly to the VOUT pin.
Switch Turns Off Unexpectedly:
- Check if the load is drawing more than 8A, which may trigger thermal shutdown.
- Inspect the power source for stability and ensure it can handle the load's current requirements.
Excessive Heat:
- Ensure the switch is not operating near its maximum current limit for extended periods.
- Add a heatsink or improve ventilation if necessary.
No Output Voltage:
- Confirm that the switch is in the "on" state by checking the control pins or pushbutton.
- Verify all connections, especially the VIN, VOUT, and GND pins.
FAQs
Q: Can I use this switch with a 12V motor?
A: Yes, the switch supports a voltage range of 4.5V to 40V and can handle up to 8A, making it suitable for most 12V motors.
Q: Is the switch latching or momentary?
A: The switch is latching, meaning it stays in its current state (on or off) until toggled again.
Q: Can I control the switch with a microcontroller?
A: Yes, you can use the ON and OFF pins to control the switch programmatically with a microcontroller like an Arduino.
Q: Does the switch have reverse polarity protection?
A: No, the switch does not have built-in reverse polarity protection. Ensure correct polarity when connecting the power source.