How to Use SparkFun gator:soil: Examples, Pinouts, and Specs
Introduction
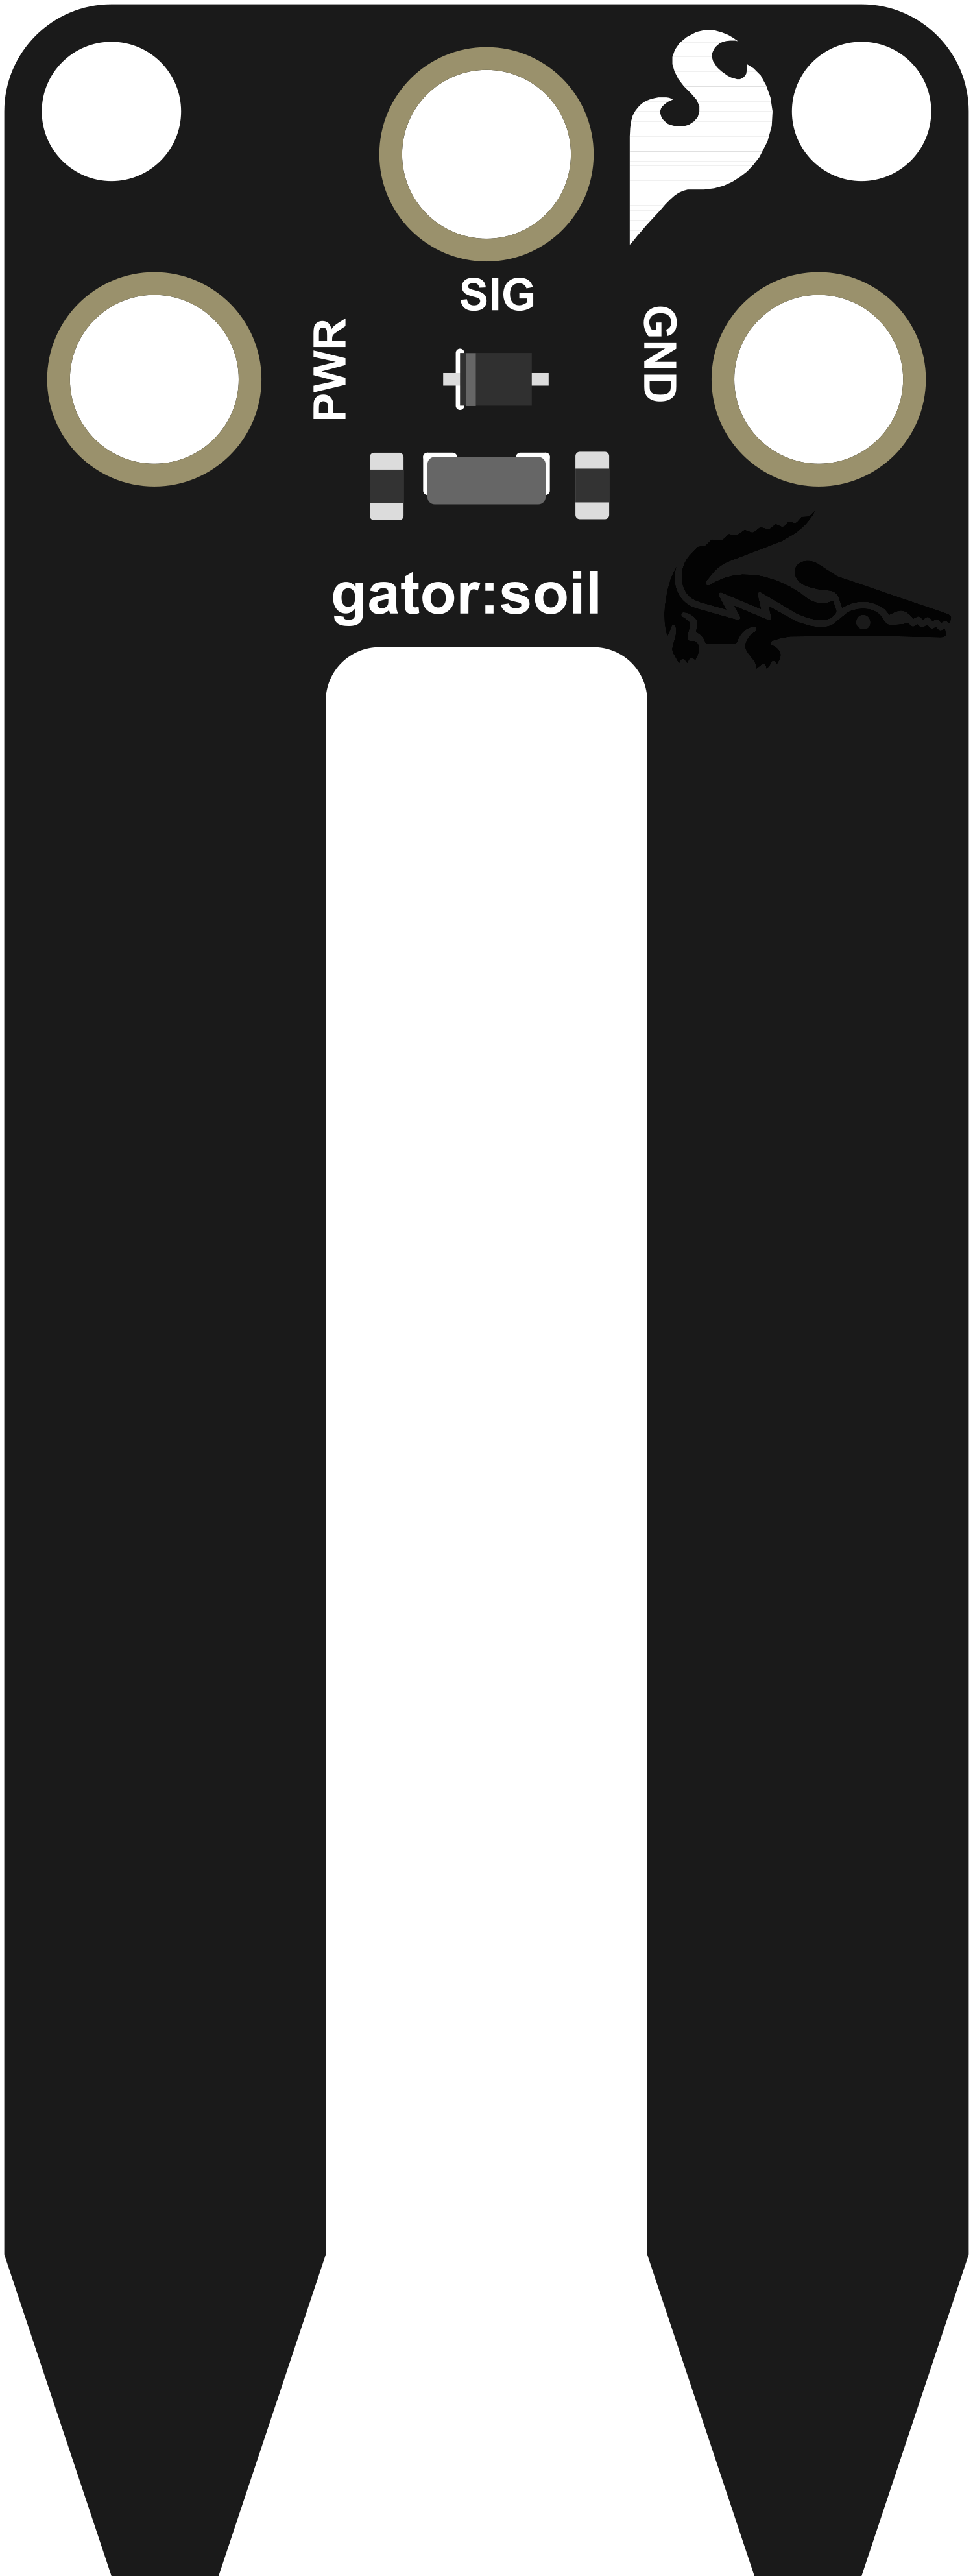
The SparkFun gator:soil is an easy-to-use soil moisture sensor designed to measure the moisture content within the soil. It is an ideal tool for hobbyists, gardeners, and agriculturalists who wish to monitor and ensure optimal soil moisture levels for their plants. The sensor is part of the gator:bit ecosystem, which is compatible with the micro:bit platform, making it accessible for educational purposes and beginners in electronics.
Explore Projects Built with SparkFun gator:soil
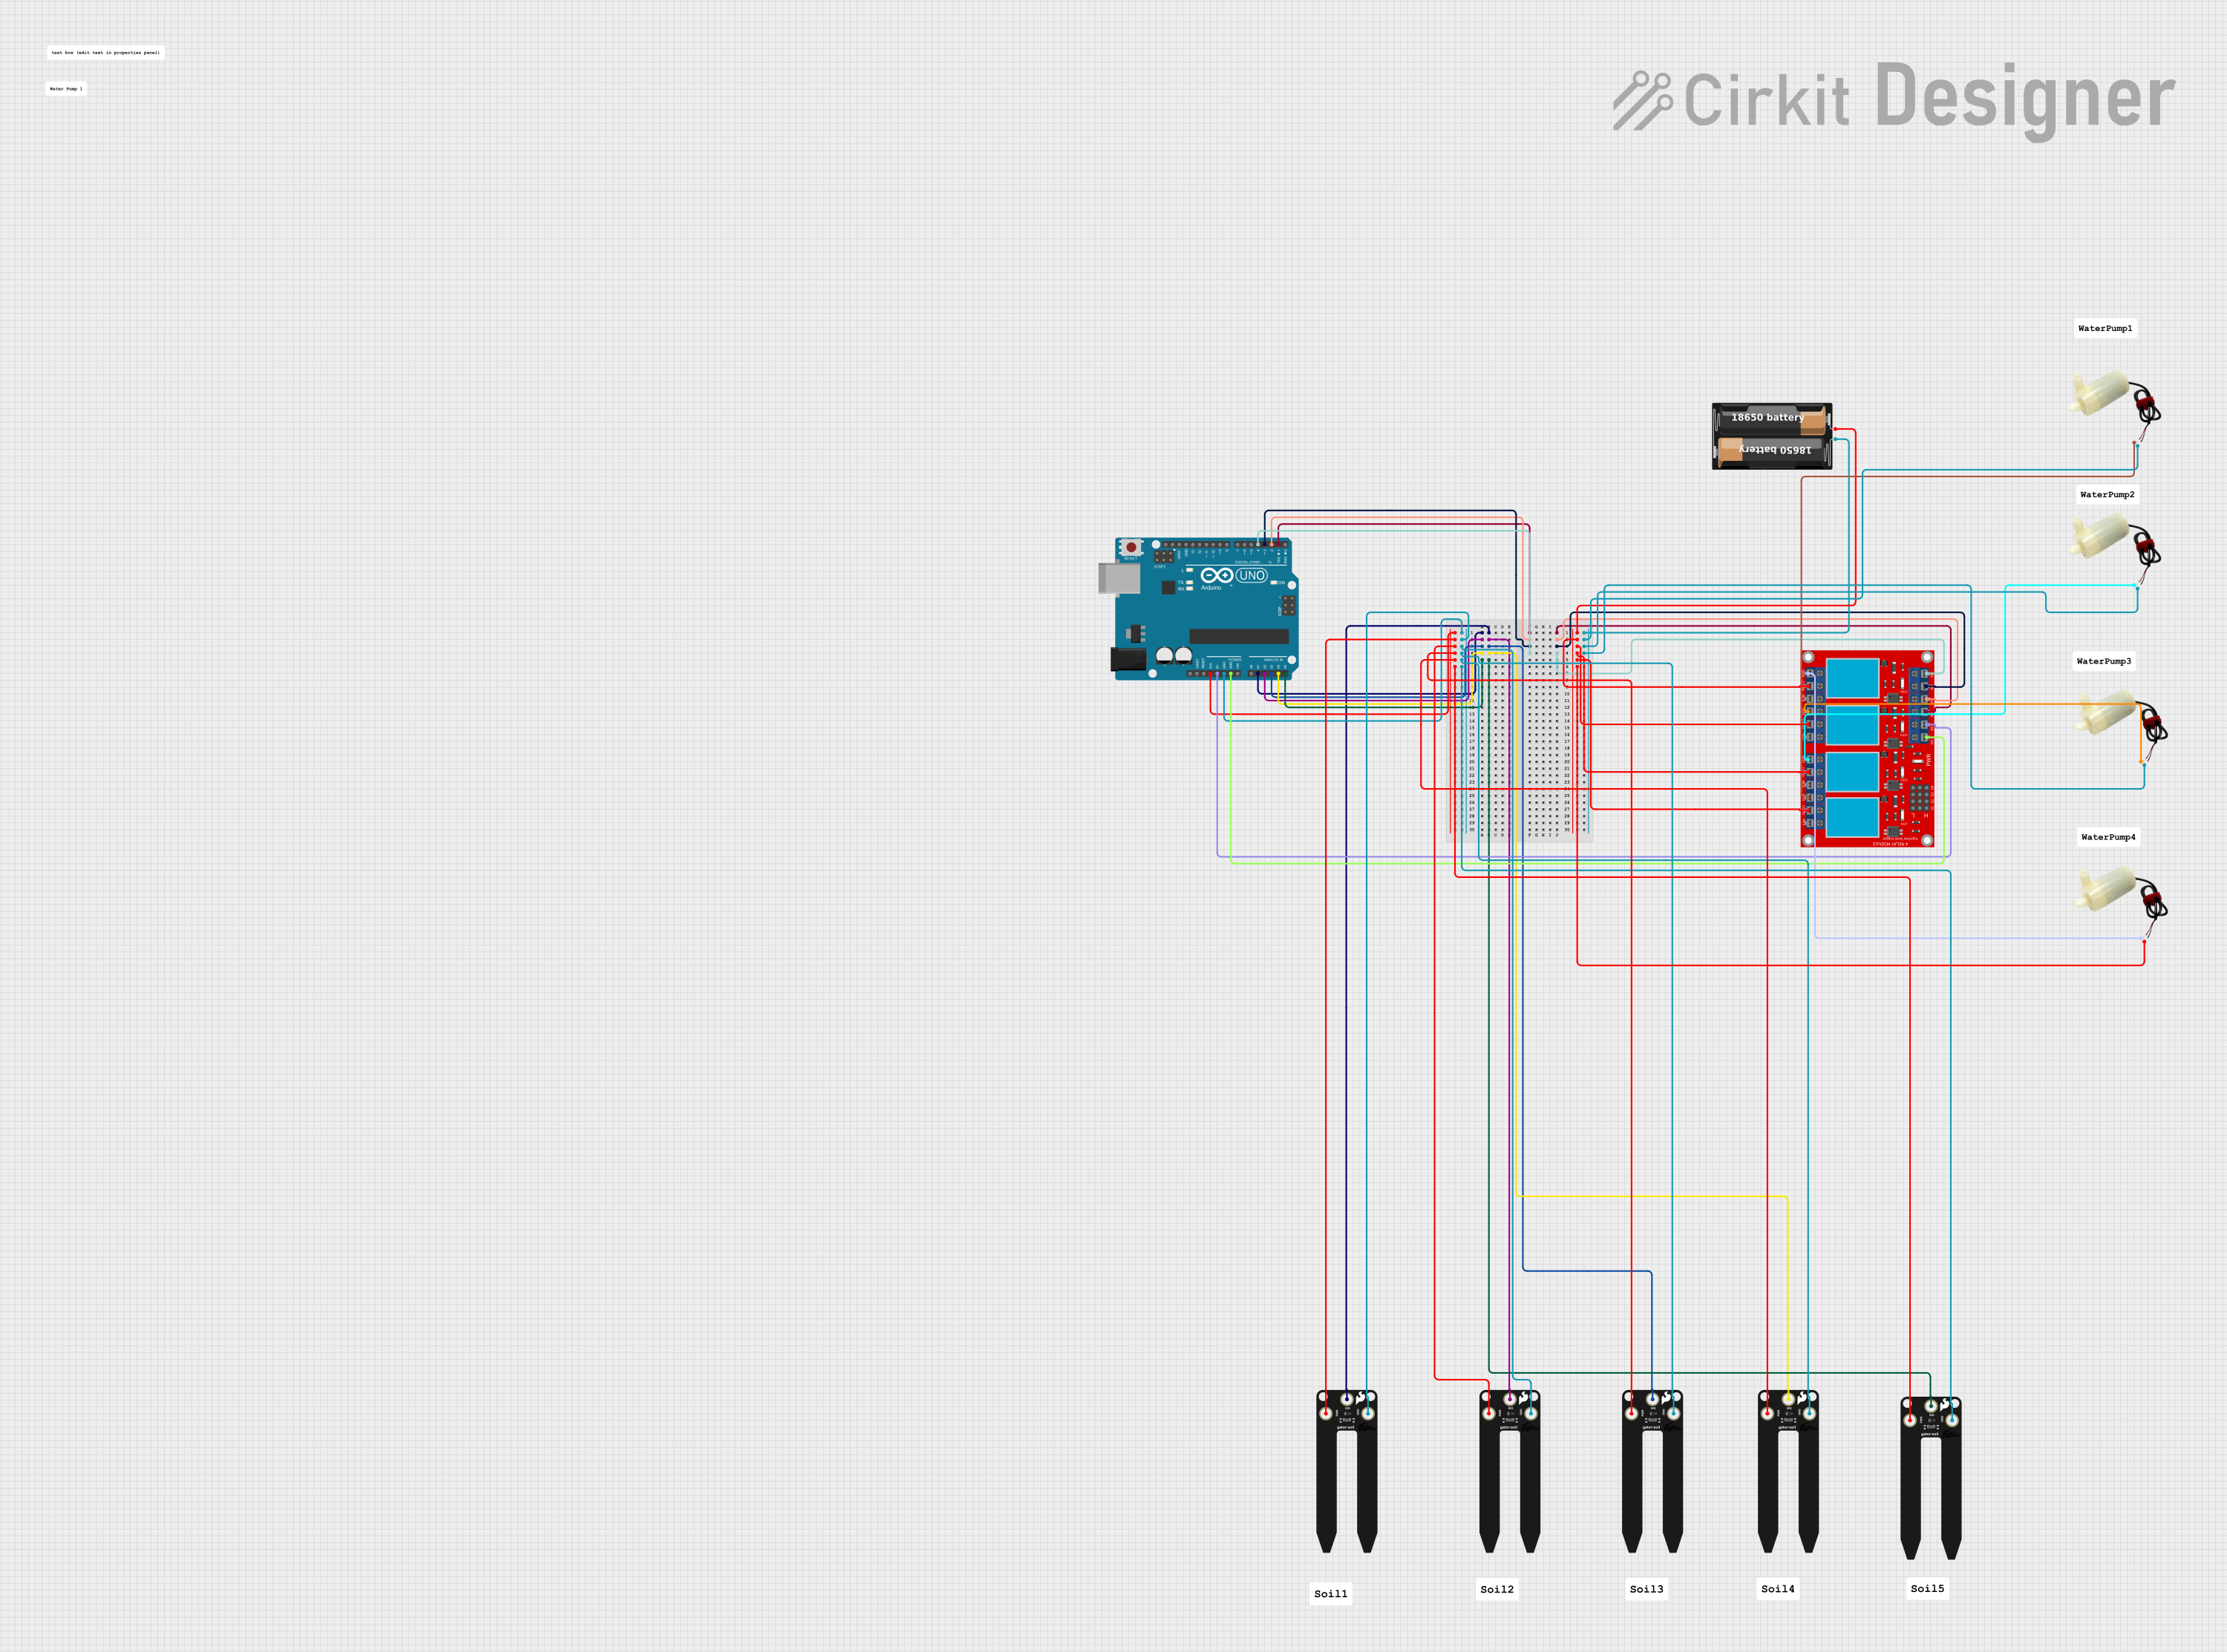

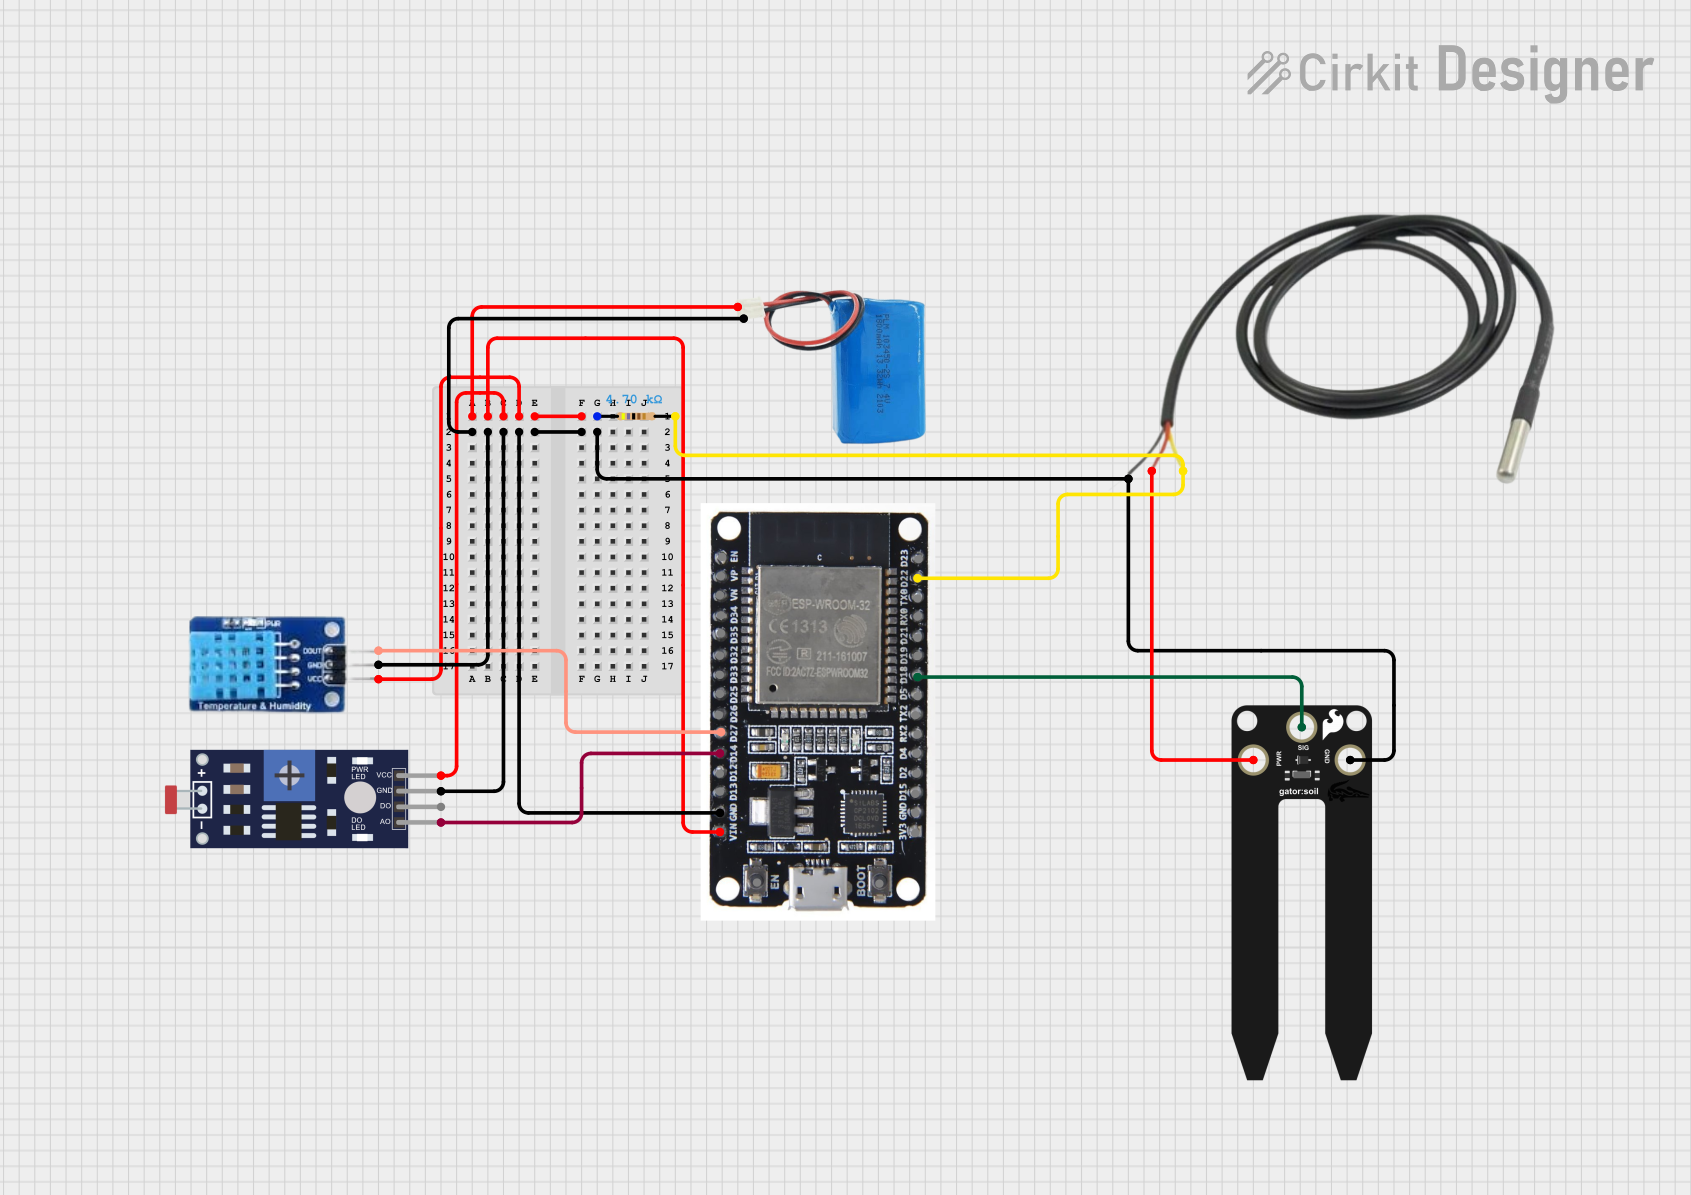
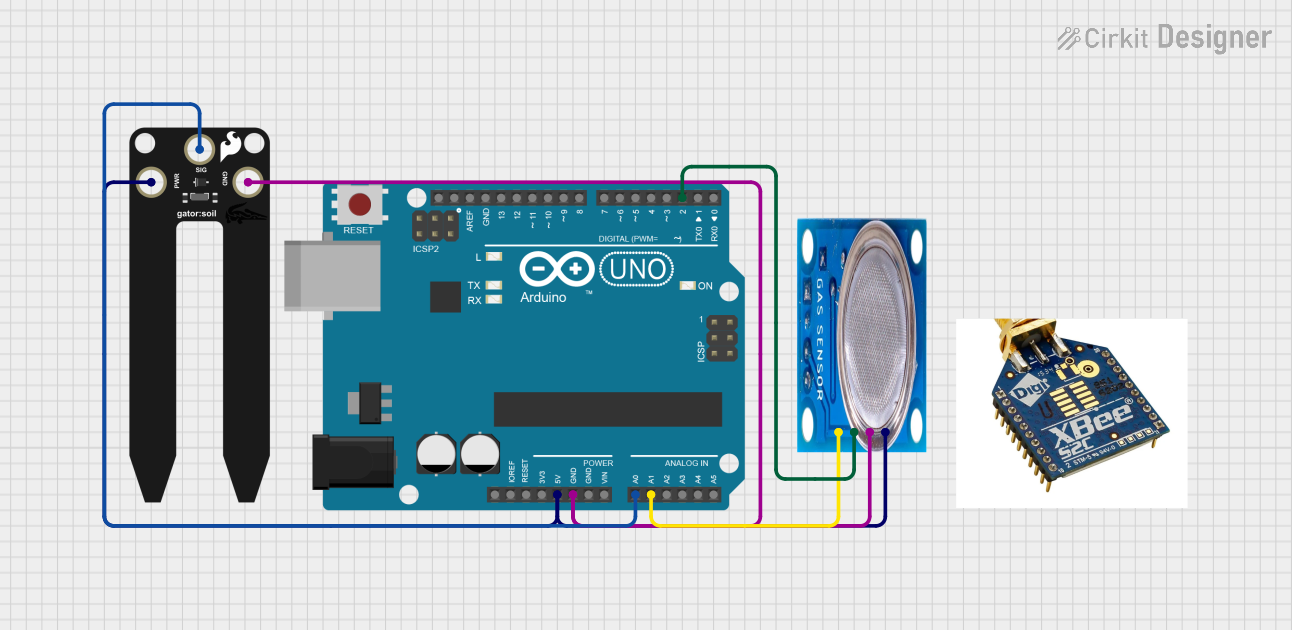
Explore Projects Built with SparkFun gator:soil
Common Applications and Use Cases
- Monitoring soil moisture in gardens and potted plants
- Automated watering systems
- Educational projects related to agriculture and botany
- Environmental sensing and data logging
Technical Specifications
Key Technical Details
- Operating Voltage: 3.3V
- Current Consumption: Typically 5mA
- Measurement Range: Capacitive sensing to detect moisture levels
- Interface: Analog
Pin Configuration and Descriptions
| Pin Number | Name | Description |
|---|---|---|
| 1 | GND | Ground connection |
| 2 | VCC | Power supply (3.3V) |
| 3 | SIG | Analog signal output |
Usage Instructions
Connecting to a Circuit
- Connect the GND pin to the ground of your microcontroller.
- Connect the VCC pin to a 3.3V output from your microcontroller.
- Connect the SIG pin to an analog input on your microcontroller.
Important Considerations and Best Practices
- Do not submerge the sensor completely in water or any other liquid.
- Avoid exposing the sensor to direct sunlight for prolonged periods.
- Clean the sensor gently with a soft brush to remove soil or debris.
- Calibrate the sensor for the specific soil type for accurate readings.
Example Code for Arduino UNO
// Define the soil moisture sensor analog input pin
const int soilMoisturePin = A0;

void setup() {
  // Initialize serial communication at 9600 baud rate
  Serial.begin(9600);
}

void loop() {
  // Read the value from the soil moisture sensor
  int sensorValue = analogRead(soilMoisturePin);

  // Convert the analog reading to a more familiar percentage
  int moisturePercent = map(sensorValue, 0, 1023, 100, 0);

  // Print the moisture level to the Serial Monitor
  Serial.print("Soil Moisture Level: ");
  Serial.print(moisturePercent);
  Serial.println("%");

  // Wait for a second before reading again
  delay(1000);
}
Note: The map function is used to convert the sensor reading (which ranges from 0 to 1023 for the Arduino's 10-bit ADC) to a percentage (0% to 100%). The mapping may need to be adjusted based on calibration.
Troubleshooting and FAQs
Common Issues
- Inconsistent Readings: Ensure that the sensor is inserted into the soil properly and that there is no debris affecting the sensor's ability to measure moisture.
- No Readings: Check all connections and ensure that the sensor is powered with 3.3V.
- Sensor Corrosion: Prolonged exposure to moisture can lead to corrosion. Minimize direct contact with water and soil.
Solutions and Tips for Troubleshooting
- If the sensor provides inconsistent readings, recalibrate it for the specific soil type.
- Ensure that the sensor is not placed too close to the surface or too deep into the soil.
- If the sensor stops working, inspect it for any signs of physical damage or corrosion.
FAQs
Q: Can the gator:soil sensor be left in the soil permanently?
A: While the sensor is designed for use in soil, leaving it in the soil permanently can lead to corrosion. It is recommended to remove the sensor when not in use.
Q: Is the sensor waterproof?
A: The sensor is not fully waterproof and should not be submerged in water. The electronic components can be damaged by prolonged exposure to moisture.
Q: How do I calibrate the sensor for my soil type?
A: To calibrate the sensor, take readings from the sensor in soil at known moisture levels and map these readings to the corresponding moisture percentages. Use these mappings in your code to get accurate moisture level readings.