How to Use Sensirion SCD40 CO₂ sensor breakout board: Examples, Pinouts, and Specs
Introduction
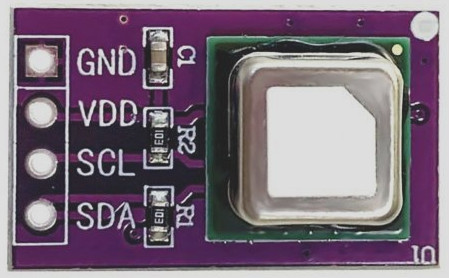
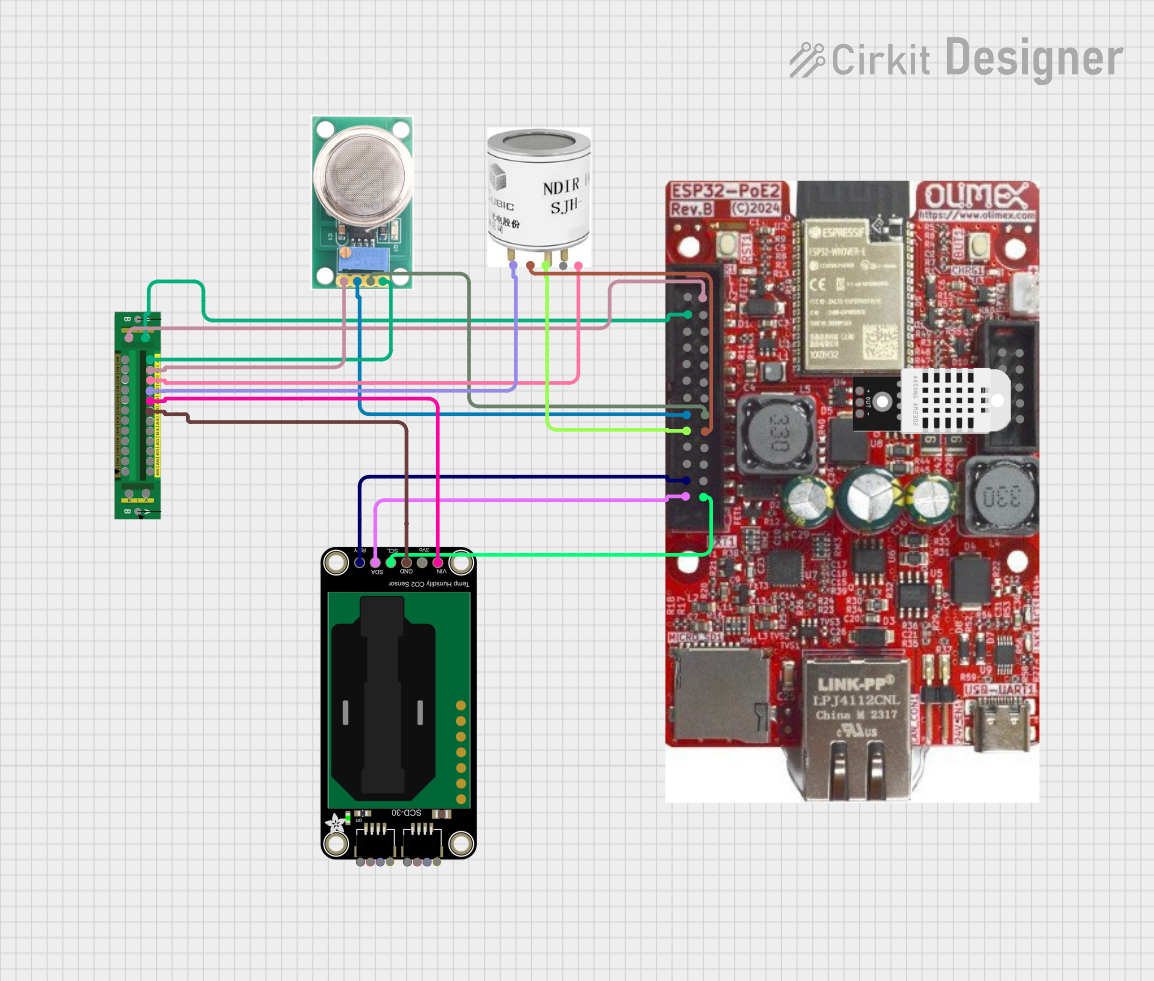
The Sensirion SCD40 CO₂ sensor breakout board is a compact and highly accurate module designed for measuring carbon dioxide (CO₂) concentration in the air. It features the Sensirion SCD40 sensor, which utilizes photoacoustic sensing technology to deliver precise CO₂ measurements in a small form factor. This breakout board is ideal for applications such as indoor air quality monitoring, HVAC systems, greenhouses, and other environmental monitoring systems.
With its small size and I²C communication interface, the SCD40 breakout board is easy to integrate into a variety of projects, making it a popular choice for both hobbyists and professionals.
Explore Projects Built with Sensirion SCD40 CO₂ sensor breakout board
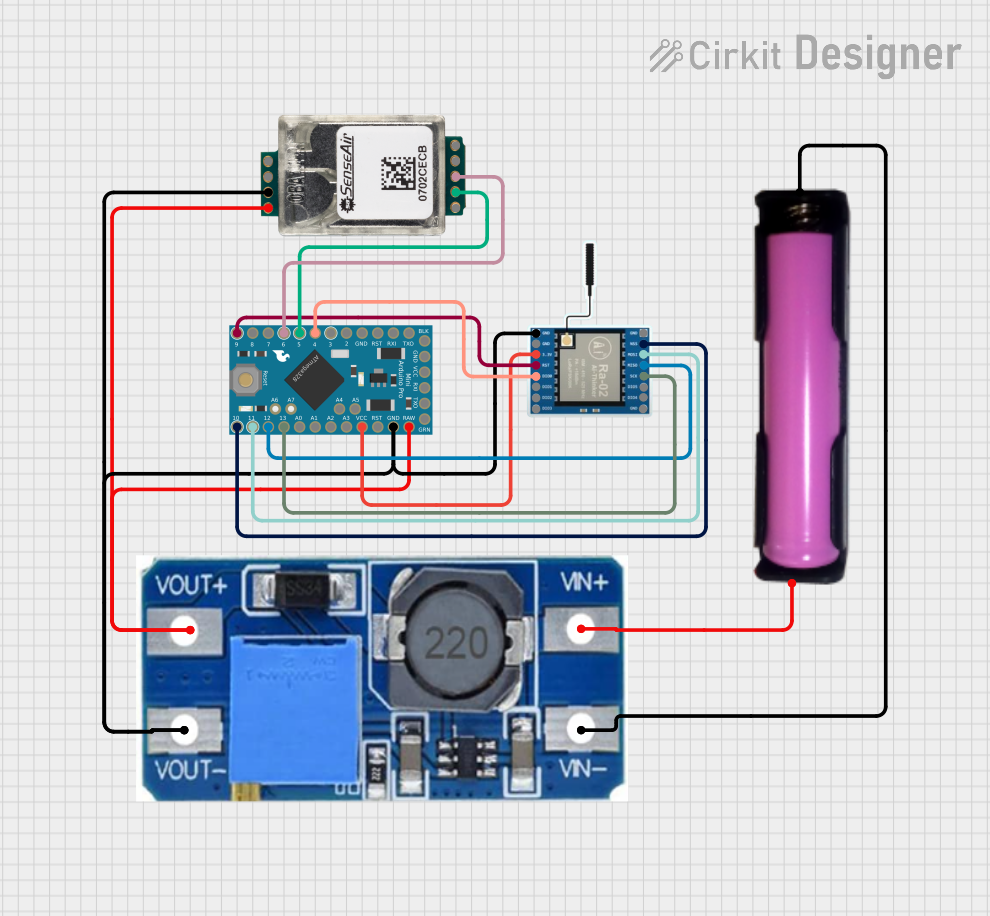
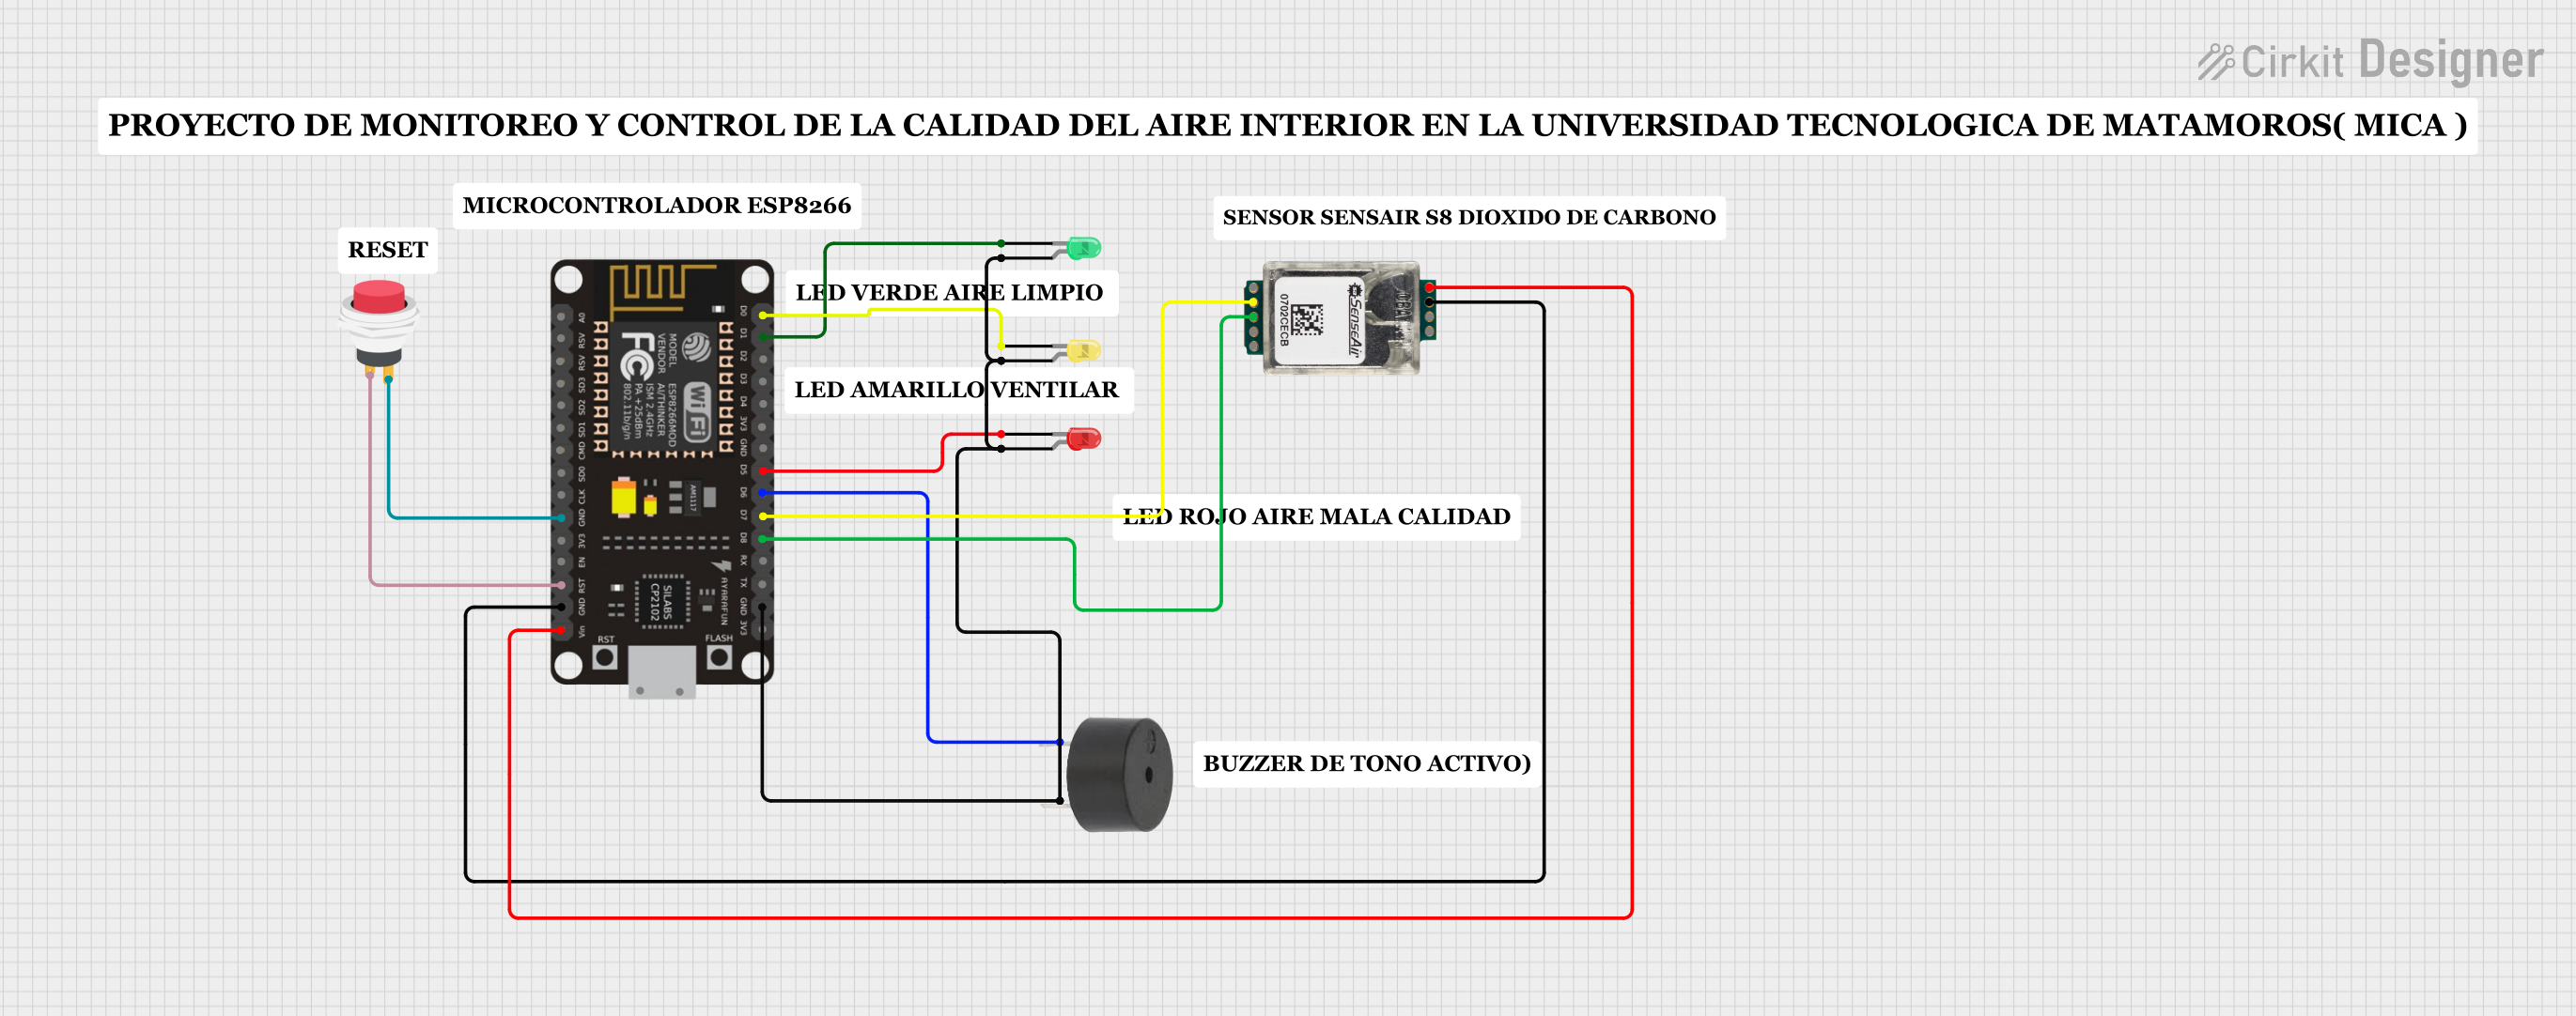
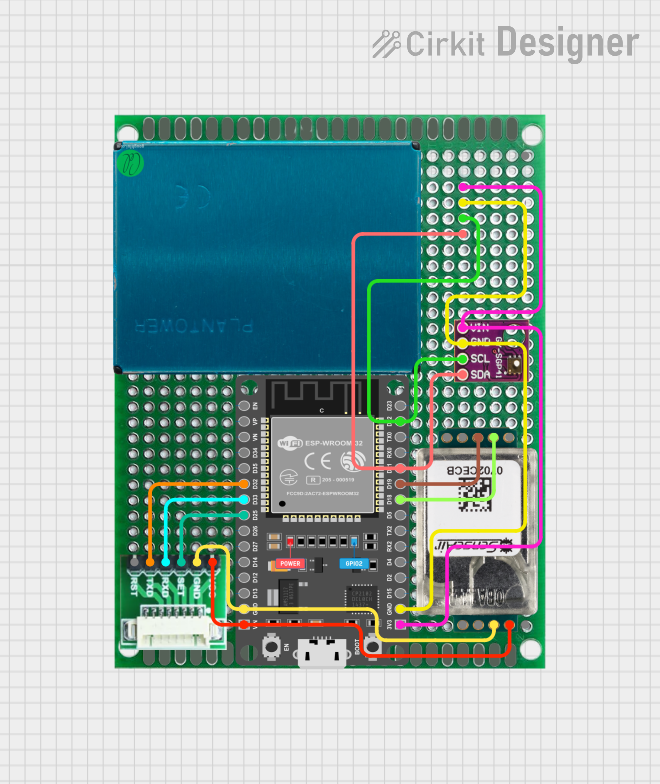
Explore Projects Built with Sensirion SCD40 CO₂ sensor breakout board
Technical Specifications
Key Technical Details
- Sensor Type: Photoacoustic CO₂ sensor
- Measurement Range: 400 ppm to 2000 ppm (parts per million)
- Accuracy: ±(50 ppm + 5% of reading) at 25°C and 400–2000 ppm
- Operating Voltage: 3.3V to 5V
- Current Consumption:
- Idle: ~1.5 µA
- Measurement: ~2.6 mA
- Communication Interface: I²C (7-bit address: 0x62)
- Operating Temperature Range: -10°C to 60°C
- Humidity Range: 0% to 95% RH (non-condensing)
- Dimensions: 10 mm x 10 mm x 7 mm (sensor only)
Pin Configuration and Descriptions
The breakout board has 4 pins, as described in the table below:
| Pin | Name | Description |
|---|---|---|
| 1 | VIN | Power supply input (3.3V to 5V) |
| 2 | GND | Ground |
| 3 | SDA | I²C data line |
| 4 | SCL | I²C clock line |
Usage Instructions
How to Use the Component in a Circuit
- Power Supply: Connect the VIN pin to a 3.3V or 5V power source and the GND pin to ground.
- I²C Communication: Connect the SDA and SCL pins to the corresponding I²C pins on your microcontroller (e.g., Arduino UNO: A4 for SDA, A5 for SCL).
- Pull-Up Resistors: Ensure that the I²C lines (SDA and SCL) have pull-up resistors (typically 4.7 kΩ). Some breakout boards include these resistors; check the datasheet or board documentation.
- Initialization: Use an appropriate library or write custom code to initialize the sensor and read CO₂ data.
Important Considerations and Best Practices
- Calibration: The SCD40 sensor features automatic self-calibration. Ensure the sensor is exposed to fresh air (400 ppm CO₂) periodically for accurate readings.
- Placement: Avoid placing the sensor in areas with high humidity or direct airflow, as this may affect measurements.
- Warm-Up Time: Allow the sensor to warm up for at least 5 minutes after power-up for stable readings.
- I²C Address: The default I²C address is 0x62. Ensure no other devices on the I²C bus share this address.
Example Code for Arduino UNO
Below is an example of how to use the SCD40 breakout board with an Arduino UNO. This code uses the Sensirion SCD4x library, which can be installed via the Arduino Library Manager.
#include <Wire.h>
#include "SparkFun_SCD4x_Arduino_Library.h" // Include the SCD4x library

SCD4x scd40; // Create an SCD4x object

void setup() {
  Serial.begin(9600); // Initialize serial communication
  Wire.begin();       // Initialize I²C communication

  if (scd40.begin() == false) {
    Serial.println("SCD40 not detected. Check connections.");
    while (1); // Halt execution if the sensor is not detected
  }

  Serial.println("SCD40 initialized successfully.");
}

void loop() {
  float co2, temperature, humidity;

  // Read CO₂, temperature, and humidity from the sensor
  if (scd40.readMeasurement(co2, temperature, humidity)) {
    Serial.print("CO2: ");
    Serial.print(co2);
    Serial.print(" ppm, Temp: ");
    Serial.print(temperature);
    Serial.print(" °C, Humidity: ");
    Serial.print(humidity);
    Serial.println(" %");
  } else {
    Serial.println("Failed to read from SCD40 sensor.");
  }

  delay(2000); // Wait 2 seconds before the next reading
}
Troubleshooting and FAQs
Common Issues and Solutions
Sensor Not Detected:
- Cause: Incorrect wiring or I²C address conflict.
- Solution: Double-check the connections and ensure the I²C address (0x62) is unique on the bus.
Inaccurate Readings:
- Cause: Sensor not exposed to fresh air for calibration.
- Solution: Periodically expose the sensor to fresh air to allow self-calibration.
No Data Output:
- Cause: Missing pull-up resistors on SDA and SCL lines.
- Solution: Add 4.7 kΩ pull-up resistors if not already present.
High Power Consumption:
- Cause: Continuous measurement mode.
- Solution: Use single-shot measurement mode if lower power consumption is required.
FAQs
Q: Can the SCD40 measure CO₂ levels above 2000 ppm?
- A: No, the SCD40 is designed for a range of 400–2000 ppm. For higher ranges, consider using the SCD30 or other sensors.
Q: Does the sensor require manual calibration?
- A: No, the SCD40 features automatic self-calibration. However, it must be exposed to fresh air periodically for accurate results.
Q: Can I use the SCD40 with a 3.3V microcontroller?
- A: Yes, the SCD40 supports both 3.3V and 5V logic levels, making it compatible with a wide range of microcontrollers.
Q: How often should I take measurements?
- A: For most applications, a measurement interval of 2–5 seconds is sufficient.