How to Use 74HC04: Examples, Pinouts, and Specs

Introduction
The 74HC04 is a high-speed CMOS device that contains six independent inverters. These inverters are designed to convert digital signals and are commonly used in a variety of electronic circuits where signal inversion is required. The 74HC04 is known for its low power consumption and high noise immunity, making it suitable for battery-operated devices and noise-sensitive applications.
Explore Projects Built with 74HC04
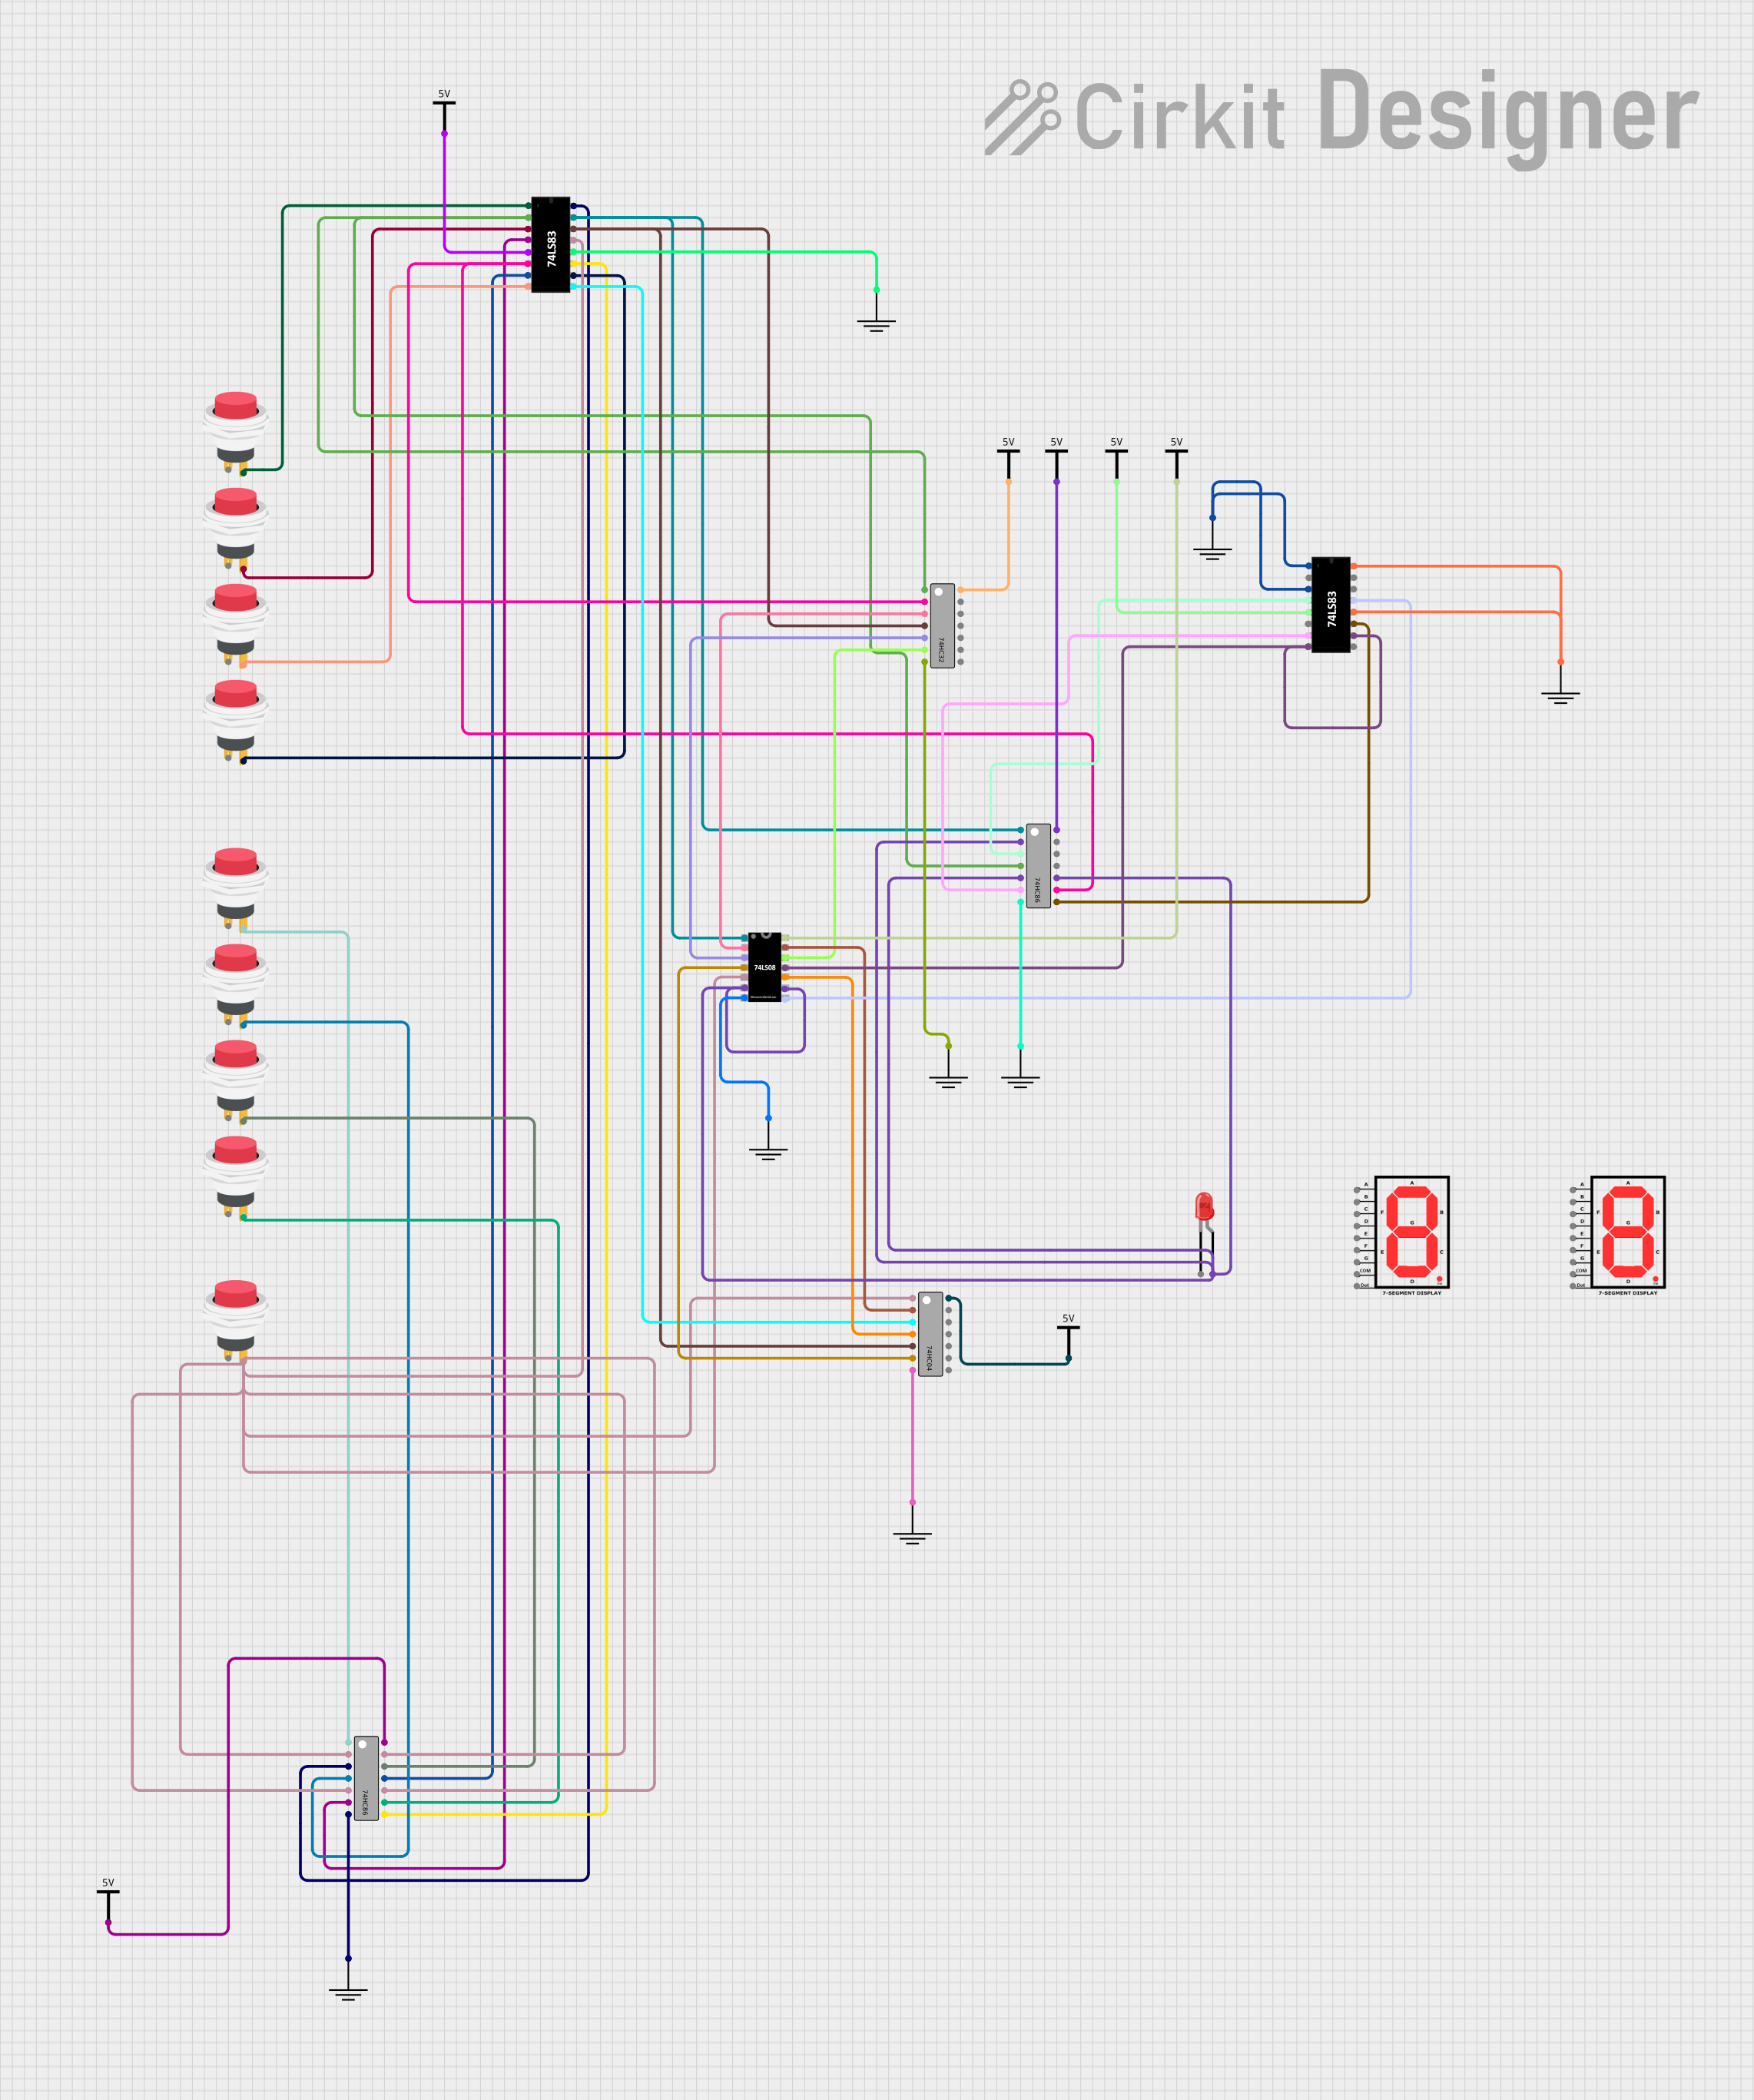
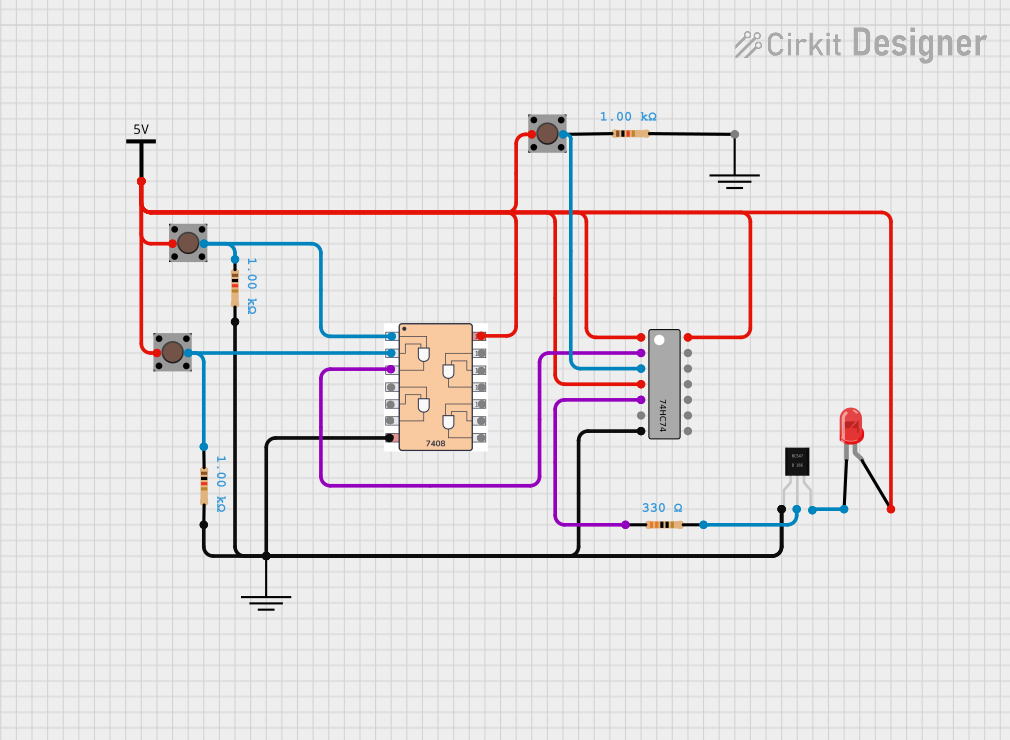

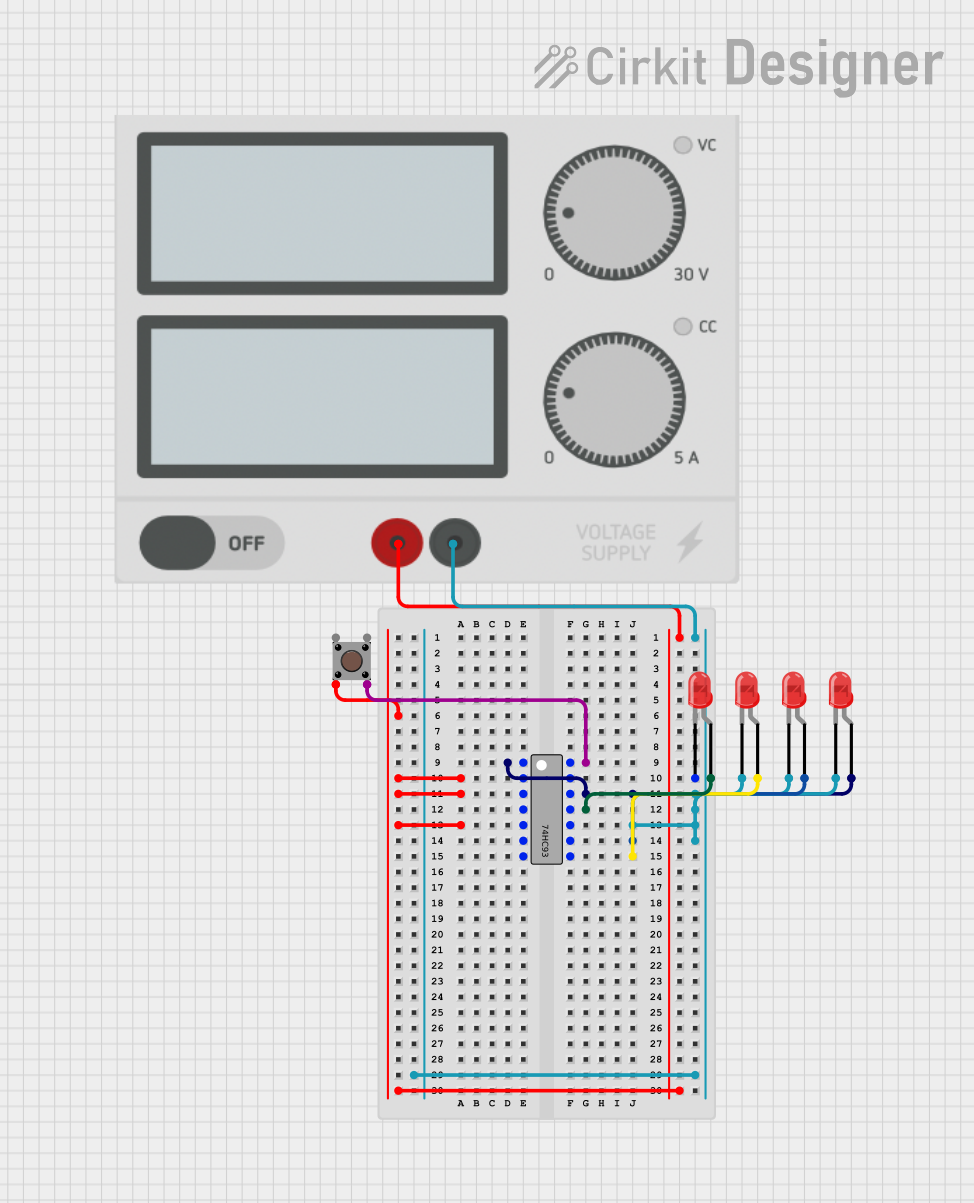
Explore Projects Built with 74HC04
Common Applications and Use Cases
- Logic signal inversion
- Oscillator circuits
- Pulse shaping
- Signal buffering
Technical Specifications
Key Technical Details
- Supply Voltage (Vcc): 2V to 6V
- Input Voltage (Vin): 0V to Vcc
- Output Voltage (Vout): 0V to Vcc
- High-Level Input Voltage (VIH): Minimum 2V
- Low-Level Input Voltage (VIL): Maximum 0.8V
- High-Level Output Voltage (VOH): Minimum Vcc - 0.1V
- Low-Level Output Voltage (VOL): Maximum 0.1V
- Propagation Delay Time: Approximately 8ns
- Operating Temperature Range: -55°C to +125°C
Pin Configuration and Descriptions
| Pin Number | Name | Description |
|---|---|---|
| 1 | A1 | Input of inverter 1 |
| 2 | Y1 | Output of inverter 1 |
| 3 | A2 | Input of inverter 2 |
| 4 | Y2 | Output of inverter 2 |
| 5 | A3 | Input of inverter 3 |
| 6 | Y3 | Output of inverter 3 |
| 7 | GND | Ground (0V) |
| 8 | Y4 | Output of inverter 4 |
| 9 | A4 | Input of inverter 4 |
| 10 | Y5 | Output of inverter 5 |
| 11 | A5 | Input of inverter 5 |
| 12 | Y6 | Output of inverter 6 |
| 13 | A6 | Input of inverter 6 |
| 14 | Vcc | Positive Supply Voltage |
Usage Instructions
How to Use the 74HC04 in a Circuit
- Connect the Vcc pin (pin 14) to the positive supply voltage (2V to 6V).
- Connect the GND pin (pin 7) to the ground of the circuit.
- Apply the input signal to the input pin (A1 to A6) of the desired inverter.
- The inverted output can be taken from the corresponding output pin (Y1 to Y6).
Important Considerations and Best Practices
- Ensure that the supply voltage does not exceed the maximum rating of 6V to prevent damage.
- Decouple the power supply with a 0.1µF capacitor close to the Vcc pin to filter out noise.
- Do not leave input pins floating; connect them to a defined logic level if not in use.
- Avoid exceeding the maximum input and output current ratings to prevent overheating.
Troubleshooting and FAQs
Common Issues Users Might Face
- Output not inverting: Check if the input pin is correctly connected and if the supply voltage is within the specified range.
- IC heating up: Ensure that the supply voltage and current are within the specified limits and that the IC is not being overloaded.
Solutions and Tips for Troubleshooting
- Verify connections and ensure that the IC is not inserted backward.
- Check for short circuits on the PCB or breadboard.
- Use a multimeter to measure the supply voltage at the Vcc pin.
FAQs
Q: Can the 74HC04 be used with a microcontroller like an Arduino? A: Yes, the 74HC04 can be interfaced with an Arduino or similar microcontroller, provided the voltage levels are compatible.
Q: Is it necessary to use all six inverters? A: No, it is not necessary to use all six inverters. Unused inverters should have their inputs connected to a known logic level.
Q: Can the 74HC04 be used to generate a clock signal? A: Yes, by configuring the inverters in an oscillator circuit, the 74HC04 can generate a clock signal.
Example Code for Arduino UNO
The following example demonstrates how to use one inverter of the 74HC04 to invert a signal from an Arduino UNO.
// Define the input and output pins
const int inputPin = 2;  // Connect to A1 of 74HC04
const int outputPin = 3; // Connect to Y1 of 74HC04

void setup() {
  pinMode(inputPin, OUTPUT);
  pinMode(outputPin, INPUT);
}

void loop() {
  // Send a HIGH signal to the inverter
  digitalWrite(inputPin, HIGH);
  delay(1000); // Wait for 1 second

  // Send a LOW signal to the inverter
  digitalWrite(inputPin, LOW);
  delay(1000); // Wait for 1 second
}
Note: In this example, the Arduino pin 2 is connected to the input A1 of the 74HC04, and the output Y1 is connected to the Arduino pin 3. The output pin is set as an INPUT to read the inverted signal from the 74HC04. This code will toggle the input to the inverter and can be observed by reading the output pin or using an LED with a suitable resistor connected to the output.