How to Use -: Examples, Pinouts, and Specs
Introduction
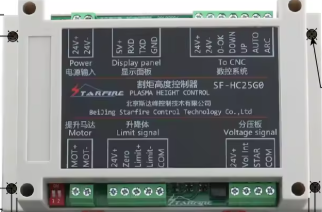
The Hltnc SF-HC25G HC25K, manufactured by THC, is a placeholder or unspecified component often used to indicate a missing or undefined part in a circuit. While it does not serve a specific functional purpose, it is commonly utilized in circuit design and prototyping to reserve space for a future component or to represent an undefined part in a schematic.
Explore Projects Built with -
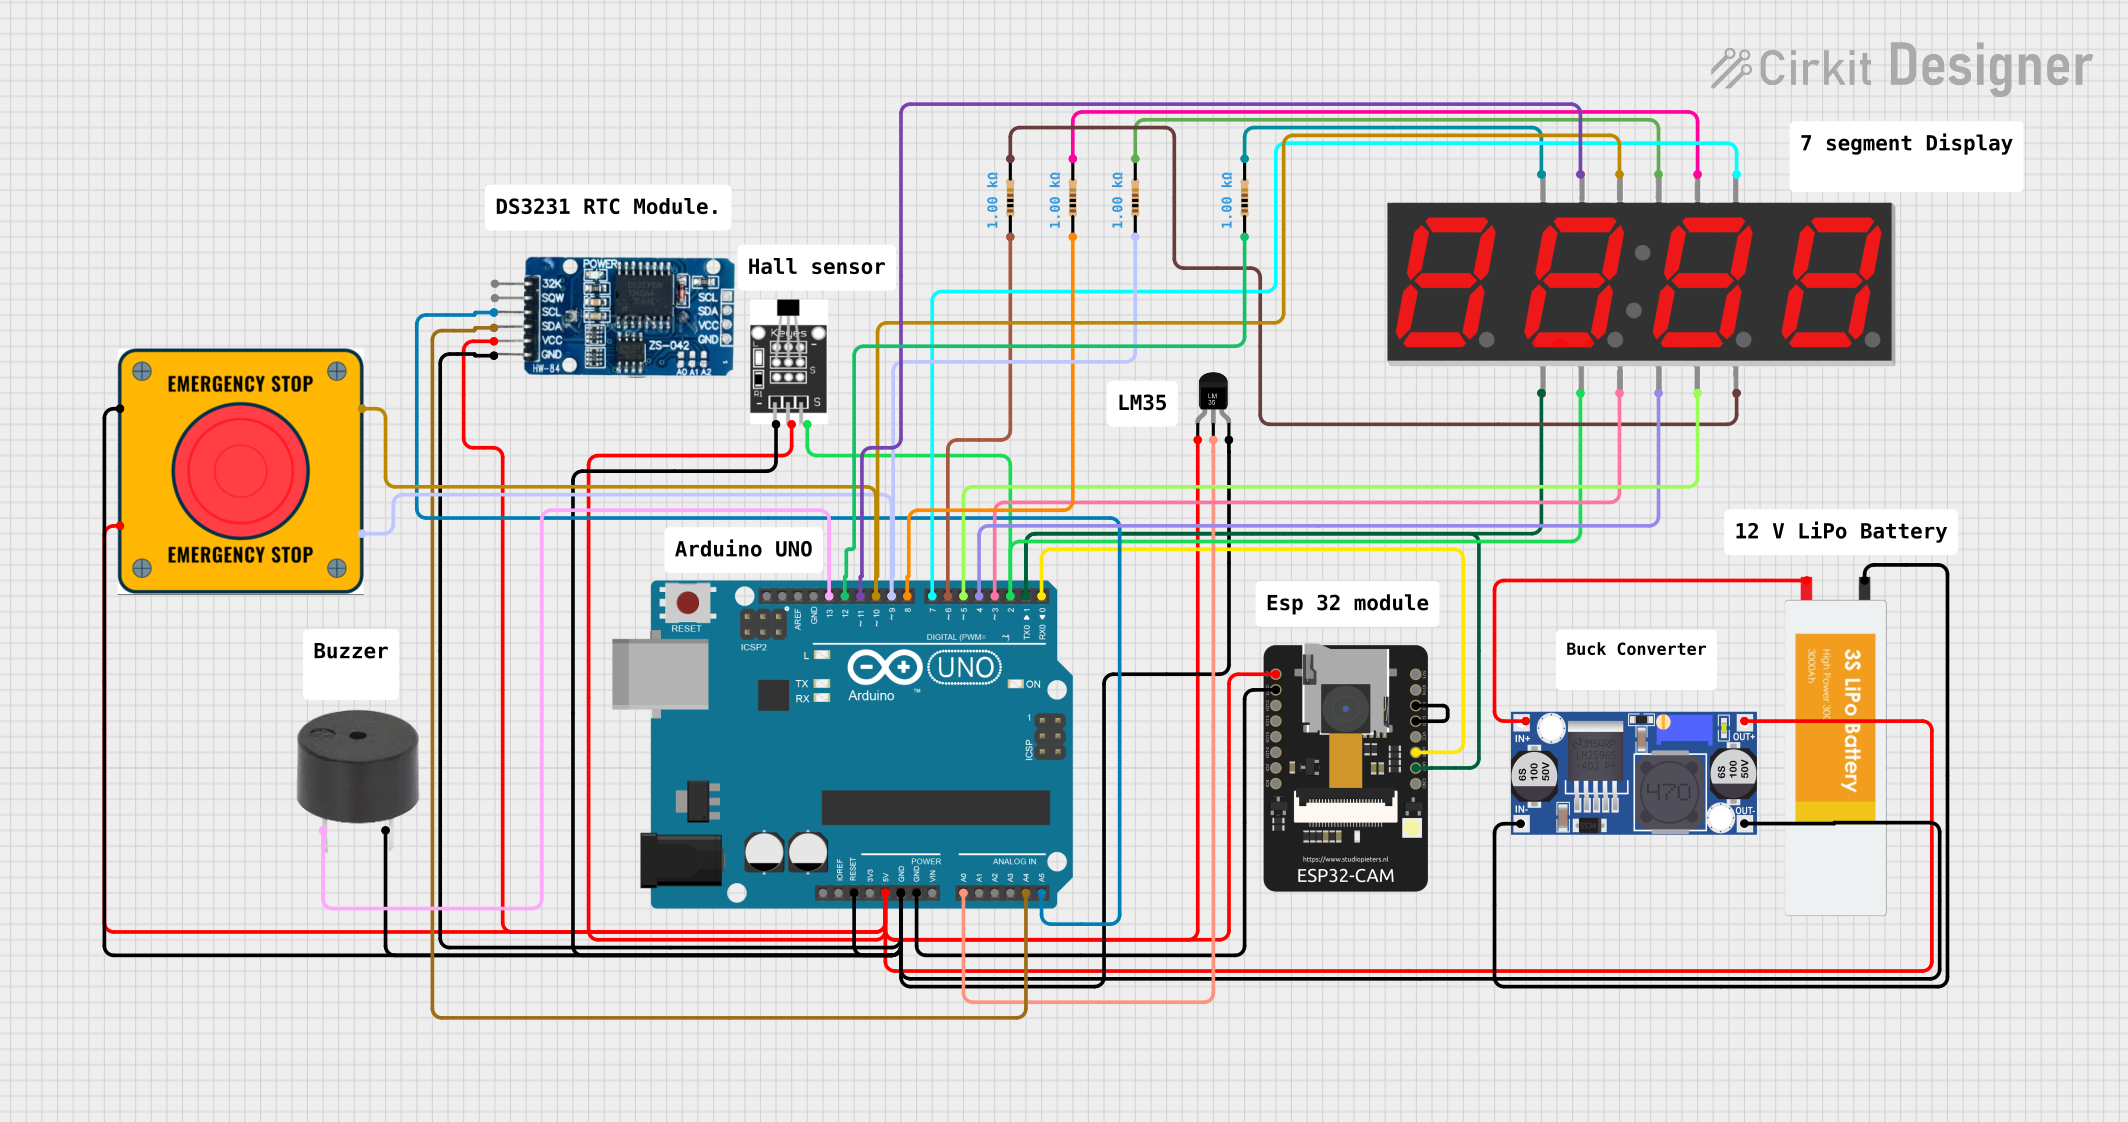
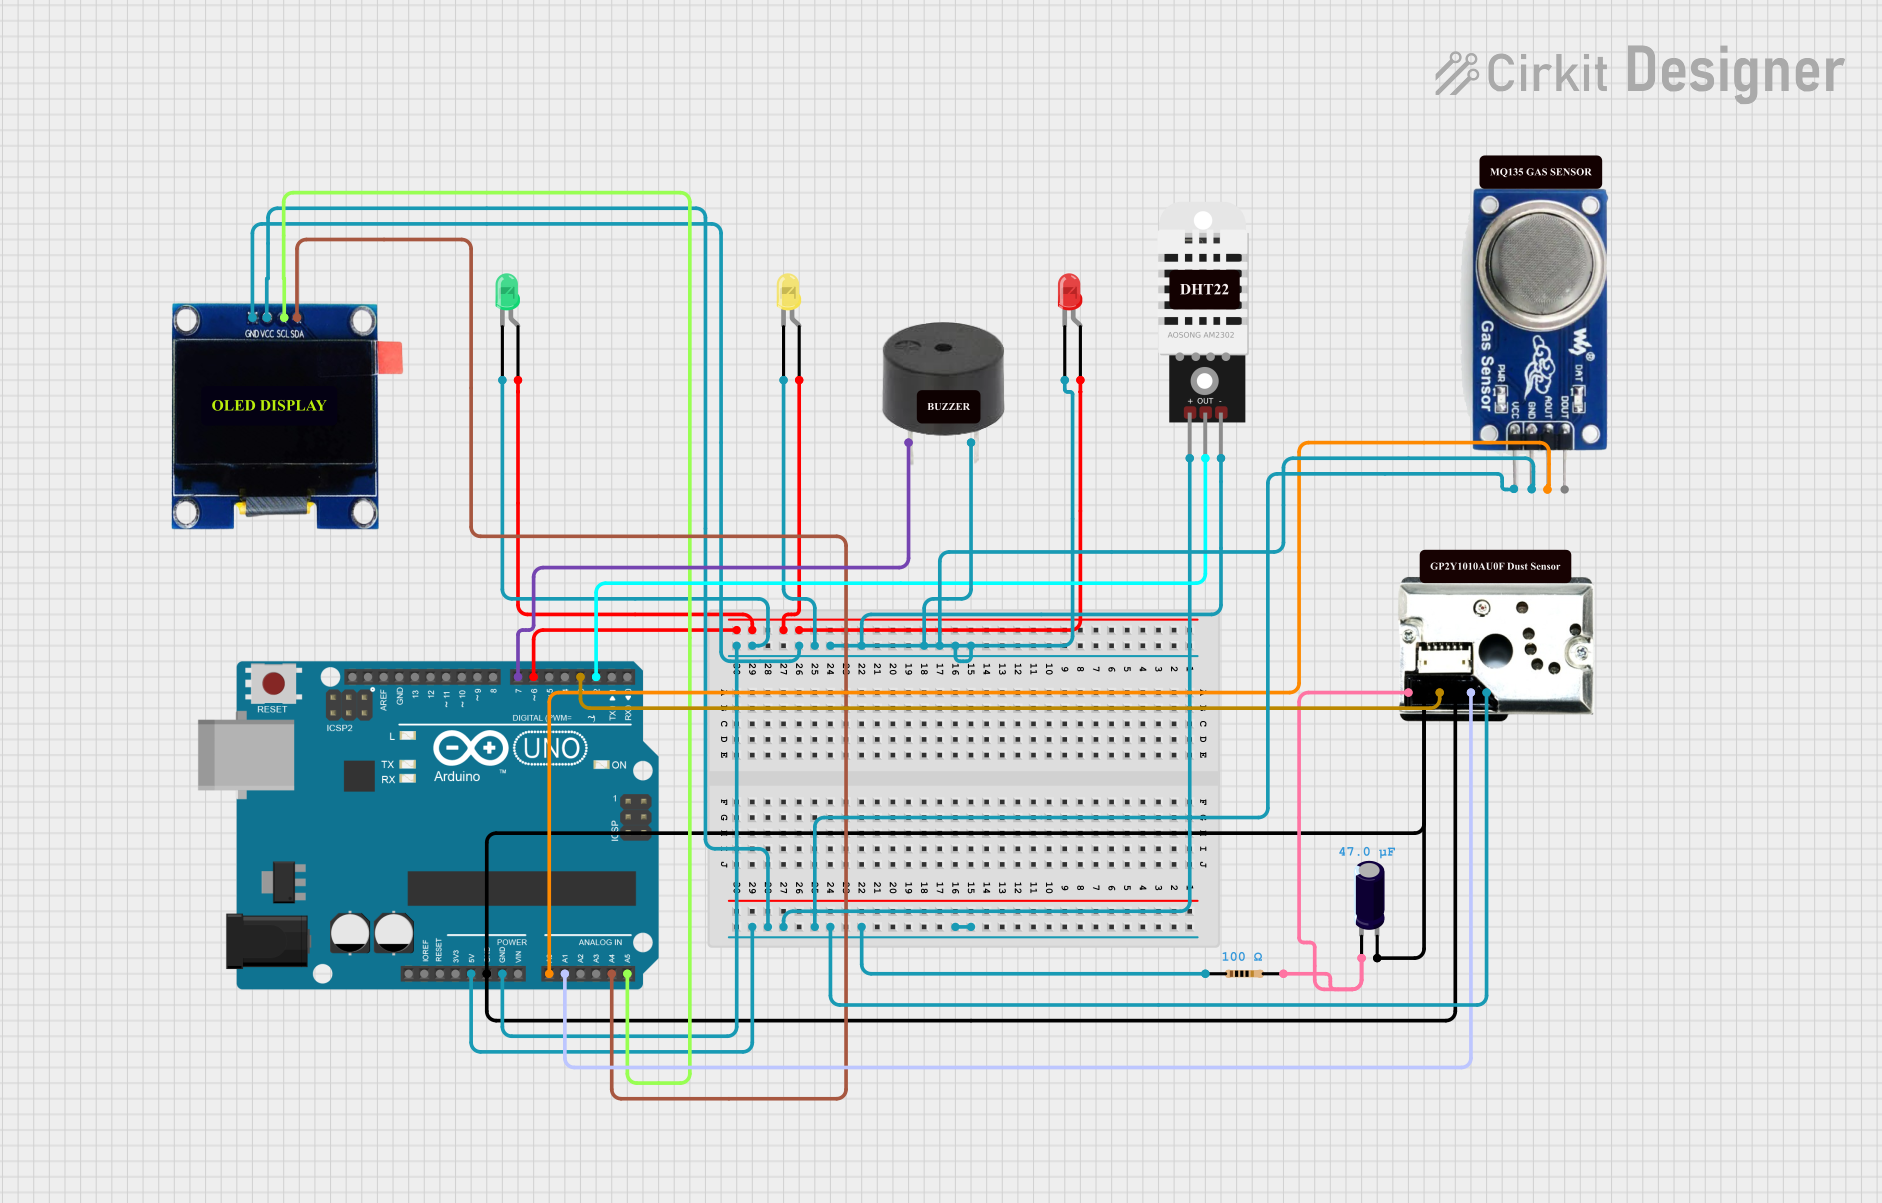
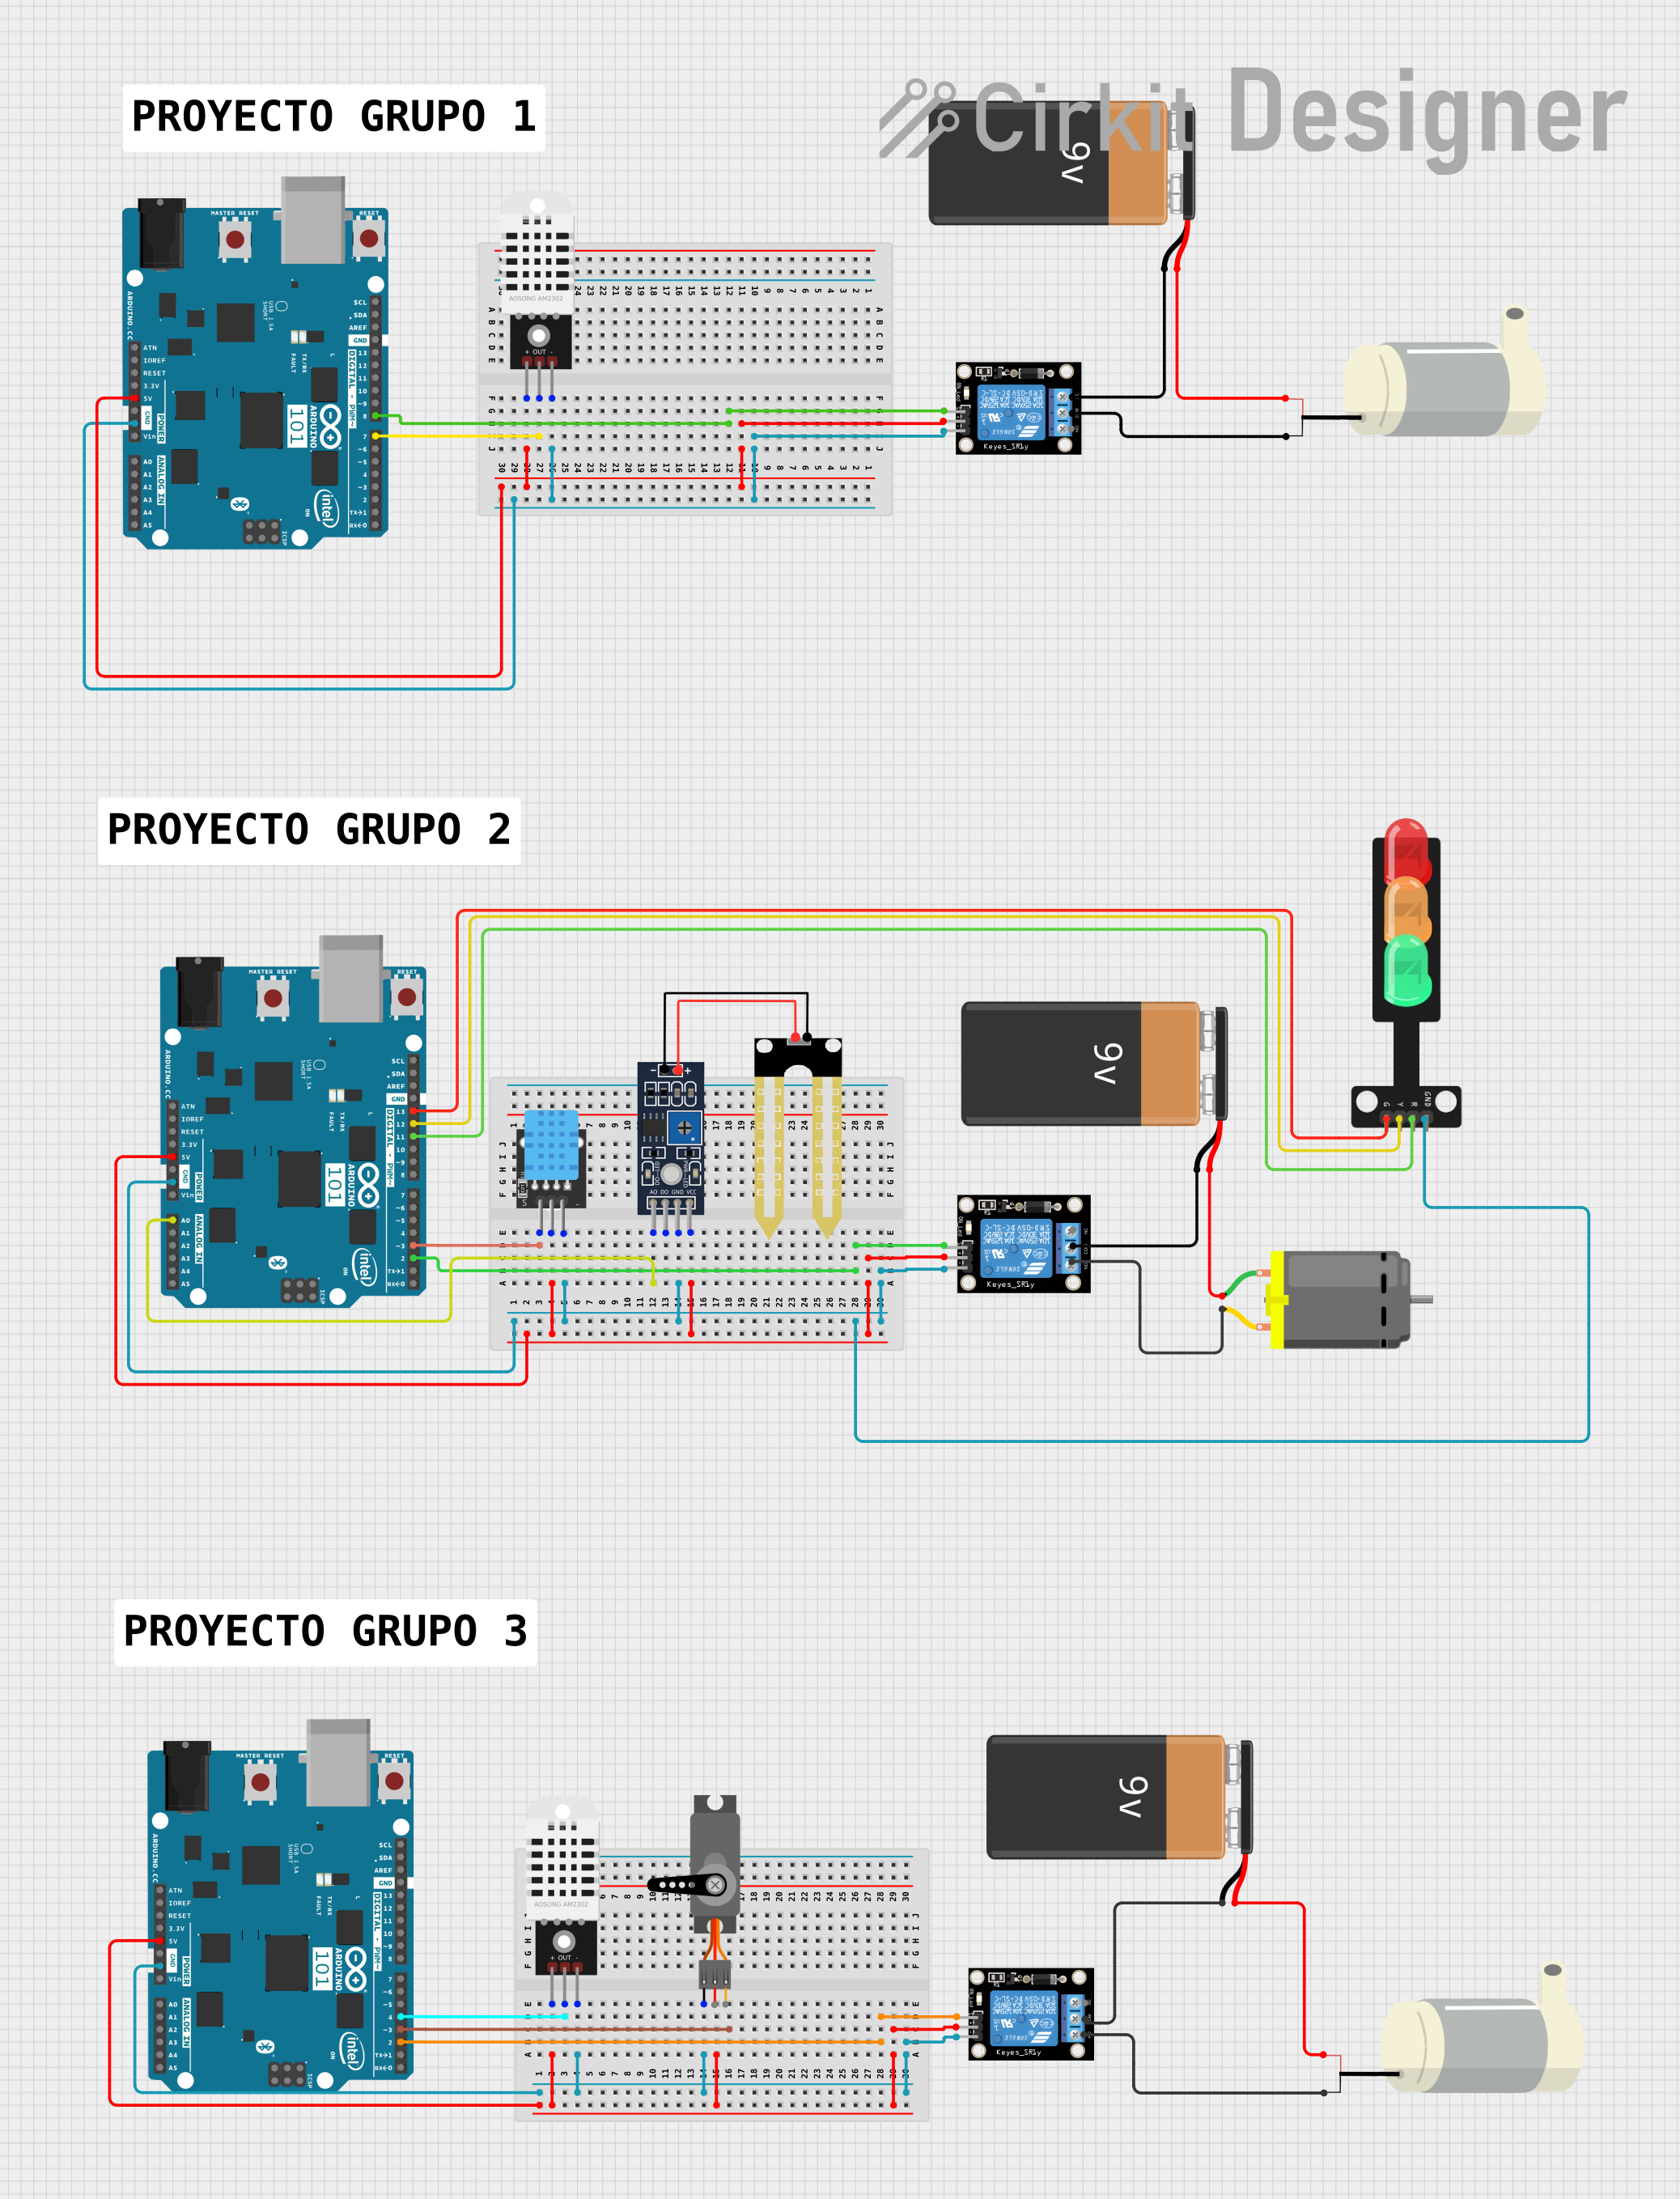
Explore Projects Built with -
Common Applications and Use Cases
- Placeholder for components in circuit schematics or PCB layouts.
- Used in prototyping to reserve space for future components.
- Educational purposes to demonstrate circuit design without specifying all components.
- Temporary substitution for undefined or unavailable parts during development.
Technical Specifications
As the Hltnc SF-HC25G HC25K is a placeholder component, it does not have specific electrical characteristics. However, it is important to understand its physical and pin configuration for proper integration into a circuit.
Pin Configuration and Descriptions
The component typically follows a generic pin layout. Below is an example of a standard placeholder pin configuration:
| Pin Number | Pin Name | Description |
|---|---|---|
| 1 | N/A | Placeholder pin, no electrical use. |
| 2 | N/A | Placeholder pin, no electrical use. |
| 3 | N/A | Placeholder pin, no electrical use. |
| 4 | N/A | Placeholder pin, no electrical use. |
Note: The actual pin configuration may vary depending on the intended future component that the placeholder represents.
Usage Instructions
How to Use the Component in a Circuit
Placement in Schematics:
- Use the Hltnc SF-HC25G HC25K to reserve space for a future component in your schematic or PCB layout.
- Ensure the placeholder is labeled clearly to indicate its purpose.
Physical Integration:
- Solder the placeholder onto the PCB if required, or leave the space empty for future component installation.
- Verify that the placeholder's footprint matches the intended future component.
Testing and Prototyping:
- During prototyping, use the placeholder to simulate the presence of a component without affecting the circuit's functionality.
- Replace the placeholder with the actual component once it is defined or available.
Important Considerations and Best Practices
- Labeling: Clearly label the placeholder in your schematic to avoid confusion during assembly or testing.
- Footprint Matching: Ensure the placeholder's footprint matches the intended component to avoid rework.
- Documentation: Maintain detailed documentation of the placeholder's purpose and the specifications of the intended future component.
Example Code for Arduino UNO
While the Hltnc SF-HC25G HC25K does not have a functional purpose, you can use the following Arduino code to simulate the presence of a component in a circuit:
// Placeholder simulation code for Arduino UNO
// This code demonstrates how to reserve a pin for a future component.

const int placeholderPin = 7; // Pin reserved for future component

void setup() {
  pinMode(placeholderPin, INPUT); // Set the pin as input
  // Placeholder pin is currently unused, but reserved for future use
}

void loop() {
  // No functionality for the placeholder pin
  // Add code here when the actual component is defined
}
Note: Replace
placeholderPinwith the actual pin number when the component is defined.
Troubleshooting and FAQs
Common Issues Users Might Face
Confusion About Purpose:
- Issue: Users may not understand the placeholder's purpose.
- Solution: Clearly document the placeholder's role in the circuit and its intended future use.
Incorrect Footprint:
- Issue: The placeholder's footprint does not match the intended component.
- Solution: Verify the footprint dimensions during the design phase to ensure compatibility.
Mislabeling in Schematics:
- Issue: The placeholder is not labeled clearly, leading to assembly errors.
- Solution: Use descriptive labels and annotations in your schematic to indicate the placeholder's purpose.
Solutions and Tips for Troubleshooting
- Double-Check Documentation: Ensure all placeholders are documented with their intended purpose and specifications.
- Communicate with Team Members: If working in a team, communicate the placeholder's role to avoid confusion during assembly or testing.
- Update Design Files: Once the actual component is defined, update the schematic and PCB layout to replace the placeholder.
By following these guidelines, the Hltnc SF-HC25G HC25K can be effectively used as a placeholder in your circuit designs, ensuring a smooth transition to the final component selection.