Cirkit Designer LogoCirkit DesignerYour all-in-one circuit design IDE Launch Cirkit Designer App

How to Use li-po 3.7V: Examples, Pinouts, and Specs

Image of li-po 3.7VDesign with li-po 3.7V in Cirkit Designer

Introduction

Explore Projects Built with li-po 3.7V

Use Cirkit Designer to design, explore, and prototype these projects online. Some projects support real-time simulation. Click "Open Project" to start designing instantly!
Image of Battery-Powered 18650 Li-ion Charger with USB Output and Adjustable Voltage Regulator: A project utilizing li-po 3.7V in a practical application

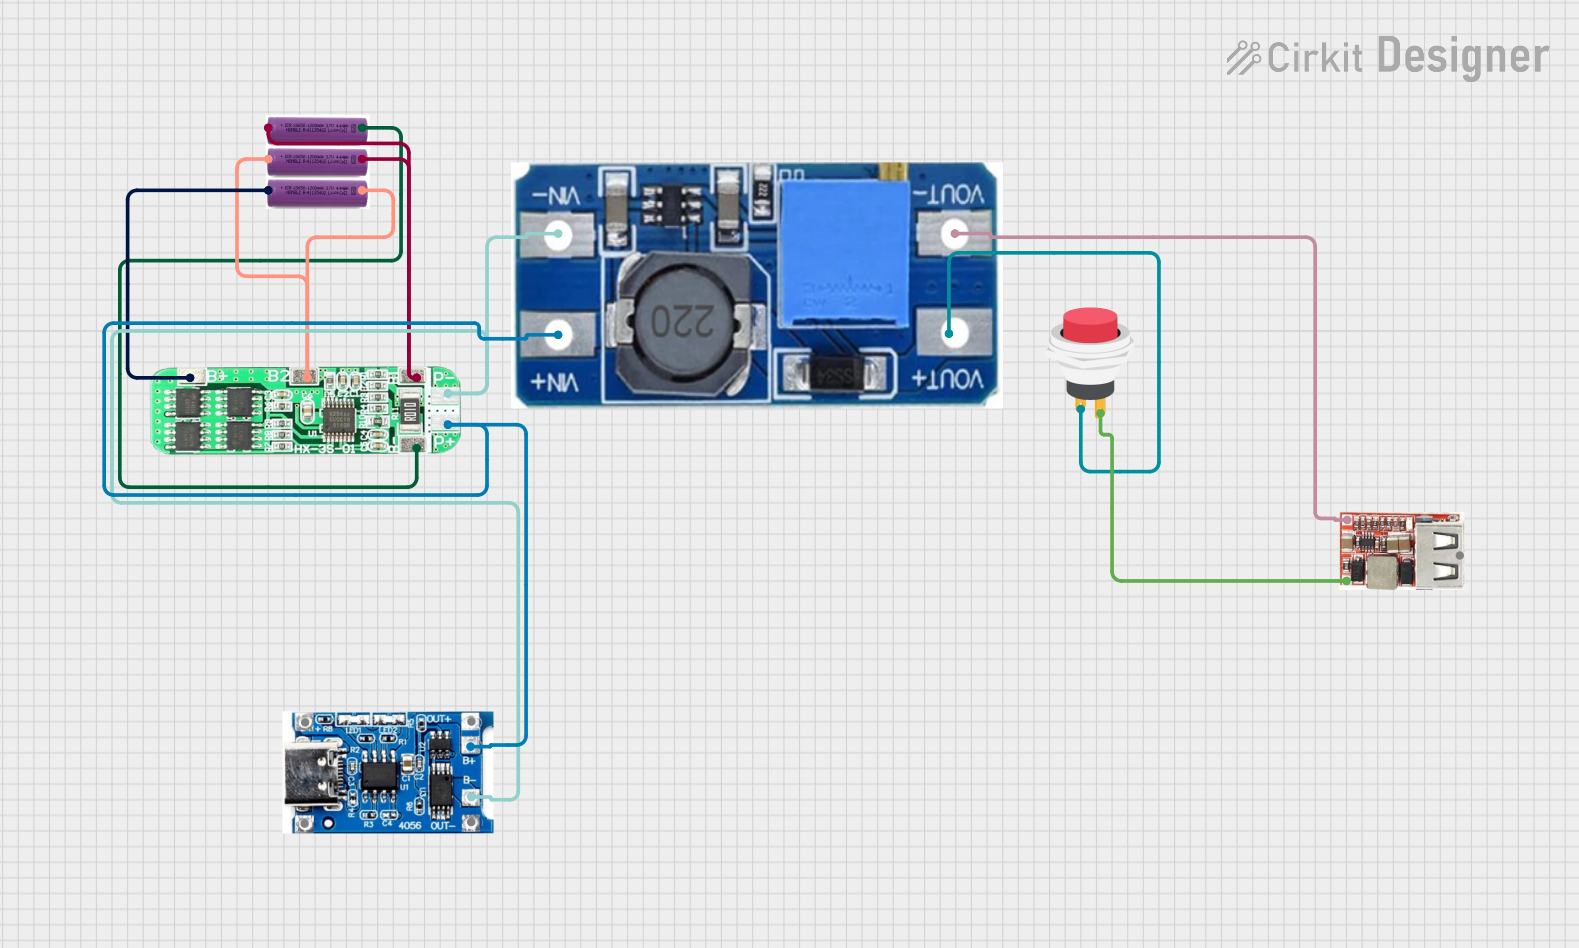
Battery-Powered 18650 Li-ion Charger with USB Output and Adjustable Voltage Regulator

This circuit is a battery management and power supply system that uses three 3.7V batteries connected to a 3S 10A Li-ion 18650 Charger Protection Board Module for balanced charging and protection. The system includes a TP4056 Battery Charging Protection Module for additional charging safety, a Step Up Boost Power Converter to regulate and boost the voltage, and a USB regulator to provide a stable 5V output, controlled by a push switch.

Open Project in Cirkit Designer
Technical Specifications

Pin Configuration and Descriptions

Pin Name Description
Positive (+) The positive terminal of the battery, typically marked with a red wire.
Negative (-) The negative terminal of the battery, typically marked with a black wire.
Balance Lead (Optional) Used in multi-cell Li-Po batteries for balanced charging.

Usage Instructions

How to Use the Li-Po 3.7V Battery in a Circuit

  1. Connection: Connect the positive terminal (+) to the positive input of your circuit and the negative terminal (-) to the ground. Ensure proper polarity to avoid damage.
  2. Charging: Use a dedicated Li-Po battery charger with constant current (CC) and constant voltage (CV) charging profiles. Set the charger to 4.2V for a single-cell 3.7V Li-Po battery.
  3. Discharge: Avoid discharging the battery below 3.0V to prevent damage and reduce battery lifespan. Use a low-voltage cutoff circuit or battery management system (BMS) for protection.
  4. Protection: Incorporate a protection circuit module (PCM) or BMS to safeguard against overcharging, over-discharging, and short circuits.

Important Considerations and Best Practices

Example: Using a Li-Po 3.7V Battery with an Arduino UNO

To power an Arduino UNO with a Li-Po 3.7V battery, you can use a step-up converter to boost the voltage to 5V. Below is an example circuit and code to read the battery voltage using an analog pin.

Circuit Diagram

  1. Connect the Li-Po battery to the input of a step-up converter.
  2. Connect the output of the step-up converter to the Arduino's 5V and GND pins.
  3. Use a voltage divider circuit to measure the battery voltage and connect it to an analog pin (e.g., A0).

Arduino Code

// Define the analog pin connected to the voltage divider
const int batteryPin = A0;

// Define the voltage divider ratio (e.g., R1 = 10k, R2 = 10k)
const float voltageDividerRatio = 2.0;

// Reference voltage for the Arduino (5V for UNO)
const float referenceVoltage = 5.0;

void setup() {
  Serial.begin(9600); // Initialize serial communication
}

void loop() {
  int rawValue = analogRead(batteryPin); // Read the analog value
  float batteryVoltage = (rawValue / 1023.0) * referenceVoltage * voltageDividerRatio;

  // Print the battery voltage to the Serial Monitor
  Serial.print("Battery Voltage: ");
  Serial.print(batteryVoltage);
  Serial.println(" V");

  delay(1000); // Wait for 1 second before the next reading
}

Troubleshooting and FAQs

Common Issues

  1. Battery Not Charging:

    • Cause: Faulty charger, damaged battery, or incorrect charging voltage.
    • Solution: Verify the charger settings and ensure the battery is connected properly. Replace the battery if damaged.
  2. Battery Swelling:

    • Cause: Overcharging, over-discharging, or physical damage.
    • Solution: Stop using the battery immediately and dispose of it safely.
  3. Low Runtime:

    • Cause: Battery capacity degradation or excessive current draw.
    • Solution: Replace the battery if it has aged. Ensure the load is within the battery's discharge limits.
  4. Arduino Not Powering On:

    • Cause: Insufficient voltage or current from the battery.
    • Solution: Use a step-up converter to boost the voltage to 5V. Check the battery's charge level.

FAQs

By following these guidelines, you can safely and effectively use a Li-Po 3.7V battery in your projects.